How Many Coats MDF Primer: Achieve Perfect Finish
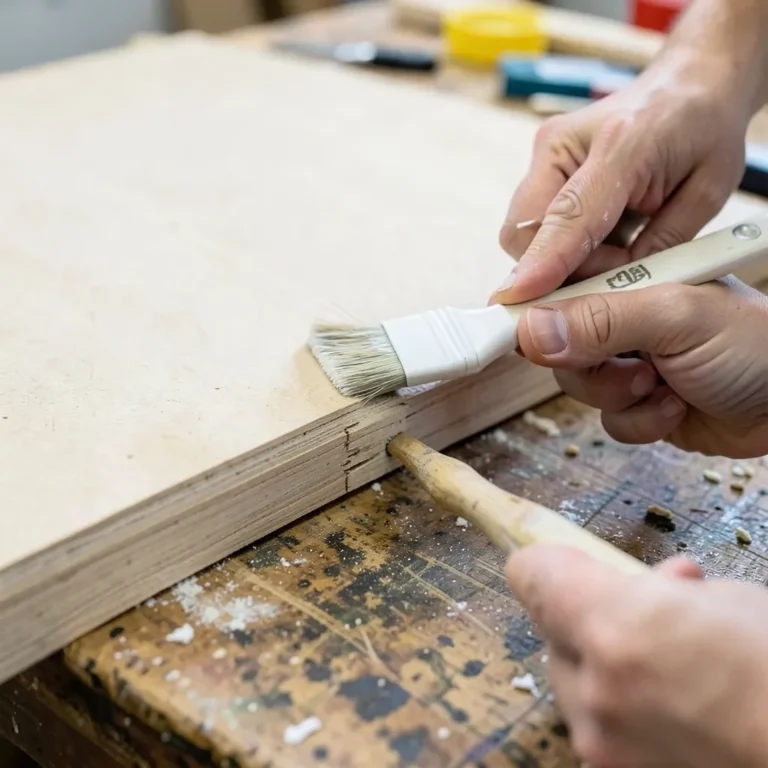
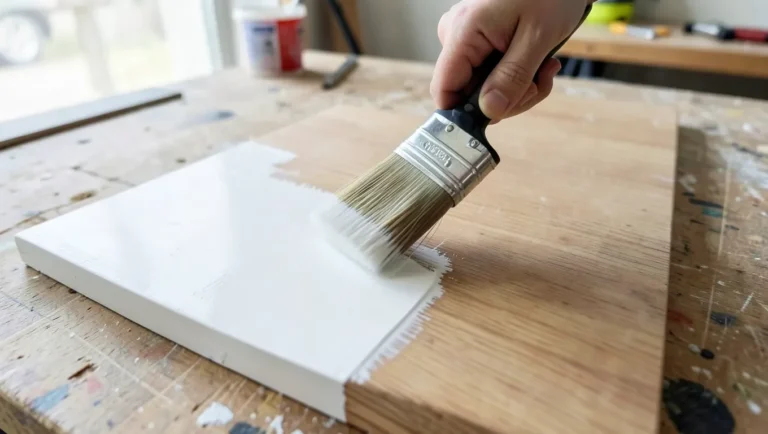
Two coats of primer handle most flat MDF surfaces — the first seals the extremely absorbent fiberboard, the second builds an even, paintable base. The cut edges are the exception: raw MDF edges soak up primer like a sponge and often need a third coat before they stop looking dull and porous next to the smooth faces.
Why MDF Needs More Primer Attention Than Solid Wood
Best For Sealing Raw MDF Edges
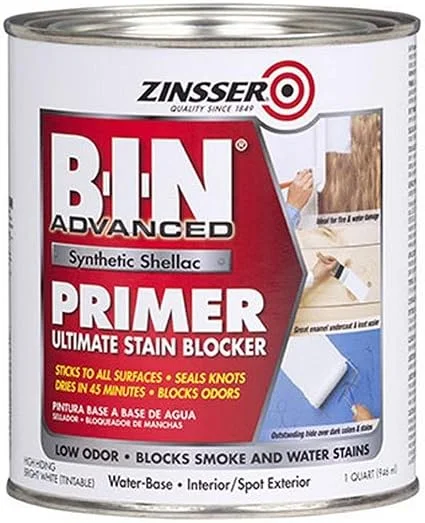 |
Zinsser B-I-N Shellac Primer, 1 Quart – $19.50 A shellac-based sealer that dries fast and seals MDF’s absorbent edges in one coat where an acrylic primer often needs two or three.
|
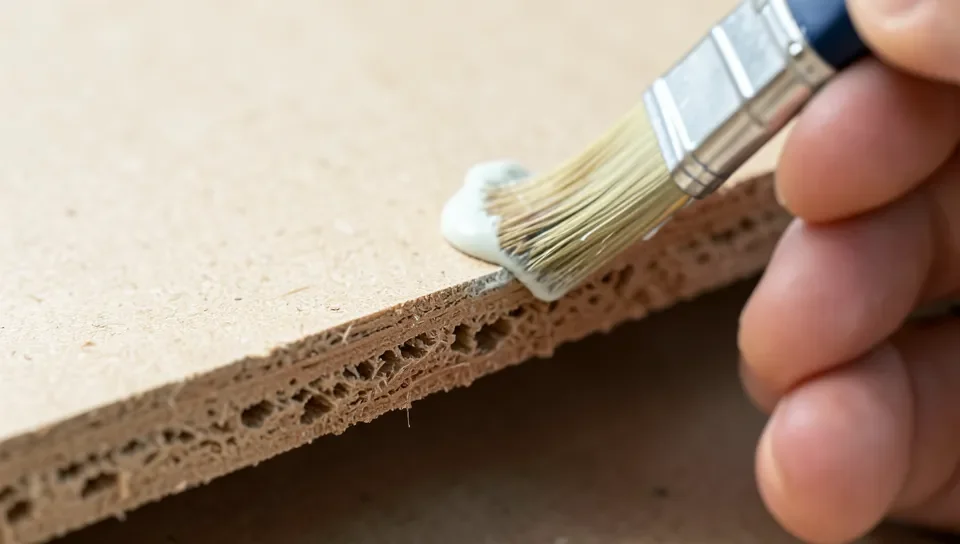
MDF is made of compressed wood fibers and resin with no natural grain, which makes the flat faces fairly uniform to prime — but the moment you cut it, the exposed edge reveals those loose fiber ends, and they act like a sponge for anything wet. An edge left with only one coat often looks visibly duller and rougher than the primed face once painted, because it absorbed more primer into the fibers instead of building a film on top. This is the single biggest reason MDF projects end up needing “two coats, except the edges need three” rather than a flat number across the whole piece.
Choosing The Right Primer Type
Acrylic (water-based) primers are the easiest default — low odor, quick cleanup, and they dry fast enough to sand and recoat the same day. A shellac-based primer like Zinsser B-I-N is the better call specifically for raw edges and for MDF that will see moisture (bathroom trim, kitchen shelving), since it seals more aggressively in a single coat and blocks stains and tannin bleed-through that acrylic sometimes lets through. Oil-based primers work too but take considerably longer to dry between coats, which mostly just slows the project down without adding a real advantage over the other two for typical interior MDF work.
Preparing MDF Before The First Coat
- Sand flat faces lightly with fine-grit paper (220 or so) — MDF ships fairly smooth, so this is about removing handling marks, not shaping.
- Sand cut edges more aggressively to knock down loose fiber fuzz, since that fuzz raises up under primer and creates a rough texture no amount of extra coats fixes on its own.
- Vacuum thoroughly, then wipe with a slightly damp cloth — dry MDF dust is fine and gets everywhere, and any left behind shows up as texture under the primer.
- Let the surface dry completely before priming; MDF that’s picked up any moisture during cleaning needs time to fully dry first, or the primer traps that moisture underneath.
Applying And Assessing Each Coat
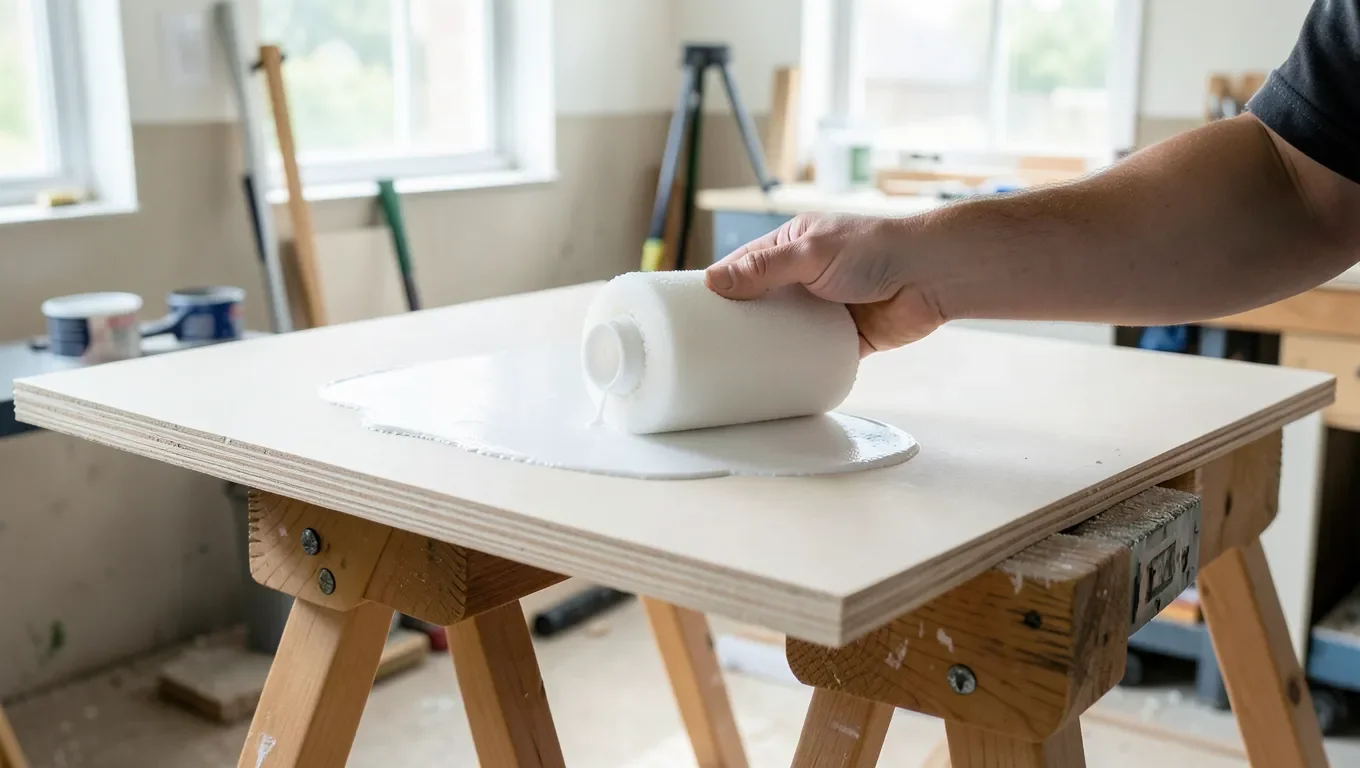
Apply the first coat thin and even with a foam roller on flat areas and a brush on edges and detail work — a thick first coat on MDF tends to raise the fiber surface unevenly as it dries. Let it dry fully per the can’s instructions (warmer, drier air speeds this up considerably), then run a hand over the surface. Rough, slightly fuzzy texture is normal after the first coat on MDF — that’s raised grain from the moisture, not a mistake.
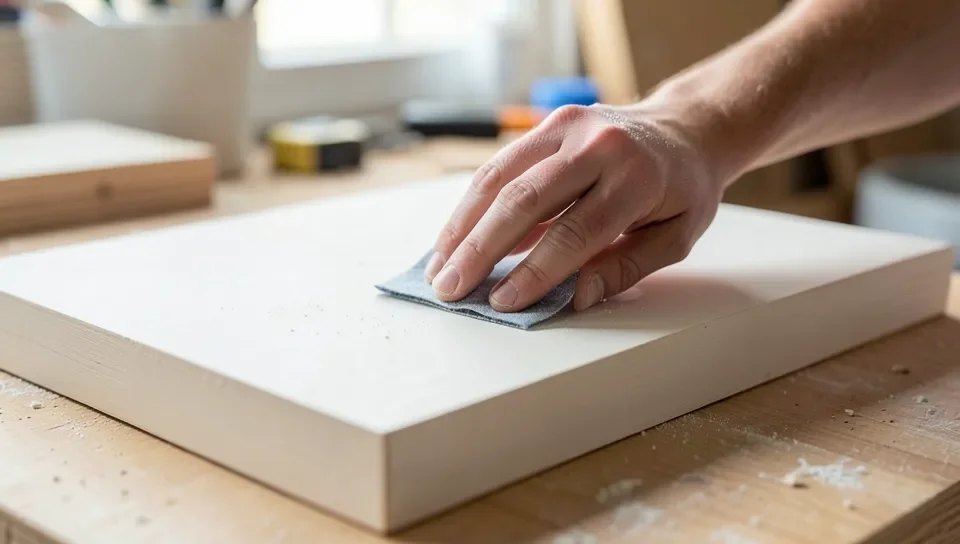
Sand that raised texture down lightly with fine-grit paper before the second coat — this step is what actually makes the second coat lay smooth, more than the primer brand or coat count does. Wipe away sanding dust, apply the second coat, and check again: flat faces are usually done at this point, but edges frequently still look duller or slightly absorbent compared to the faces, which is the signal to give them one more pass.
Troubleshooting Common Problems
- Streaks or brush marks: the coat was too thick, or the brush wasn’t clean — thin the next coat slightly and use long, single-direction strokes.
- Persistent rough texture after 2 coats: almost always unsanded raised fiber grain from an earlier coat — go back and sand before adding more primer rather than just piling on a third coat.
- Edges still look dull/absorbent after 2 coats: normal for MDF — edges routinely need a third coat, or switch that edge to a shellac-based primer for better one-coat sealing.
- Bubbles in the finish: usually from applying too fast with a roller, or rolling over a coat that wasn’t fully dry — let dry completely and use lighter roller pressure next time.
Frequently Asked Questions
Do I Need Two Coats Of Primer On MDF?
Yes, for flat faces two coats is the standard for full coverage and a smooth, paint-ready surface. Cut edges are the exception — they’re more porous and often need a third coat before they stop looking dull compared to the faces.
How Many Times Should You Prime MDF?
Twice for flat surfaces, sanding lightly between coats to knock down raised fiber texture. Raw edges typically need a third coat since they absorb primer faster than the smooth faces do.
How Many Coats Of BIN Primer On MDF?
One coat of BIN (shellac-based) primer often fully seals a raw MDF edge, since it’s more aggressive at sealing than a standard acrylic primer. On flat faces, two coats still gives the most even, paint-ready result.
Is 2 Coats Of Primer Enough?
For flat MDF faces, yes. For raw cut edges, check by feel and appearance — if an edge still looks duller or feels more porous than the primed faces, it needs a third coat before painting.
Conclusion
Two coats covers most flat MDF surfaces, but don’t apply that same number blindly to the cut edges — they’re the most porous part of the board and frequently need a third pass, or a shellac-based primer that seals them faster. Sand lightly between every coat to knock down the raised fiber texture MDF gets when primer wets it, and the final paint job will look even across faces and edges alike.
Sponsored / affiliate links. As an Amazon Associate I earn from qualifying purchases. I may earn additional commission from eligible campaigns.