How To Apply Sealer On Wood: Proven Essential Guide
Applying sealer to wood is simple once you know the steps. This essential guide covers proper sanding, cleaning, product selection, and technique to ensure a smooth, durable finish that truly protects your beautiful wood project. You’ve got this!
Welcome to the workshop! If you’ve spent hours perfecting a wood project—a handmade table, sturdy shelving, or beautiful deck—you know the final step is crucial. Applying sealer shouldn’t be scary. Many beginner DIYers worry about streaks, bubbles, or a finish that doesn’t last. It’s frustrating when great craftsmanship gets ruined by a patchy topcoat! But don’t worry.
As your woodworking mentor, I’m here to break down exactly how to apply sealer on wood using simple, proven methods. We will go through every step clearly, ensuring your final result is professional, durable, and exactly what you envisioned. Ready to seal the deal on your next creation? Let’s dive in!
Why Sealing Wood Is Non-Negotiable
Think of sealer as wood’s protective suit of armor. Raw wood is like a sponge. It absorbs moisture, oil, dirt, and spills, leading to discoloration, warping, and eventual rot. Sealer solves this big problem.
A good quality sealer locks the wood fibers down, creating a barrier that prevents messes from sinking in and moisture from swelling the wood. This is important whether you are sealing an indoor dining table or outdoor fencing. Good sealing vastly increases the lifespan and beauty of your project.
The Main Goals of Wood Sealing
- Moisture Protection: Prevents water absorption, stopping mold, mildew, and warping (especially crucial for exterior wood).
- Stain Resistance: Stops spills like wine, coffee, or oil from leaving permanent marks.
- Durability: Protects the surface from daily wear and tear, scratches, and abrasion.
- Aesthetics: Enhances the natural grain and color of the wood, giving it a rich, finished look.
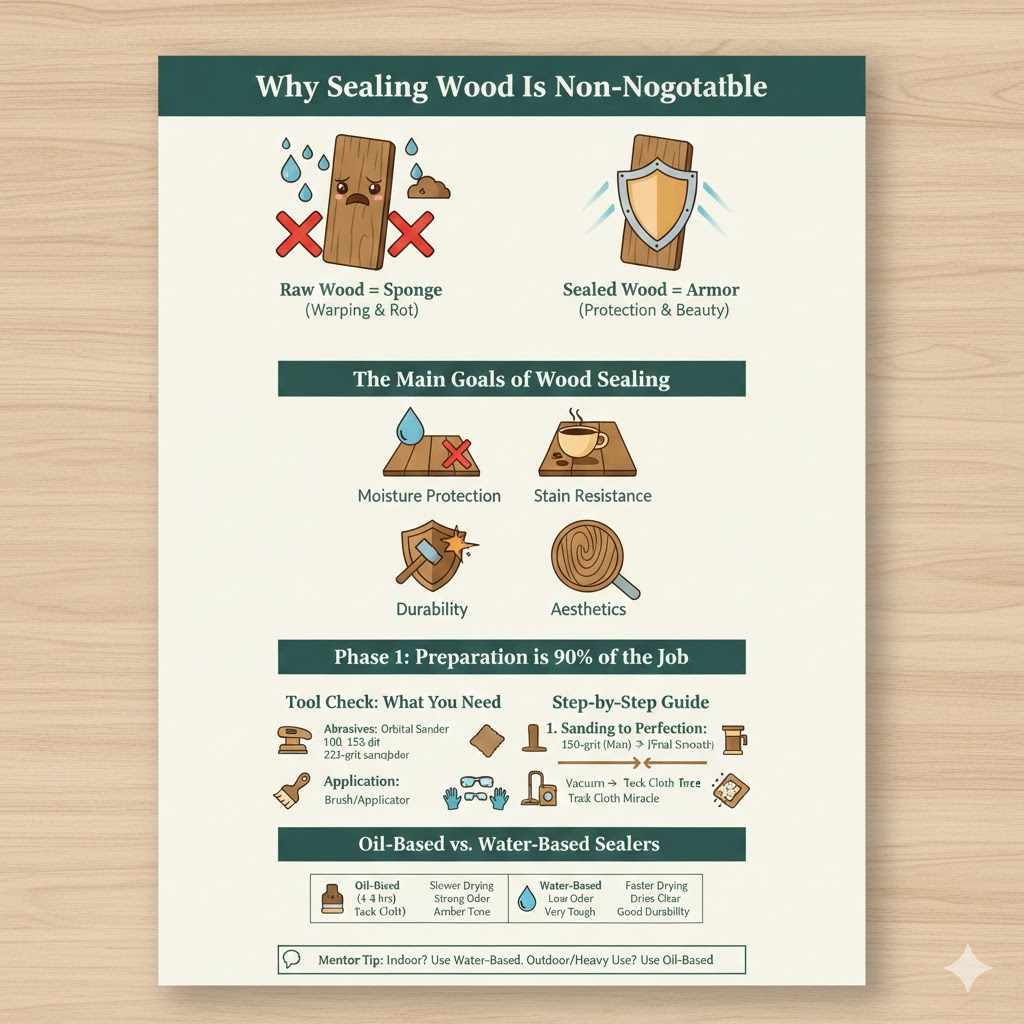
Phase 1: Preparation is 90% of the Job
If you rush the preparation, your sealer job will never look right. This phase takes patience, but trust me, skipping steps here is the number one cause of beginner frustration. Clean, smooth wood equals a flawless seal.
Tool Check: What You Need Before You Start
Gathering your supplies first saves you time and keeps the workflow smooth. Here is your essential starter kit:
| Category | Tool/Material | Why You Need It |
|---|---|---|
| Abrasives | Sanding block or Orbital Sander | For smoothing the surface evenly. |
| Sanding Papers | 100, 150, 220-grit sandpaper | Progressive sanding creates the perfect tooth for the sealer to grab. |
| Cleaning | Tack cloth or Microfiber rags | To remove all sanding dust—critical for a smooth finish. |
| Application | Natural bristle brush or foam applicator | For smooth, even product spread. |
| Safety | Gloves, safety glasses, ventilation mask | Protecting your health while working with finishes. |
Step 1: Sanding to Perfection
Sanding opens the pores of the wood just enough for the sealer to penetrate properly. If you apply sealer to rough wood, the finish will look bumpy and uneven. We use a gradual approach to grits:
- Start Coarse (If Needed): If your wood surface has deep scratches or old, flaky finish, start with 100-grit sandpaper to level the surface quickly.
- The Main Event: Sand the entire piece thoroughly with 150-grit paper. Always sand with the grain of the wood. Sanding against the grain leaves permanent scratches that sealer will highlight beautifully (not in a good way!).
- Final Smoothening: Switch to 220-grit sandpaper. This is your final sanding pass before sealing. This finer grit polishes the surface, ensuring a luxurious feel.
- Inspect: Run your hand over the surface. It should feel buttery smooth, not rough or scratchy.
Step 2: Eliminating Every Trace of Dust
This step is often overlooked, but it determines the texture of your final sealed piece. Dust trapped under the sealer looks like tiny craters or bumps. You must remove all visible and microscopic dust particles.
- Initial Wipe: Use a shop vacuum with a soft brush attachment to gently remove the bulk of the sanding dust.
- The Tack Cloth Miracle: A tack cloth is a piece of cheesecloth treated with a sticky resin. Gently drape and wipe the surface with the tack cloth. Do not press hard; let the stickiness grab the fine dust. For detailed areas (like carvings or corners), lightly fold the cloth.
- Air Check: Before moving on, look closely under strong light. Any visible dust particles mean you need to wipe again with the tack cloth.
Step 3: Choosing the Right Sealer
“Sealer” can mean many things, from an oil-based pre-stain conditioner to a pure acrylic topcoat. For beginners applying a foundational protective layer, we are usually talking about either Oil-Based Sealers/Waxes or Water-Based Sealers.
Your choice depends heavily on the project environment and the topcoat you plan to use later.
Oil-Based vs. Water-Based Sealers
| Feature | Oil-Based Sealers | Water-Based Sealers |
|---|---|---|
| Drying Time | Slower (4–8 hours minimum between coats) | Faster (1–2 hours between coats) |
| Odor/Cleanup | Strong odor; mineral spirits needed for cleanup | Low odor; cleans easily with soap and water |
| Appearance | Adds a slight amber/warm tone to the wood | Dries clear; minimizes color change |
| Durability | Very tough and resistant to household chemicals | Good durability, but can lift slightly with water if not fully cured |
Mentor Tip: If you are working indoors with little ventilation, start with water-based products. If your project is an outdoor piece or furniture that needs maximum chemical resistance, oil-based is often the best choice, though it requires more cleanup care.
Phase 2: Applying the Sealer Like a Pro
With a smooth, dust-free surface and the right product in hand, it’s time for application. The goal here is a thin, even coat that sinks into the wood. Forget heavy coats; thin coats build durability best.
Step 4: Checking Your Environment
The room conditions directly impact how your sealer dries and cures. Pay attention to these factors:
- Temperature: Most sealers require temperatures between 60°F and 80°F (15°C and 27°C). If it’s too cold, it won’t dry. If it’s too hot, it might dry on the surface before sinking in, causing bubbles.
- Humidity: High humidity slows drying time significantly, increasing the risk of drips or surface contaminants settling in the wet coat. Aim for low to moderate humidity.
- Ventilation: Always ensure good airflow. If using solvent-based (oil) products, adequate ventilation is crucial for safety, as noted by environmental protection guidelines regarding VOCs (Volatile Organic Compounds).
Step 5: The Art of Application
This process differs slightly depending on whether you are using a brush, a roller, or a sprayer. For beginners, a good quality synthetic or natural bristle brush (depending on your product) or a foam applicator works best for control.
- Stir, Don’t Shake: Gently open your sealer container. Do not shake it vigorously, as this incorporates air bubbles that will transfer directly onto your wood surface. Use a stir stick to mix the product thoroughly from the bottom up.
- Load the Brush Lightly: Dip your brush about one-third of the way into the sealer. Tap the excess off against the inside of the can—never wipe it against the rim, as this lets thick drips form on the sides of the can, potentially contaminating future dips.
- Working with the Grain: Begin in one corner of the project. Apply the sealer using long, smooth, overlapping strokes, always moving in the direction of the wood grain. This encourages the product to flow evenly and pushes air out.
- Thin Coats Rule: Apply a thin, even layer. It should look wet, but not puddling. You should still be able to easily see the wood grain underneath the sealer.
- “Tip Off” for Smoothness: Once you have covered an area, wait just a minute or two, then take your nearly dry brush (wiped clean of excess product) and gently go over the entire coated section one last time, lightly skimming the surface. This is called “tipping off,” and it helps smooth out any brush marks or tiny bubbles before they set.
- Avoid Edges: Do not let sealer pool heavily on sharp edges. Wipe any heavy build-up immediately with your tack cloth or a barely damp, clean rag. Heavy edges look bad and chip easily later on.
Step 6: Drying and De-Nibbing (The Critical Middle Step)
This is where patience earns its reward. Drying time is not curing time. Sealer may feel dry to the touch in an hour, but it’s still soft underneath.
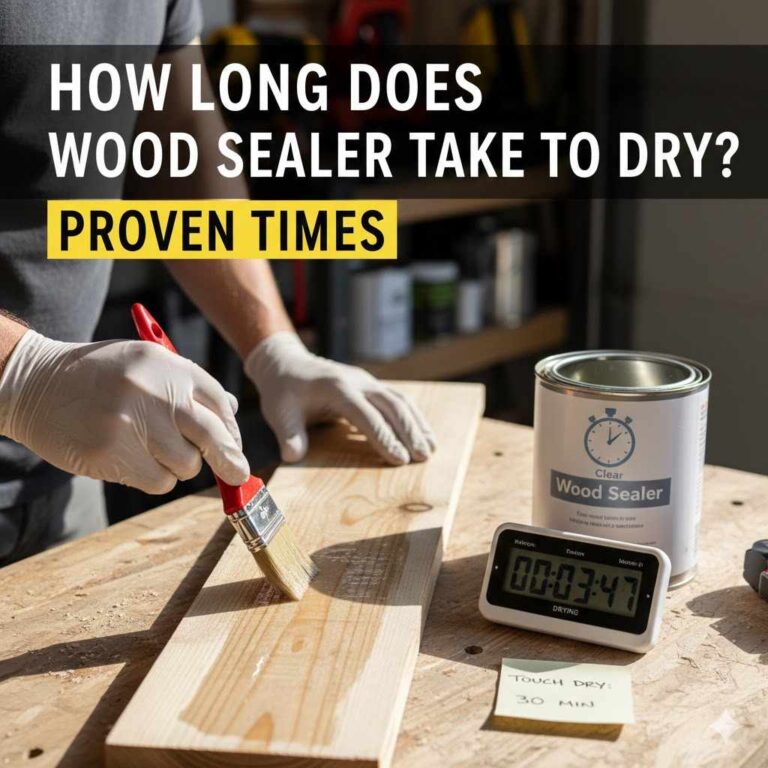
Understanding Drying Times
- Touch Dry: The surface isn’t tacky anymore (often 1–2 hours for water-based).
- Recoat Time: The minimum time needed before the next coat can be safely applied (check the can, usually 4–6 hours for oil, 2–4 hours for water-based).
- Cure Time: When the finish reaches its maximum hardness and chemical resistance (can take days or weeks). Never heavily use the item before it has cured!
If you plan on applying more than one coat, you must perform a light sanding after the first coat dries. This process is called “de-nibbing.”
- Wait for Recoat Time: Allow the first coat to dry according to the manufacturer’s recoat window.
- Light Sanding: Using 320 or 400-grit sandpaper, very lightly scuff the entire surface. You are not trying to remove the sealer; you are just knocking down any tiny dust nibs or brush lines that settled during drying. You should see the finish look duller after sanding—that’s perfect.
- Clean Again: Wipe away all sanding residue thoroughly with a clean tack cloth. Don’t skip this!
- Apply Second Coat: Apply your second coat following Step 5.
For most projects, two thin, sanded coats of sealer offer excellent protection. Sometimes, three coats might be needed for high-traffic surfaces like tabletops.
Advanced Tips for Specific Sealer Applications
While the basic technique remains the same, the purpose of the sealer sometimes dictates subtle adjustments.
Sealing Exterior Wood (Decks and Siding)
Exterior wood is constantly battling UV rays, rain, and temperature swings. Sealer is vital, but often, an exterior stain/sealer combo is preferred, as it adds pigment for UV protection.
- Penetration is Key: Exterior sealers, especially oil-based ones, need to soak deep into the wood to prevent peeling caused by the wood expanding and contracting. Consider slightly thinning the first coat (if the product instructions allow) to aid penetration, especially on dense hardwoods.
- Apply Generously: For the first coat on untreated exterior wood, it’s okay to apply a heavier initial coat, allowing it to soak in for 15–30 minutes (a process called “wet wetting”). Wipe up any product that doesn’t soak in completely within that time frame.
- Follow up with UV Inhibitors: If you are using a clear sealer, understand that it only offers basic moisture protection. For long-term defense against sun damage, consider a product that contains UV blockers, like those recommended by forestry services for treated lumber maintenance (U.S. EPA information on wood preservatives is a good place to start understanding environmental factors).
Sealing Exotic or Oily Woods
Woods like Teak, Rosewood, or even some Pines contain natural oils that fight against standard oil-based sealers and polyurethane, leading to a tacky, slow-drying finish. For these tricky woods:
- Use Lacquer Thinner or Mineral Spirits: Wipe down the wood before sanding with a rag lightly dampened with the recommended solvent (like mineral spirits for an oil-based finish) to draw out surface oils. Let it flash off completely (evaporate) before moving to the next step.
- Use Shellac Sealer: Shellac is a fantastic universal “barrier coat” because it sticks to almost anything and almost anything sticks to it. It seals those gummy oils in perfectly. A thin coat of clear shellac can be used over exotic woods, followed by your chosen primary sealer (oil or water-based).
The Importance of Testing
You would never try a new recipe without tasting the ingredients first! Don’t use your finished project as a testing ground. Always apply your sealer to a scrap piece of the same wood species that was prepped and sanded exactly like the main project.
This test run tells you:
- How quickly it dries.
- How the color changes.
- If any bubbling or unusual texture appears.
Common Sealer Mistakes and How to Fix Them
Even with careful preparation, hiccups happen. Here are common issues beginners face when learning how to apply sealer on wood and what to do:
Problem 1: Bubbles on the Surface
Cause: Applying the coat too thickly, poor ventilation (high heat/humidity), or shaking the can too vigorously. Air gets trapped and surfaces too quickly.
Fix: If wet, gently run a soft, wide brush over the surface using light, broad strokes. If the bubbles have dried hard, you must wait until the coat is fully cured, then sand the entire surface with 220-grit paper until the bubbles are gone. Clean dust and reapply a much thinner second coat.
Problem 2: Streaks and Uneven Color (Patchiness)
Cause: Not stirring the can often enough during application (pigments settle), or wiping too much sealer off the brush, causing dry spots.
Fix: If wet, immediately use a dry, clean brush to gently feather the thin areas into the wet areas, always moving with the grain. If the sealer has dried, you cannot blend streaks perfectly. You will need to apply a thin, uniform coat over the entire surface once it cures, ensuring you stir the product frequently as you apply this correction coat.
Problem 3: Sealer Not Drying (Stays Tacky)
Cause: Usually humidity that is too high, or an oily wood surface beneath that is blocking absorption.
Fix: Increase ventilation. If safe, use a fan directed across the surface (not directly onto it, which causes ripples). Do NOT apply more sealer until the first coat is fully dry. If it stays tacky for over 24 hours, you must wait longer, as recoating will ruin the entire finish. If it’s an oil-based product, you might need a few days.
Problem 4: Brush Strokes or Drag Marks
Cause: The sealer is starting to dry before you have finished brushing that section, or the brush quality is poor (cheap bristles). Brushes drag when the finish becomes slightly viscous.
Fix: Slow down your brushing pace slightly. Apply a bit more product next time. Always use the “tip off” method (Step 5, point 5) immediately after the application coat. If the marks are dry, gently sand with 320-grit and reapply a thinner coat.
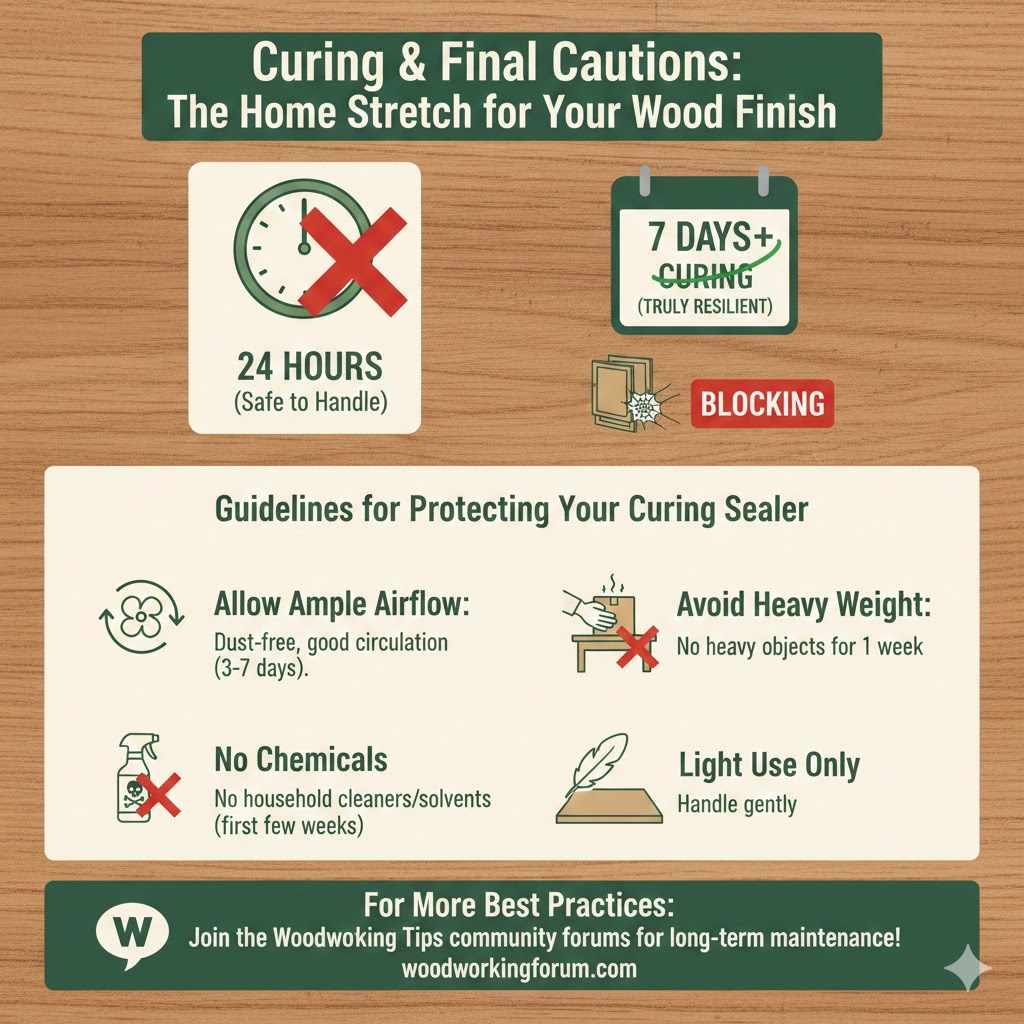
Curing and Final Cautions
Once you have applied your final coat of sealer, your job isn’t entirely done. The finishing stage demands respectful patience.
Remember the difference between drying and curing. While your piece might be safe to handle within 24 hours, it takes much longer for the finish to become truly resilient. Moving a freshly sealed tabletop onto a rack or stacking sealed cabinet doors too soon will cause them to stick together—a disaster known as blocking.
Guidelines for Protecting Your Curing Sealer
- Allow Ample Airflow: Keep the project in a dust-free area with good circulation until it is cured (often 3-7 days, depending on the product).
- Avoid Heavy Weight: Do not place heavy objects on tabletops for at least one week.
- No Chemicals: Do not use household cleaners or let alcohol/solvents sit on the surface during the first few weeks of curing.
- Light Use Only: You can handle the item, but treat it very gently.
For more general finishing best practices, the Woodworking Tips community offers great forums on long-term finish maintenance specific to different environments.
Frequently Asked Questions (FAQ)
Q1: Do I have to sand between coats of sealer?
A: Yes, for the best, smoothest results! You only need very light sanding (using 320 or 400-grit) after the first coat to remove dust nibs and texture, but it is highly recommended if you want a professional look.
Q2: Can I use a rag instead of a brush to apply the sealer?
A: You can use a clean, lint-free rag, especially for penetrating oil-based sealers, allowing you to wipe on and immediately wipe off excess. However, brushes or foam applicators give much more control for an even coat, which is easier for beginners.
Q3: How long do I have to wait before I can put my finished table to use?
A: Always check the product label! Most sealers are dry to the touch in hours, but they can take 3 to 7 days to fully cure enough for daily use without marking easily. For heavy items or food surfaces, wait a full week if possible.
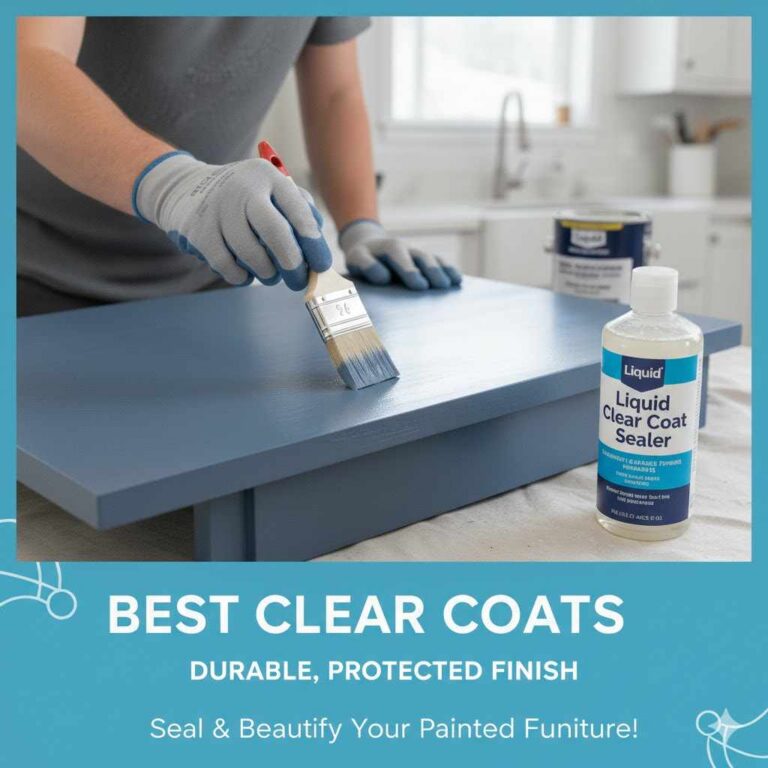
Q4: Should I use sealer if I plan to paint my wood instead of staining it?
A: Yes, using a sealer is often highly recommended, especially on softwoods like pine or if the wood is naturally oily. Sealer stops the wood from soaking up the paint unevenly, prevents tannins from bleeding through (which turns light paint yellow or brown), and ensures you need fewer coats of expensive paint.
Q5: What happens if I apply the sealer too thick?
A: Thick coats dry very slowly and unevenly. The top layer dries fast, trapping solvent underneath, which can lead to soft spots, wrinkles, bubbles, or cracking/peeling later on. Always apply thin coats!
Q6: Do I need to seal both sides of the wood?
A: Absolutely! This is crucial for dimensional stability. If you only seal the top, the exposed bottom will absorb moisture differently, causing the wood to warp, cup, or twist. Always seal both sides, even if the underside gets two thin coats versus three on top.
Conclusion: Confidence in Your Finish
Congratulations! You now possess the essential knowledge on how to apply sealer on wood successfully. Remember, woodworking finishes are a combination of good surface preparation and patient application. We conquered the preparation steps—sanding progressively, meticulous cleaning—and mastered the application—thin coats, respecting the grain, and knowing when to de-nib between coats.
Don’t let the fear of the finish stop you. Next time you complete a project, treat that final sealing stage with the respect it deserves, follow these steps precisely, and you will consistently achieve a beautiful, durable outcome that makes your craftsmanship shine. Enjoy the confidence that comes with a job sealed right!