How to Attach Acrylic to a Wood Frame (Without It Cracking Later)
Two common recommendations for attaching acrylic to a wood frame are actually wrong for this specific pairing: “acrylic cement” and rigid glues like super glue or epoxy. Acrylic (solvent) cement works by chemically melting and fusing two acrylic surfaces together — it does nothing useful on wood, which doesn’t respond to the solvent the same way. And rigid adhesives can crack over time because acrylic expands and contracts with temperature far more than wood does, so a stiff glue joint eventually fights that movement instead of allowing for it.
This guide covers what actually works: a flexible adhesive that tolerates the expansion mismatch, or the mechanical retention method professional framers use instead of glue entirely.
Why Acrylic Needs Different Treatment Than Glass
Best Flexible Adhesive for Acrylic + Wood
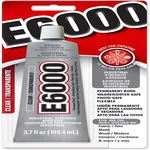 |
E6000 Craft Adhesive, Clear – $9.35 Stays flexible after curing, so it tolerates acrylic’s thermal expansion instead of cracking like a rigid glue.
|
Acrylic (PMMA) has a much higher coefficient of thermal expansion than both wood and glass — it grows and shrinks noticeably more with temperature swings. A frame that sits near a sunny window will put real cyclic stress on a rigid glue line between the acrylic and the wood. Over months or years, that stress is what causes rigid-glued joints to crack, craze (that cloudy spiderweb pattern), or pop loose — not poor workmanship. This is also why picture framers traditionally don’t glue glazing material into a frame at all; they let it float, held by retention points, clips, or a trim strip.
Two Methods That Actually Work
Method 1: Flexible Adhesive (Simplest for Small Pieces)
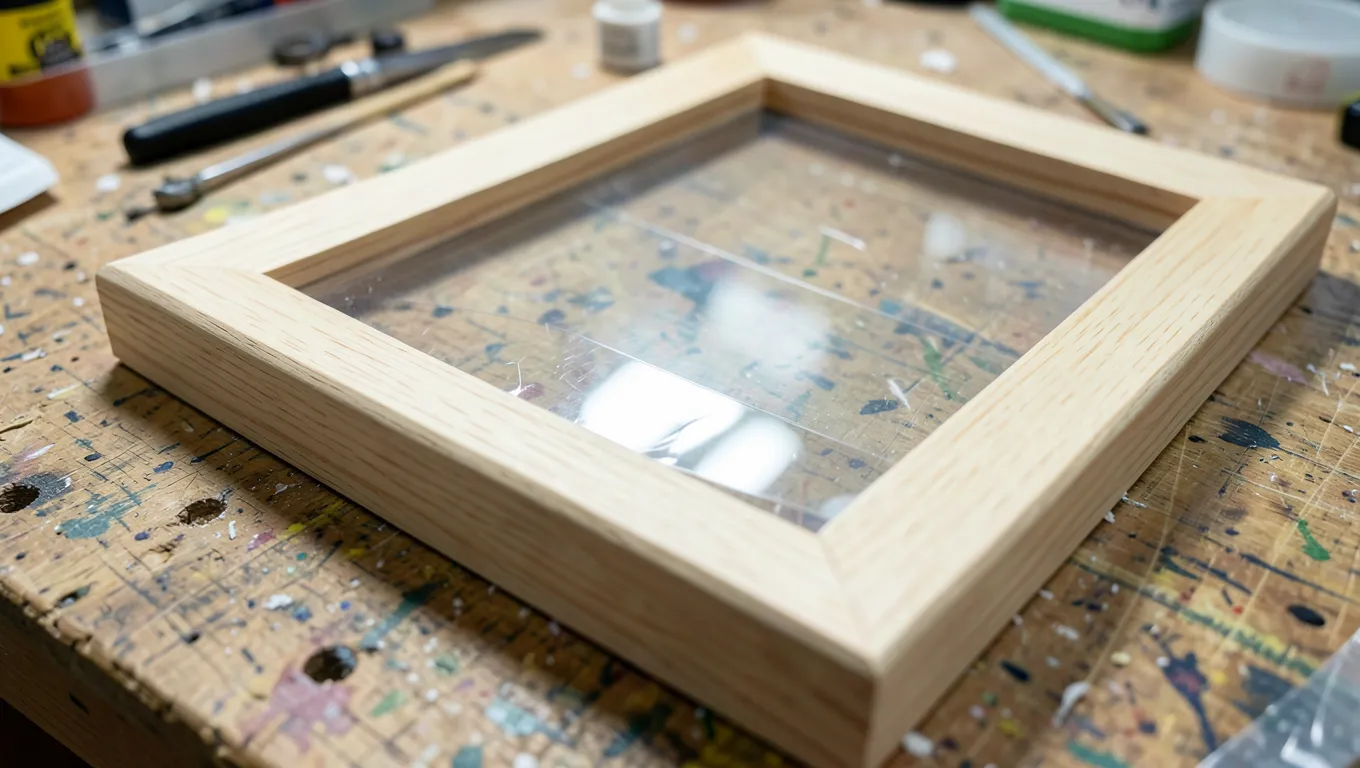
For smaller frames or decorative pieces where a small amount of movement won’t matter visually, a flexible multi-purpose adhesive rated for both plastic and wood is the right choice — not super glue, not epoxy, not acrylic cement. Apply a thin, even bead to the wood, press the acrylic into place, and clamp lightly (too much clamping pressure squeezes out too much adhesive and can stress the acrylic locally) until it cures. Keep the protective film on the acrylic during this whole process and only peel it off once the adhesive has fully cured.
Method 2: Mechanical Retention (Best for Larger Panels)
For anything larger than a small craft frame, skip adhesive entirely and use one of these instead:
- Retainer clips or points: Small metal clips screwed into the wood rabbet hold the acrylic in place without any glue, and allow it to expand and contract freely.
- A quarter-round trim strip: Pin or screw a thin wood molding strip around the inside edge of the frame opening to hold the acrylic against the rabbet, again with no adhesive needed.
- Oversized screw holes: If you do screw directly through the acrylic, drill the holes in the acrylic 1.5-2x the screw’s diameter and use finish washers. The oversized hole lets the acrylic shift slightly with temperature instead of cracking around a screw that’s gripping it tightly.
Cutting and Prepping the Acrylic
Leave the protective masking film on until final assembly to prevent scratches. Cut with a fine-tooth blade rated for plastics (a standard wood blade tends to chip acrylic edges), and support the sheet fully to avoid cracking during the cut. After cutting, wipe the wood surface clean of dust, and lightly sand it only if you’re using an adhesive method — a slightly rough (not smooth) wood surface actually gives most adhesives better grip than a perfectly smooth one.
Common Mistakes
- Using acrylic cement expecting it to bond to wood — it’s a solvent weld for acrylic-to-acrylic joints only.
- Gluing a large panel rigidly on all sides — this traps the acrylic with no room to expand, which is exactly what leads to cracking months later.
- Drilling screw holes in the acrylic exactly screw-sized — leave clearance, or thermal movement will crack the plastic around a tightly-gripped screw.
- Removing the protective film before final assembly — it’s easy to scratch acrylic during handling and clamping.
Frequently Asked Questions
Can I Use Acrylic Cement to Attach Acrylic to Wood?
No. Acrylic (solvent) cement works by chemically fusing two acrylic surfaces and has nothing to bond to on wood. Use a flexible multi-purpose adhesive rated for both plastic and wood instead, or a mechanical retention method.
Why Did My Glued Acrylic Crack After a Few Months?
Acrylic expands and contracts with temperature much more than wood does. A rigid adhesive (super glue, epoxy) doesn’t allow for that movement, so the stress builds up over repeated temperature cycles until the joint or the acrylic itself cracks. A flexible adhesive or a floating/clip-retained installation avoids this.
Can I Use Screws to Attach Acrylic to Wood?
Yes, but drill the holes in the acrylic 1.5-2x the screw diameter and use finish washers. This oversized hole lets the acrylic shift slightly as it expands and contracts instead of cracking around a tightly-fitted screw.
What Type of Acrylic Should I Use?
Clear cast acrylic gives the most glass-like optical clarity for display purposes. Choose UV-resistant acrylic if the piece will get regular sun exposure, since standard acrylic can yellow over time under UV light. Thicker sheets resist warping better but are harder to cut cleanly.
Sponsored / affiliate links. As an Amazon Associate I earn from qualifying purchases. I may earn additional commission from eligible campaigns.