How to Sand in Crevices: The Right Tool for Every Tight Spot
To sand in crevices — glue lines, moulding grooves, and other narrow recessed spots — fold a piece of sandpaper into a sharp point, or build a sanding stick by gluing sandpaper to a paint stir stick or dowel. A corner sanding sponge handles inside angles that a folded point can’t flex into.
A crevice is narrower than the tool you’d normally reach for. A random-orbit sander’s pad is too wide for a glue line between two boards, a detail sander’s triangular pad is often still too blunt for a router-cut groove, and a rotary tool can burn through the edges of soft pine before you’ve removed any real material. The fix isn’t a specialized power tool in most cases — it’s shaping a cheap, disposable abrasive to match the exact width and depth of the gap, then working it by hand.
Match the Tool to the Width of the Crevice
Best for Inside Corners & Recessed Edges
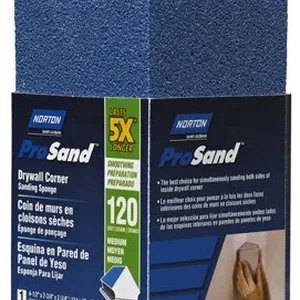 |
Norton ProSand Corner Sanding Sponge – $9.98 Its molded triangular edge holds its shape in a 90-degree recess, which a flat sanding block or folded paper tends to round over after a few passes.
|
Not every crevice is the same shape, so the right tool changes with it. A wedge-shaped corner sponge, like the one above, fills a 90-degree inside angle without collapsing flat the way a folded sheet of paper eventually does. A narrower V-groove or a glue line between two boards needs something thinner and stiffer: a folded point of sandpaper, or sandpaper glued to a flat stick. A curved or undercut recess — the underside of a moulding profile, for example — needs an abrasive that can flex, like a strip wrapped around a dowel or a sanding sponge with a rounded edge.
Fold Sandpaper Into a Point for Narrow, Deep Gaps
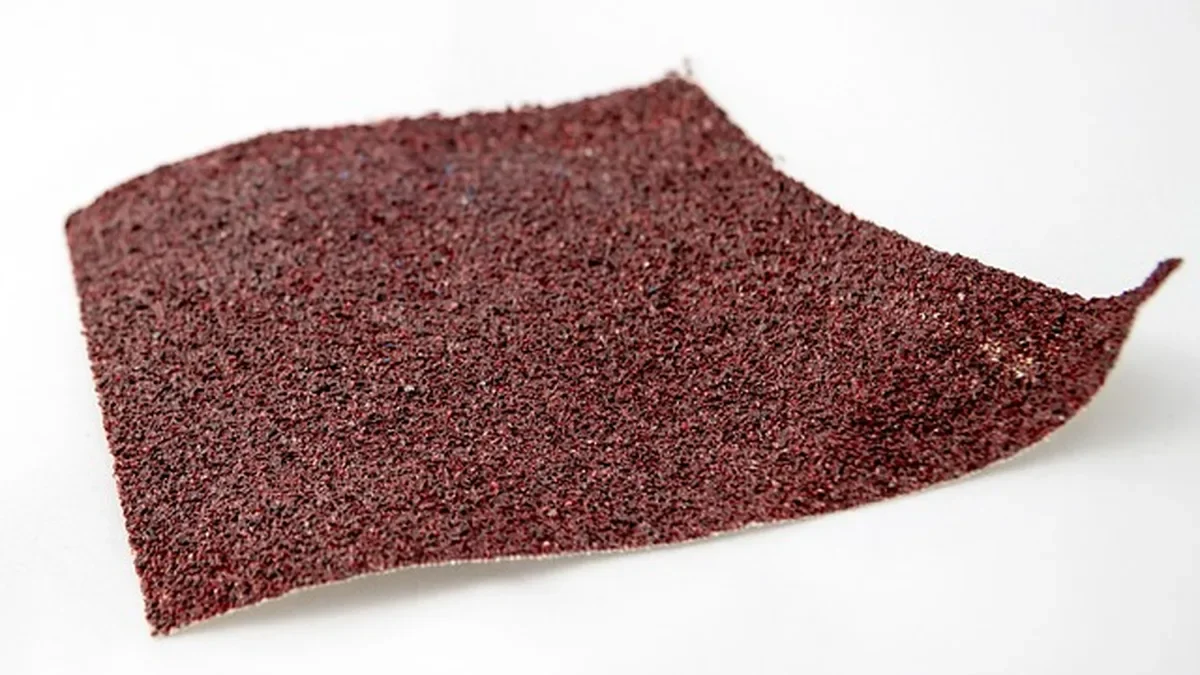
Cut or tear a sheet of sandpaper into a piece roughly 3 by 4 inches. Fold it in half so the grit faces out on both sides, then fold it again diagonally to form a triangle with a firm point at the tip. The extra layers keep the point rigid enough to push into a glue line or a scribe mark without the paper buckling. Work the point in short strokes along the length of the gap rather than trying to scrub side to side — side-to-side motion in a narrow crevice is what rounds the two edges of the gap instead of cleaning the bottom of it.
This costs nothing beyond the sandpaper you already own, and it’s disposable — fold a fresh point every minute or two once the grit loads up with dust, rather than trying to get more life out of a clogged corner.
Build a Sanding Stick for Grooves and Rabbets
For a groove or rabbet with a flat bottom — something a folded point can’t hold steady in — a homemade sanding stick does the job better and lasts longer. Cut a strip of sandpaper slightly narrower than the groove, then attach it to a wooden paint stir stick or a thin scrap of plywood with spray adhesive or a glue stick. Trim the stick’s width and thickness with a utility knife or on the table saw until it slides into the groove with light resistance, not a loose rattle.
Make two or three sticks at different grits (120, 180, 220) so you’re not stripping and re-gluing paper mid-project. For a groove that tapers or curves, a thin strip of leftover sandpaper wrapped around a dowel sized to the curve works the same way and flexes where a rigid stick can’t.
If the groove is one you’ll sand repeatedly across several projects — a drawer-slide channel or a repeated joinery detail — our guide on sanding small grooves covers matching a specific groove profile to a specific tool shape in more depth than a one-off stick.
Carved Details and Panel Edges Need a Different Approach
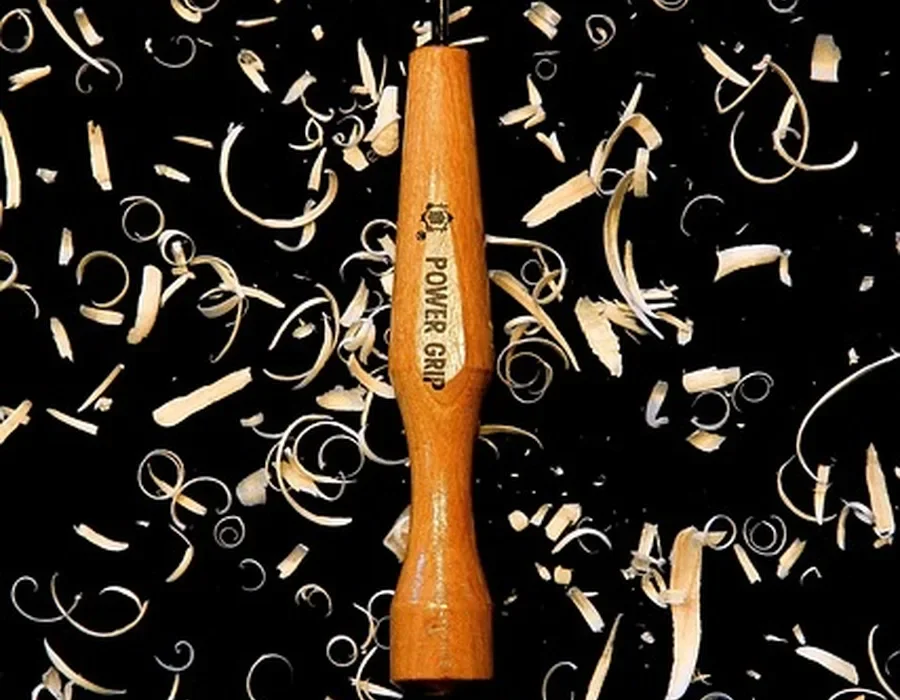
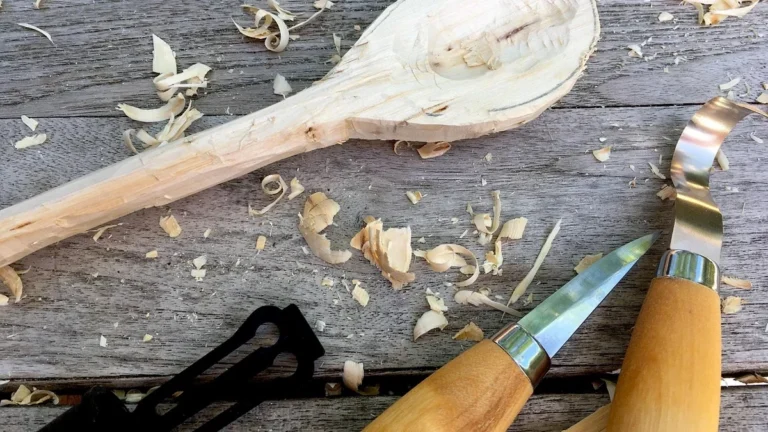
A crevice left by carving — the recess between two leaves on a relief carving, or an undercut edge on a raised panel — is a different problem from a straight glue line. Pushing a rigid stick or sponge into it flattens the carved shape instead of just smoothing it. Use a folded point of fine-grit paper (180 grit or finer) and follow the direction the carving tool cut, not a single straight stroke direction, so the abrasive follows the contour instead of fighting it.
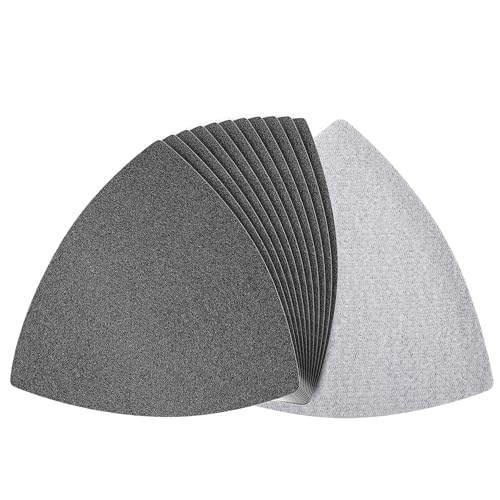
If you’re doing enough carved or turned detail work that hand-folding paper is slowing you down, our guide to sanding small details in wood covers the rotary-tool and triangular detail-sander setups worth the switch for corners, carvings, and trim specifically.
Grit Sequence for Crevices
Crevices scratch and clog faster than flat surfaces because there’s less surface area to spread the load across, so it’s worth stepping through grits in smaller jumps than you would on a tabletop.
| Grit | Use in a crevice |
|---|---|
| 100-120 | Removing dried glue squeeze-out or leveling a rough saw cut inside the joint |
| 150-180 | General shaping once the crevice is clear of glue and tool marks |
| 220 | Final pass before stain or finish, matching the surrounding flat surfaces |
Skipping from 100 straight to 220 inside a crevice is worse than doing it on a flat panel, because the deeper scratches left behind are harder to see and easier to miss until stain goes on and highlights every one of them.
Clear Dust and Glue Residue Before You Finish
Dust packs into a crevice far more than it settles on a flat surface, and a wipe with a rag alone won’t get it out. Compressed air or a shop vacuum with a narrow crevice-tool attachment clears loose grit first; follow with a stiff-bristle brush — an old toothbrush works fine — to knock dust out of corners the air alone skips past, then a final pass with a tack cloth right before finish goes on.
Check for dried glue squeeze-out in the crevice itself before you call the sanding done. A thin glue skin left in a joint line will refuse stain and show up as a lighter, blotchy streak once the surrounding wood darkens — it needs to come out with the 100-120 grit pass above, not be sanded over.
Mistakes That Ruin a Crevice Instead of Fixing It
- Scrubbing side to side in a narrow gap: Rounds over both edges of the crevice instead of cleaning the bottom — work along the length of the gap in short strokes instead.
- Pressing hard to make a wide tool fit a narrow space: Forcing a sanding block or detail-sander pad into a crevice it doesn’t fit gouges the surrounding flat wood on either side.
- Leaving glue squeeze-out under a coat of finish: Finish doesn’t hide dried glue — it highlights it as a pale, blotchy patch once stain won’t take.
- Reusing a clogged, glazed point of sandpaper: A loaded point burnishes the wood instead of cutting it; fold a fresh point rather than pushing a dull one harder.
Frequently Asked Questions
What’s the easiest way to sand a narrow crevice by hand?
Fold a 3-by-4-inch piece of sandpaper in half, then fold it again diagonally to form a firm point. Work the point along the length of the crevice in short strokes rather than side to side, and re-fold a fresh point once the tip loads up with dust.
What tool works best for sanding inside corners?
A wedge-shaped corner sanding sponge holds its 90-degree angle better than folded paper, which tends to flatten out after repeated strokes. For a corner narrower than about 1/4 inch, switch to a folded point of sandpaper or a homemade sanding stick instead.
Can I use an electric sander in a crevice?
Only if the crevice is wide enough for the pad — a triangular-pad detail sander fits some inside corners, but most crevices are too narrow for any power sander and need to be worked by hand with folded paper or a sanding stick to avoid gouging the surrounding wood.
What grit should I start with in a crevice?
Start at 100-120 grit only if you’re removing dried glue squeeze-out or a rough saw mark inside the joint. If the crevice is already clean, start at 150-180 grit and finish at 220 to match the surrounding flat surfaces before stain or finish.
Conclusion
Most crevices don’t need a specialized power tool — they need an abrasive shaped to fit the exact width and depth of the gap, whether that’s a folded point, a homemade sanding stick, or a molded corner sponge. Match the shape, step through grits in smaller jumps than you would on a flat panel, and clear dust and glue residue out before finish goes on.
Sponsored / affiliate links. As an Amazon Associate I earn from qualifying purchases. I may earn additional commission from eligible campaigns.