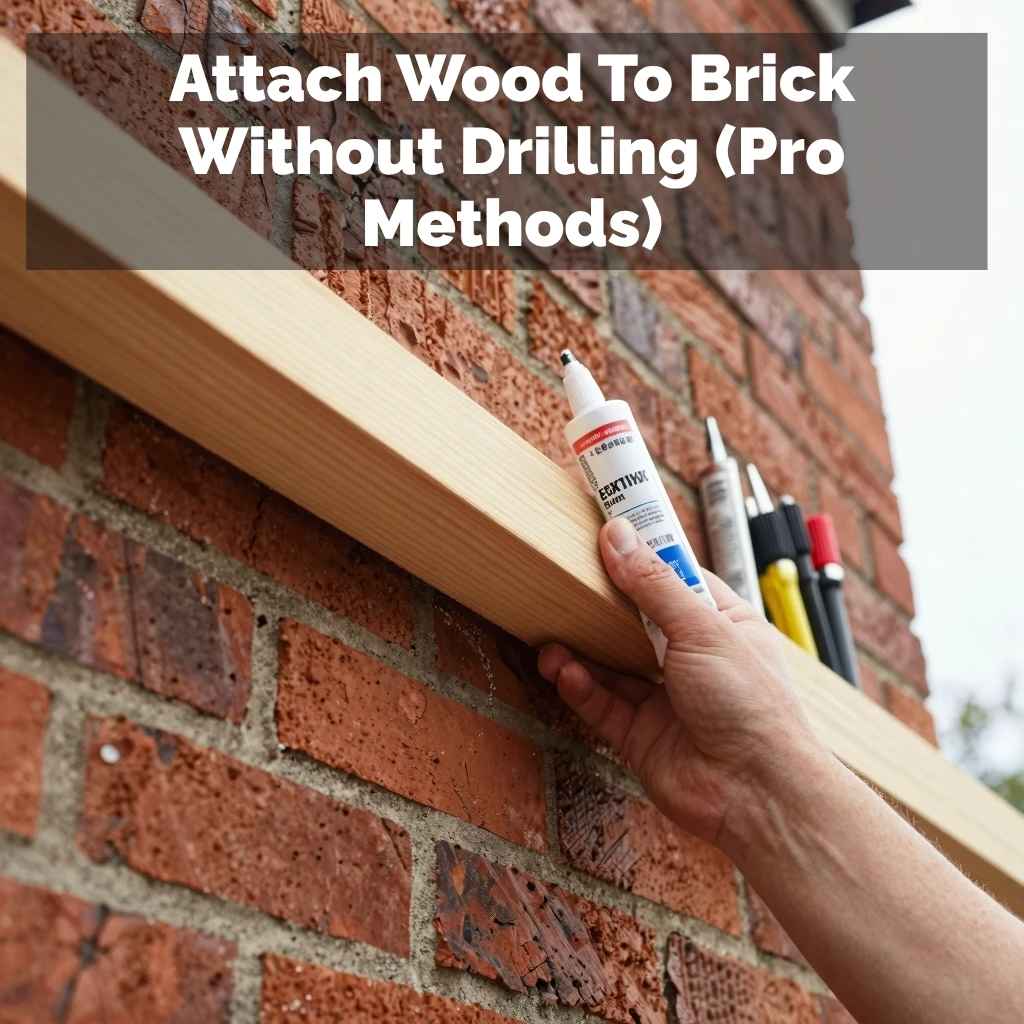
Attach Wood To Brick Without Drilling (Pro Methods)
Attaching wood to brick can feel like a puzzle. You want a solid hold. But drilling into brick can be tricky.
It might crack. Or it might just be too hard for your tools. Many homeowners face this.
They need to hang shelves. Or add decorative trim. Or build a sturdy frame.
You don’t always need to drill. There are smart ways to get a strong bond. Let’s explore how to attach wood to brick without making holes.
This guide will show you safe and effective methods.
You can securely attach wood to brick using specialized adhesives, strong mechanical fasteners like brick ties with adhesive anchors, or by creating a furring strip frame. These methods avoid direct drilling into the brick, preserving its integrity and simplifying the installation process for various home projects.
Understanding Wood-to-Brick Adhesion
When we talk about attaching wood to brick, we mean making them stick together. Brick is rough. It’s also porous.
Wood can be smooth or rough. Its weight and the job it will do matter. A light picture frame needs less hold.
A heavy shelf needs much more.
The goal is a lasting connection. This connection must hold up to weight. It must also resist changes.
Think about temperature shifts. Or moisture in the air. Traditional methods often involve drilling.
This makes a hole. Then you put in an anchor. After that, you screw the wood to the anchor.
It’s a proven way.
But sometimes, drilling is not ideal. Maybe you rent your home. Or the brick is old and brittle.
Or you simply want a cleaner look. No visible screw holes in the brick. That’s where alternative methods shine.
These rely on strong glues. Or clever mechanical systems. They give you the hold you need.
Without damaging the brick face.
The science behind this is about surface area. And about creating a bond. Adhesives spread out.
They cover more space. This distributes the load. Mechanical fasteners work differently.
They grip in a specific way. Brick ties, for example, can use existing small gaps. Or they can use anchors that expand.
Some anchors don’t even need a drilled hole. They use a strong glue to hold themselves in place.
We need to think about the surface. Is the brick clean? Is it dusty?
Is it painted? Paint can peel. Dust stops glue from sticking.
A clean, dry surface is key. For any method to work well. Even without drilling.
The wood also needs to be ready. Its surface should be smooth enough. Or primed if needed.
What kind of wood? Is it heavy hardwood? Or lighter pine?
This impacts the strength needed. What is the wood holding? A few books?
A TV mount? This tells us the force. The force pulling down or out.
We need a method that can handle that force. And then some. Safety is always first.
A falling shelf is dangerous.
My Own “Oops, I Need to Fix This” Moment
I remember one time. It was a rainy Saturday. I decided to finally hang those floating shelves in my living room.
I had this beautiful reclaimed wood. It felt solid. I’d bought the fanciest brackets.
The kind that disappear. My plan was simple: drill into the brick wall behind the drywall. Easy, right?
So, I grabbed my drill. And my masonry bit. I pushed it against the brick.
I started drilling. It was slow going. Then, I heard a horrible grinding sound.
A spiderweb of cracks spread out. Right from where the bit was. My heart sank.
“Oh no,” I thought. This brick was older. Much older than I thought.
It was crumbling. I had made it worse.
Panic set in. The shelves were heavy. The wood was heavy.
I couldn’t just screw them in now. Not with that cracked brick. I felt so frustrated.
And a little bit foolish. I sat there. Staring at the damage.
I thought about just patching it. But then how would I hang the shelves? I considered finding a different wall.
But this was the perfect spot.
Then, I remembered something. A friend had used a special glue. To attach some molding to a very old stone fireplace.
No drilling involved. I did some quick searching online. And I found it.
High-strength construction adhesive. Designed for masonry. And wood.
It seemed too good to be true. But I was desperate.
I went to the hardware store. I got the strongest adhesive I could find. I cleaned the brick wall very carefully.
I dried it completely. I also prepped the wood shelves. I applied the adhesive to the back of the wood.
I pressed them firmly onto the wall. Then I used temporary supports. To hold them while the glue dried.
It was nerve-wracking. But it worked! The shelves are still up.
Rock solid. That experience taught me a lot.
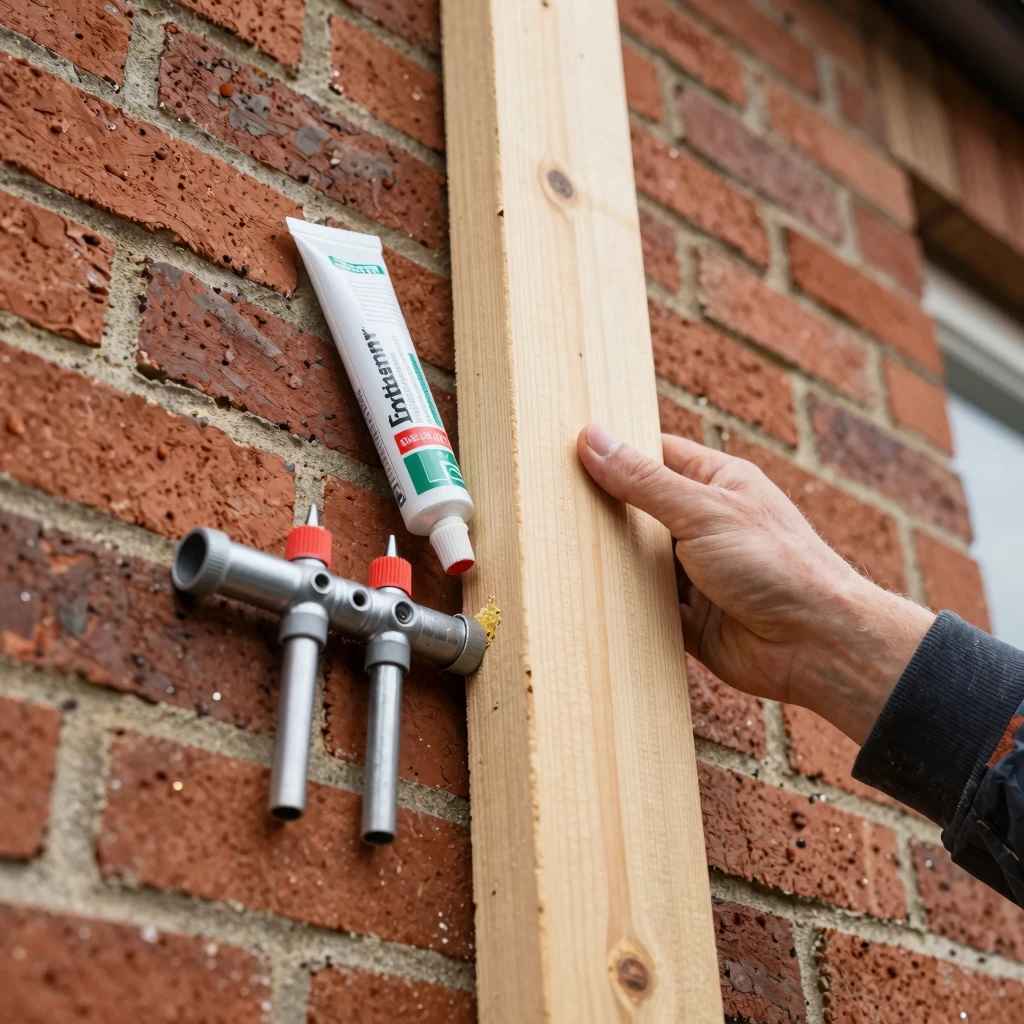
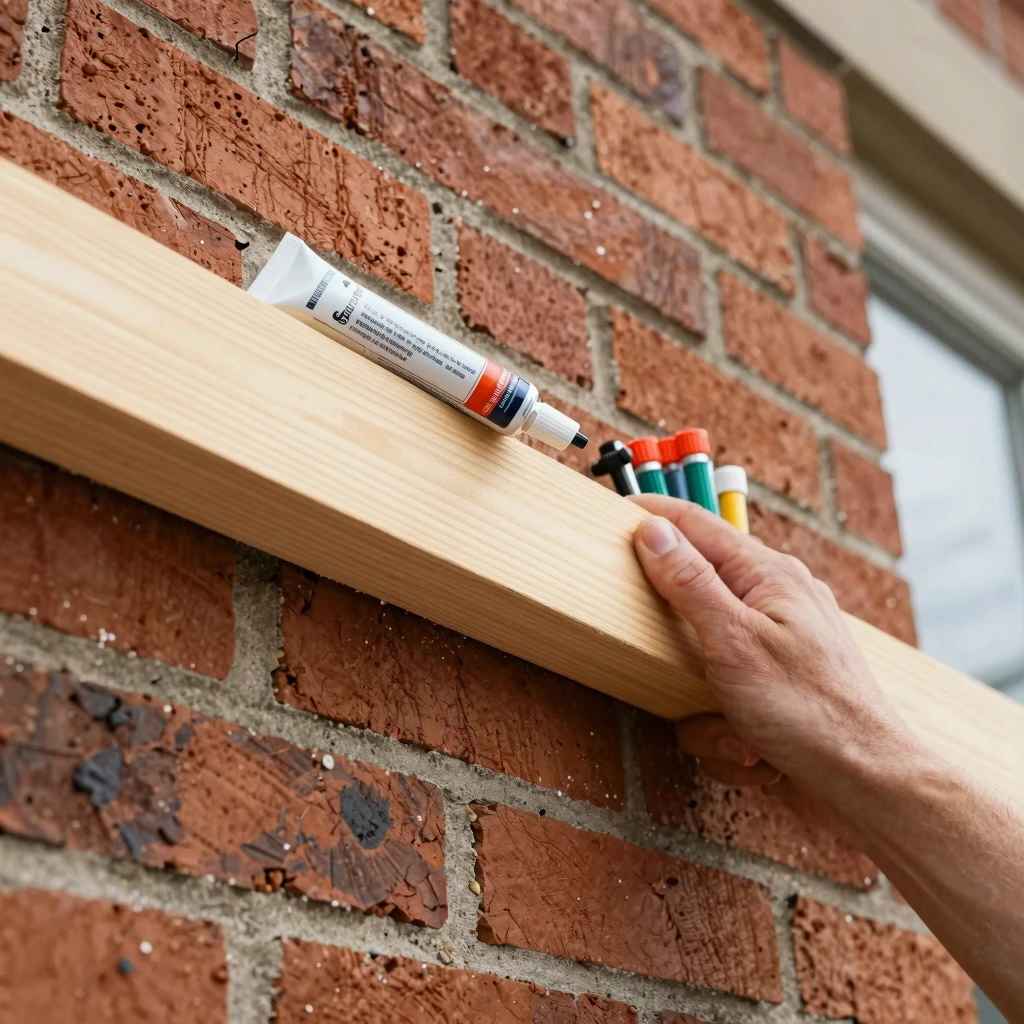
Method 1: High-Strength Construction Adhesives
What it is: Special glues made for building. They bond many materials. Like wood, brick, concrete, and metal.
They come in tubes. You use them with a caulk gun.
Why it works: These adhesives create a very strong bond. They spread across the surface. This distributes the weight.
It’s like a liquid weld.
When to use: For lighter items. Or when you can’t drill. Good for trim.
Or small decorative pieces. Always check the label. Make sure it works for both wood and brick.
Key Tip: Clean and dry surfaces are vital. This glue needs a good grip.
Exploring Adhesives: Your Non-Drilling Hero
So, that construction adhesive I used? It’s a real game-changer. For attaching wood to brick without drilling.
Think of it like super-strong double-sided tape. But way, way stronger. And permanent.
There are different types. Some are called “construction adhesives.” Others might be labeled “heavy-duty adhesive” or “masonry adhesive.” The key is to look for one that explicitly states it works on both wood and masonry surfaces. Brands like Loctite, Liquid Nails, and Gorilla Glue offer excellent options.
The process itself is pretty straightforward. First, you need to get your surfaces ready. This is the most important step.
The brick needs to be clean. No dust, no dirt, no loose bits. You can use a stiff brush.
Or even a shop vac. If the brick is painted, you might need to lightly sand it. Or ensure the paint is well-adhered.
It shouldn’t peel easily.
The wood surface needs to be clean too. If it’s raw wood, just a quick wipe down. If it’s painted or sealed, make sure it’s smooth.
You might want to lightly scuff it with sandpaper. This helps the glue grab better. Make sure both surfaces are totally dry.
Moisture will weaken the bond.
Once prepped, you load the adhesive into a caulk gun. You apply beads of glue to the back of the wood piece. Or you can apply it to the brick wall.
For larger surfaces, you might use a zig-zag pattern. For smaller pieces, a few solid lines work. Don’t put it too close to the edges.
It will squeeze out.
Then, you press the wood firmly against the brick. You need to hold it there. For a minute or two.
Some adhesives require you to pull them apart slightly after pressing. This is called “wetting.” It helps create the bond. Read the product instructions carefully!
This is where the temporary support comes in. Especially for shelves or anything that needs to hold weight. You can use blocks of wood.
Or clamps. Or even painter’s tape to hold lighter items in place. While the adhesive cures.
Curing time varies. It can be a few hours. Or up to 24 hours.
Check the tube for the exact time.
Experience Note: When I used this for my shelves, I used small wooden blocks. Stacked under the front edge. To keep them level.
And to take the weight off the glue. It felt awkward. Like it wouldn’t hold.
But by the next day, they were rock solid.
Quick Scan Table: Adhesive Selection
| Adhesive Type | Best For | Strength | Ease of Use |
|---|---|---|---|
| General Construction Adhesive | Wood trim, paneling, small decorative items | Medium to High | High |
| Heavy-Duty / Masonry Adhesive | Shelving, heavier wood pieces, architectural elements | Very High | Medium (requires careful surface prep) |
| Silicone Sealant (Waterproof type) | Light decorative items, outdoor trim (if rated for brick) | Low to Medium | High |
Always read product labels carefully. Ensure compatibility with both wood and brick surfaces.
The Power of Mechanical Fasteners (Without Drilling!)
Okay, adhesives are great. But sometimes you need a more mechanical hold. Especially for heavier items.
Or for situations where you want extreme security. This is where special fasteners come in. The trick is finding ones that don’t require drilling into the brick itself.
One common method involves using brick ties. But instead of screwing the tie to the brick, you use an adhesive anchor. It’s a two-step process, but avoids a large drilled hole.
Here’s how it generally works:
First, you get your brick ties. These are often L-shaped or strip metal. They have holes in them.
Then you get specialized adhesive anchors. These anchors are designed to be glued into existing small holes or crevices in the brick. Or sometimes they are a type of plug that expands slightly when the adhesive is cured.
You clean the area on the brick where you want to attach the tie. Then, you inject the two-part epoxy adhesive into the hole or crevice. You then insert the anchor into the hole.
The adhesive will surround it.
Once the adhesive is cured and the anchor is solid, you can then attach the brick tie to the anchor. Usually with a screw or bolt. This provides a very strong mechanical connection.
Without needing to drill a large, damaging hole.
Another clever system uses channels or clips that adhere to the brick. These channels create a surface. Where you can then attach your wood.
Imagine a metal strip glued to the brick. This strip has slots. Your wood piece then has clips that slide into these slots.
This is common in commercial settings. But can be adapted for home use.
You might also see systems that use a strong double-sided tape specifically designed for masonry. These are often used for lighter applications. Like attaching small signs or decorative panels.
The tape is thick and has a strong adhesive on both sides. You stick one side to the brick, and the other side to the wood.
The key here is the strength of the adhesive. And the design of the fastener. These systems distribute stress well.
They create a secure attachment. Always follow the manufacturer’s instructions precisely. These systems are engineered for specific loads.
Exceeding them could lead to failure.
Experience Note: I helped a friend install a heavy mirror on a brick wall. We didn’t want to drill into the old brick. We used a system with strong adhesive-backed metal plates.
You stick the plates to the brick. Then you attach the mirror to the plates with special hooks. It held the mirror perfectly.
And you couldn’t see any fasteners.
Method 2: Advanced Mechanical Fasteners & Systems
What it is: Special hardware designed to grip brick. Without large drilled holes. Often uses adhesives to secure the hardware itself.
Why it works: It combines adhesive bonding with mechanical grip. The fastener transfers load effectively. It’s often stronger than glue alone.
When to use: For heavier items. When maximum security is needed. Also good for modular installations.
Examples: Adhesive anchors for brick ties, specialized clip systems, heavy-duty masonry tapes.
Caution: These systems can be more complex. Read all instructions. Ensure they are rated for your specific load.
Building a Furring Strip Frame: The Indirect Approach
Sometimes, the best way to attach wood to brick without drilling is to not attach it directly at all! This is where a furring strip frame comes in. It’s a very common method in construction.
Especially when you want to add insulation. Or create a perfectly flat surface on an uneven wall.
What are furring strips? They are thin strips of wood. Usually 1×2 or 1×3 lumber.
You attach these strips to your brick wall. But here’s the trick: you don’t screw them directly into the brick.
Instead, you use a strong adhesive to stick them. Or you use a system of anchors that don’t require a full drill. Some systems use small, minimal anchors.
Others use a strong construction adhesive. You apply the adhesive to the back of the furring strip. Then you press it onto the brick wall.
Once your furring strips are securely attached to the brick wall, you have a new wooden surface. This surface is now ready for you to attach your main wood pieces. Like shelves or paneling.
You simply screw your new wood directly into the furring strips. This is much easier than screwing into brick.
This method is fantastic for several reasons. First, it completely bypasses the problem of drilling into brick. Second, it creates a level plane.
Even if your brick wall is very uneven. Third, it provides an air gap. This can help with moisture management.
Or you can add insulation between the strips.
The process involves planning. You need to mark out your frame. Decide where your furring strips will go.
They are usually spaced about 16 or 24 inches apart. Depending on what you will attach to them. You then prepare the brick wall.
Clean it thoroughly. Ensure it’s dry. Apply your chosen adhesive to the furring strips.
Press the strips onto the wall. Use temporary supports to hold them in place. While the adhesive cures.
Make sure they are plumb (perfectly vertical) and level. Once cured, your wooden canvas is ready. You can now attach your desired wood elements to the furring strips.
With regular wood screws.
This method is highly reliable. It’s used in professional settings for a reason. It provides a strong, stable structure.
And it does it all without major brick damage.
Experience Note: I once helped a friend cover a very ugly, crumbling brick basement wall. We didn’t want to rip out the brick. We decided on a furring strip frame.
We used a high-strength adhesive to stick the strips. Then we covered the strips with nice plywood paneling. It totally transformed the space.
It looked so clean and modern.
Method 3: Furring Strip Frame Overview
Concept: Build a wooden frame on the brick wall first.
Attachment: Furring strips (thin wood) are attached to brick using strong adhesive.
Surface Creation: The frame creates a new, flat wooden surface.
Final Attachment: Your main wood pieces are screwed into the furring strips, not the brick.
Benefits: Avoids drilling brick, creates a level surface, allows for insulation, offers strong support.
Consider: Requires more materials and a slightly more involved process than simple adhesive.
Surface Preparation is Your Secret Weapon
No matter which method you choose – adhesives, special fasteners, or a furring strip frame – the one thing they all have in common is the absolute need for excellent surface preparation. This is where many DIY projects go wrong. You can have the best glue in the world, but if it’s trying to stick to dust, it won’t hold.
Let’s break down what “surface preparation” really means for attaching wood to brick without drilling.
1. Cleaning the Brick:
- Remove Debris: Start by removing any loose mortar, dirt, cobwebs, or flaky paint. A stiff brush is your best friend here. For stubborn dirt, a mild detergent and water can help. Rinse thoroughly.
- Drying is Crucial: Brick can hold moisture. You need to let it dry completely. This might take a day or two, especially in humid climates. You can use a fan to speed things up.
- Test for Dust: After cleaning and drying, wipe the area with a dry, clean cloth. If you see any dust residue on the cloth, you need to clean again.
2. Preparing the Wood:
- Clean Surface: Ensure the back of the wood piece is clean. Remove any sawdust or debris.
- Smoothness: For adhesives, a slightly roughened surface can sometimes help the glue bond better. Lightly sanding the wood surface with medium-grit sandpaper can improve adhesion. If the wood is painted or sealed, make sure the finish is intact and not peeling.
- Dryness: Just like the brick, the wood needs to be dry.
3. Inspecting the Brick:
- Cracks and Deterioration: Before you start, look closely at the brick. Are there existing cracks? Is the mortar crumbling badly? If the brick is severely damaged, even adhesive methods might not be the best choice for heavy loads. You might need to consider professional repair first.
- Sealed vs. Unsealed: Some older bricks might be sealed. If they are, adhesives might not bond as well. Newer bricks might have a water-repellent treatment. Always test a small, inconspicuous area if you’re unsure.
4. Temperature Considerations:
- Ideal Range: Most adhesives have an ideal temperature range for application. This is usually between 50°F and 90°F (10°C to 32°C). Applying in extreme heat or cold can affect the bond strength and curing time.
- Humidity: High humidity can also affect curing. Check the product’s recommendations.
Think of surface preparation as the foundation of your project. Skipping this step is like building a house on sand. It looks okay for a while, but it’s bound to fail.
Taking the extra time here makes all the difference for a secure, long-lasting attachment.
Surface Prep Checklist
Brick Surface:
- Cleaned of all dirt and debris? (Yes/No)
- Dry? (Yes/No)
- No dust residue after wiping? (Yes/No)
- No loose paint or mortar? (Yes/No)
Wood Surface:
- Clean? (Yes/No)
- Dry? (Yes/No)
- Lightly sanded if painted/sealed? (Optional, Yes/No)
Environment:
- Temperature within recommended range? (Yes/No)
What This Means for Your Home Projects
So, you’ve learned about adhesives, special fasteners, and furring strips. What does this mean for you, the homeowner? It means you have options!
When it’s normal to use these methods:
- You need to hang lightweight decor. Like a mirror or a framed picture.
- You want to add decorative wood trim. Around windows or doors.
- You are building a simple shelf for light items. Like spices in a kitchen or small books in a den.
- You are working in a rental property. Where drilling is not allowed.
- Your brick is old or delicate. And you want to avoid potential damage.
- You are creating a more complex structure. Like a custom cabinet. And want a smooth wooden surface to work on.
When to perhaps reconsider or add caution:
- You are hanging extremely heavy items. Like a large TV mount, a very heavy bookshelf filled with books, or a large swing. For these, a direct, professionally installed anchor system might be best. Even with strong adhesives, the sheer weight could be too much over time.
- Your brick wall is in poor condition. Severely cracked or crumbling brick needs professional assessment. Trying to attach anything, even without drilling, could worsen the problem.
- You are unsure about the load capacity. When in doubt, err on the side of caution. Test the hold of your chosen method in a less visible spot.
Simple Checks for Peace of Mind:
- The “Pull Test”: After the adhesive has fully cured, give your attached wood a gentle but firm pull. Does it feel solid? Does it move at all?
- Weight Distribution: If you’ve installed shelves, place a few heavy items on them. Watch for any signs of sagging or detachment.
- Listen: Sometimes, you can hear subtle creaking or straining sounds if something is not holding well.
These methods offer fantastic solutions for many common home improvement needs. They save you the hassle and potential damage of drilling into brick. Allowing you to achieve a professional look with less stress.
Quick Tips for Success
Here are some quick pointers to help you nail your wood-to-brick project:
- Read the Label Twice: Seriously. Every adhesive, every anchor has specific instructions. Follow them to the letter.
- Ventilation is Key: Many adhesives have strong fumes. Work in a well-ventilated area. Open windows and doors.
- Have Supplies Ready: Before you start, gather everything: your wood, your fasteners/adhesive, caulk gun, cleaning supplies, measuring tape, level, and any temporary supports.
- Measure Twice, Attach Once: Accuracy matters. Make sure your wood piece is positioned exactly where you want it. A misplaced shelf can be hard to fix.
- Patience Pays Off: Don’t rush the curing time. It’s tempting to put weight on something too soon. But that’s when failure happens. Let the adhesive do its job completely.
- Consider a Primer: For porous brick, some manufacturers suggest a primer. This can help the adhesive bond better. Check the product details.
Frequently Asked Questions About Attaching Wood to Brick
Can I hang a TV mount on a brick wall without drilling?
For very heavy items like TV mounts, it’s generally recommended to use proper masonry anchors that involve drilling. While some specialized heavy-duty adhesives and mechanical systems might seem strong, the dynamic forces from a TV could pose a risk. Always prioritize safety and consult the mount’s manufacturer recommendations.
For lighter wall decorations, adhesive methods are usually fine.
How long does construction adhesive take to dry on brick?
Cure times vary greatly by product. Most construction adhesives take about 24 to 72 hours to fully cure. However, some can support moderate weight after just a few hours.
Always check the product label for specific drying and load-bearing times. Humidity and temperature can also affect this.
Is it safe to attach wood to painted brick?
It can be, but the paint layer adds complexity. The adhesive needs to bond to the paint, and the paint needs to be well-adhered to the brick. If the paint is peeling or chalky, the adhesive will likely fail.
You may need to lightly sand or even remove loose paint for better adhesion. Always test in an inconspicuous spot first.
What is the strongest way to attach wood to brick without drilling?
For extreme strength without drilling, a combination of high-strength masonry adhesive used with specialized adhesive anchors for brick ties, or a well-constructed furring strip frame attached with a robust adhesive, would offer the most secure options. The furring strip method offers a robust indirect attachment. Always ensure the product’s load rating meets your needs.
Can I use Command Strips to attach wood to brick?
Standard Command Strips are designed for smooth surfaces like painted drywall or finished wood. They are generally not recommended for rough or porous surfaces like brick. While some specialized outdoor or heavy-duty Command hooks might offer stronger adhesion, they are still unlikely to provide a reliable, long-term bond on textured brick.
It’s best to use products specifically designed for masonry.
Will outdoor elements affect adhesive bonds on brick?
Yes, outdoor elements can definitely affect adhesive bonds. If you are attaching wood to exterior brick, you must use a product specifically rated for outdoor use and for exposure to moisture, UV rays, and temperature fluctuations. Many standard indoor construction adhesives are not designed for these conditions and will degrade over time.
Wrapping Up Your Project
Attaching wood to brick without drilling might seem challenging. But with the right knowledge and materials, it’s totally achievable. You’ve learned about powerful adhesives.
You’ve seen how special fasteners can work. And you’ve explored the reliable furring strip method. Remember, great preparation is key.
Clean, dry surfaces are your best friends. Choose the method that fits your project. And always prioritize safety.
Happy building!