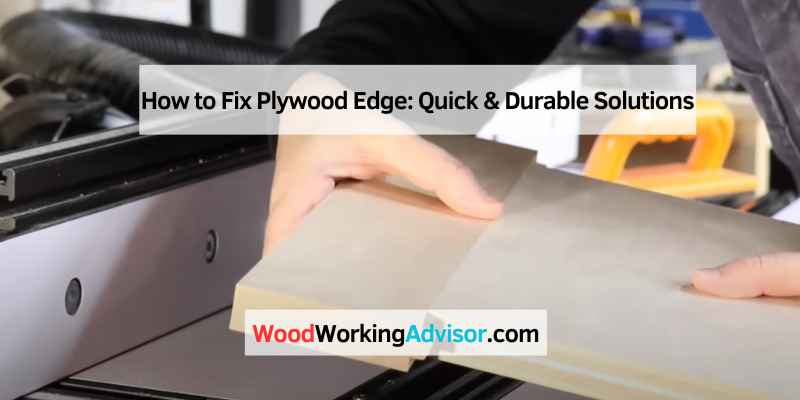
How to Fix Plywood Edges: Filler vs. Edge Banding vs. Trim
Plywood edges chip and splinter because the exposed inner plies have no protective face grain — wood filler patches small gaps fast, but only edge banding or a solid wood face board stop future chipping. Skip sealing the edge and a painted panel shows a visible seam within a season as moisture wicks into the layers. This guide compares wood filler, edge banding, and solid wood trim by cost, dry time, and durability, then shows how to apply each one.
Quick Answer
Fix a plywood edge with wood filler for small gaps and holes under 1/4 inch on a painted project, iron-on edge banding for a clean, factory-finished look on cabinets and shelving, or a solid wood face board for the most durable, stain-ready edge on tables and load-bearing shelves. Sand progressively from 120 to 220 grit before finishing.
What You’ll Need
Best Plywood Edge Repair Pick
Gorilla All Purpose Wood Filler, 16 oz Tub
A water-resistant, paintable filler that handles most chipped or gapped plywood edges without a second trip to the store.
- Best for: Small chips, nail holes, and gaps under 1/4 inch on paint-grade projects
- Why we picked it: Sandable and paintable once cured, and water resistant enough for covered outdoor use
- Main drawback: Not stainable to match natural wood grain — paint-grade projects only
Compare more plywood edge repair supplies
 Option 1 Titebond III Ultimate Wood Glue, 16 oz
|
 Option 2 Birch Pre-Glued Iron-On Edge Banding, 3/4 in x 50 ft
|
 Option 3 3M Sanding Sponge, Fine Grit, 6-Count
|
As an Amazon Associate we earn from qualifying purchases.
Gather everything below before you start so you are not stopping mid-repair to find a tool. If you need to trim a plywood strip to size first, doing it on a set of plywood saw horses keeps the cut steady and the edge square. For the sizing, pricing, and species questions this guide doesn’t cover, see our full plywood guide hub.
- Sanding sponge or sandpaper in 120, 180, and 220 grit
- Wood filler (small gaps and holes) or two-part epoxy filler for gouges deeper than 1/2 inch
- Putty knife
- Iron-on edge banding matched to your plywood’s face veneer, if using Method 2
- Household iron plus a wood block or J-roller
- Solid wood trim strip, wood glue, and 3–4 bar or spring clamps, if using Method 3
- Straightedge or ruler for checking the damage before you pick a method
- Primer and paint, or stain and topcoat, for the final finish
Method 1: Wood Filler for Small Gaps and Holes
Wood filler is the fastest fix for small chips, nail holes, and voids under about 1/4 inch — it can be sandable in as little as an hour and works only under paint, not a stain finish.
Standard latex wood filler is water resistant enough for indoor projects and covered outdoor use once painted, but for gouges deeper than 1/2 inch, a two-part epoxy filler resists shrinking and cracking better than standard filler alone.
Steps to Fill a Plywood Edge with Wood Filler
- Clean the edge: Wipe away dust and loose splinters with a dry cloth so the filler bonds to solid wood.
- Press filler into the gap: Load a putty knife and pack the filler fully into the void, slightly overfilling to allow for shrinkage.
- Level it off: Drag the knife flat across the surface to scrape away excess before it skins over.
- Let it cure: Most latex fillers are sandable in about an hour on shallow fills and need up to 6 hours on holes deeper than 1/4 inch — check your product’s label, since cure times vary by brand.
- Sand in stages: Work from 120-grit up to 220-grit, sanding with the grain to avoid new scratches.
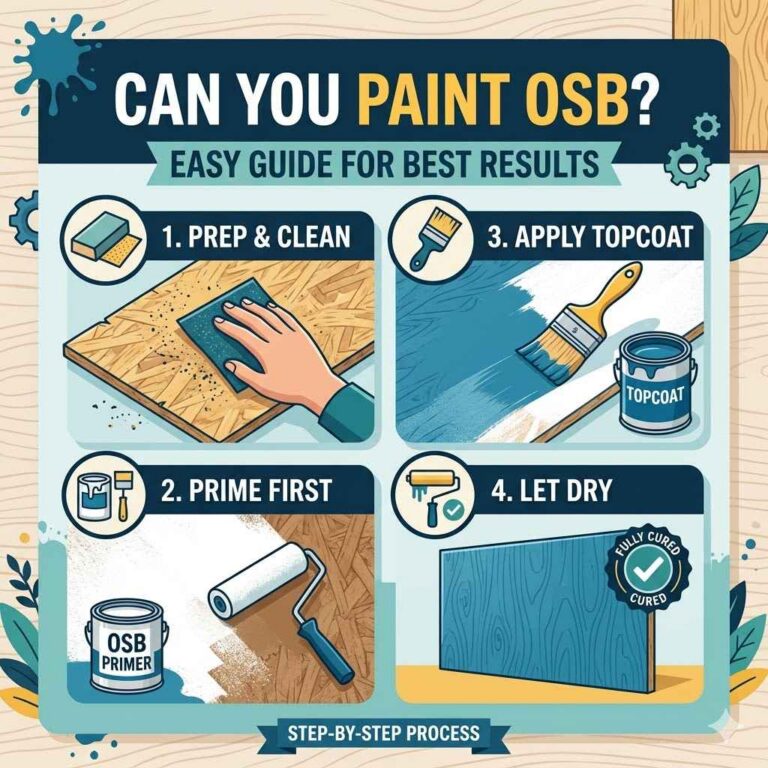
- Prime and paint: Seal the filled area with primer before your topcoat — bare filler absorbs paint unevenly and telegraphs through as a dull patch. See our guide on painting plywood for full coverage on primer choice and coat count.
Method 2: Iron-On Edge Banding for a Factory-Finished Look
Iron-on edge banding is a thin strip of real wood veneer with a heat-activated adhesive backing — it covers the raw edge in minutes and gives plywood the look of solid stock, but it does not add structural strength.
Match the banding species to your plywood’s face veneer — birch, oak, maple, and walnut are the most common — so the edge blends into the panel face instead of standing out as a different wood. The Decorative Hardwoods Association (formerly the Hardwood Plywood & Veneer Association) recommends this same species-matching approach for a seamless factory look.
How to Apply Edge Banding
- Cut banding to length: Trim a strip about 1 inch longer than the edge with scissors or a utility knife.
- Position and tack it: Lay the banding glue-side down over the edge and tack the center with a household iron set to the cotton/no-steam setting.
- Heat-activate the full strip: Run the iron slowly down the length for about 30–45 seconds so the hot-melt adhesive fully bonds — cool spots peel loose later.
- Press while it cools: Immediately run a wood block or J-roller down the banding to set the bond before the glue hardens.
- Trim the overhang: Use a flush-trim edge banding tool, a sharp utility knife, or a block plane to shave off the excess on both long edges and ends.
- Sand the transition: Lightly sand where the banding meets the panel face with 220-grit so the seam can’t be felt by hand.
Method 3: Solid Wood Face Board for Maximum Durability
A solid wood face board — a thin strip of hardwood glued directly to the plywood edge — is the most durable and the only stain-ready fix of the three, because real wood grain, not a thin veneer, is what actually takes stain evenly.
It also adds real thickness to the edge, so it reinforces load-bearing shelves and table edges the way filler and banding can’t. This is essentially the same glued, clamped bond used any time you join two pieces of plywood together, just applied to a single edge strip instead of a full panel.
How to Attach a Solid Wood Edge Strip
- Rip the strip to size: Cut a hardwood strip slightly thicker and about 1/8 inch wider than the plywood’s edge on a table saw or with a circular saw and straightedge.
- Apply glue: Spread a thin, even layer of wood glue on both mating surfaces.
- Clamp it flush: Align the strip along the edge and clamp every 6–8 inches, using scrap wood cauls so the clamps don’t dent the strip.
- Let it cure: Leave the clamps on for at least an hour, then let the joint fully cure overnight before machining it.
- Flush-trim the overhang: Use a router with a flush-trim bit or a hand plane to bring the strip level with both faces of the plywood.
- Sand and finish: Sand through the grits and stain or paint to match the rest of the project.
Cost, Time, and Durability: Which Method Should You Use?
None of the three methods is universally best — the right one depends on whether the project will be painted or stained, and how much wear the edge will take. The table below is based on current retail pricing for the materials in each method and typical application times.
| Method | Typical Cost | Time to Finish | Best For |
|---|---|---|---|
| Wood Filler | ~$4–$14 per project | 1–6 hrs cure + sanding | Small chips/holes under 1/4″, paint-grade only |
| Iron-On Edge Banding | ~$0.15–$0.40 per linear ft | Minutes per side, trim same day | Cabinets, shelving, bookcases |
| Solid Wood Face Board | ~$1–$3 per linear ft + glue | 1+ hr clamp time, cure overnight | Table edges, load-bearing shelves, stained projects |
Preparing the Edge Before You Start
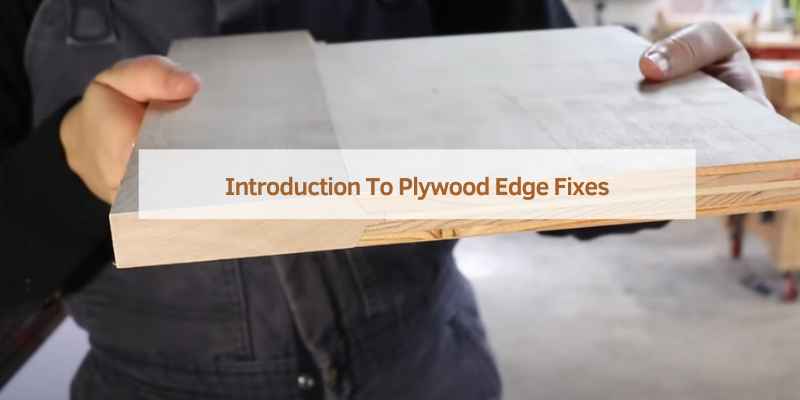
Start by cleaning the edge with a mild detergent-and-water solution and a soft-bristled brush to remove dirt, dust, and debris, then let it dry completely. Once it’s dry, inspect the edge closely for delamination, splintering, or unevenness — run a straightedge along the length to catch any warping. What you find here determines which of the three methods above actually fits the damage: shallow chips point to wood filler, a rough but intact edge is a good candidate for edge banding, and a badly damaged or structurally weak edge is where a solid wood face board earns its extra effort.
Preventing Future Edge Damage
Buying higher-grade plywood with fewer voids in the core reduces how much edge repair a project needs in the first place. Sealing all four edges with primer or a coat of finish, not just the faces, keeps moisture from wicking into the exposed plies and causing the gaps and splintering this guide covers. Between projects, storing sheets vertically on a rack instead of stacking them flat on a garage floor also cuts down on edge damage from being dragged or bumped.
Troubleshooting Common Repair Problems
Dealing with Shrinkage and Expansion
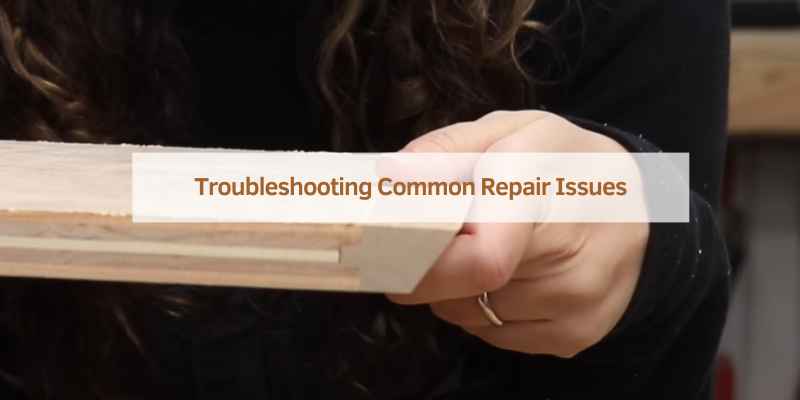
Humidity changes make plywood’s plies shrink and expand at slightly different rates, which can reopen a filled gap or leave a hairline seam along a repaired edge. If that happens, scrape out the old filler, let the wood acclimate to the room for a day, and refill — forcing filler into a joint that’s still moving just creates a repeat repair.
Fixing Discoloration After Repairs
Discoloration usually shows up where filler, glue, or a different wood species dries a different shade than the surrounding plywood. Test your stain or paint on a scrap piece first, then apply a matching coat only over the repaired area, feathering the edges so the transition doesn’t leave a visible ring.
How Do You Fix Chipped or Splintered Plywood Edges?
Yes — small chips and splinters are the easiest repair on this list. Knock off any loose splinters by hand, then treat the chipped area exactly like a small gap: press in wood filler, let it cure, and sand flush. For edges that chip repeatedly along the same run, switch to edge banding or a solid wood strip instead of refilling the same spot each time.
Frequently Asked Questions
How Can I Fix the Edge of Plywood?
To fix the edge of plywood, you can use several methods. One option is to apply edge banding, which is a thin strip of wood or PVC that is glued onto the edge of the plywood. Another option is to use wood filler or putty to fill in any gaps or imperfections in the edge. Finally, you can also use sandpaper to smooth out the edge and make it more presentable.
What Tools Do I Need to Fix Plywood Edges?
To fix plywood edges, you will need a few tools. These include a utility knife or razor blade to trim the edge, a file or sandpaper to smooth out any rough edges, and a glue or adhesive to attach edge banding if you choose to use it. Additionally, having clamps or weights can be helpful to hold the edge in place while it dries.
Can I Paint the Edge of Plywood?
Yes, you can paint the edge of plywood to match the rest of the surface. Before painting, make sure to sand the edge to create a smooth surface. Apply a primer to the edge, followed by the desired paint color. It’s recommended to use a paintbrush or a small roller to achieve an even finish. Remember to allow sufficient drying time between coats.
How Do I Prevent Splintering on Plywood Edges?
To prevent splintering on plywood edges, you can use a few techniques. First, you can apply masking tape over the area you plan to cut to reduce the likelihood of splintering. Second, you can use a fine-toothed saw or a router with a straight bit to make clean, precise cuts. Finally, sanding the edges lightly with sandpaper can help smooth out any potential splinters.
What’s the Cheapest Way to Fix a Plywood Edge?
Wood filler is the cheapest way to fix a plywood edge. A single 16-ounce tub typically costs under $15 and covers many small chips, holes, and gaps across an entire project, compared to edge banding or solid wood trim, which are priced per linear foot and add up faster on longer edges.
Is Edge Banding Better Than Wood Filler for Plywood?
It depends on the finish. Edge banding is better when the project will be stained or left natural, since it’s real wood veneer that takes stain like solid wood. Wood filler is better for paint-grade projects with only small gaps, since it’s cheaper and faster to apply than measuring, cutting, and ironing on a strip of banding.
Conclusion
Match the method to the finish, not just the damage: wood filler for small paint-grade gaps, edge banding for a fast factory look on cabinets and shelving, and a solid wood face board when the edge needs to be stained or take real structural wear. Whichever method you pick, sanding through the grits before you finish is what actually makes the repair disappear.
Sponsored / affiliate links. As an Amazon Associate I earn from qualifying purchases. I may earn additional commission from eligible campaigns.