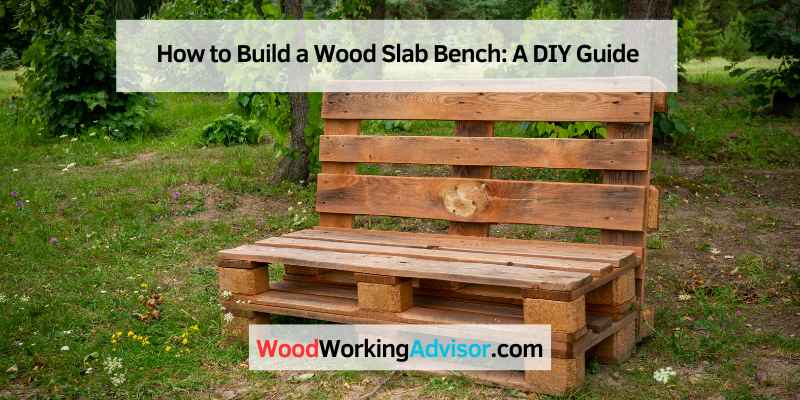
How to Build a Wood Slab Bench: A DIY Guide
A wood slab bench is built from a single thick, live-edge piece of wood rather than assembled boards, so the whole project comes down to three real decisions: picking a slab that’s actually dry and stable, choosing a base that won’t wobble, and finishing it so the natural edge stays the focal point instead of the joinery. This guide covers all three, plus the two mistakes that ruin most first-time slab benches: skipping the moisture check and rushing the crack repair.
Why Build a Wood Slab Bench
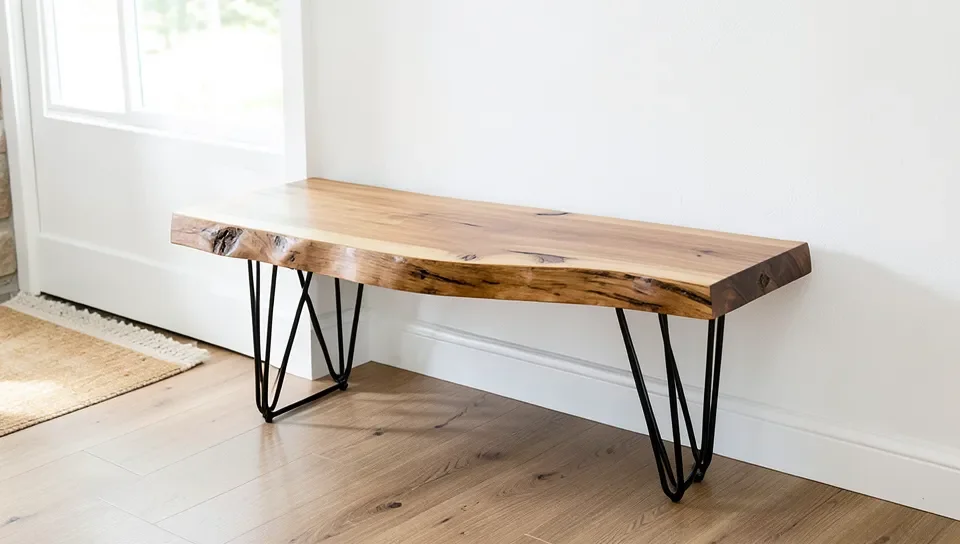
A live-edge slab keeps the tree’s natural outline instead of squaring it off, so every bench is genuinely one-of-a-kind. It’s also a realistic weekend project: unlike a fully joined bench with mortise-and-tenon legs, a slab bench’s main structural work is the slab itself, and the base can be as simple as a pair of hairpin legs bolted on from below.
Best Base for a Slab Bench
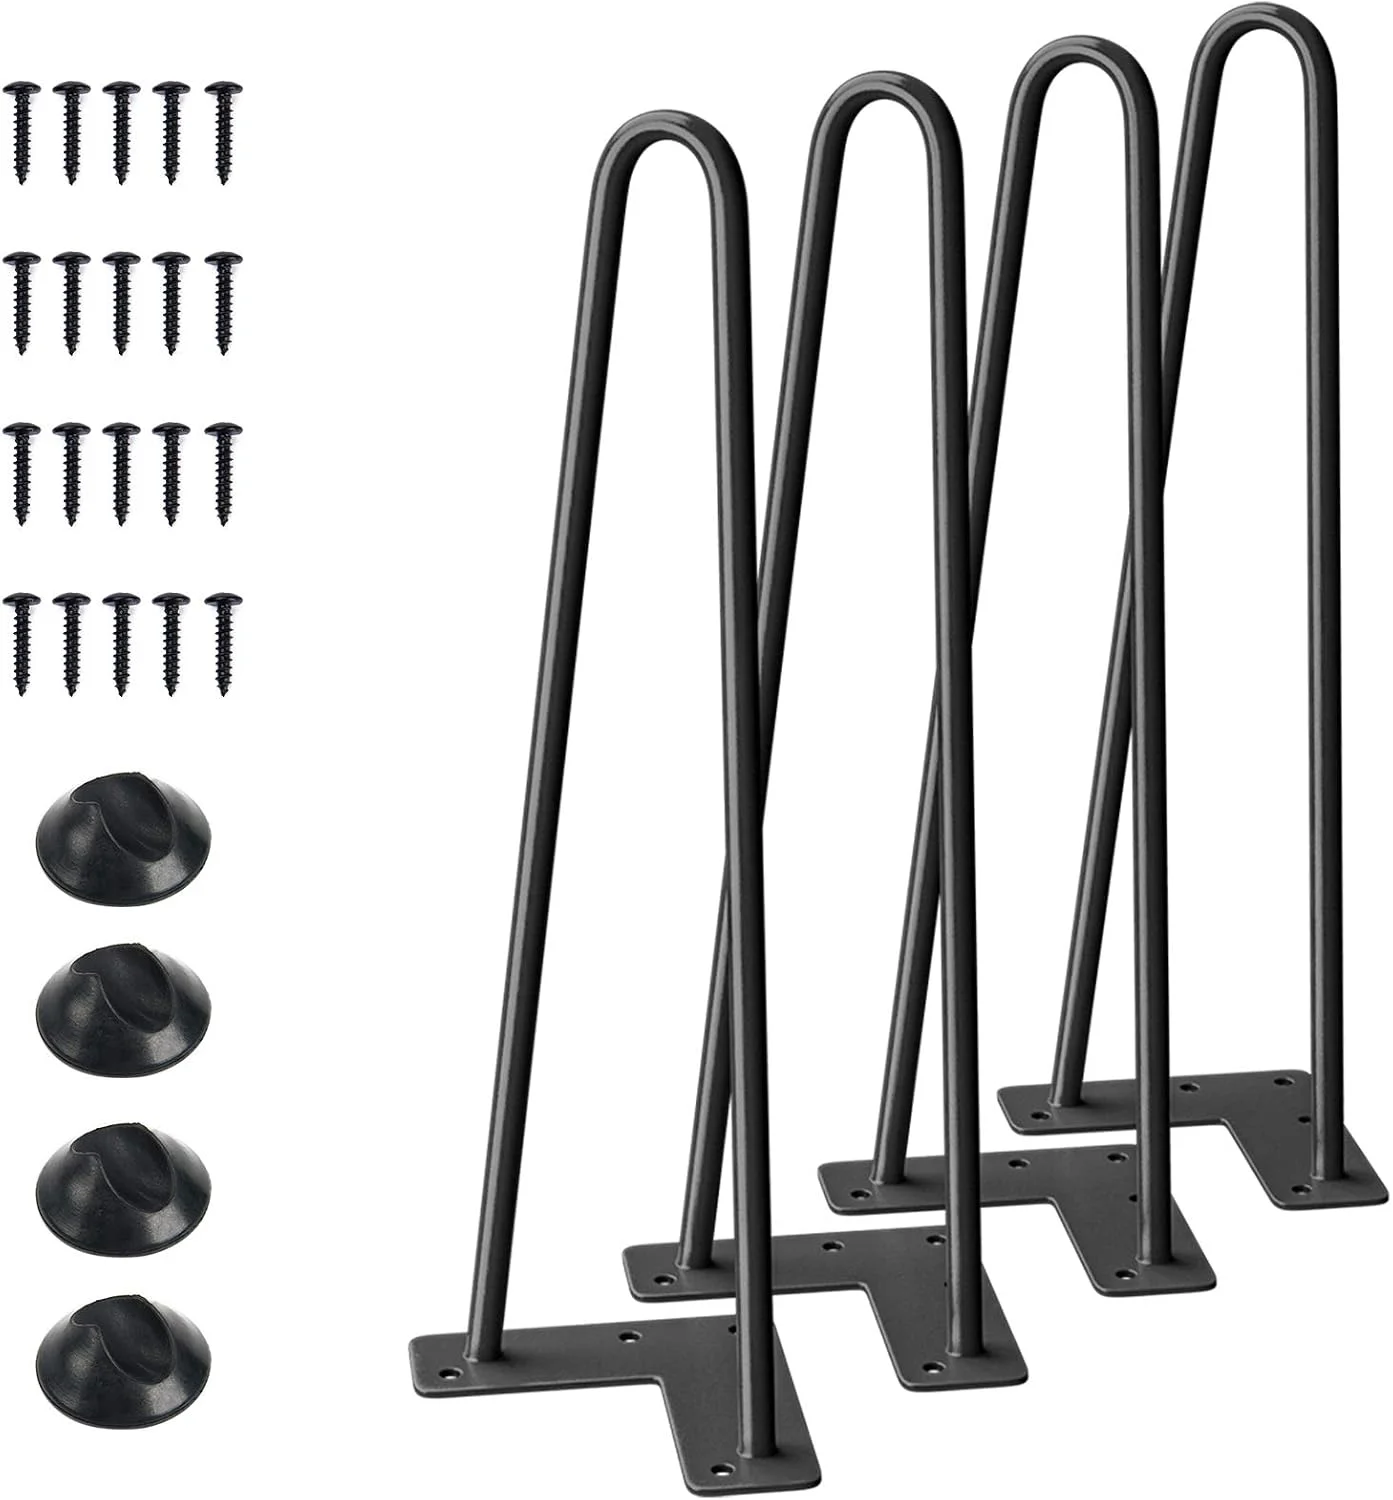 |
SMARTSTANDARD 16″ Hairpin Furniture Legs, 4-Pack – $19.99 16″ is standard bench-seat height, and hairpin legs skip the joinery a timber base would need entirely.
|
Choosing the Right Slab
Wood Species Worth Looking For
Walnut and cherry are popular for slab furniture because their color deepens attractively over time and they machine cleanly. Oak and maple cost less and hold up to outdoor use better, but maple’s tight, pale grain shows less character than walnut’s. Cedar is the budget outdoor option: it’s naturally rot- and insect-resistant, though soft enough to dent under regular foot traffic on a bench seat.
What to Check Before You Buy
The single biggest mistake in slab furniture is buying a slab that hasn’t finished drying. Green or partially air-dried slabs keep shrinking and can crack or cup weeks after you’ve built and finished the bench. A moisture meter reading under 12% is the target for interior furniture; a kiln-dried slab from a specialty sawmill will already be there, while a slab cut and air-dried yourself needs roughly a year per inch of thickness before it’s stable. Beyond moisture, check the slab for through-cracks (different from surface checks, which are cosmetic and fixable) and sight down its length for twist or cup that a router sled won’t easily flatten.
Sizing the Slab for a Bench, Not a Table
A comfortable bench seat sits 17–19 inches off the floor once the slab’s thickness is added to the leg height — a couple inches lower than standard table height, which is why simply reusing table-leg dimensions tends to leave a bench feeling too tall. Seat depth of 12–16 inches is plenty for perching or setting down shoes and bags in an entryway; go past about 18 inches deep and it starts reading as a low table instead of a bench. For length, 36–48 inches suits a single slab comfortably without needing mid-span support; beyond about 5 feet, a slab thinner than 2 inches will visibly flex in the middle under weight unless the base includes a center leg or stretcher.
Tools and Materials You’ll Need
- Random orbital sander (80 through 220 grit)
- Moisture meter (pin or pinless)
- Epoxy resin, for filling checks and cracks
- Drill/driver and a countersink bit
- Hairpin legs or lumber for a timber base
- Wood finish: hardwax oil, polyurethane, or exterior spar varnish for outdoor use
- Clamps, tape measure, and a level
Step 1: Prep the Slab
Start with a coarse 80-grit pass across the top and bottom to remove mill marks and any bark still clinging to the live edge, then work up through 120, 150, and 220 grit. Sand with the grain, not across it, and keep the sander flat rather than tipping it at the edges, which is the most common way to round over a live edge you want to keep crisp.
Most slabs have at least a few surface checks (small drying cracks that don’t go all the way through). Rather than a generic wood filler, a clear or tinted epoxy resin poured into the check and sanded flush once cured holds up far better over time and looks intentional rather than patched. For a crack that runs the full width of the slab, some woodworkers add butterfly (bowtie) inlays before filling — they mechanically stop the crack from spreading, which epoxy alone doesn’t do.
Step 2: Choose and Attach a Base
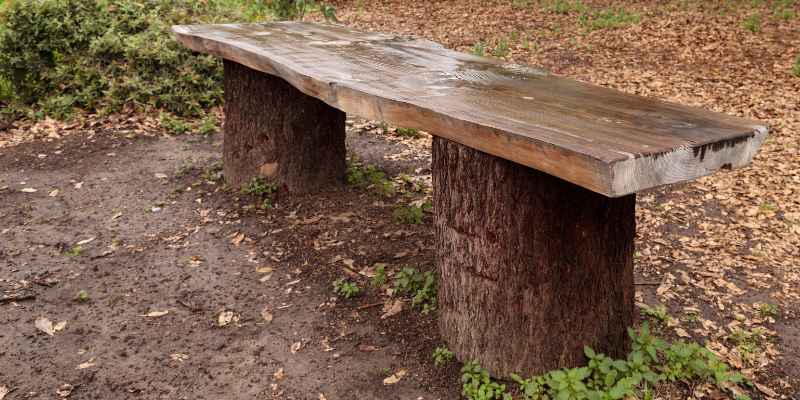
Three common base styles work well under a slab: hairpin legs (fast, no joinery, modern look), an X-shaped timber base (more traditional, more stable side-to-side without added bracing), and log-round or tree-stump legs (rustic, matches a live-edge top best). Whichever base you pick, a bench needs a wider stance than a table of the same length — people sit near the ends, so legs set too far inward will let the bench tip when someone sits at one edge.
For hairpin or metal legs, mark and pre-drill the mounting plate holes into the underside of the slab, keeping them at least 2 inches from any edge to avoid splitting. For a timber base, cut the joints first and dry-fit the whole base before attaching it to the slab, so any adjustments happen before the fasteners go in.
Step 3: Attach the Slab to the Base
Center the base under the slab and check overhang on all sides with a tape measure before drilling anything. Pre-drill pilot holes through the base’s mounting points and partway into the slab to prevent splitting, especially near the ends grain runs toward. Use screws sized so they bite at least three-quarters of an inch into the slab without coming through the top, and snug them down evenly rather than fully tightening one corner before starting the next.
Wood moves seasonally across its width even after it’s dry, so on a slab wider than about 10 inches, elongated screw holes or figure-eight desktop fasteners on at least some of the mounting points let the slab expand and contract without cracking around a fixed screw.
Step 4: Finish the Bench
Hardwax oil (like Rubio Monocoat or Osmo) penetrates the wood rather than sitting on top, so it’s more forgiving of the future scratches a bench sees than a film finish, and it’s simple to spot-repair years later. Polyurethane gives more scratch and water resistance up front but is harder to touch up invisibly. For an outdoor bench, an exterior spar varnish or a penetrating oil rated for outdoor use is worth the extra cost over an interior finish, which will break down in UV and rain within a season or two.
Whatever finish you pick, test it on an offcut or the underside of the slab first — some finishes darken walnut and cherry considerably, which is either the look you want or isn’t, and it’s much easier to find out before the whole top is coated.
Maintenance and Care
- Wipe with a damp cloth; avoid harsh cleaners that can strip an oil finish
- Keep out of direct sun where possible — UV fades and dries out most finishes over a few years
- Recoat an oiled finish every 12–18 months indoors, more often outdoors
- Check the fasteners into the base annually; wood movement can gradually loosen screws
Frequently Asked Questions
How Do You Build A Wood Slab Bench?
Building a wood slab bench involves several steps. First, choose a suitable wood slab and remove any bark or imperfections. Next, cut the slab to your desired dimensions and smooth the surface with sandpaper. Then, attach legs or supports to the slab using screws or other hardware.
Finally, finish the bench with a protective coating, such as varnish or oil, to enhance its durability and appearance.
What Tools Are Needed To Build A Wood Slab Bench?
To build a wood slab bench, you will need a few essential tools. These include a chainsaw or a bandsaw for cutting the slab, a sander or sandpaper for smoothing the surface, a drill or screwdriver for attaching legs or supports, and a brush or cloth for applying a protective finish.
Additionally, you may require clamps, measuring tools, and safety equipment such as goggles and gloves.
What Types Of Wood Are Suitable For A Wood Slab Bench?
Various types of wood can be used to build a wood slab bench. Popular choices include oak, walnut, maple, and cedar. These woods offer durability, strength, and attractive grain patterns. When selecting a wood slab, consider its size, shape, and condition.
It’s important to choose a wood species that suits your desired style and fits well with your overall design aesthetic.
Conclusion
The parts of a slab bench build that actually determine whether it lasts are the ones easy to rush past: confirming the slab is genuinely dry before you build anything, filling checks with epoxy instead of wood putty, and leaving room for the wood to move once it’s attached to a base. Get those three right and the rest — sanding, the base style, the finish — comes down to preference.
Sponsored / affiliate links. As an Amazon Associate I earn from qualifying purchases. I may earn additional commission from eligible campaigns.