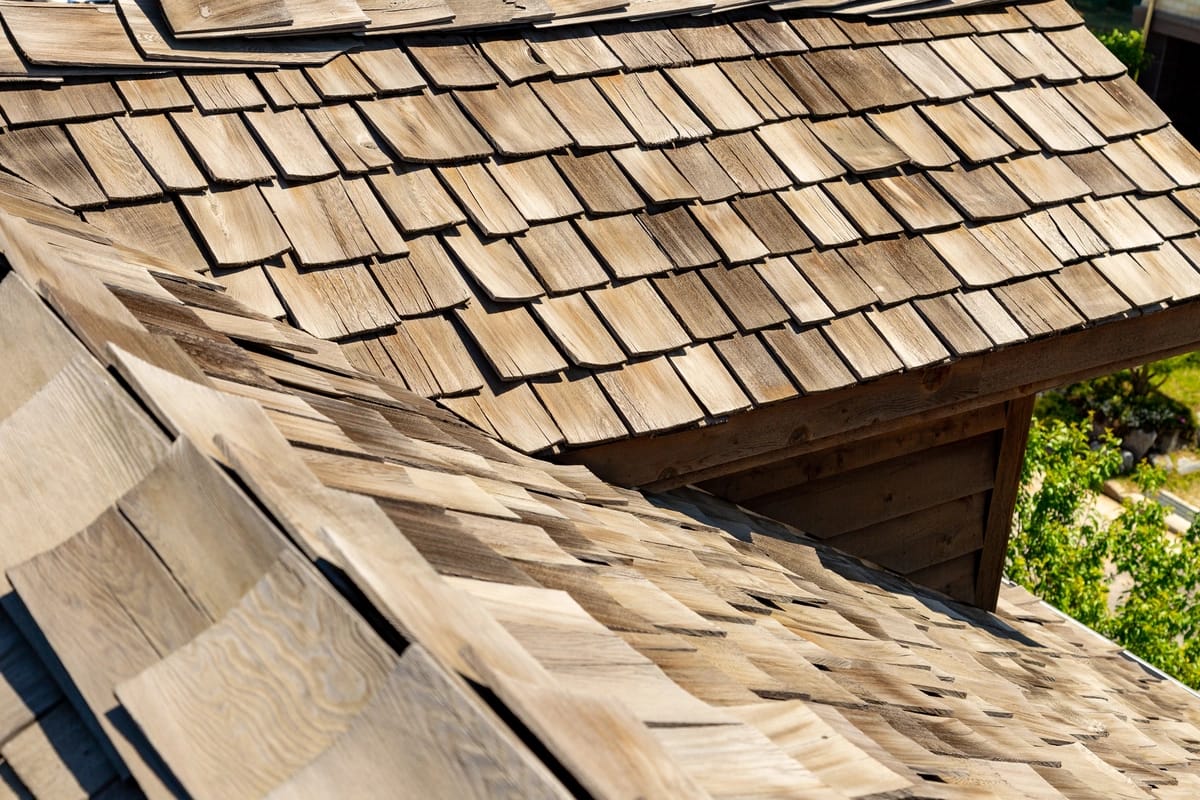
Cedar Shake Roof Over Plywood: Why It Needs a Ventilation Gap
Cedar shakes should go over spaced “skip” sheathing (1×4 or 1×6 boards with gaps between them) whenever possible, not directly onto solid plywood. If your roof deck is already solid plywood, add a ventilating mat (a rainscreen product like Cedar Breather) underneath the shakes first – nailing shakes straight to plywood traps moisture against their backside and can cut years off the roof’s life, which is exactly the mistake behind most of the “my cedar shake roof is rotting early” complaints.
That single decision – sheathing type – matters more to how long a cedar shake roof lasts than almost anything else in the install, and it’s the part most how-to guides skip straight past on their way to nailing patterns. Here’s the full process, including the felt interlayment method the Cedar Shake & Shingle Bureau actually recommends, not just “lay some felt down.”
Sheathing: Skip Sheathing vs. Solid Plywood
Best Nails for Cedar Shake Roofing
 |
Grip-Rite 1-1/2″ Roofing Nails, 5 lb – $20 Hot-dipped galvanized nails resist the rust streaks that regular steel nails leave on cedar within a season or two.
|
Skip sheathing (also called spaced sheathing) is the traditional deck for cedar shakes: 1×4 or 1×6 boards nailed across the rafters with gaps between them, matched to your shake exposure. It lets air move freely under the shakes so the wood dries out evenly after rain, which is the single biggest factor in how long a cedar shake roof actually lasts.
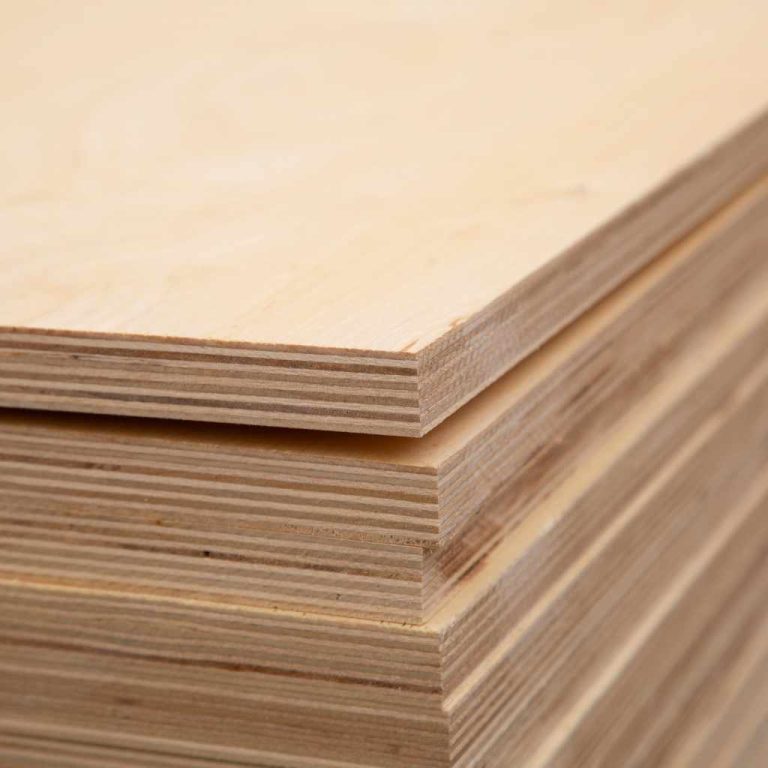
Solid plywood decking is more common on newer builds and is required in some seismic zones or under fire-treated shakes, but it traps moisture against the underside of the shakes if you nail directly to it. The Cedar Shake & Shingle Bureau specifically warns against covering the whole deck with a non-breathable membrane for this reason – it leads to fungal decay from the back side, which you won’t see until the shakes are already failing. If you’re working over solid plywood, install a ventilating mat (Cedar Breather or an equivalent) across the whole roof first. It creates a consistent air gap under the shakes for a fraction of the cost of re-decking the roof in skip sheathing.
Tools and Materials
| Item | Purpose |
|---|---|
| Hot-dipped galvanized or stainless steel nails | Fasten shakes without rusting/staining – regular steel nails will bleed rust streaks within a year or two |
| 30-lb asphalt-saturated felt | Interlayment between courses (not just a base layer) |
| Ventilating mat (e.g. Cedar Breather) | Required air gap if decking is solid plywood |
| Chalk line | Keep courses straight and exposure consistent |
| Roofing hatchet or utility knife | Trim and split shakes to fit at valleys, hips, and edges |
| Metal flashing | Valleys, chimneys, vents, and roof edges |
Preparing the Roof
Inspect the existing deck for soft spots, delamination, or rot before anything else goes down; shakes only last as long as what’s underneath them. If you’re tearing off old shingles, work from the top down, pull every nail (buried nails will telegraph through new shakes over time and create a lump), and sweep the deck clean. Wear gloves and use fall protection on any pitch steeper than about 4-in-12 – roofing falls are one of the most common serious injuries in DIY home projects, and cedar shakes get slick fast in dew or light rain.
Felt Interlayment (Not Just a Base Layer)
A lot of guides treat felt as something you roll out once under everything, the way you would with asphalt shingles. Cedar shakes use it differently: 18-inch-wide strips of 30-lb felt are interlaid between each course as you go, positioned so the felt starts at a point twice the shake’s weather exposure above the butt line of that course. This creates a woven, overlapping moisture barrier between courses rather than one flat sheet under the whole roof – it’s what actually stops wind-driven rain from working its way up and under the shakes during a storm.
Starting the First Course
Start with a doubled (or tripled, in heavy-snow regions) starter course at the eave, overhanging the fascia by about 1.5 inches so water drips clear of the trim instead of running down behind it. Snap a chalk line to keep the butt edge straight – freehand alignment on the first course will telegraph a wavy line all the way up the roof.
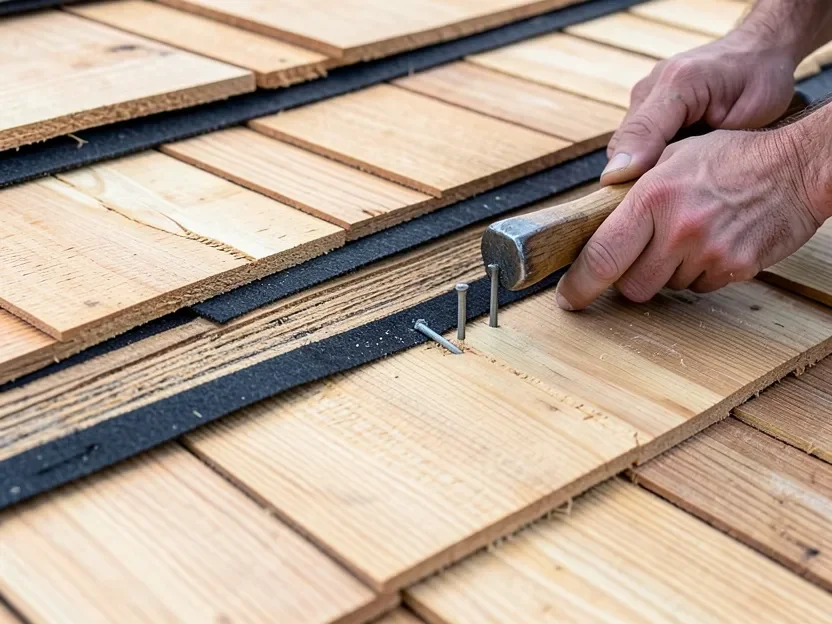
Use two nails per shake, roughly 3/4 to 1 inch in from each edge and about 1 inch above where the next course’s butt line will sit (this keeps the nail covered once the next course goes down). Leave a 3/8-inch gap between adjacent shakes so they have room to expand when wet without buckling.
Laying the Field Courses
Standard weather exposure for 24-inch cedar shakes is typically 7.5 to 10 inches, depending on roof pitch (check your local code and the manufacturer spec for the pitch you’re working with, since steeper roofs can sometimes use more exposure). Offset the gaps between shakes by at least 1.5 inches from the course below, so no gap lines up with a gap two courses down – this staggering is what actually blocks water from finding a straight path through to the deck.
Valleys, Ridges, and Flashing
Line valleys with metal flashing (not just felt) before any shakes go in, and keep shakes at least 2 inches back from the centerline on each side so water has a clear channel. At hips and ridges, use pre-formed ridge units or weave individual shakes with a metal flashing strip underneath, alternating the overlap direction with each course for a finished look and a sealed seam. Any place the roof meets a wall, chimney, or vent pipe needs step flashing or a boot, sealed with roofing cement at the edges – these penetration points cause more leaks over time than the open field of the roof does.
Final Check and Ventilation
Walk the finished roof (or view it from a ladder if the pitch is too steep to walk safely) and check that every course lies flat with no cupped or split shakes and no exposed nail heads. Confirm ridge and soffit vents are clear and unobstructed – a shake roof depends on airflow both above and below the deck, and blocked vents undercut the moisture protection the skip sheathing or ventilating mat is supposed to provide.
Ongoing Maintenance
Inspect twice a year (spring and fall), looking specifically for split, curled, or missing shakes and moss or lichen growth, which holds moisture against the wood. If you’re also wondering whether the natural weathering process affects the wood’s integrity, our guide on how long cedar actually lasts outdoors covers the difference between cosmetic graying and real rot. Clean with a soft brush and plain water or a mild detergent solution – never a pressure washer, which drives water up under the shakes and strips the wood’s natural oils. Keep overhanging branches trimmed back so leaves don’t pile up in valleys, and clear gutters regularly so water doesn’t back up under the starter course. A quality cedar roof, properly ventilated, typically lasts 30 to 50 years; one installed directly over solid plywood with no ventilation gap often needs shake replacement in half that time.
Frequently Asked Questions
Can you install cedar shakes over solid plywood?
Yes, but not directly. Nailing cedar shakes straight to solid plywood traps moisture against their underside and speeds up rot. Install a ventilating mat, such as Cedar Breather, across the deck first to create an air gap. Traditional skip (spaced) sheathing avoids this problem entirely by letting air circulate underneath on its own.
How long does cedar shake roofing last?
A properly ventilated cedar shake roof typically lasts 30 to 50 years. Roofs installed directly over solid plywood without a ventilation gap, or in climates with heavy shade and moss growth, often need shake replacement well before that, sometimes in half the time.
What’s the standard exposure for cedar shakes?
For standard 24-inch cedar shakes, weather exposure typically runs 7.5 to 10 inches depending on roof pitch. Always check your local building code and the shake manufacturer’s exposure chart for your specific pitch before starting, since exposure that’s too generous will shorten the roof’s effective weather protection.
How do you maintain a cedar shake roof?
Inspect twice a year for split or missing shakes and moss growth, clean gently with a soft brush and water (never a pressure washer), trim back overhanging branches, and keep gutters clear. Replace individual damaged shakes as soon as you spot them rather than waiting, since one failed shake exposes the felt interlayment underneath to direct weather.
Conclusion
Get the sheathing and ventilation right – skip sheathing where you can, a ventilating mat if you’re stuck with solid plywood – and the rest of a cedar shake install is straightforward carpentry: consistent exposure, staggered gaps, felt interlayment between courses, and careful flashing at every valley and penetration. Skip the ventilation step to save a day of work, and you’re trading it for years of the roof’s lifespan.
Sponsored / affiliate links. As an Amazon Associate I earn from qualifying purchases. I may earn additional commission from eligible campaigns.