How to Make a Wood Cutting Machine at Home
A wood cutting machine is built from three parts that must line up, or the cut wanders: a motor sized to the wood you actually cut (1 to 2 HP for most home shops, more for thick hardwood), an arbor-mounted blade, and a rigid frame. Skipping a wired-in safety switch is the single biggest cause of injuries on homemade builds. This guide covers motor and blade sizing, a real safety-switch wiring note, step-by-step assembly, and what it actually costs to build one versus buying a benchtop saw.
Affiliate disclosure: This post contains Amazon affiliate links. We may earn a commission at no extra cost to you.
What You Need Before You Start Building
Best Budget Benchtop Table Saw Pick
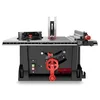
MarvTool 15Amp Portable Table Saw 10 Inch
A 15-amp, 10-inch benchtop saw with a 36-tooth blade included, priced close to what new DIY components alone would cost.
- Best for: anyone comparing DIY parts cost against a ready-made saw
- Why we picked it: lowest current price of any saw in this roundup, with a calibrated fence out of the box
- Main drawback: smaller brand, thinner warranty support than DEWALT or SKIL
Compare more benchtop table saw options
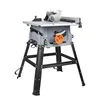 Option 1 Prostormer 10 Inch Table Saw with Stand
|
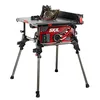 Option 2 SKIL 15 Amp 10 Inch Portable Jobsite Table Saw TS6307-00
|
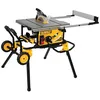 Option 3 DEWALT DWE7491RS 10 Inch Table Saw
|
As an Amazon Associate we earn from qualifying purchases.
Gathering the right materials before you start prevents a mid-build trip to the hardware store. This build falls into the broader category of powered woodworking machines, so the same core rule applies: motor, blade, and frame all have to be sized to each other, not chosen separately. Below is what an entry-level DIY version actually requires, with the sizes that matter, not just a generic list.
Materials
- 3/4-inch plywood or MDF for the base and frame (one 4×8 sheet covers most builds)
- 10-inch carbide-tipped blade with a 5/8-inch arbor
- Universal or router motor, 650 to 1000 watts (roughly 1 to 1.5 HP) for softwood and plywood
- Paddle-style safety switch rated for your motor’s voltage and amperage
- Hinges, carriage bolts, and wood screws for the frame
- 12-gauge power cord and a grounded plug
Tools Required
- Drill/driver
- Circular saw or jigsaw, to cut the frame parts
- Combination square and tape measure
- Screwdriver set
- Sandpaper, 120 to 220 grit
How Much Motor Do You Actually Need?
Most beginner builds are underpowered for anything beyond 3/4-inch plywood, which is exactly why the blade bogs down and the wood scorches at the cut. Match the motor to the thickest material you will regularly cut, not the thinnest.
| Wood Thickness | Motor Size | Typical Amps | Notes |
|---|---|---|---|
| Up to 3/4" (plywood, trim) | 1 – 1.5 HP | 10 – 13A | Fine for a router-based cutting head |
| 3/4" – 2" (standard lumber) | 1.75 – 2 HP | ~15A | Covers most home-shop builds |
| Over 2" (thick hardwood) | 3 – 5 HP | 15 – 20A, often 240V | Usually needs its own circuit |
According to published table saw motor specifications, home-shop saws commonly draw 10 to 15 amps on a standard 120-volt circuit, while cabinet saws with 3 to 5 HP motors typically need a 20-amp or 240-volt circuit. If you’re unsure how your planned motor compares, our table saw amperage guide breaks down amp ratings by saw type in more detail.
Is It Cheaper to Build Your Own, or Buy One?
Building your own machine is not automatically the cheaper option – it depends heavily on whether you already own a usable motor. Here’s a realistic cost comparison using current component and saw prices.
| Item | DIY, New Parts | DIY, Used Motor |
|---|---|---|
| Motor | $50 – $90 | $0 – $30 (repurposed) |
| Blade + arbor | $25 – $45 | $25 – $45 |
| Frame (plywood + hardware) | $55 – $80 | $55 – $80 |
| Safety switch + cord | $35 – $55 | $35 – $55 |
| Total | ~$165 – $270 | ~$115 – $210 |
Compare that to entry-level 10-inch benchtop table saws, which start around $170 and run up to $330 for a saw that already includes a calibrated fence, blade guard, and manufacturer warranty. A few current options are below.
The honest takeaway: if you’re sourcing all-new parts, a DIY build often costs nearly as much as the cheapest ready-made saw, without the safety certification or return policy. Building from scratch mainly pays off when you already have a spare motor, or need a machine sized for a job a standard saw can’t do.
Wiring In a Safety Switch (Do Not Skip This)
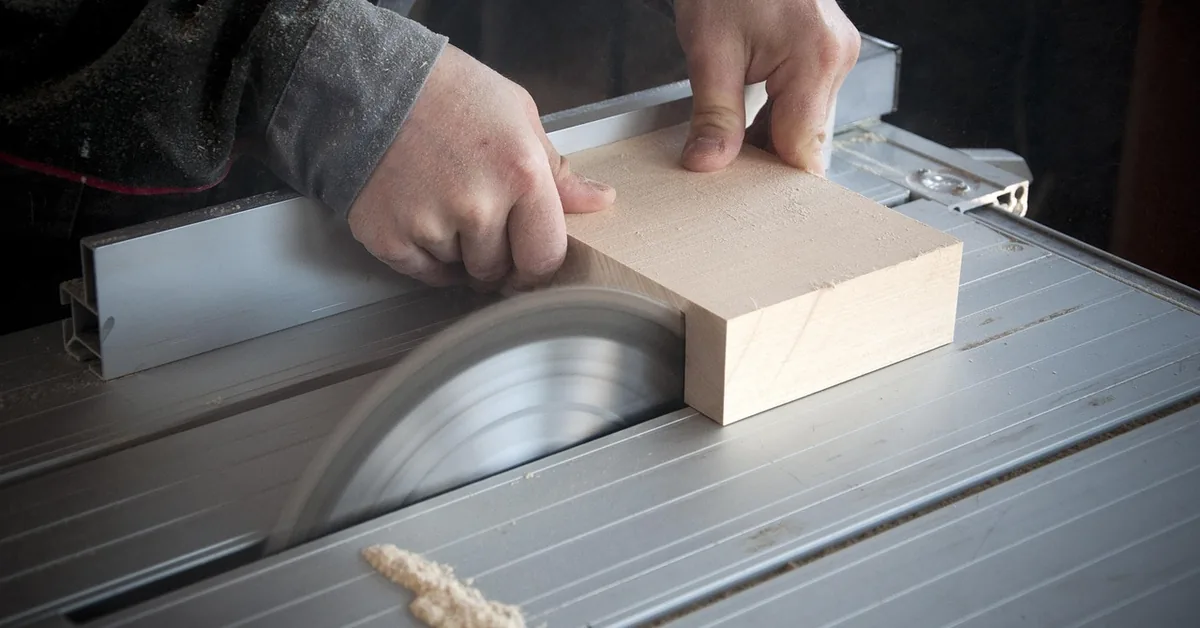
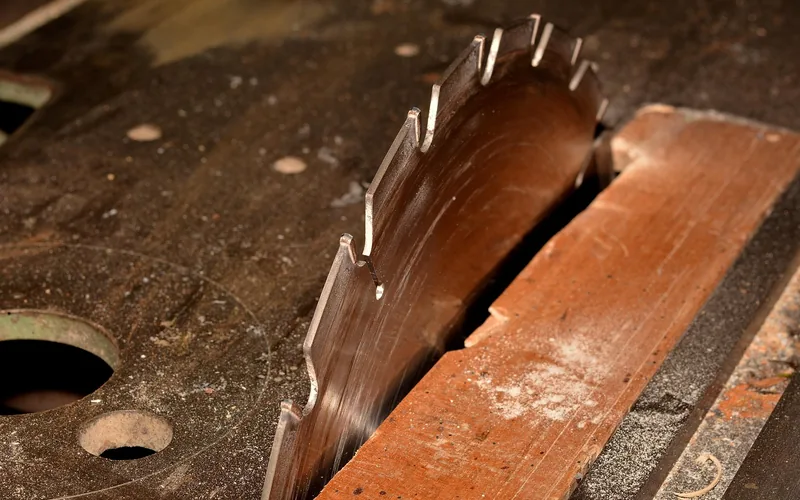
A wood cutting machine without a dedicated, easy-to-reach shutoff is a genuine hazard – your hands work inches from a spinning blade. A paddle-style switch, the same type used on commercial table saws, solves this with one motion.
Paddle switches interrupt the hot (black) wire only; the ground (green) and neutral (white) wires connect straight through. Mount the switch where you can hit it with a knee, hip, or the back of your hand without looking, not somewhere you’d have to reach across the blade to find. Match the switch’s voltage and amperage rating to your motor’s nameplate, never the other way around.
If you’re building a table-saw-style rig, our DIY push block guide covers keeping your hands clear of the blade during actual cuts, which matters just as much as the switch itself.
Step-by-Step Build
- Cut and assemble the frame: Cut your plywood into a base and two side supports, then screw and glue them into a rigid rectangular frame – any flex here transfers straight into the cut.
- Mount the motor and arbor: Bolt the motor to the frame first, then attach the arbor so the blade sits perpendicular to the base within about 1 degree – check it with a combination square before tightening anything down.
- Attach and align the blade: Thread the blade onto the arbor, tighten the arbor nut against the direction of blade rotation, and spin it by hand to confirm it clears the frame and any guard.
- Wire the motor through the safety switch: Run power through the paddle switch, never around it, confirm the ground wire is connected, and route the cord clear of the cutting path.
- Test on scrap before real material: Power on, let the blade reach full speed, and run a scrap offcut through first – listen for grinding or wobble before cutting anything you actually care about.
Testing and Troubleshooting
Most first-build problems trace back to alignment or power, not the design itself. Run through this table before assuming a part is defective.
| Symptom | Likely Cause | Fix |
|---|---|---|
| Blade won’t spin | Loose wiring or a tripped switch | Check the safety switch and power connections before assuming the motor failed |
| Machine overheats | Dull blade or feeding too fast | Slow your feed rate and inspect or sharpen the blade |
| Wood scorches at the cut | Motor undersized for the material, or feed rate too slow | Increase feed rate slightly, or move up to the next motor size |
| Cut wanders off the line | Frame flex or a misaligned blade | Recheck the blade’s perpendicular alignment; add bracing to the frame |
Common Mistakes Beginners Make
“The single most common mistake we see on first builds is skipping the trial cut on scrap. A blade that’s a couple of degrees off doesn’t look wrong until it’s already ruined a real workpiece – run scrap through first, every session, not just the first time.”
Beyond that, the next most common issues are: using an undersized motor for hardwood, which bogs down and burns rather than cutting cleanly; skipping the safety switch to save $30 to $40; and forgetting to add a dust port before the frame gets closed up, since retrofitting one later means cutting back into finished panels.
Maintenance and Safety
Regular maintenance keeps a homemade wood cutting machine both safer and more accurate over time. Check blades for wear, keep moving parts lubricated, and clear dust buildup after every session.
| Maintenance Task | Frequency |
|---|---|
| Blade sharpening or replacement | Every 10 hours of use |
| Lubrication of moving parts | Weekly |
| Safety switch and wiring check | Monthly |
| General cleaning and dust removal | After each use |
Worth adding once the base build is solid: a dust collection port (built in, not bolted on after), a sharper aftermarket blade for finish cuts, and a more powerful motor if you find yourself cutting hardwood more than plywood. Always wear gloves and goggles for upgrades, and unplug the machine before working on it.
Frequently Asked Questions
How do I choose the right wood cutting machine to build?
Match the design to the thickest material you’ll regularly cut and the space you have available. A router-based rig handles plywood and trim up to about 3/4 inch; a table-saw-style build with a 1.75 to 2 HP motor covers most standard lumber. If angled or crosscut work matters more than ripping, a miter saw machine may serve you better than building a table-saw-style rig. Check blade size and arbor compatibility before buying parts.
What materials can a homemade wood cutting machine handle?
A well-built machine cuts softwoods, hardwoods, plywood, and MDF, but the motor and blade have to match the material’s density. Denser hardwoods need the higher end of the motor range (3 to 5 HP) and a slower, steadier feed rate to avoid burning.
What motor size do I need for a homemade table saw?
For plywood and softwood up to 3/4 inch, 1 to 1.5 HP is enough. Standard dimensional lumber up to 2 inches needs 1.75 to 2 HP, drawing around 15 amps on a 120-volt circuit. Anything thicker than 2 inches of hardwood typically needs 3 to 5 HP, which usually means a 20-amp or 240-volt circuit.
Is it cheaper to build your own wood cutting machine than buy one?
Not always. Sourcing all-new parts (motor, blade, arbor, switch, frame material) typically runs $165 to $270, close to entry-level 10-inch benchtop table saws that start around $170 to $330 and already include a calibrated fence and warranty. Building only saves real money if you already own a usable motor.
What blade RPM should I use for cutting hardwood?
Match the blade’s maximum rated RPM to your motor’s actual output rather than guessing; most 10-inch carbide blades are rated for 5,000 to 6,000 RPM. Running a blade near its rated maximum, combined with a slower feed rate, gives cleaner cuts in dense hardwood than forcing a fast feed through an underpowered setup.
What safety measures should I take while operating a DIY wood cutting machine?
Wear safety glasses and hearing protection, keep a paddle-style shutoff within easy reach, and never remove the blade guard to make a cut easier. Use a push block instead of your hands for any cut narrower than about 6 inches, and unplug the machine completely before changing the blade.
Conclusion
A wood cutting machine you build yourself can genuinely outperform a cheap import saw, but only if the motor is sized correctly and the safety switch is wired in before the first cut, not added later. Run every new build through the cost comparison above before you buy parts – sometimes the $170 benchtop saw is the better use of a weekend. For more guides on getting clean, accurate cuts, browse our full wood cutting hub.
Sponsored / affiliate links. As an Amazon Associate I earn from qualifying purchases. I may earn additional commission from eligible campaigns.