Wood Scratch Repair: Marker, Filler, or Putty by Depth
Stain markers work on light surface scratches, wax filler sticks fix medium ones, and wood filler or putty handle deep gouges — the depth of the scratch decides the fix, not the wood type. Using the wrong one wastes product and can leave the repair more visible than the original scratch. This guide covers scratch depth, the marker-vs-filler-vs-putty decision, and step-by-step repair for each level.
Quick Answer
Match the tool to the scratch depth: a stain marker for scratches that only affect the finish, a wax filler stick for scratches under 1/16 inch, and wood filler or putty (then sand and refinish) for anything deeper that shows raw wood. Test any product on a hidden spot first.
Assessing the Damage
Best Wood Scratch Repair Kit Pick
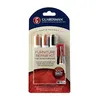
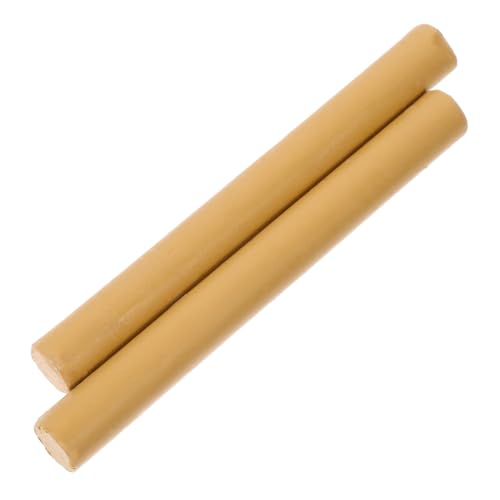
Guardsman Wood Furniture Markers & Wax Filler Sticks – $7.83
Combines a touch-up marker with wax filler sticks in 3 brown tones — matches the marker-for-light, wax-stick-for-medium split this guide’s depth chart recommends.
- Best for: Light surface scratches and quick touch-ups you want fixed in under a minute
- Why we picked it: No-drip marker design plus wax sticks cover both the “minor” and “moderate” rows of the depth chart above
- Main drawback: Only 3 stock colors, so unusual wood tones need blending
Compare more wood scratch repair options
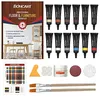 Option 1 Boncart 12-Color Wood Repair Kit – $17.86
|
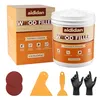 Option 2 Wood Filler & Putty 16oz Kit – $13.99
|
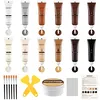 Option 3 SEISSO Wood Furniture Repair Kit – $20.89
|
As an Amazon Associate we earn from qualifying purchases.
Assessing damage is the first step in any wood scratch repair — the depth of the scratch determines which method actually works. A quick check before you buy anything saves wasted product and a repair that looks worse than the scratch.
Differentiating Between Minor and Major Scratches
- Minor scratches: Surface-level, less than 1/16 inch deep, do not expose raw wood or affect the finish.
- Major scratches: Deeper than 1/16 inch, visible raw wood, may affect the piece’s structural integrity.
Use this table to match scratch depth to repair approach:
| Scratch Depth | Category | Repair Approach |
|---|---|---|
| Less than 1/16 inch | Minor | Stain marker or wax filler stick (DIY) |
| 1/16 inch to 1/8 inch | Moderate | Wood filler, sand, and refinish |
| Greater than 1/8 inch | Major | Wood filler or putty; consider professional repair on high-value pieces |
Common Causes of Wood Scratches
Scratches on wood furniture typically trace back to one of four sources:
- Pets: Claws catch on the finish, especially near table and chair legs.
- Furniture movement: Sliding chairs or tables across the surface, or under other furniture.
- Sharp objects: Keys, tools, and jewelry dragged across the surface.
- Accidental spills: Liquids left standing can soften and weaken the finish, making it scratch more easily.
When to Consider Professional Repair
- Visible raw wood: If the scratch has cut through to bare wood, professional color-matching usually looks better.
- Large or structural damage: Extensive gouges or anything affecting joint stability need specialized tools.
- High-value or antique pieces: A misjudged DIY repair can lower resale or sentimental value.
📊 Professional furniture refinishing averages $631 per piece, ranging from $341 to $931 depending on size and damage — a DIY scratch repair kit typically costs under $25. — Source: Angi, 2026 Furniture Refinishing Cost Data
If your furniture also has white water rings or a cloudy, hazy finish alongside the scratch, that’s a different repair process — see our guide to repairing furniture finish damage for water rings and blushing.
Wood Filler vs. Wood Putty vs. Stain Marker: Which One Fits Your Scratch?
These three products get confused constantly, but they solve different problems. A stain marker is a dye that recolors exposed wood fibers — it works only when the scratch hasn’t broken through the finish’s surface. Wood filler hardens by chemical reaction or solvent evaporation, so it’s sandable and stainable — the right choice for a deep scratch you plan to sand smooth and refinish. Wood putty stays pliable and never fully hardens, so it can’t be sanded, but many putties come pre-colored to match common wood tones, which makes it the faster no-stain option for a finished piece you don’t want to sand.
| Product | Best For | Sandable? | Needs Staining? |
|---|---|---|---|
| Stain marker | Light scratches that haven’t broken the finish | No | No — dye matches on contact |
| Wax filler stick | Medium scratches on a finished piece | No | No — color-matched wax |
| Wood filler | Deep scratches and raw wood you’ll refinish | Yes | Yes, after sanding |
| Wood putty | Finished pieces you don’t want to sand | No | Only if unmatched to your wood tone |
Essential Tools and Materials
Repairing scratches on wood requires the right tools and materials on hand before you start. Here’s a basic DIY kit:
- Sandpaper: Fine (220-grit) and medium grits.
- Wood filler or putty: Choose a color that matches your wood, per the comparison above.
- Putty knife: For applying filler or putty smoothly.
- Clean cloth: For wiping off excess materials.
- Wood polish or wax: To restore shine after repair.
- Protective gloves: To keep your hands clean.
Matching products to wood type matters — here’s a quick guide:
| Wood Type | Recommended Filler | Polish Type |
|---|---|---|
| Oak | Oak wood filler | Matte finish polish |
| Pine | Pine wood filler | Satin finish polish |
| Walnut | Walnut wood filler | Gloss finish polish |
Match the products closely to your wood type for a seamless finish, and always test on a small, hidden area first.
Simple Fixes for Minor Scratches
Minor scratches don’t require replacing furniture. Two household methods work for surface-level marks that haven’t broken through the finish.
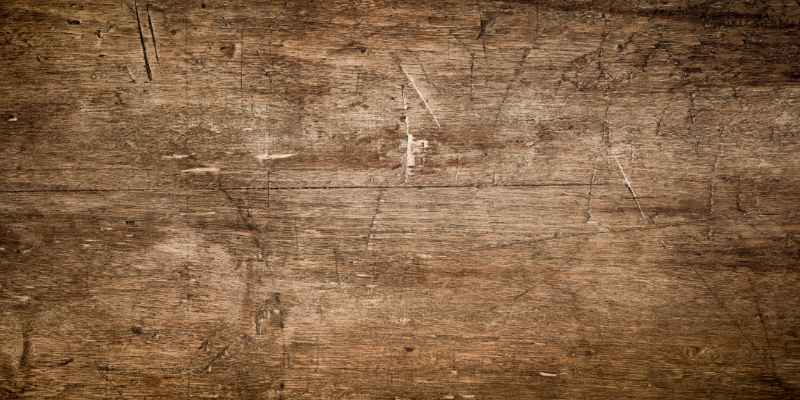
Using Oil and Vinegar
A 1:1 mix of olive oil and white vinegar can hide light surface scratches — dip a soft cloth in the mixture and rub along the grain. For the full step-by-step method, drying tips, and how it stacks up against toothpaste and lemon, see our complete guide to removing scratches from wood with vinegar.
The Walnut and Pecan Method
Walnuts and pecans aren’t just snacks — their natural oils blend surface scratches into the surrounding wood grain.
- Crack open a walnut or pecan.
- Rub the nut meat directly on the scratch, applying light pressure to help the oils seep in.
- Let it sit for a few minutes, then wipe off any excess oil with a clean cloth.
This method is fast, eco-friendly, and works best on scratches that haven’t cut through the finish.
Deeper Scratch Repair Techniques
Once a scratch cuts through the finish to raw wood, oil, vinegar, and walnut treatments won’t fully hide it. Wood filler is the right tool here.
Wood Filler Application Steps
- Choose the right filler: Select a filler that matches your wood type, per the comparison table above.
- Clean the area: Remove dust and debris from the scratch before applying anything.
- Apply the filler: Use a putty knife to press the filler firmly into the scratch.
- Overfill slightly: Leave the filler a bit above the surface level — it shrinks slightly as it dries.
- Let it dry: Follow the manufacturer’s drying time; most fillers need 1–24 hours depending on depth.
“For scratches down to bare wood, stain is absorbed directly into the exposed fibers — once it’s dry, you often can’t tell where the repair was made.”
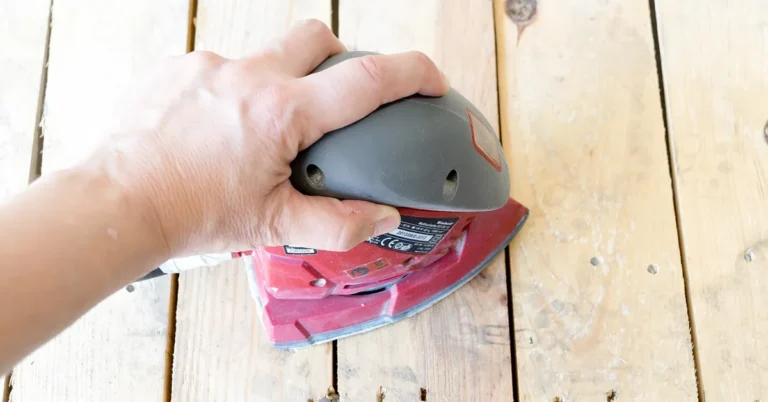
Sanding for a Smooth Finish
- Use fine-grit sandpaper: Start with 220-grit.
- Sand gently: Lightly sand the filled area until level with the surrounding surface.
- Feather the edges: Blend the repair into the surrounding wood so there’s no visible ridge.
- Clean the dust: Wipe with a damp cloth before finishing.
After sanding, the repaired area should feel even under your hand. Finish with polish or a matching stain to blend the color.
Restoring Color and Shine
Sanded repairs need color and protection to match the surrounding wood. This is a two-step process: staining, then sealing.
Staining to Match the Original Wood Tone
- Identify the wood type and its current finish tone.
- Choose a stain that matches — test it on a small, hidden area first.
- Apply the stain with a clean cloth, using even strokes.
- Let it dry completely, check the color match, and apply a second coat if needed.
Sealing and Protecting the Repaired Area
- Select a high-quality sealant matched to your finish type (oil, wax, or polyurethane).
- Apply with a brush or cloth, following the manufacturer’s drying-time instructions.
- Consider a second coat over heavily-used surfaces for added durability.
Preventive Measures and Care Tips
Preventing scratches is far less work than repairing them. These habits address the four common causes covered above.
- Dust regularly: Grit trapped under a cloth is what actually causes fine scratches during cleaning — always dust before wiping.
- Use coasters: Prevent both scratches and moisture rings.
- Avoid dragging heavy items: Lift, don’t slide, furniture and objects across the surface.
- Use furniture pads: Felt pads under legs stop the sliding-motion scratches pets and movement both cause.
Best Practices for Cleaning and Polishing
- Choose the right cleaner: Use a wood-specific cleaner, never an all-purpose spray.
- Dampen, don’t soak: A barely-damp cloth is enough.
- Wipe with the grain: Always clean in the direction of the wood grain.
- Polish sparingly: Every 3–6 months is enough for most finishes.
| Cleaning Task | Frequency |
|---|---|
| Dusting | Weekly |
| Deep cleaning | Monthly |
| Polishing | Every 3–6 months |
Advanced DIY Projects
For furniture with scratches spread across the whole surface, spot repair isn’t always the best answer. Two options go further: refinishing and upcycling.
Refinishing an Entire Piece
- Gather supplies: Sandpaper, paint stripper, wood stain, and brushes.
- Remove the old finish: Apply paint stripper per its instructions.
- Sand the surface: Work through progressively finer grits.
- Clean the surface: Wipe away all dust with a damp cloth.
- Apply wood stain: Choose a tone that suits your decor.
- Seal the finish: Use a clear coat for protection.
Creative Ways to Upcycle Scratched Furniture
- Decoupage: Cover scratches with decorative paper.
- Stenciling: Add a pattern over the damaged area.
- New hardware: Swap knobs and handles for a fresh look.
- Chalk paint: A trendy finish that hides surface wear entirely.
Frequently Asked Questions
How Can I Repair Scratches on Wood Furniture?
Clean the area with a soft cloth and mild soap, then match the fix to the depth: a stain marker or wax stick for surface scratches, or a color-matched wood filler for deeper ones. For filler, let it dry, sand it lightly, then reapply the wood finish to blend the repair with the surrounding area.
What Household Items Can Fix Wood Scratches?
Olive oil and white vinegar mixed 1:1, and cracked walnuts or pecans rubbed directly on the scratch, are the two most reliable household fixes for surface-level marks. Both work by feeding oil into the wood grain rather than by filling the scratch, so they only help scratches that haven’t broken through the finish.
Can I Use a Marker for Wood Scratch Repair?
Yes, a furniture touch-up marker works well on surface scratches. Choose a marker that matches your wood color, apply it directly to the scratch, and let it blend in. It’s quick, mess-free, and ideal for minor marks on furniture and cabinets — but it won’t hide a scratch deep enough to show raw wood.
What’s the Difference Between Wood Filler and Wood Putty?
Wood filler hardens and is sandable and stainable, making it the right choice for deep scratches on raw wood you plan to refinish. Wood putty stays pliable and can’t be sanded, but it comes pre-colored to match common wood tones — better for a finished piece where you just need to hide a scratch, not rebuild the surface.
Does Toothpaste Remove Scratches From Wood?
Plain white (non-gel, non-whitening) toothpaste can mask very minor surface scratches — it’s a mild abrasive that buffs the finish. It won’t touch a deeper scratch, and it can affect wax or oil finishes, so test it on a hidden spot first. A stain marker or wax filler stick is more reliable and less risky.
How Do I Prevent Future Scratches on Wood?
Use coasters and placemats, keep pets’ nails trimmed, and lift rather than drag furniture and objects across the surface. Regularly polish your wood surfaces to maintain the protective finish, and add felt furniture pads under heavy items to stop sliding-motion scratches before they start.
Conclusion
Repairing wood scratches comes down to matching the fix to the depth: marker or wax for surface marks, filler for anything that shows raw wood. Always test your chosen method on a hidden area first. For a longer step-by-step walkthrough of both minor and deep repairs, see our full guide to removing scratches from wood furniture, or check our wood care and protection guide for the broader maintenance routine that keeps scratches from coming back.
Sponsored / affiliate links. As an Amazon Associate I earn from qualifying purchases. I may earn additional commission from eligible campaigns.