Live Edge River Table: How to Build One Without Cracking It
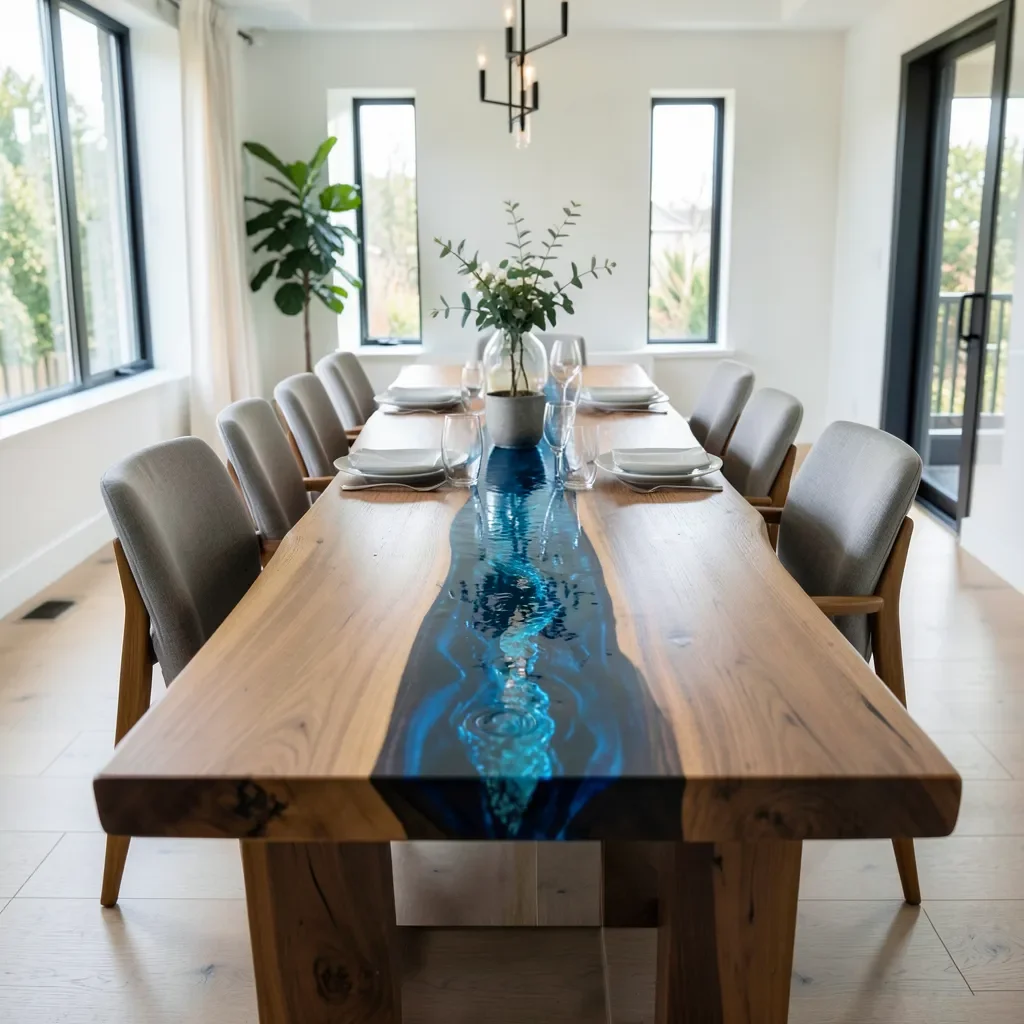
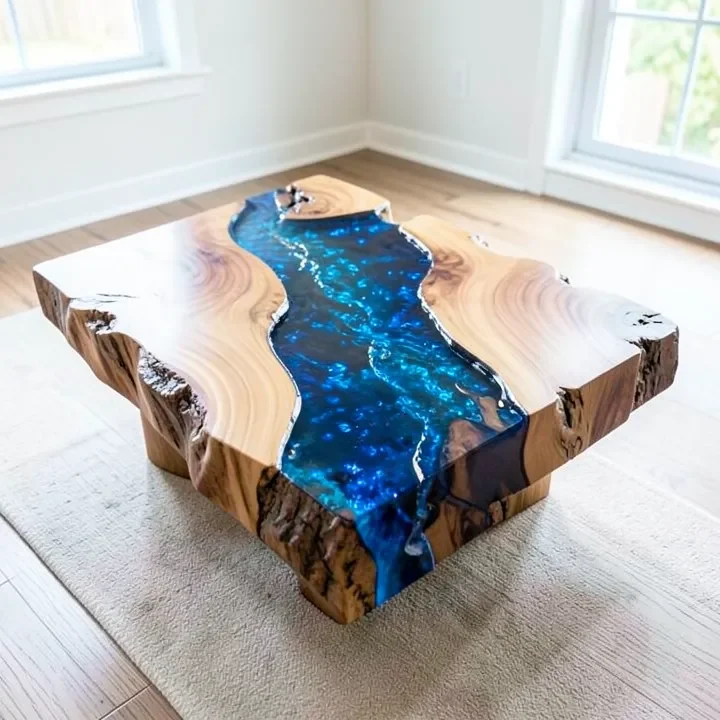
A live edge river table pairs a natural wood slab with a poured epoxy “river” that mimics flowing water — but the two most common failures (cloudy resin and cracked pours) both trace back to wood moisture and pour depth, not bad luck. Wood that’s too wet off-gasses into curing resin and clouds it; pouring resin too thick in one layer traps heat and cracks as it cures. This guide covers the real build mechanics, not just the finished look.
Why River Tables Crack or Turn Cloudy (And How to Avoid It)
Best Deep Pour Epoxy Pick
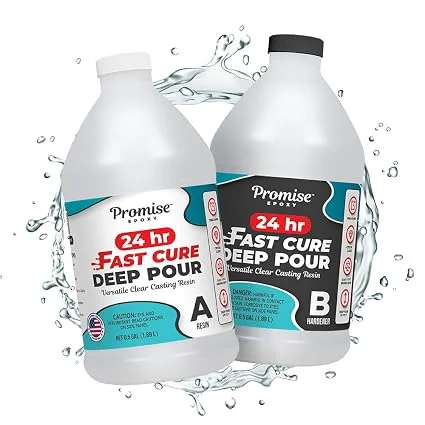 |
Promise Epoxy Fast Cure Deep Pour Resin (1 Gallon) – $44.39 A deep-pour formula suited to the stacked-layer pour technique this guide recommends, with a 24-hour demold time for faster project turnaround.
|
Epoxy resin cures through an exothermic chemical reaction — it generates its own heat as it hardens. Pour too much resin at once and that heat has nowhere to go, causing the resin to crack, yellow, or warp as it cools unevenly. Standard tabletop epoxy is only rated for thin coats (about 1/8″ to 1/4″ per layer); anything deeper needs to go in as multiple stacked layers, or a resin specifically formulated for deep pours.
Cloudiness has a different cause: wood moisture. A live-edge slab that hasn’t been properly dried releases trapped moisture and volatile compounds into the resin as it cures, which shows up as a milky haze or trapped bubbles along the wood-to-resin boundary. Slabs need to be air-dried or kiln-dried to a stable moisture content before any resin touches them — pouring over a “green” or recently-cut slab is the single most common reason a first river table project fails.
Choosing the Right Wood
Any stable, properly dried live-edge slab works, but some species are more forgiving for a first build:
| Wood | Why it works for river tables |
|---|---|
| Walnut | Dark, rich grain that contrasts strongly against clear or lightly tinted resin |
| Maple | Light color lets tinted resin colors show through more vividly |
| Oak | Durable and widely available, though its open grain needs a sealer coat before resin to avoid air bubbles rising out of the pores |
| Cedar | Lightweight and easy to work, but softer — more prone to dents in daily table use |
Whatever species you pick, check the slab for existing cracks and checking before you commit resin to it — small existing cracks are actually fine to fill with resin, but a slab that’s still actively drying will keep moving after the pour and can crack the cured resin along with it.
Pouring the Resin “River”
- Seal the wood first: Brush a thin seal coat of the same resin over any exposed end grain and porous areas. This traps outgassing bubbles before the main pour instead of letting them rise up through the finished river.
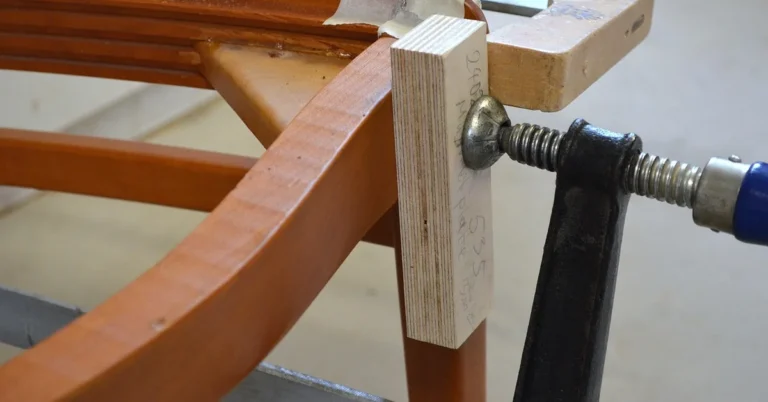
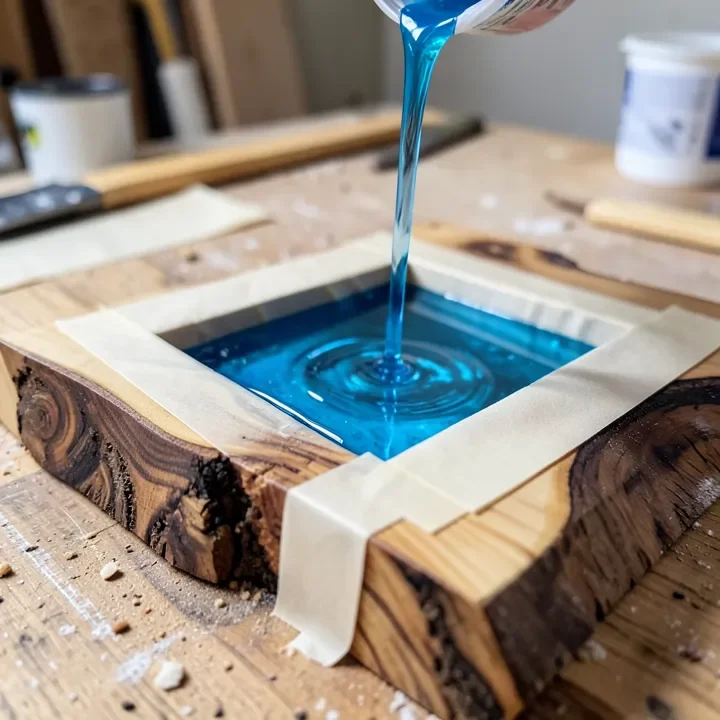
- Build a dam: Tape or clamp a mold wall around the slab edges so the liquid resin doesn’t run off the sides before it cures.
- Mix accurately: Epoxy resin and hardener must be measured to the manufacturer’s exact ratio (usually by volume or weight) — an inaccurate mix is the top cause of resin that stays tacky and never fully cures.
- Pour in stages: For any pour deeper than about 1/4″, pour in stacked layers rather than all at once, letting each layer set before adding the next. This is what actually prevents the cracking and yellowing described above.
- Torch out bubbles: Pass a heat gun or small torch lightly over the wet surface after each pour to pop trapped air bubbles rising to the top.
📊 Manufacturer guidance for standard tabletop epoxy caps single-layer coats around 1/8″–1/4″, recommending 4–8 hours between stacked layers for a deeper pour rather than one thick pour. Source: TotalBoat TableTop Epoxy product documentation.
Sanding and Finishing After the Pour
Once fully cured (check the resin’s data sheet — full cure can take days even after it feels hard to the touch), sand the whole surface flat starting around 120-grit and working up through progressively finer grits to 400 or higher for a glass-like finish. Finish the wood portion with a food-safe oil or a wipe-on polyurethane to protect it from moisture and wear — the cured resin itself doesn’t need a topcoat, but keeping both surfaces level as they age matters for a smooth, snag-free tabletop.
Realistic Costs and Timeline
DIY material costs for a dining-table-sized river table typically run a few hundred dollars in slab and resin alone, since deep-pour epoxy is priced by the gallon and a dining table can need several gallons. A commissioned custom piece from a professional shop generally costs more once labor, tooling, and the shop’s own material markup are factored in — get a written quote before committing, since pricing varies significantly by region and slab species. Plan for the resin cure time alone to add at least several days to any build before final sanding can start.
Maintenance and Care
- Wipe with a soft, dry or lightly damp cloth — avoid ammonia-based glass cleaners, which can dull cured epoxy over time.
- Use coasters and trivets; while cured epoxy resists water rings better than bare wood, sustained heat from a hot pan can still soften and distort it.
- Keep the table out of direct sunlight where possible — UV exposure is the main cause of resin yellowing over years of use, even in resins marketed as UV-resistant.
- Re-oil the wood portion periodically per the finish manufacturer’s schedule; the resin portion needs no reapplication.
Frequently Asked Questions
What is a live edge river table?
A live edge river table pairs one or more wood slabs that keep the tree’s natural outer edge with a poured epoxy resin “river” filling the gap between them, mimicking flowing water. It’s built, not carved — the resin is poured as a liquid and cured hard.
Why did my river table resin turn cloudy?
Cloudiness almost always comes from moisture or trapped air escaping the wood into the curing resin. The fix is prevention: use a properly dried slab (not a recently cut, “green” one) and seal porous end grain with a thin coat of resin before the main pour.
Why did my resin pour crack while curing?
Cracking is typically caused by pouring too much resin in one layer. The curing reaction generates its own heat, and a thick single pour traps that heat unevenly, causing stress cracks as it cools. Pour in thin stacked layers instead of one deep pour, following the resin manufacturer’s recommended depth per coat.
How do I maintain a live edge river table?
Clean with a soft cloth, avoid ammonia-based cleaners on the resin, use coasters and trivets, and keep the table out of prolonged direct sunlight to slow resin yellowing. Re-oil the wood portion on the schedule recommended by your specific wood finish.
Sponsored / affiliate links. As an Amazon Associate I earn from qualifying purchases. I may earn additional commission from eligible campaigns.