Can You Spray Lacquer in Cold Weather?
You can spray lacquer in cold weather only when the shop, the wood, and the finish all fall within the product sheet’s spray range. As a practical floor, many finishers treat about 60°F as the point where risk starts to rise quickly, and 65–75°F is a safer target when the manufacturer allows it. If you spray too cold, lacquer can blush, dry unevenly, trap solvent, and fail later.
Lacquer decision table


This table separates sprayability from cure safety. A coat can atomize well enough and still be a bad idea if the wood is cold, the dew point is close to room temperature, or the product sheet calls for warmer conditions for cross-linking or cure. Check the exact sheet for your lacquer system first.
| Condition | Risk level | Action |
|---|---|---|
| Air temperature at or above the product sheet minimum, with the shop warm enough to keep flash time normal | Lower | Proceed only if humidity is also within the sheet’s range and the wood is not cold to the touch. |
| Air temperature below 60°F | Higher | Expect slower evaporation and cure; stop unless the exact lacquer sheet specifically allows that condition and you can keep the rest of the system warm enough. |
| Wood temperature close to room temperature, not chilled by an unheated shop or cold storage | Lower | Safe to spray only if air temperature, humidity, and product temperature also fit the sheet. |
| Cold wood, even when the air feels workable | Higher | Warm the substrate first. Cold wood slows solvent release and can disturb film formation. |
| Relative humidity below about 65% | Lower | This is a common general rule for spraying lacquer or shellac, but still check the product sheet. |
| Relative humidity above about 65%, or dew point within 20 degrees of ambient temperature | Higher | Wait for drier air. Blush risk rises, and cure can become less reliable. |
| Standard lacquer in a heated, ventilated shop with warm wood and warm product | Lower | Good candidate for spraying if the sheet supports it. |
| Pre-cat lacquer in marginal cold conditions | Medium | Formulation matters. Some reports describe more forgiving behavior than conversion varnish, but the sheet still controls. |
| Conversion varnish in cold conditions | Higher | Be cautious. Cold can raise viscosity and increase the chance of brittle cure or later checking. |
Simple pass/fail rule: if the shop temperature, wood temperature, and product temperature are all within the manufacturer’s stated range, humidity is acceptable, and the dew point is not too close to ambient, you can spray. If any one of those is outside range, stop.
Delayed-failure warning signs
Do not judge a cold coat only by how it looks right after spraying. The more dangerous problem is delayed failure. A finish that seems fine at first can later show cold checking, brittle fracture, poor bond, or a shatter-like failure after the wood moves.
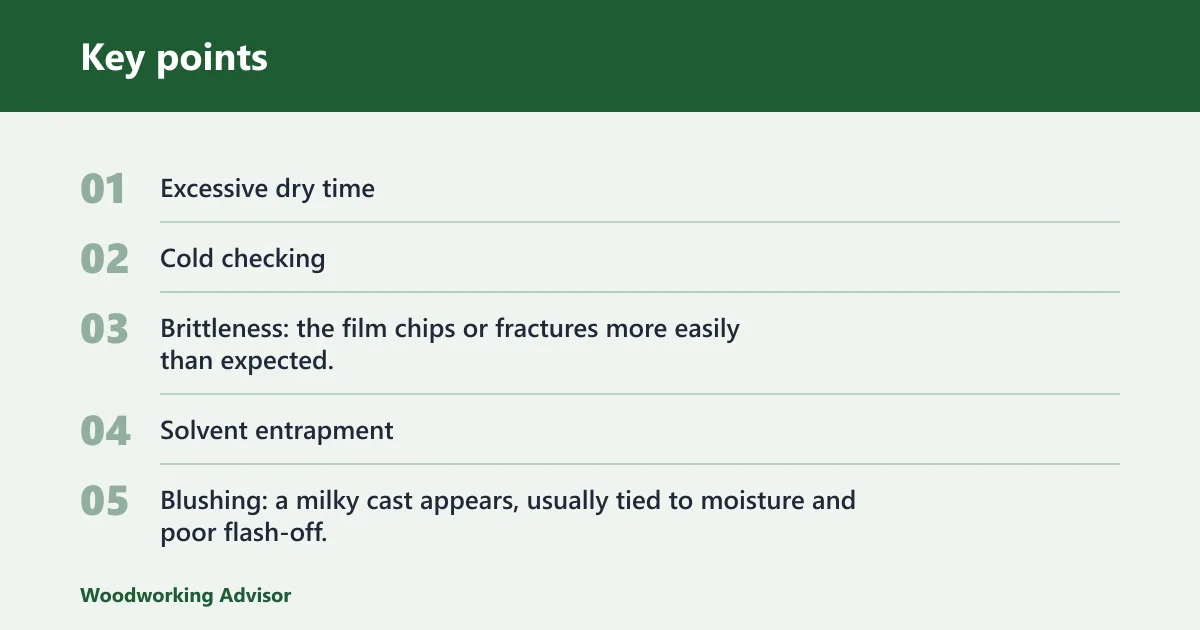
- Excessive dry time: the coat stays tacky far longer than the sheet suggests.
- Cold checking: fine cracks appear later, often after temperature swings.
- Brittleness: the film chips or fractures more easily than expected.
- Solvent entrapment: the surface skins over while the film underneath stays soft.
- Blushing: a milky cast appears, usually tied to moisture and poor flash-off.
How cold is too cold to spray lacquer?
There is no single universal number that fits every lacquer. Product sheets matter more than forum rules. Still, below 60°F is a common warning line because evaporation slows and the coating may not cure properly. Some finishers report usable results above 55°F to 60°F, while others treat 60°F as the bottom number for ideal spraying.
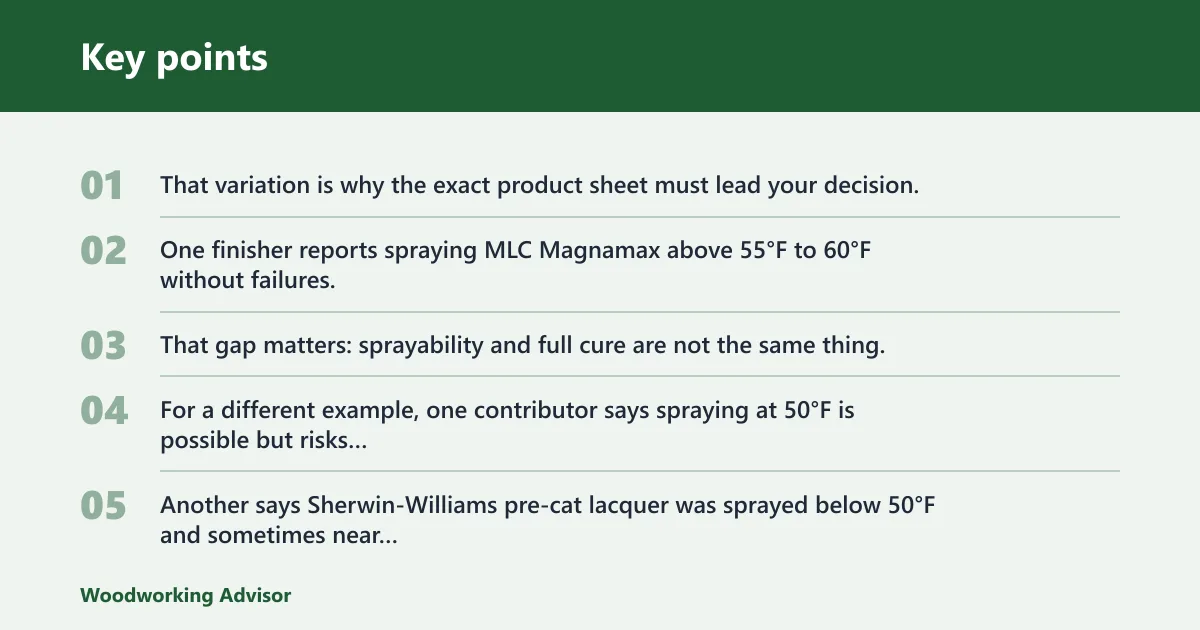
That variation is why the exact product sheet must lead your decision. One finisher reports spraying MLC Magnamax above 55°F to 60°F without failures, yet the same contributor says the factory wanted the temperature above 68°F for cross-linking. That gap matters: sprayability and full cure are not the same thing.
For a different example, one contributor says spraying at 50°F is possible but risks quality, mistakes, and longer finishing time. Another says Sherwin-Williams pre-cat lacquer was sprayed below 50°F and sometimes near freezing, with about 100 gallons sprayed in those temperatures without a finish failure. Those reports are not a license to ignore the sheet; they show that formulation changes the risk profile.
What the product sheet should tell you
Check three things before you load the gun: minimum application temperature, reducer or catalyst guidance, and cure or cross-linking temperature. Some sheets give one number for spray application and a higher number for full cure. That higher number is the one that protects you from later failure.
If the sheet is missing, vague, or written for a different region or catalyst package, treat the system as higher risk. Do not assume one lacquer behaves like another just because both spray through an HVLP gun.
What should you warm before spraying?
Warm the wood first, then the finish, then the shop air. A cold substrate is a common reason winter lacquer looks acceptable on day one but cures slowly or unevenly. Keep the lacquer and any approved reducer at room temperature before you spray, and do not let the workpiece stay chilled from storage or an unheated room.
Cold lacquer and cold reducer atomize differently. Viscosity rises, which can change fan pattern and droplet breakup. That is one reason a product that sprays cleanly at room temperature may feel heavier or drier in a cold shop even if the gun settings have not changed.
Lacquer thinner and acetone
Only use lacquer thinner or acetone if the product sheet allows that reducer for the exact lacquer system. Acetone is not a general-purpose fix for cold spraying. It may work in some formulations and cause trouble in others, especially when the goal is to preserve flow, pot life, and cure behavior.
Whatever reducer is approved, bring it to room temperature before use. That does not change the formula. It only keeps the viscosity and evaporation behavior closer to what the manufacturer expects.
If cabinet doors were stored overnight in a garage at about 38°F, they can still hold enough chill to slow flash-off even after the shop air is warmed to about 62°F. Warm the parts first, or wait. The air alone does not make the wood ready.
How does humidity and dew point affect lacquer?
Relative humidity is not a side issue. A general rule for spraying lacquer or shellac is not to spray above 65% relative humidity, and a more accurate check is the dew point. If the dew point is within 20 degrees of ambient temperature, that is a warning sign that moisture risk is climbing.
High humidity can slow solvent release, increase blush risk, and make winter spray work less predictable. A cool shop with damp air is especially troublesome because the finish is already fighting slower evaporation. The result can look dry enough to sand, then fail later under temperature swing or handling.
If the air feels damp, do not rely on feel alone. Check the ambient temperature and dew point together. If the spread is small, wait for drier conditions or heat and dry the shop before spraying. Lacquer likes dry air more than warm air by itself.
Picture a 58°F shop after a rainy day, with the dew point only a few degrees below room temperature. The lacquer may atomize, but the flash stage slows and blush risk rises. That is not a good day to push through a clear coat on cabinet parts.
Winter spray setup and workflow
Use an HVLP spray gun only in a ventilated space with the right respirator for solvent finishes. Cold weather does not reduce solvent exposure. It often makes people work longer in a closed shop, which increases risk. Ventilation and respirator use matter for solvent finishes.
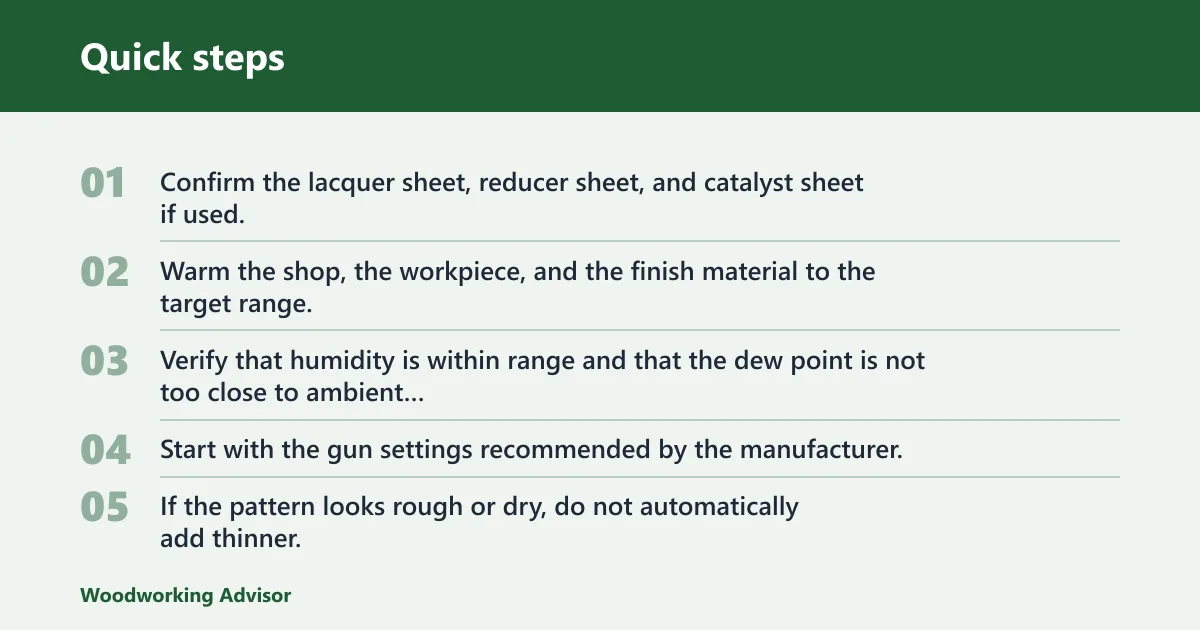
HVLP setup in cooler conditions
- Confirm the lacquer sheet, reducer sheet, and catalyst sheet if used.
- Warm the shop, the workpiece, and the finish material to the target range.
- Verify that humidity is within range and that the dew point is not too close to ambient temperature.
- Start with the gun settings recommended by the manufacturer, then adjust only as needed for atomization.
- If the pattern looks rough or dry, do not automatically add thinner. Check temperature first.
- Move coated parts into a warm, stable space for drying and cure.
Cooler conditions usually call for more attention to atomization and flash time, not a heavier, wetter pass by default. A wet coat over a cold substrate can trap solvent under the skin. That can stretch dry time well beyond what a normal shop schedule expects.
Recoat timing when the first coat dries slowly
Slow dry time is common in winter. One woodworker reports spraying Deft Brushing Lacquer in a garage around 35-42°F, then bringing the shop up to 72°F before turning heat off for drying. That same report says dry time between coats was more like 45 minutes. The useful lesson is not the exact number. It is that warming the substrate and then drying in a stable space can change the schedule a lot.
Do not sand or recoat just because the surface feels dry. Wait until the film is truly ready. If the first coat is slow, the next coat can rewet it and create more problems than it solves.
Can you apply varnish in cold weather?
You can apply some varnishes in cold weather only if the manufacturer allows it, but the risk profile is different from lacquer. Varnish is not one category, and cold can affect each formula differently. As with lacquer, the sheet should set the limit, not a generic winter rule.
For lacquer work, do not borrow varnish advice as if the products were the same. Conversion varnish, in particular, can be harder to spray in cold because viscosity rises, and colder cure conditions can raise the chance of brittle film or later checking. Keep that caution separate from ordinary lacquer guidance.
Frequently asked questions
Can you spray lacquer in cold weather?
Yes, but only within the lacquer system’s stated temperature and humidity range. A practical floor is around 60°F for many products, with a warmer shop and warm wood being safer. Below that, evaporation slows, cure becomes less reliable, and delayed failure becomes more likely.
How cold can it be to spray lacquer?
There is no universal number. Some finishers report workable results in the 50s, but product sheets may require more. Treat below 60°F as a warning zone unless the exact lacquer, reducer, and catalyst sheet clearly allows a lower temperature.
What temperature is too cold for lacquer to cure properly?
Below 60°F, water evaporation slows and the coating may not cure properly. Some product sheets call for shop temperatures above 68°F for cross-linking. If your parts and shop cannot stay in that range, wait rather than gamble on a weak film.
Do you need to warm lacquer before spraying in winter?
Yes, if the sheet allows warming to room temperature conditions. Cold lacquer is harder to atomize cleanly and may change flash time. Warm the lacquer, the reducer, and the workpiece to similar temperatures so the spray pattern and cure stay predictable.
Can you spray lacquer below 50 degrees?
Sometimes people do, but it is a high-risk choice unless the exact product sheet permits it. At that temperature, dry time lengthens, mistakes become easier to make, and the chance of later defects rises. The safer answer is usually to warm the shop first.
How does humidity affect spraying lacquer in cold weather?
High humidity adds another layer of risk because lacquer may blush or cure slowly. A general rule is to stay below 65% relative humidity, and a dew point within 20 degrees of ambient temperature is a warning sign. When both air and substrate are cold, wait for drier conditions.
What happens if lacquer is sprayed when wood is cold?
The finish can look acceptable at first and still cure poorly later. Cold wood slows solvent release and can disturb film formation, which raises the risk of soft cure, uneven build, and delayed cracking or cold checking when the parts see later temperature changes.
Sponsored / affiliate links. As an Amazon Associate I earn from qualifying purchases. I may earn additional commission from eligible campaigns.