How to Finish Exposed Toe Kick Ends on a Cabinet Run
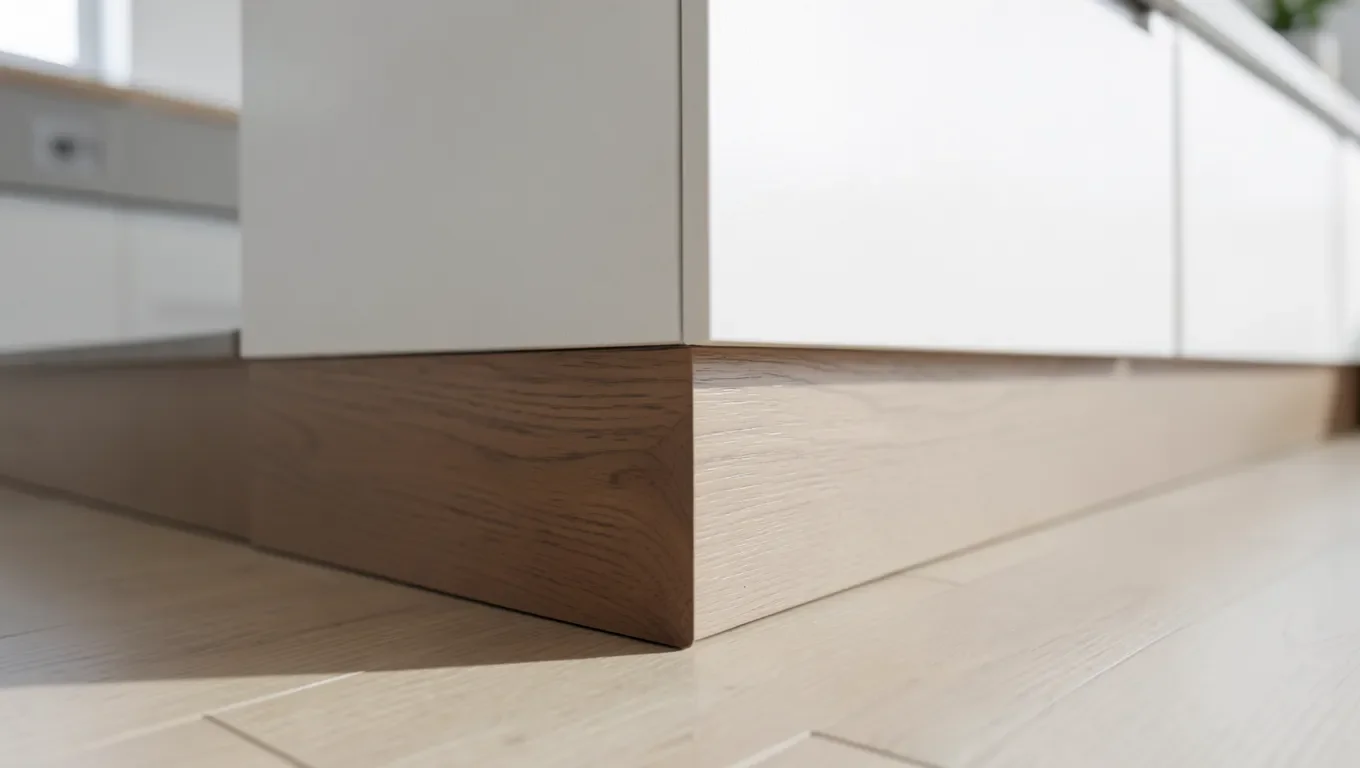
An exposed toe kick end shows up at the end of a cabinet run or on the open side of a peninsula or island, where the recessed toe kick area isn’t covered by another cabinet. Fix it with a finished end panel: either a scribed matching panel cut to your cabinet line’s finish, a pre-made filler/end panel kit ordered from the cabinet manufacturer, or a field-finished piece of plywood or MDF stained or painted to match on site. The hardest part usually isn’t the cutting, it’s getting the stain color to actually match cabinets that already have a factory finish on them.
What Is an Exposed Toe Kick End, and Why It’s Different From a Normal Toe Kick
Best For Color-Matching Touch-Ups
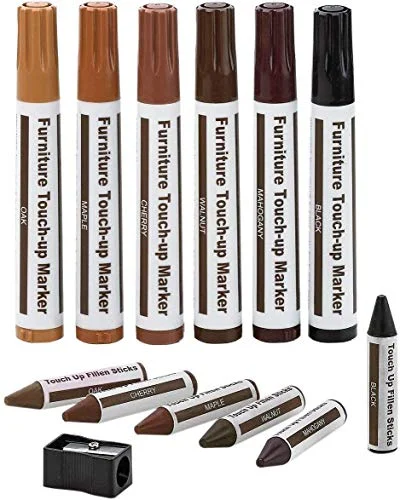 |
Furniture Repair Kit Wood Markers, Set of 13 – $9.96 Before you commit a whole can of stain to a new end panel, these let you dab in a close color match on nail holes, seams, and edge touch-ups once the panel is installed.
|
A toe kick end becomes “exposed” whenever a cabinet run stops in open air instead of butting into a wall or another cabinet: the end of a peninsula, the open side of an island, or the last cabinet in a row that ends at a doorway or open floor plan. On a normal run, the toe kick recess is hidden because the next cabinet’s side panel closes it off. At an exposed end, that recess is open on the side, and if nothing covers it, you’re looking straight at the raw plywood or particleboard box construction, unfinished edges, staples, and all. It’s a small area, usually just a few inches deep and as tall as the toe kick opening, but it sits right at eye level when you walk past, so it reads as an unfinished job even on an otherwise nicely built kitchen.
Cabinet installers almost always plan for this with a dedicated end panel, either ordered as a factory-finished piece that matches the door style, or built and finished on site. If you’re dealing with a DIY cabinet install, a repurposed cabinet run, or an older kitchen where the original end panel was never installed or was damaged, you’re the one closing that gap.
Three Real Ways to Finish an Exposed Toe Kick End
There isn’t one single correct method here, it depends on your budget, how closely the finish needs to match, and whether you can still order parts from the original cabinet line.
- A scribed matching end panel. A panel cut from the same material and finish as your cabinet doors, then scribed (trimmed along an irregular edge) to follow the actual wall, floor, or countertop line, which is almost never perfectly straight. This is the approach a cabinet installer or finish carpenter uses, and it gives the cleanest result because the panel is fit to your actual space instead of assuming everything is square.
- A pre-made filler or end panel kit. Many cabinet manufacturers, including most stock and semi-custom lines sold through big box stores, sell matching filler panels and end panels as a stock accessory item specifically for this situation. If your cabinets are a known brand or line, check with the retailer or manufacturer before building anything from scratch, a factory-matched panel removes the color-matching problem entirely since it’s finished in the same batch process as your doors.
- A field-finished cut piece. Cut a piece of 3/4-inch plywood or MDF to size, edge-band or veneer the exposed front edge to match, then stain or paint it on site to match the existing cabinets. This is the cheapest and most common DIY route, and it’s the one where color-matching becomes the real challenge, covered in the next section.
Color-Matching Stain to Existing Cabinets: The Part That Actually Trips People Up
Here’s the misconception that causes most bad-looking end panels: assuming a can of stain labeled “oak” or “cherry” will match cabinets sold under that same wood name. It usually won’t, at least not straight out of the can. Factory-finished cabinets are rarely just wood plus one coat of stain. Most go through a multi-step finishing process at the factory: a base stain or dye coat, sometimes a glaze or toner wiped into corners and profiles to add depth and shading, then a catalyzed or conversion-varnish topcoat in a specific sheen, satin and semi-gloss are the most common on cabinetry. A single wipe-on stain from a hardware store replicates only that first layer, which is why a “matching” stain color can still look flat, too light, or slightly off-hue once it’s dry next to the real cabinets.
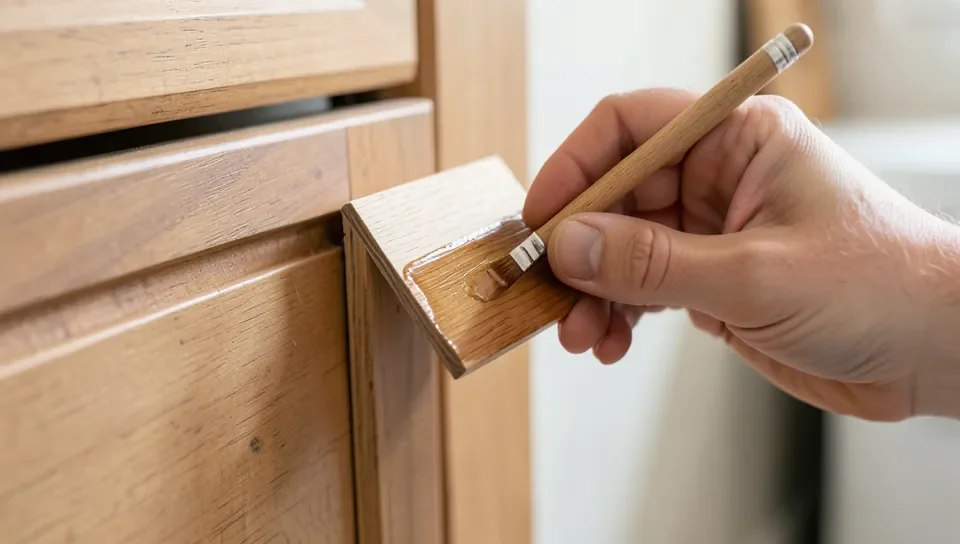
Test on scrap first, and test on a cutoff from the exact same panel material you’ll actually install, not a random piece of pine from the shop. If you’re unsure which stain type or application method fits your panel material, our interior wood stain guide covers the differences between oil, water-based, and gel stains before you buy one. Plywood, MDF, and the actual door material all take stain differently, so testing on the wrong substrate gives you a false result. Apply your stain, let it dry fully (not just surface-dry, give it the full time on the can), then hold the scrap directly against the cabinet in the same light where it will actually live, natural daylight and under-cabinet LEDs read color very differently. If the base stain color is close but reads too light or flat, a second thin coat, or a gel stain applied as a glaze layer on top, can push it closer to the factory depth. If it’s close but the sheen is wrong, that’s a topcoat problem, not a stain problem, switch to a satin or semi-gloss wipe-on poly to match rather than re-staining. Expect to need two or three test attempts before committing stain to the real panel. That’s normal, not a sign you’re doing it wrong.
Step-by-Step: Cutting, Finishing, and Installing the End Panel
- Measure the recess carefully. Measure width, height, and depth at multiple points, floors and walls are rarely perfectly flat or plumb, and note the largest gap you’ll need to scribe out.
- Cut the panel oversized, then scribe to fit. Cut about 1/8 inch larger than your measurements on any edge that meets a wall or floor, then use a compass or scribing tool to trace the actual surface irregularity onto the panel, and trim to that line with a jigsaw or belt sander for a tight, gap-free fit.
- Sand before finishing. Work through 120, then 150, then 220 grit, sanding with the grain. Skipping grits is the most common reason a stained panel looks blotchy compared to the factory-finished doors next to it.
- Apply a pre-stain conditioner on blotch-prone woods like pine, birch, or maple, waiting the 15 to 30 minutes the product specifies before staining. This step alone fixes a lot of “my stain came out patchy” problems.
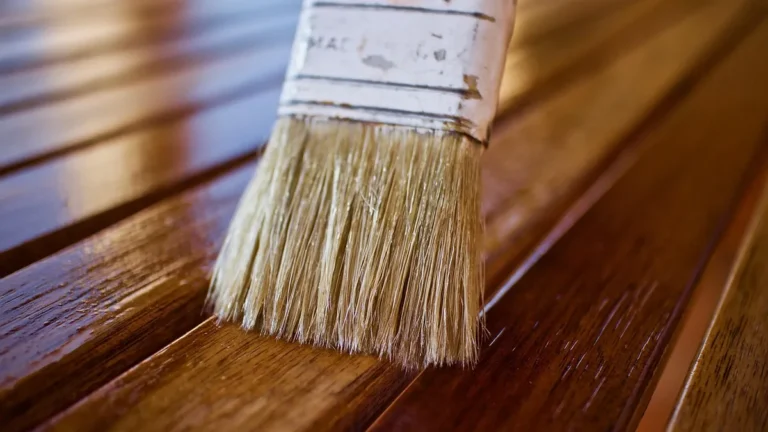
- Apply stain in thin coats, wiped on and wiped off, rather than brushed and left to pool. Two thin coats, fully dried between each, almost always look better and more even than one heavy coat.
- Let the stain cure fully before topcoating, typically 24 hours, then apply a wipe-on or brush-on polyurethane in the sheen that matches your cabinets, letting each coat dry and doing a light 320-grit scuff sand between coats.
- Install with construction adhesive plus finish nails driven into the cabinet’s face frame or side panel where they won’t show, or use pocket screws from inside the cabinet box if you have access. Fill any visible nail holes with a matching wax fill stick before the final topcoat pass, or after, using the touch-up markers above.
- Caulk the seam where the panel meets the wall with a paintable caulk in a matching or clear finish, then check the whole panel again once it’s dry and installed, under real room lighting, before calling it done.
Mistakes That Give Away a DIY Toe Kick End
- Buying stain by the name on the can (“oak,” “espresso”) instead of testing it against the real cabinet, assuming the name means the color matches.
- Cutting the panel square instead of scribing it, which leaves a visible wedge-shaped gap along an uneven wall or floor.
- Skipping the pre-stain conditioner on blotch-prone wood and ending up with a splotchy panel next to smooth, even factory doors.
- Using construction adhesive alone with no mechanical fastener, so the panel eventually loosens or bows away from the cabinet over time.
- Matching the stain color but not the sheen, a perfectly color-matched panel in the wrong gloss level still looks visibly different under kitchen lighting.
Frequently Asked Questions
Can I order a matching end panel directly from my cabinet manufacturer?
In many cases, yes. Stock and semi-custom cabinet lines, including most sold through home improvement retailers, list matching filler and end panels as a standard accessory SKU. Check your original order paperwork or the retailer’s cabinet department for your door style and finish code before assuming you have to build and finish one from scratch, it’s often the same price as a sheet of good plywood and removes the color-matching problem entirely.
Why doesn’t my stain match even though the can says the same wood name as my cabinets?
Factory cabinet finishes are usually a multi-layer process, a base stain, sometimes a toner or glaze coat, and a catalyzed topcoat in a specific sheen. A single coat of store-bought stain only replicates the first layer, so the color can look flat or slightly off even when the label matches. Test on scrap, compare it in the room’s actual lighting, and expect to adjust with a second coat, a gel stain glaze, or a different topcoat sheen to close the gap.
Do I need to scribe the panel, or can I just cut it square?
Scribing is strongly recommended. Walls and floors are almost never perfectly straight or plumb, and a square-cut panel pressed against an uneven surface leaves a visible tapered gap. Cutting the panel slightly oversized and scribing it to the actual wall or floor line with a compass and jigsaw or belt sander gives a tight, professional-looking fit.
What’s the cheapest way to finish an exposed toe kick end?
A field-finished piece of 3/4-inch plywood or MDF, edge-banded on the visible front edge and stained or painted on site to match, is the least expensive route. It takes more time and testing to get the color right compared to ordering a factory-matched panel, but the material cost is usually well under what a manufacturer-matched panel or a custom scribed hardwood panel would run.
Conclusion
An exposed toe kick end needs an actual finished panel, not just a cut piece of plywood shoved into the gap. Start by checking whether your cabinet line sells a matching filler or end panel before building one, scribe the panel to your actual wall and floor rather than cutting it square, and treat stain color-matching as a multi-attempt process against real scrap, not a one-coat guess based on the label. Get those three things right and the end of the run looks like it was planned that way from the start, not patched in after the fact.
Sponsored / affiliate links. As an Amazon Associate I earn from qualifying purchases. I may earn additional commission from eligible campaigns.