How to Apply Varnish to Wood: Step-by-Step Guide (Pro Finish)
To apply varnish to wood, sand the bare surface smooth, wipe off all dust, brush on a thin coat along the grain, let it dry for the time on your can, scuff-sand lightly, and repeat until you have two to three coats. The part most guides skip is that the thinning ratio, recoat window, and sanding grit are different for every product, so the label beats any rule of thumb you read online.
This guide covers the application itself: brush versus wipe-on, how much varnish a project really uses, and what three maker data sheets say about thinning and recoat timing. Choosing between varnish types is covered in our guide to picking the right varnish for your project. For tabletops specifically, see finishing a table top with polyurethane.
Brush-On or Wipe-On: Pick Your Application Method
Best Brush-On Spar Varnish Pick
|
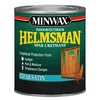
Minwax Helmsman Indoor/Outdoor Spar Urethane, Quart, Satin A brush-on varnish-type finish that comes ready to use straight from the can, so the steps below need no thinning math.
|
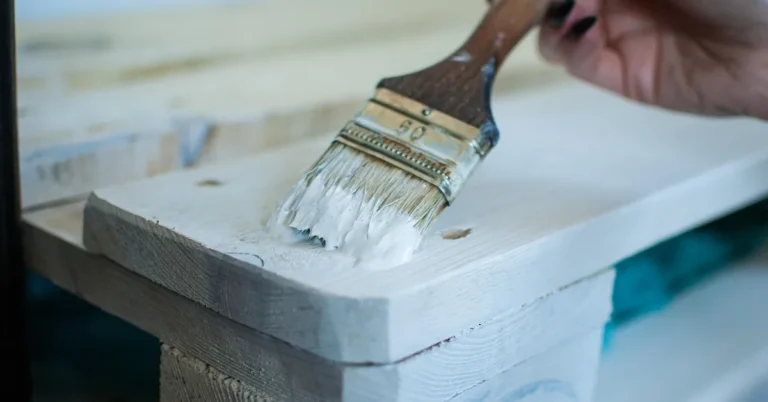
Brushing lays down a thicker film per coat, so you need fewer coats but you must manage drips, bubbles, and brush marks. Wiping on with a lint-free cloth lays down a very thin film, which is more forgiving on vertical surfaces and small pieces but takes more passes to build protection. Both work with the same prep and the same sanding between coats.
- Brush: best for flat tabletops, doors, and outdoor furniture where you want a durable film in 2 to 3 coats. Use a natural bristle brush with oil-based products and a synthetic brush with water-based ones.
- Wipe-on: best for chair spindles, carved edges, and small boxes, where a brush would leave runs. Minwax Wipe-On Poly, for example, lists a 2 hour recoat time against 4 hours for its brush-on Helmsman Spar Urethane.
- Spray: fastest on large or complex pieces, but it needs ventilation, a respirator, and thinning to the maker’s spray instructions, so it is outside the scope of this brush-and-rag guide.
What Three Maker Data Sheets Say About Thinning, Recoat, and Sanding
Most online advice says to thin the first coat, sand with 320-grit, and wait overnight. The sheets below show why that is unreliable: the instructions differ by product, and in one case they flatly contradict the rule of thumb.
| Product | Thinning | Recoat time | Sanding between coats | Coverage | Coats |
|---|---|---|---|---|---|
| Minwax Helmsman Spar Urethane (brush-on) | Do not thin | 4 hours (at 77F, 50% humidity) | 220 grit, very fine paper, lightly | 125 sq ft per quart | 2; 3 for exterior or unfinished wood |
| Minwax Wipe-On Poly (rag-on) | None listed on the product page | 2 hours | 220 grit, lightly | 62 sq ft per pint | 2 recommended |
| Epifanes Clear Varnish (traditional marine varnish) | First coat 50%, second 25%, third 15%, then 0 to 5% | 24 hours minimum (3 hours dust-free) | 320 or 400 grit wet-or-dry, lightly | n/a | 3 thinned coats, then at least 4 more |
Three things stand out. First, thinning is product-specific: the Epifanes system starts at 50% thinner for the first coat, while the Helmsman label says not to thin at all. Thinning a product that says “do not thin” can weaken the film (see how to thin varnish by maker for more maker ratios). Second, the sanding grit changes with the finish: 220 on the Minwax products, 320 to 400 on Epifanes. Third, recoat times are measured at 77F and 50% humidity, and the Minwax sheets note that lower temperatures, higher humidity, poor airflow, or thick coats all extend drying.
How Much Varnish Does a Project Actually Use?
The coverage numbers above turn into real quantities. At 125 sq ft per quart, a 30 by 60 inch tabletop (12.5 sq ft) needs about 25 sq ft of coverage for two coats, which is one fifth of a quart. Add the edges and the underside if you are finishing both faces, and one quart still covers several tabletops. Wipe-on at 62 sq ft per pint works out to the same 124 sq ft per quart, so you are paying for more passes, not more material.
That is why a quart is the right size for almost every furniture project, and why gallon cans make sense only for floors, decks, or batches of doors.
Step-by-Step: How to Apply Varnish to Wood
Step 1: Set Up the Workspace
Work in a dust-free room with good airflow and stay inside the temperature range printed on the can. Lay the piece flat if you can, because horizontal surfaces level out and shed drips. Wear a respirator rated for organic vapors with oil-based products and keep ignition sources away.
Step 2: Sand the Bare Wood Smooth
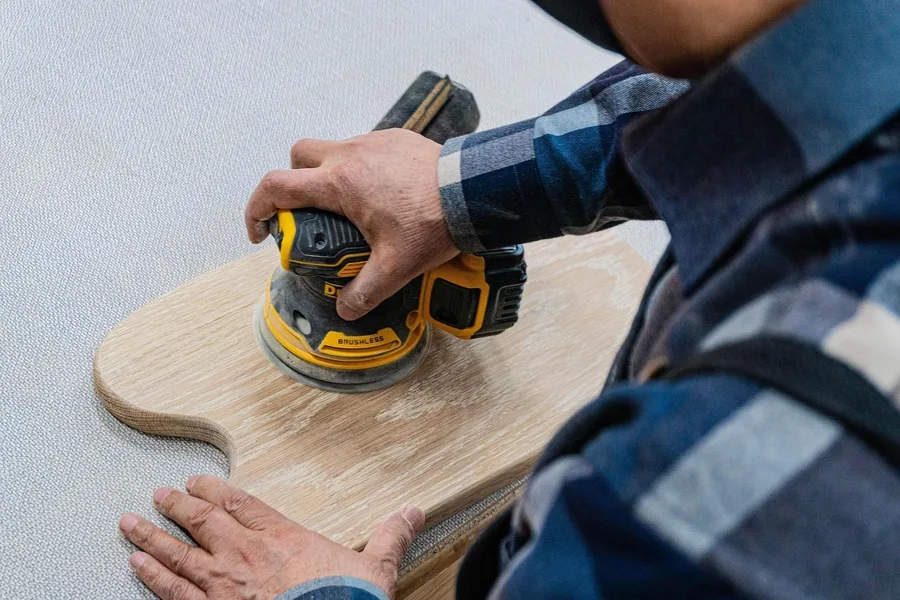
Sand with the grain, finishing at 180 to 220 grit. Going much finer on bare wood can burnish the surface so the first coat does not soak in evenly. Vacuum, then wipe with a damp cloth to lift the fine dust, or use a tack cloth. If you do not have one, see our list of tack cloth alternatives.
Step 3: Stir, Do Not Shake
Stir slowly with a flat stick, scraping the bottom, because the flatting agents in satin and matte varnish settle. Shaking whips in air bubbles that end up as pinholes in the dried film. Pour a working amount into a clean cup rather than dipping the brush into the can.
Step 4: Brush the First Coat
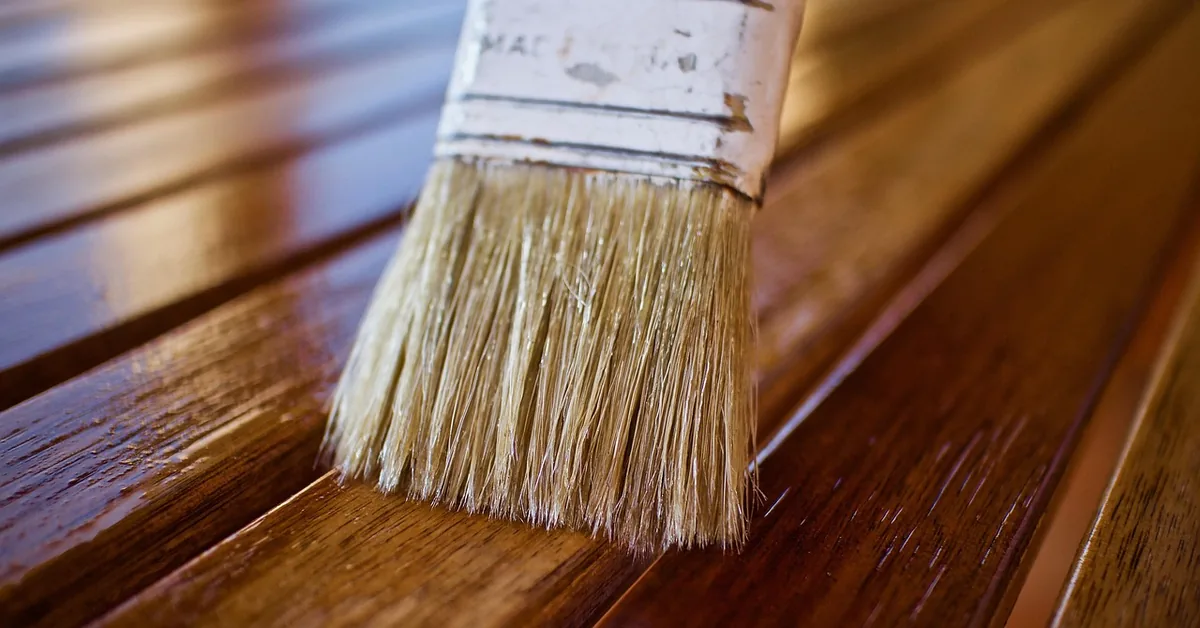
Dip only the first third of the bristles, tap off the excess on the cup edge, and lay on a thin coat along the grain with long, overlapping strokes. On bare wood, load a bit more into end grain and edges so the wood seals. Keep a wet edge and do not go back over areas that have started to set.
Step 5: Tip Off the Bubbles
Immediately after covering a section, drag the very tip of a nearly dry brush lightly across the wet film from one end to the other, with the grain. This pops small bubbles and levels brush marks before the varnish skins over.
Step 6: Dry, Scuff-Sand, and Dust
Wait the time on your can, not the time on a blog post. For the Helmsman that is 4 hours at 77F and 50% humidity; for Epifanes it is at least 24 hours. Then sand the whole surface lightly with the grit the label names (220 for the Minwax products above, 320 to 400 for Epifanes), wipe off the dust, and apply the next coat.
Step 7: Apply the Final Coat and Let It Cure
Two coats is the maker minimum on both Minwax products, and three is recommended for exterior or unfinished wood. After the last coat, Minwax advises 24 hours before light use. Full cure takes longer than that, so avoid placing heavy objects or hot items on a fresh finish for several days.
Spar Varnish vs Interior Varnish: Application Differences
Spar varnish is formulated for outdoor use. The Helmsman label lists UV blockers to reduce sun graying and special oils that let the film expand and contract with the wood as seasons change. Application is the same as interior varnish, but plan on three coats for exterior wood and seal the end grain and joints thoroughly, since that is where water gets in.
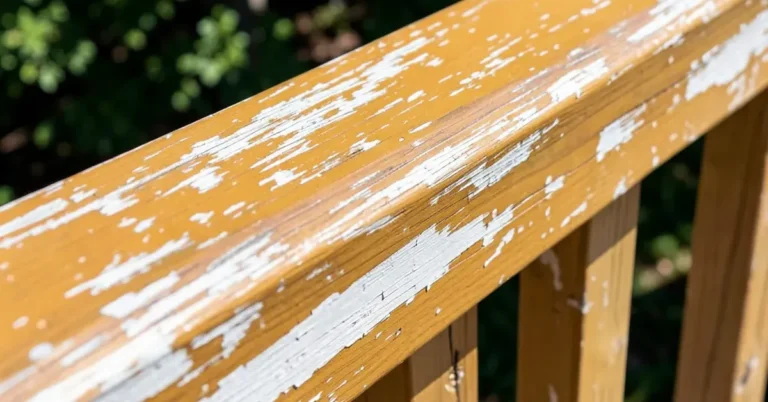
No varnish is permanent outdoors. Minwax tells users to check an exterior finish annually and recoat as needed, which is far easier than stripping it after it fails. If an old finish has already peeled, our guide to removing varnish from wood walks through the stripping step.
Fix Common Varnish Problems
| Problem | Likely cause | Fix |
|---|---|---|
| Bubbles or pinholes | Shaken can, overworked brush, or thick coat | Stir gently, tip off right after brushing, apply thinner coats |
| Runs and sags | Too much material on vertical areas | Brush out immediately; if dry, sand level and recoat |
| Dust nibs | Dust in the room or on the surface | Scuff-sand between coats and wipe thoroughly before recoating |
| Brush marks | Going back over setting varnish | Keep a wet edge; sand smooth and apply one more thin coat |
| Still tacky after a day | Cold, humid, or thick coat | Add airflow and warmth; the Minwax sheets say these conditions extend drying |
Rag Safety and Brush Cleanup
Oil-based varnish and wipe-on finishes produce rags that can heat up and ignite on their own. Minwax’s warning says to place soaked rags, steel wool, and sanding residue immediately in a sealed, water-filled metal container. Never leave them balled up in a bin.
For oil-based products, clean brushes with mineral spirits, the cleanup solvent Minwax lists, then wash with soap and water. Water-based varnish cleans up with soap and warm water. Store brushes flat or hanging.
Related Finishing Guides
- Can I paint over varnish? covers primer and prep once a varnished piece needs a color change.
- High gloss finish on wood covers rubbing out a cured finish for a mirror shine.
- Sanding between coats of stain covers the stain stage that comes before varnish.
Frequently Asked Questions
How many coats of varnish does wood need?
The Minwax sheets list 2 coats as the minimum and recommend 3 for exterior or unfinished wood. Traditional marine varnish like Epifanes takes many more, three thinned coats plus at least four more coats thinned 0 to 5%.
Should I thin varnish before applying it?
Only if the label says so. Minwax Helmsman Spar Urethane says do not thin, while Epifanes Clear Varnish calls for 50%, 25%, then 15% thinning on the first three coats. Follow the instructions for your exact product.
How long should varnish dry between coats?
It depends on the product and conditions. Helmsman lists 4 hours at 77F and 50% humidity, Wipe-On Poly lists 2 hours, and Epifanes needs at least 24 hours. Cold or humid air makes every one of these longer.
What grit sandpaper should I use between coats of varnish?
Use the grit the label names. Minwax lists 220 grit, while Epifanes recommends 320 or 400 grit wet-or-dry. Sand lightly just to scuff the surface, then remove all dust.
Can I use varnish outdoors?
Use a spar varnish made for outdoor exposure, which has UV blockers and a flexible film. Even then, check the finish every year and recoat as needed.
Sponsored / affiliate links. As an Amazon Associate I earn from qualifying purchases. I may earn additional commission from eligible campaigns.