Cold Weather Epoxy Wood Filler
Cold-weather epoxy wood filler works only when the wood is dry, the air and substrate are at the product’s minimum temperature, and you can protect the repair through the full cure window; many systems need 40°F to 50°F or higher. Skipping those limits can leave the filler soft, reduce bonding, or lead to early failure, which can waste time and material. This guide explains how to judge conditions, size the repair, and plan cure time before you start.
Cold weather epoxy basics


Cold changes three things at once: cure speed, handling time, and the wood’s readiness to bond. Epoxy can still be the right choice outdoors in winter, but only when the system matches the repair size and the temperature range on the label.
For exterior repairs, epoxy often outperforms a basic water-based filler because water-based products are far less tolerant of moisture, freeze-thaw movement, and edge breakdown. Not every epoxy filler is a structural fix, and not every repair needs a consolidant.
What changes when temperature drops
Lower temperature slows chemical cure and usually lengthens the time a repair stays workable. That can help placement, but it also means the surface may remain vulnerable longer, especially if night temperatures fall or condensation forms before full cure.
Why epoxy filler is different from water-based filler
Two-part epoxy wood filler cures by a chemical reaction, so it fits exterior patching better than latex or vinyl filler when the repair has to hold up outdoors. Water-based filler is usually a cosmetic, interior-oriented product; epoxy is the better choice for deteriorated edges, exterior trim, and areas that need sanding, shaping, and painting after cure.
Where cold-weather epoxy fits in exterior repair work
Use epoxy when the damaged area is stable enough to repair, but the surface has lost sound wood, edge strength, or weather resistance. For hairline cracks and shallow dents, a filler may be enough. For rotten edges or deep voids, a two-step system is usually the safer path.
When should you use epoxy filler?
Use epoxy filler when the repair needs shape retention, weather resistance, or some degree of rebuilding after cure. Hairline cracks and small dents often need only filler, while deep voids and deteriorated edges may need a consolidant first, then a matching replacement compound.
Hairline cracks and shallow dents
Small surface flaws are usually filler jobs. If the surrounding wood is sound, dry, and bare, a two-part epoxy wood filler can bridge the defect, cure hard, and sand flush. In cold weather, the key question is whether you can keep the part within the product’s application range for the whole cure window.
Deep voids and deteriorated edges
When the damage is deeper than a cosmetic patch, a filler alone may slump, shrink at the edge, or leave weak wood behind it. A consolidant can strengthen the remaining fibers first, then a matching epoxy wood replacement compound can rebuild the missing shape.
Rotten wood that needs a two-step repair
For rotten or deteriorated wood, remove material back to sound substrate before any epoxy goes on. A two-step system works where the remaining wood can still be stabilized; it is not a substitute for replacing wood that has lost too much strength or section.
If an exterior sill has about a 1/2-inch-deep corner loss and the remaining fibers are crumbly but not fully gone, it may call for a consolidant first and then a replacement compound after the primer step cures. That repair usually needs consolidant first, then a replacement compound after the primer step cures. A cosmetic filler alone is unlikely to hold the edge.
What the temperature limit really means
The label temperature matters for both the wood and the air. A product may spread at one temperature and cure at another, so do not treat a single number as a blanket winter rule. Use the manufacturer’s range, then add margin for night drops and surface cooling.
Reading the manufacturer’s application range
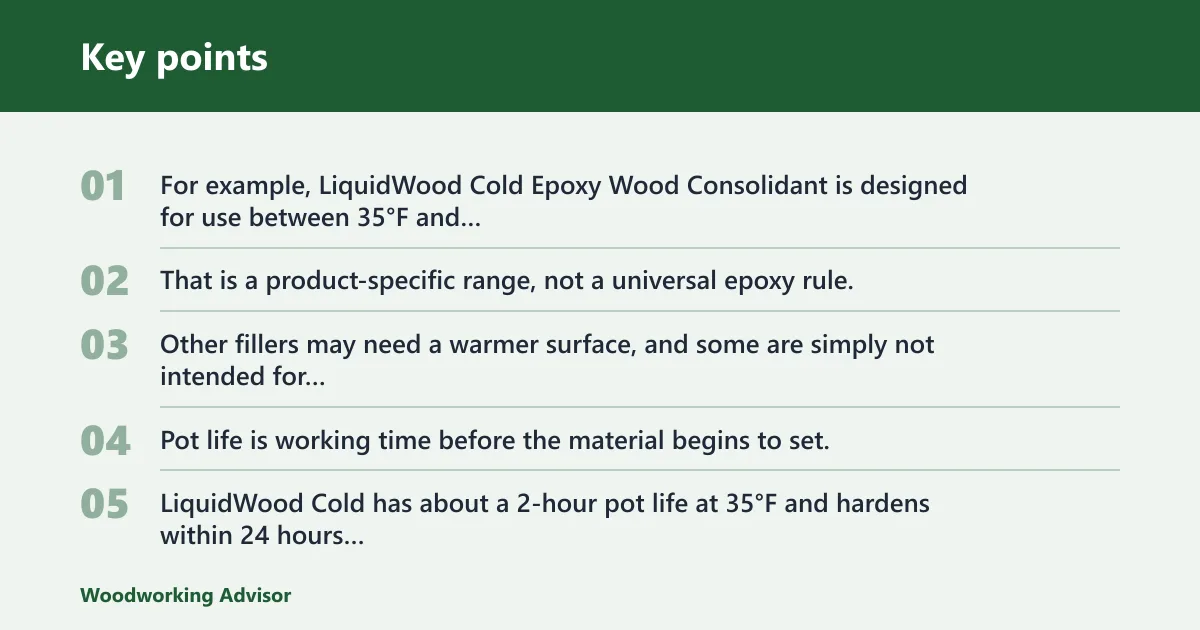
For example, LiquidWood Cold Epoxy Wood Consolidant is designed for use between 35°F and 60°F. That is a product-specific range, not a universal epoxy rule. Other fillers may need a warmer surface, and some are simply not intended for cold-weather exterior work.
Pot life versus cure time
Pot life is working time before the material begins to set; cure time is how long it takes to harden enough for the next step. LiquidWood Cold has about a 2-hour pot life at 35°F and hardens within 24 hours depending on temperature. Cold air can extend working time, but it can also delay sanding, priming, and painting.
Why overnight drops and condensation matter
A repair that starts warm enough can still fail if the temperature drops below the product’s minimum before cure finishes. Condensation is another problem: when the wood surface cools past the dew point, moisture can form on top of an apparently dry substrate and interfere with adhesion.
Dry, bare wood prep
Epoxy should go onto dry, bare wood with no visible contamination, loose finish, or active moisture. That condition matters because epoxy needs contact with sound fibers to penetrate and bond. If the surface is damp, frosty, oily, or dusty, the repair starts with a weak interface.
How to check for moisture and surface contamination
Start by feeling for chill, checking for frost, and looking for sheen that suggests condensation. If you have a moisture meter, use it on the exposed wood and compare the reading to the product directions or the manufacturer’s substrate guidance. A meter is more reliable than guessing from appearance alone.
Dry, bare wood does not mean merely “looks dry.” It means no surface moisture, no frost, no active condensation, and no coating that blocks penetration. If you cannot confirm that condition, wait or move the work to a warmer, drier window.
Removing loose rot, paint, and dust
Cut away loose rot and scrape back failing paint until you reach firm wood. Vacuum dust, then wipe away residue in a way that leaves no liquid film on the surface. Epoxy bonds best to clean wood fibers, not to chalk, dirt, or soft remnants.
When the substrate is not ready yet
If the wood is damp from rain, snow, thaw, or overnight condensation, stop. If the repair area is below the product’s minimum temperature, stop. If the edge is still soft enough to crumble under light probing, stop and remove more damaged material before coating it.
Cold weather epoxy repair decision table
Use this table to match the repair size, the cold band, and the cure plan before you open the container. It is meant to help you choose between a filler, a consolidant, or a two-step system, and to plan whether the job can finish the same day or should wait until the next day.
| Repair type | Ambient temperature band | Recommended product category | Cure-time planning |
|---|---|---|---|
| Hairline crack | At or above the product’s minimum listed range | Two-part epoxy wood filler | Same-day only if the label allows sanding and topcoating in that window; otherwise plan overnight before finishing |
| Shallow ding | 35°F to 60°F for systems rated in that range | Two-part epoxy wood filler | Plan for slower cure in cold air; protect the surface from dew and falling temperature until hard |
| Deep void | Within the manufacturer’s cold-weather range | Two-step system | Same-day placement of consolidant may be possible; expect the rebuild step to wait for the first coat to harden |
| Rotten edge | Within the manufacturer’s cold-weather range and on dry wood only | Two-step system | Overnight planning is safer; allow the consolidant to harden before shaping with the replacement compound |
Same-day versus overnight planning
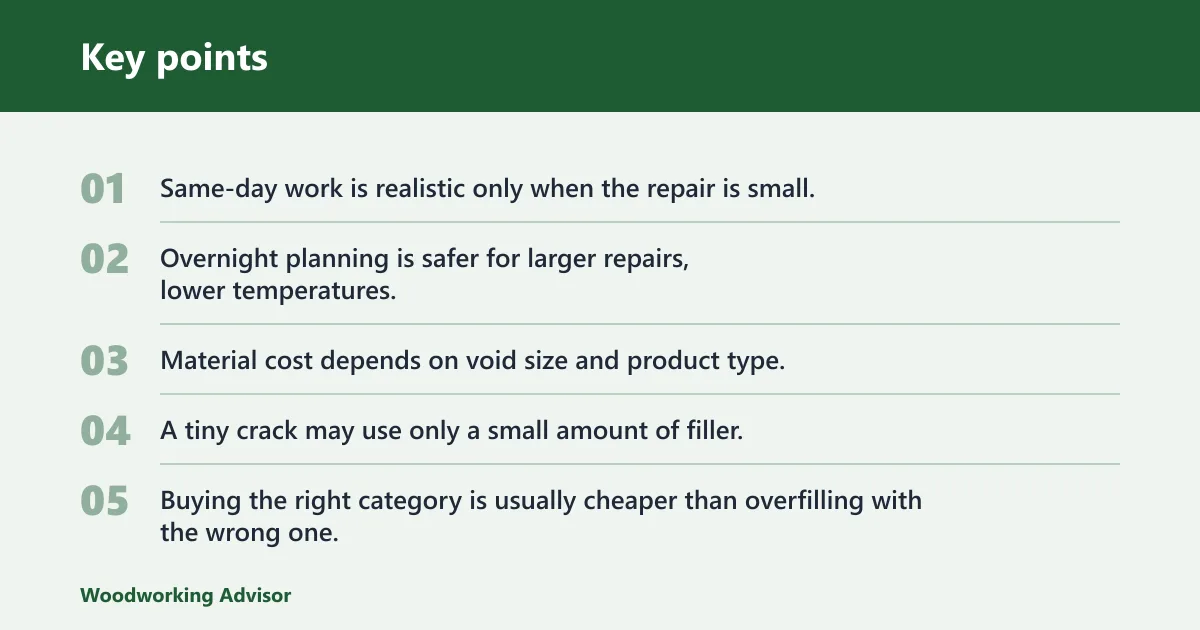
Same-day work is realistic only when the repair is small, the product is rated for the temperature, and the substrate stays above the minimum through cure. Overnight planning is safer for larger repairs, lower temperatures, or exterior parts that can cool quickly after sunset.
Cost-per-repair planning
Material cost depends on void size and product type, but the bigger cost in winter is often rework. A tiny crack may use only a small amount of filler, while a rotten edge can consume enough consolidant and replacement compound to justify careful layout before you start. Buying the right category is usually cheaper than overfilling with the wrong one.
Picture a painted porch column with a 2-inch-long split at the base and a weathered but still solid core. If the surface is dry and the temperature stays within the label range, a filler may handle the split. If the base is punky, the repair shifts to a two-step system, and the cure window becomes the deciding factor.
How do you use a two-part epoxy system?
A two-part epoxy system works best when you mix accurately, apply the consolidant first, and wait for that layer to harden before adding the replacement compound. In cold weather, the sequence matters as much as the product itself because each step depends on the one before it.
- Confirm that the wood is dry, bare, and within the product’s temperature range.
- Mix the parts exactly as the label directs.
- Brush or work the consolidant into deteriorated wood first.
- Let that primer step harden before adding the matching repair compound.
- Shape the repair while the compound is still workable, if the product allows it.
- After full cure, sand, prime, and paint as required by the finish system.
Mixing the parts correctly
LiquidWood Cold uses a 2:1 mixing ratio by volume. That ratio should be measured carefully, because off-ratio epoxy can stay tacky, cure unevenly, or lose performance. Mix only the amount you can place within the stated pot life.
Applying consolidant before filler
LiquidWood Cold is marketed as a structural epoxy wood stabilizer, hardener, and consolidant, and it acts as a primer for WoodEpox Cold. That sequence matters on deteriorated wood because the consolidant helps strengthen the remaining fibers before the replacement compound is shaped into the missing area.
Shaping, sanding, and priming after cure
After the repair hardens, shape it to the final profile, then sand and finish according to the coating system. Do not rush paint or primer over an epoxy that has not reached the hardening stage; cold weather extends the window where trapped solvents, tackiness, or surface blush can interfere with finish quality.
Cold-weather product notes
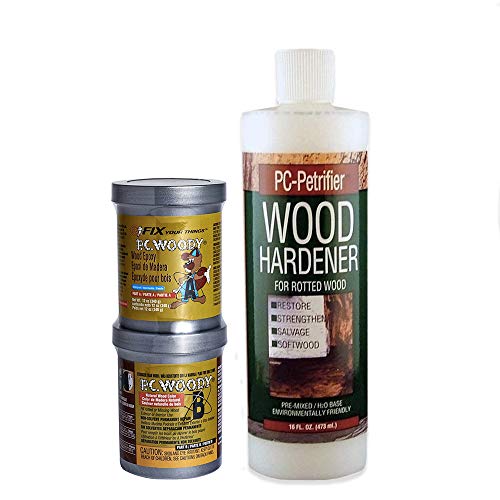
LiquidWood Cold and WoodEpox Cold form a two-step repair system for deteriorated wood, but the specs should be read as product-specific, not universal winter rules. For any other brand, check the manufacturer’s listing for temperature range, mixing ratio, pot life, and cure guidance before planning a repair.
LiquidWood Cold Epoxy wood Consolidant
LiquidWood Cold Epoxy Wood Consolidant is designed for use between 35°F and 60°F, uses a 2:1 mixing ratio by volume, has about a 2-hour pot life at 35°F, and hardens within 24 hours depending on temperature. It is applied to dry, bare wood and is used as a primer for matching wood replacement compound.
It is also described as resistant to moisture, weather, freeze-thaw cycles, and wear. That makes it a better fit for exterior architectural elements than a filler meant only for cosmetic touch-up.
WoodEpox Cold replacement compound
WoodEpox Cold is the matching wood replacement compound used after the consolidant step. It is the rebuild material in the two-step system, so it belongs where the goal is to replace missing wood after the remaining fibers have been stabilized.
How to read published specs without overgeneralizing them
Do not turn one product’s cold-weather range into advice for every epoxy. A branded consolidant, a general two-part filler, and a simple interior patch compound can have different limits, different cure behavior, and different uses. If the listing does not give a temperature range for your exact product, assume you need to verify it before starting.
Frequently asked questions
What is the best epoxy wood filler for cold weather?
The best choice depends on the repair, but a cold-rated epoxy system is usually the safest bet for exterior work in winter. For deteriorated wood, a consolidant-plus-replacement system is better than a simple filler. For shallow cosmetic defects, a two-part epoxy filler may be enough if the substrate is dry and warm enough.
How do you use epoxy wood filler in cold weather?
Start with dry, bare wood, confirm the product’s temperature range, and mix only what you can place within the pot life. In colder conditions, plan for slower cure and protect the repair from condensation and overnight drops. For rotted areas, use a consolidant first, then the matching filler.
How do you prep wood for epoxy filler?
Remove loose rot, failing paint, and dust until you reach firm wood. Then make sure the surface is dry, bare, and free of frost or condensation. If you have a moisture meter, use it to confirm the substrate is ready rather than relying on appearance alone.
What temperature is too cold for epoxy wood filler?
Too cold means below the specific product’s minimum application range, not below one universal number. Some cold-weather systems are rated down to 35°F, while others need more warmth. If the label does not support the temperature you have, wait or warm the work area before applying the repair.
Can epoxy wood filler handle freeze-thaw cycles?
Some exterior epoxy systems are described as resistant to moisture, weather, freeze-thaw cycles, and wear, which makes them suitable for seasonal exposure after cure. The key is full cure on dry wood before the repair sees winter movement. A weak bond or trapped moisture can still fail under repeated freeze-thaw stress.
What is the difference between wood filler vs wood epoxy?
Wood filler is usually a cosmetic patch product for dents, cracks, and minor defects. Wood epoxy can mean a stronger two-part repair system that may include a consolidant, a hardener, and a replacement compound for deteriorated wood. In winter, that distinction matters because cure speed, weather resistance, and repair depth are not the same.
Sponsored / affiliate links. As an Amazon Associate I earn from qualifying purchases. I may earn additional commission from eligible campaigns.