How to Fix Stained Wood: Expert Tips for Perfect Restoration
The fix depends on what kind of stain you’re dealing with. A white or hazy ring is usually trapped moisture sitting in the finish, not the wood itself, and often comes out with gentle heat rather than sanding. A dark stain, ink mark, or old discolored finish is a different problem entirely, usually requiring you to strip down to bare wood and start over. Treating one like the other wastes time and can make the damage worse. Sanding a haze ring that would’ve come out with an iron, for instance, removes finish you didn’t need to touch and creates a dull patch you now have to refinish anyway.
Identifying What Kind of Stain You Have
For Deep Stains & Old Finish
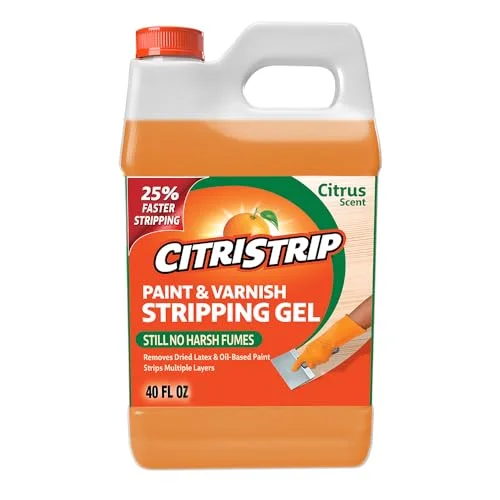 |
Citristrip Paint & Varnish Stripping Gel For stains too deep to sand out, this strips old finish down to bare wood without the harsh fumes of a methylene-chloride stripper.
|
White or cloudy rings and haze are almost always moisture trapped between the finish and the wood – a wet glass, a hot dish, or spilled water sitting too long. Dark rings and blotches usually mean moisture reached the actual wood fibers underneath the finish, which takes more than heat to fix. Ink, dye, food, and pet stains are color that’s soaked into the wood itself and generally need stripping and sanding to remove, not just cleaning.
Fixing White Water Rings and Haze
This is the good news category: white haze is usually a five-minute fix that doesn’t touch the wood’s color or finish at all, provided you catch it before it’s had months to set in. Left long enough, even a simple water ring can start to darken and behave more like a soaked-in stain.
Heat is the standard fix, since it evaporates the trapped moisture without touching the wood underneath. Set an iron to low heat with no steam, place a plain cotton cloth over the ring, and press for a few seconds at a time, checking often – too much heat can damage the finish itself. A hair dryer on a low setting held a few inches away works too, just slower. Either method can take several short passes rather than one long one, so be patient and check progress between attempts. If heat doesn’t fully clear it, a paste of mayonnaise or petroleum jelly left on the spot overnight sometimes finishes the job by displacing the last of the trapped moisture; wipe clean in the morning.
Fixing Dark Stains and Discolored Finish
Start by cleaning the surface with a soft cloth and a wood-safe cleaner to rule out the stain just being surface grime rather than something that’s actually soaked in. If the stain remains after cleaning, it’s time to strip: apply a citrus-based stripping gel per the product’s label, let it sit the full recommended time (often up to 24 hours for a deep, old finish), then scrape off the softened finish with a plastic putty knife to avoid gouging the wood.
The Neutralizing Step Most Guides Get Wrong
A common but inaccurate tip floating around is to wipe stripped wood with vinegar and water to “neutralize” the stain – vinegar doesn’t neutralize a chemical stripper or a wood stain in any meaningful way. What you actually need to neutralize is stripper residue, and the correct method depends on the product: check the label first. Most citrus-based gels rinse clean with plain water or a wet-then-dry cloth pass; some traditional solvent-based strippers need a mineral spirits wipe-down instead. Using the wrong neutralizer can leave a film that keeps new stain from soaking in evenly, so this is worth getting right rather than defaulting to a folk remedy. A quick test: after your rinse step, press a clean white cloth firmly on the surface. If it comes away with any color or residue, the wood isn’t fully clean yet and needs another pass before you stain. Skipping this check is a common reason a new stain ends up looking cloudy or uneven in patches once it dries.
Sanding After Stripping
Skipping this step or rushing through it is the single most common reason a re-stained piece looks patchy afterward – new stain shows every bit of leftover stripper residue and every uneven patch the sanding was supposed to smooth out.
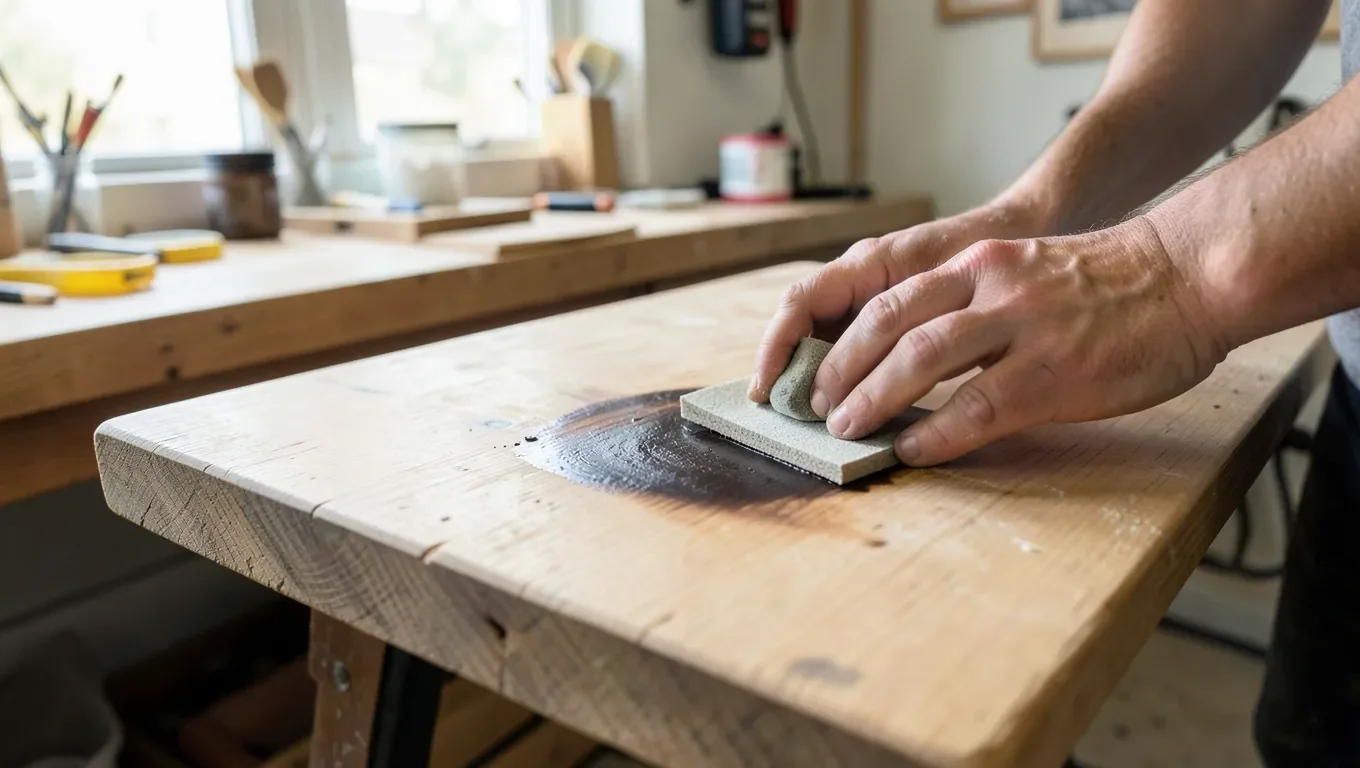
Once the wood is bare and dry, sand with 120-grit to remove any remaining stripper residue and smooth the surface, then move to 180-220 grit for the final pass before staining. Always sand with the grain – sanding across it leaves scratches that show up darker once new stain is applied, since stain pools in scratches more than it does on a smooth surface. A random-orbit sander speeds this up on a large flat surface like a tabletop, but hand-sand any edges, corners, or carved detail where a power sander can round over an edge that should stay crisp. Wipe the dust off with a slightly damp cloth (not soaking wet) before moving to the next step; leftover dust under new stain causes a gritty, uneven finish.
Re-Staining the Wood
Selecting Stain Color
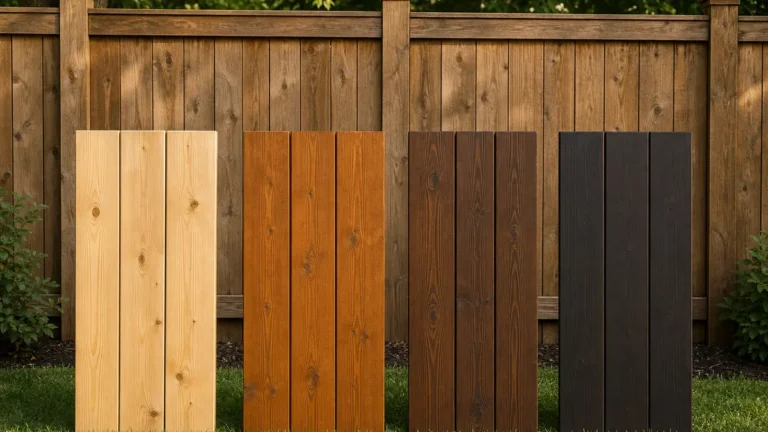
Test any new stain on a hidden spot first – the underside of a shelf, the back of a leg – since the same stain reads differently on different wood species and even different boards of the same species. Matching the original color exactly is harder than it sounds on an older piece; going slightly darker than the original is usually more forgiving than trying to match a faded original tone precisely. A gel stain in particular is more forgiving on an uneven or repaired surface than a thin liquid stain, since it sits on top rather than soaking in unevenly.
Applying Stain Evenly
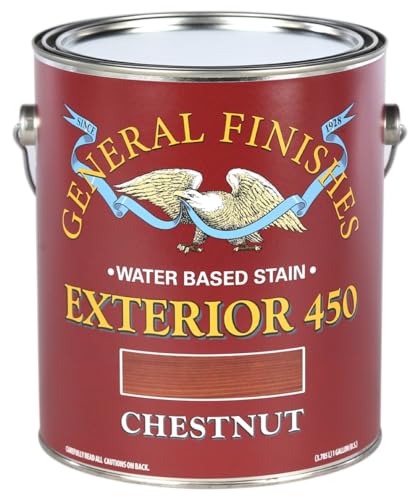
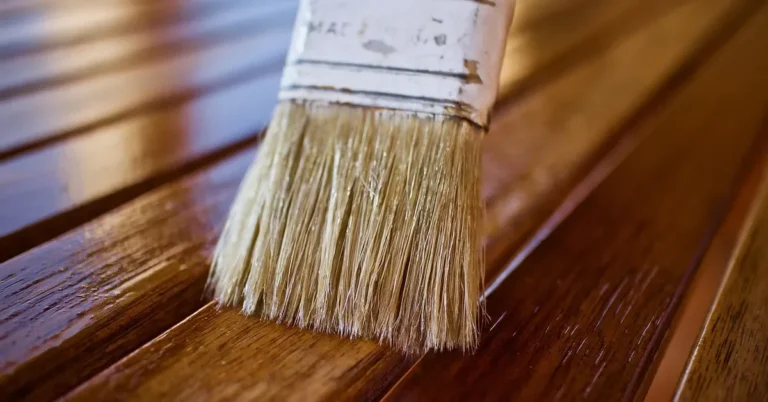
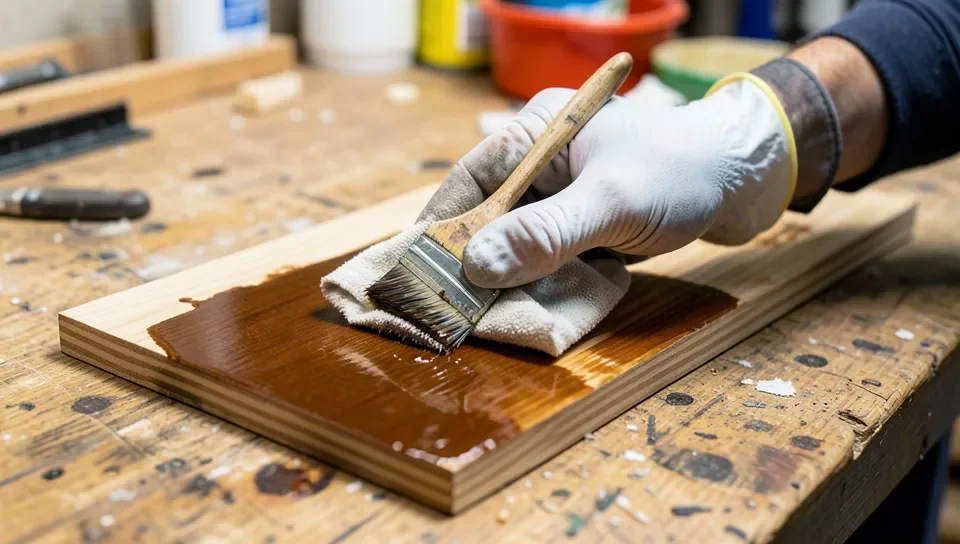
Stir the stain thoroughly before use – pigment settles to the bottom of the can, and skipping this step is the most common reason a stain looks blotchy. Apply with a clean brush or cloth in the direction of the grain, let it sit for the time the label specifies, then wipe off the excess with a clean cloth rather than letting it dry on the surface. Let it dry fully, check for missed or light spots under good lighting, and apply a second light coat only where needed rather than recoating the whole piece.
Sealing and Finishing
Once the stain is fully dry, apply a protective topcoat – polyurethane, wax, or oil, depending on the look and durability you want – in thin, even coats, letting each dry completely before the next. Two coats is typically enough for most furniture; a tabletop or anything that sees regular use benefits from a third. Seal the edges and any end grain too, not just the visible top surface – end grain absorbs moisture faster than face grain and is a common spot for a new water ring to start if left unsealed. A single missed edge is often where a repeat problem starts, even on a piece where the top surface is finished perfectly. If the piece will see regular contact with cups or plates, consider a harder-wearing finish like polyurethane over a softer wax, which looks good but offers less real protection against a repeat water ring. Wax is easy to touch up but needs reapplying every few months on a high-use surface; polyurethane lasts years between coats but is more work to strip if you ever need to redo it.
Frequently Asked Questions
How do you fix messed up stained wood?
Strip the old stain with a citrus-based stripping gel, sand with the grain once bare and dry, then re-stain evenly and seal with a protective topcoat.
Can you repair stained wood?
Yes. White water rings often come out with heat alone. Dark stains and discolored finish usually need stripping and sanding before the wood can be re-stained.
How do you get a stain out of wood?
Identify the stain type first. A white haze usually responds to gentle heat from an iron or hair dryer. A dark, soaked-in stain typically needs a chemical stripper, sanding, and re-staining.
How do you fix stain blotches?
Blotchy stain is usually caused by uneven sanding or skipping a pre-stain conditioner on porous wood like pine. Sand back lightly, apply a wood conditioner, then re-stain evenly with a clean cloth.
Conclusion
The single most useful thing to get right is identifying which kind of stain you’re actually dealing with before reaching for a fix. A white haze usually needs nothing more than heat; a dark, soaked-in stain needs a real strip-sand-restain process. Skip the vinegar-as-neutralizer myth and check your stripper’s label instead – that one detail is the difference between an even new finish and a blotchy one. Get the diagnosis right at the start and the rest of the process is mostly patience.
Sponsored / affiliate links. As an Amazon Associate I earn from qualifying purchases. I may earn additional commission from eligible campaigns.