Can You Stain Over Varnish? 2 Methods That Actually Work
You cannot stain over varnish directly: the sealed surface blocks stain absorption unless you sand it first or switch to a gel stain. Skip prep and the color goes on blotchy, or peels within weeks, since even gel stains need a scuff-sanded, degreased surface to bond. This guide covers sanding prep, gel-stain application, and how oil-based versus water-based stains perform over varnish.
Introduction To Staining Over Varnish
Best Gel Stain For Staining Over Varnish
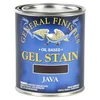
General Finishes Oil Base Gel Stain, Java – $57.82
Heavy-bodied enough to sit on top of the wood instead of soaking in, which is exactly the gel-stain workaround this guide describes for getting rich color over an intact varnish layer without stripping it first.
- Best for: Adding color over an intact, non-peeling varnish layer
- Why we picked it: Thick, wipe-on gel formula built to sit on smooth, sealed surfaces instead of penetrating them
- Main drawback: Does not penetrate as deeply as liquid oil-based stains, so it will not fix a peeling or cracked finish
Compare more stain-over-varnish options
 Option 1 Minwax Wood Finish, Special Walnut – $13.88
|
 Option 2 Varathane Water-Based Wood Stain, Dark Walnut – $16.42
|
 Option 3 3M Sanding Sponge Block, Medium Grit – $22.99
|
Staining over varnish can be a great way to refresh your wood surfaces. This method saves time and effort. Many people choose this approach for various reasons. It allows for quick changes without complete refinishing.
There are some important things to consider. Pros include easy application and cost savings. Cons involve potential adhesion issues and uneven color. Testing on a small area is wise before committing.
| Pros | Cons |
|---|---|
| Easy application | Possible adhesion problems |
| Cost-effective | Risk of uneven color |
| Quick results | May require multiple coats |

Types Of Varnish
Oil-Based Varnish offers a rich, warm finish. This type is durable and water-resistant. It dries slowly, allowing for smoother application. Cleaning up requires solvents like mineral spirits. Be cautious of strong odors during application.
Water-Based Varnish is easy to clean with soap and water. It dries quickly, making it ideal for fast projects. This varnish has less odor and is more environmentally friendly. However, it may not be as durable as oil-based options. If the existing coat looks dull rather than damaged, recoating with a fresh layer of finish is worth comparing to staining: see whether you can varnish over varnish before committing to a stain-and-sand project.
Choosing The Right Stain
Choosing the right stain can make a big difference. Gel stains are thick and great for vertical surfaces. They sit on top of the wood, providing rich color. See our gel stain vs. oil stain comparison for a full species-by-species breakdown. Water-based stains dry quickly and are easy to clean. They have low odor and are good for indoor use. Oil-based stains offer deep penetration and durability. They take longer to dry but last longer on surfaces.
| Type of Stain | Key Features |
|---|---|
| Gel Stains | Thick, great for vertical surfaces, rich color. |
| Water-Based Stains | Quick drying, low odor, easy to clean. |
| Oil-Based Stains | Deep penetration, durable, longer drying time. |
Preparation Steps
Start by cleaning the surface thoroughly. Use a mild soap solution and a soft cloth. This removes dirt and grease.
Next, sanding for adhesion is essential. Use fine-grit sandpaper to lightly sand the varnished surface. This helps the stain stick better. If the existing finish is heavily built up or peeling, a wood stain remover can strip it back to bare wood instead.
After sanding, use a tack cloth for dust removal. Gently wipe the surface to pick up dust and debris. This step ensures a smooth finish.
Application Techniques
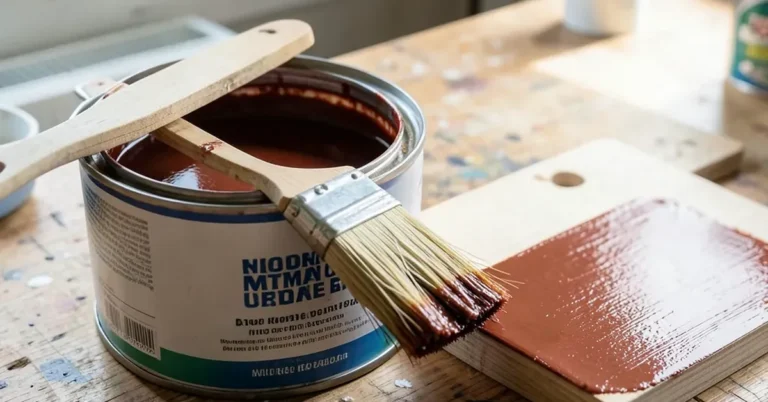
Using brushes is a great way to stain over varnish. Choose a high-quality brush for even coverage. Apply the stain in thin layers. This helps avoid drips and uneven color.
Applying with rags is another effective method. Soak a clean rag in the stain. Wipe it on the surface, moving in the direction of the wood grain. This technique ensures a smooth finish. If you would rather skip sanding altogether, see our guide on staining over varnished wood without sanding using PolyShades or gel stain.
Spray-on methods provide a quick and easy option. Use a spray can or a sprayer for even coverage. Make sure to work in a well-ventilated area. Always wear a mask to protect against fumes.
Common Challenges And Solutions
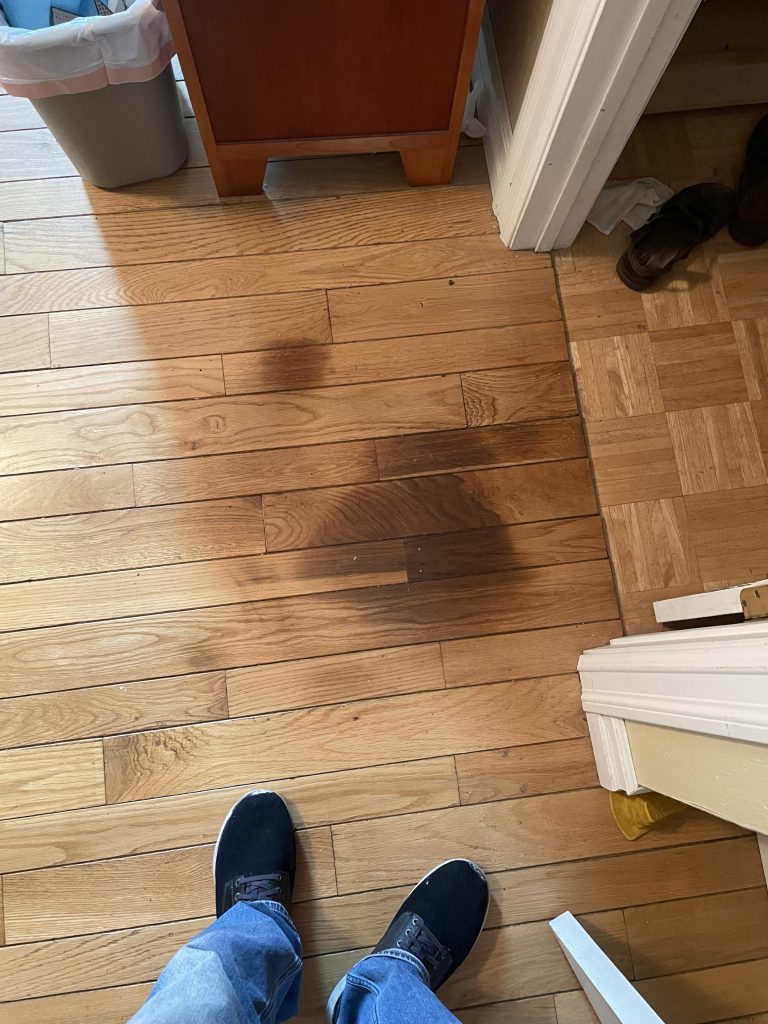
Stains may not stick well to varnish. This problem happens because of the smooth surface. To improve adhesion, lightly sand the varnish before applying the stain. Always test on a small area first.
Uneven stain appearance can ruin a project. This issue often arises from improper application. To achieve an even look, apply the stain with a clean cloth. Wipe off excess stain promptly to avoid blotches.
Preventing drips and runs is crucial for a clean finish. Use a brush for precision in hard-to-reach areas. Work in small sections and apply thin layers. Allow each layer to dry completely before adding more.
Maintenance And Care
Regular cleaning helps maintain the beauty of your varnished surfaces. Use a soft cloth and mild soap. Avoid harsh chemicals that can damage the finish.
For touch-ups, choose a stain that matches your existing color. Lightly sand the area to prepare it. Apply a thin layer of stain and blend it in well.
Protect surfaces from damage by using coasters and placemats. Avoid placing hot items directly on the varnished wood. Regularly check for scratches or dents and address them promptly.
Real-life Examples
Staining over varnish can create beautiful results. Many people have achieved stunning transformations.
Consider a wooden table. Before staining, it looked dull and lifeless. After applying stain over varnish, the rich color brought it to life.
Another example is a wooden door. Originally, it had a shiny finish. Staining over the varnish gave the door a warm, inviting look.
| Item | Before | After |
|---|---|---|
| Table | Dull finish | Rich color |
| Door | Shiny finish | Warm tone |
Many homeowners share positive experiences. They love the new look of their furniture. Staining over varnish can be a game changer.
Frequently Asked Questions
Can You Stain Over Varnish?
Yes, you can stain over varnish, but it’s not straightforward. Varnish creates a barrier that prevents stain absorption. To achieve good results, you must prepare the surface properly. This often involves sanding the varnish down or using a special product designed for staining over varnish.
What Preparation Is Needed Before Staining?
Before staining over varnish, proper preparation is crucial. Start by cleaning the surface to remove dirt and grease. Next, lightly sand the varnish to help the stain adhere better. Finally, wipe away dust created by sanding. This ensures the stain will penetrate effectively and provide an even finish.
What Type Of Stain Works Best Over Varnish?
Oil-based stains generally work best over varnish. They penetrate the wood better than water-based options. However, using a gel stain can also be effective as it sits on the surface, providing a more uniform color. Always test a small area before full application to ensure compatibility.
How Long Does It Take For Stain To Dry?
Drying time for stain can vary based on several factors. Generally, oil-based stains take 6 to 8 hours to dry. Water-based stains, on the other hand, may dry in as little as 1 to 2 hours. Always refer to the manufacturer’s instructions for specific drying times.
Conclusion
Staining over varnish can be challenging but is possible with the right preparation. Clean the surface thoroughly and choose the right stain for the job. Always test on a small area first. With patience and care, you can achieve a beautiful finish that enhances your wood’s natural beauty. For the full range of stains, oils, sealers, and cure times, see our wood finishing guide.
Happy staining!
Sponsored / affiliate links. As an Amazon Associate I earn from qualifying purchases. I may earn additional commission from eligible campaigns.