How to Fasten Wood to Metal: 4 Methods That Actually Hold
The right way to fasten wood to metal comes down to one variable most guides skip over: how thick the metal actually is. Self-tapping (self-drilling) screws drill, tap, and fasten in a single pass through sheet metal and light bracket stock up to about 16-gauge – no pre-drilling needed. Anything thicker needs a pre-drilled hole and a real machine screw or bolt with a washer and nut. Construction adhesive or epoxy can reinforce either connection, but it should never be the only thing carrying the load. Get the fastener wrong for the metal’s thickness, or mix the wrong two metals in a damp spot, and the joint will strip out or quietly corrode long before it looks like a problem.
This guide covers flat sheet metal and bracket stock. If you’re mounting wood to round metal pipe or tubing instead, the fastener choice comes down to wall thickness rather than gauge – see how to attach wood to metal pipe for that case.
Choosing The Right Fastening Method For Your Project
Best Self-Drilling Screws For Wood-To-Metal
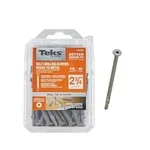 |
Teks #12 x 2-3/4″ Wood-to-Metal Self-Drilling Screws, 40 PCS – $15.55 A self-drilling screw built specifically for the wood-to-metal joints covered in this guide – no pre-drilling required up to 16-gauge steel.
|
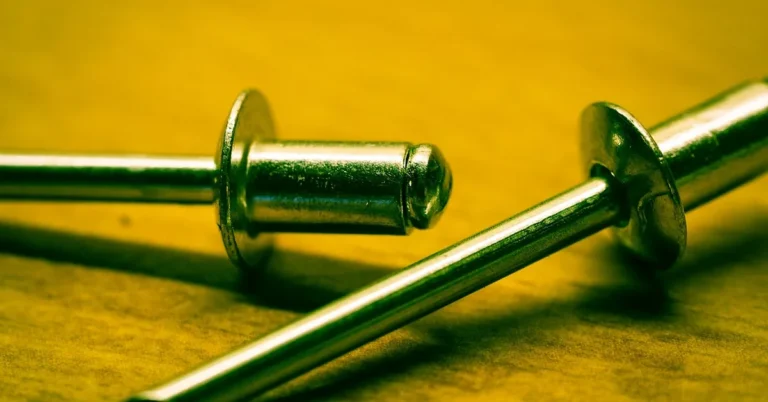
Match the fastener to the metal’s gauge, not the other way around. Self-tapping and self-drilling screws (often sold as “Tek screws”) have a drill-point tip that bores its own pilot hole and threads as it goes, which makes them the fastest option for anything from thin flashing up to roughly 16-gauge steel – about 1/16 inch. Push them into anything thicker and the tip stalls or the threads strip before they seat, so that’s the practical ceiling for self-drilling on its own.
For steel plate, angle iron, or anything heavier than 16-gauge, pre-drill both materials and use a machine screw or bolt with a washer and nut, or a lag bolt into the wood side. It takes longer – two holes and a wrench instead of one trigger pull – but the connection is mechanically stronger, and it’s the option code-driven work like joist hangers and structural brackets usually requires. For a closer look at which screw type and size fits a given metal thickness, our TEK vs. lag vs. dual-thread screw comparison breaks it down size by size.
Construction adhesive or two-part epoxy is a real option too, but only as backup. It spreads load over a larger surface and fills small gaps a fastener alone would leave, which helps with vibration and rattling. It should never be asked to carry a structural load on its own – unlike a screw or bolt, it gives no warning before it lets go. One day the joint is holding, and the next it isn’t.
The Galvanic Corrosion Mistake Most Guides Skip
Most articles on this topic stop at “use stainless or coated screws to avoid rust” and leave out the part that actually causes premature failures outdoors: galvanic corrosion. When two different metals touch each other in the presence of moisture – rain, condensation, even humid air – they form a tiny battery. The more reactive metal corrodes faster than it would on its own, sometimes dramatically faster, while the other metal is effectively protected at its expense. This is a real, well-documented electrochemical reaction, not just generic rust.
The combination that trips people up most often is plain or zinc-plated steel screws driven into aluminum flashing, gutters, or siding – the steel forces the aluminum around the fastener to corrode within months in a wet climate. The same logic applies in reverse with aluminum-to-wood projects that also involve a second metal. The fix is straightforward: match the fastener metal to the base metal you’re driving into (stainless works safely with most combinations), or use a fastener with a barrier coating – Climaseal and Xylan are both rated for mixed-metal exterior use. A rubber or nylon washer between dissimilar metals adds another layer of protection when you can fit one in. Indoors, in a dry shop, this matters far less – it’s specifically an exterior, moisture-exposed problem.
Preparing The Wood And Metal Surfaces
Clean the metal with soap and water or a degreaser, then dry it completely – any oil film on the surface makes a self-drilling screw’s tip skate instead of bite. A light pass with fine-grit sandpaper on the exact spot you’re fastening gives the tip something to grip on smooth or painted metal.
On the wood side, sand off any old paint, finish, or dirt at the fastening point and let it dry fully if it’s been sitting outside. If the project will live outdoors, treat or seal the wood before fastening anything to it – moisture trapped against the joint is what starts both wood rot and the corrosion problem above.
Mark and center-punch (or use an awl) every hole location before drilling. On metal especially, a center punch mark keeps the drill bit from wandering when you start the hole.
Step-By-Step: Driving The Fastener
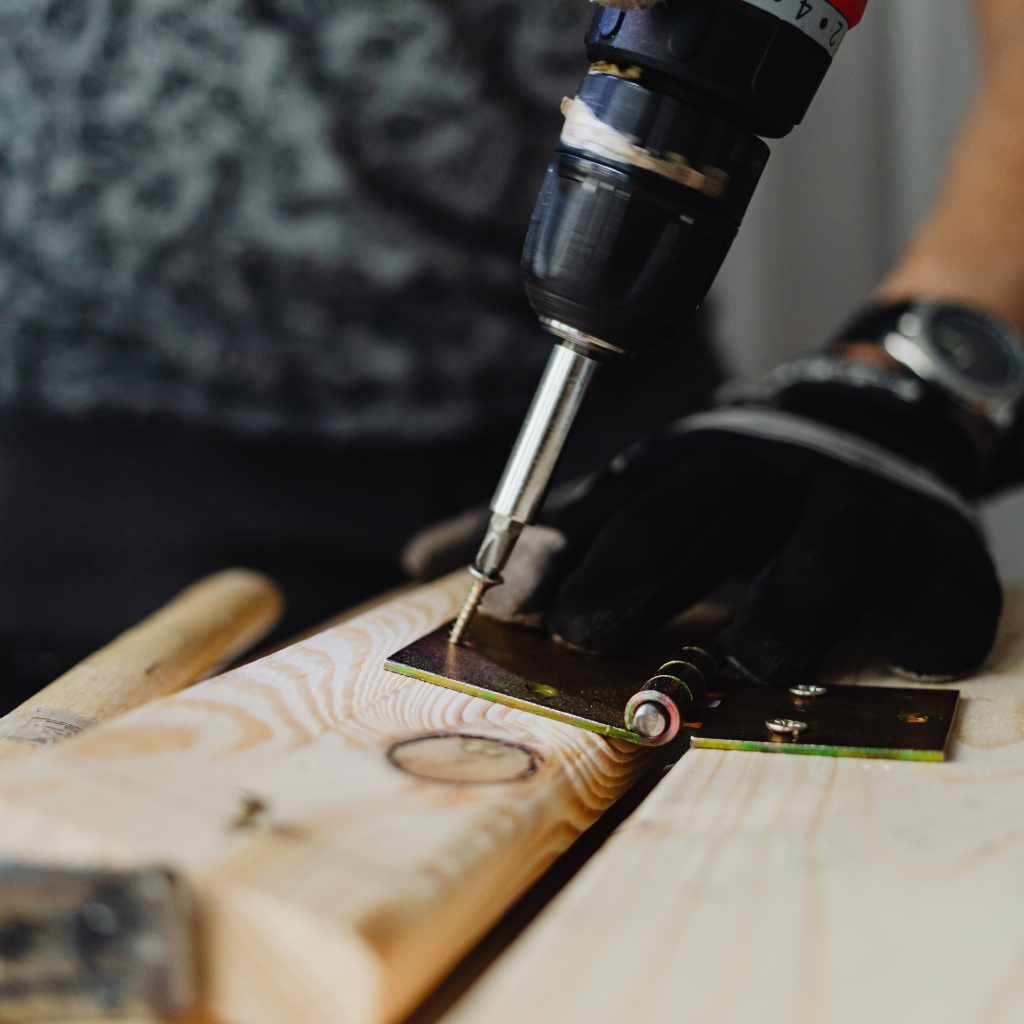
- Clamp the wood and metal together in their final position so they can’t shift while you’re drilling.
- For self-drilling screws, set the drill to a slower speed and drive straight in – let the screw’s own tip do the drilling instead of forcing it. You’ll feel the resistance change once it clears the metal.
- For a pre-drilled connection, drill the pilot hole through the wood first, then through the metal at a slightly larger diameter than the bolt shank so it isn’t binding against the threads.
- Insert the bolt, add a washer against the metal (or wood, depending on which side you’re bolting into), and thread the nut on. Snug it with a wrench – don’t crank it down with an impact driver, which can crush wood fibers or strip a bolt’s threads.
- Check that the screw or bolt head sits flush – not proud and not sunk below the surface – since either extreme weakens the hold.
Tools You’ll Actually Need
A variable-speed drill or impact driver, a T-25 (or size-matched) star or Phillips bit for self-drilling screws, a metal-rated drill bit set for pre-drilling, a center punch, a tape measure and pencil, clamps to hold both pieces still, and a wrench or socket set for any bolted connection. Add safety glasses and gloves – metal shavings from a self-drilling screw’s tip come off hot and sharp, closer to your hands than you’d expect.
Common Mistakes And How To Fix Them
Stripped-out threads in thin metal usually mean the pilot hole – or the self-drilling screw itself – was too large for the gauge. Step down a screw size, or switch to a slightly larger screw once the existing hole is filled with epoxy. Split wood almost always traces back to skipping the pilot hole or driving too fast; pre-drill wood thinner than about 3/4 inch, especially near an edge. A joint that starts rusting from the inside out within a few months is very often the galvanic pairing covered above, not a bad screw – swap to a matched or coated fastener and add a barrier washer. And a fastener that backs itself out over time under vibration usually needs a lock washer or a thread-locking compound, not just re-tightening.
Frequently Asked Questions
What Tools Are Needed To Fasten Wood To Metal?
A drill or impact driver, metal-rated drill bits, the right screws or bolts for the metal thickness, washers, and a wrench for any bolted connection. A center punch and clamps make the job noticeably more accurate.
Can Wood Be Fastened Directly To Metal Without Pre-Drilling?
Yes, but only with self-tapping or self-drilling screws rated for the metal gauge you’re working with – typically up to about 16-gauge steel. Thicker metal needs a pre-drilled hole and a machine screw or bolt.
Which Screws Work Best For Wood To Metal?
Self-drilling screws with a Climaseal or similar rust-resistant coating for thin-to-moderate steel, and stainless or hot-dip galvanized machine screws or bolts for thicker plate – matched to the metal to avoid galvanic corrosion outdoors.
How Do You Stop Wood-To-Metal Fasteners From Corroding Outdoors?
Match the fastener metal to the base metal – stainless works safely with most combinations, but plain steel against aluminum is a common mistake. Use a coated fastener rated for exterior, mixed-metal use, and add a rubber or nylon washer between dissimilar metals when possible.
Conclusion
Fastening wood to metal comes down to two decisions: match the fastener to the metal’s thickness – self-drilling screws for thin-to-moderate gauge, pre-drilled bolts for anything heavier – and, if the project lives outdoors, match the fastener’s metal to avoid galvanic corrosion. Get those two right and the surface prep and technique above are straightforward. Check your fastener choice against this guide before you start drilling, and the joint should outlast the project around it.
Sponsored / affiliate links. As an Amazon Associate I earn from qualifying purchases. I may earn additional commission from eligible campaigns.