How to Install Wood Flooring on a Stair Landing (Direction Guide)
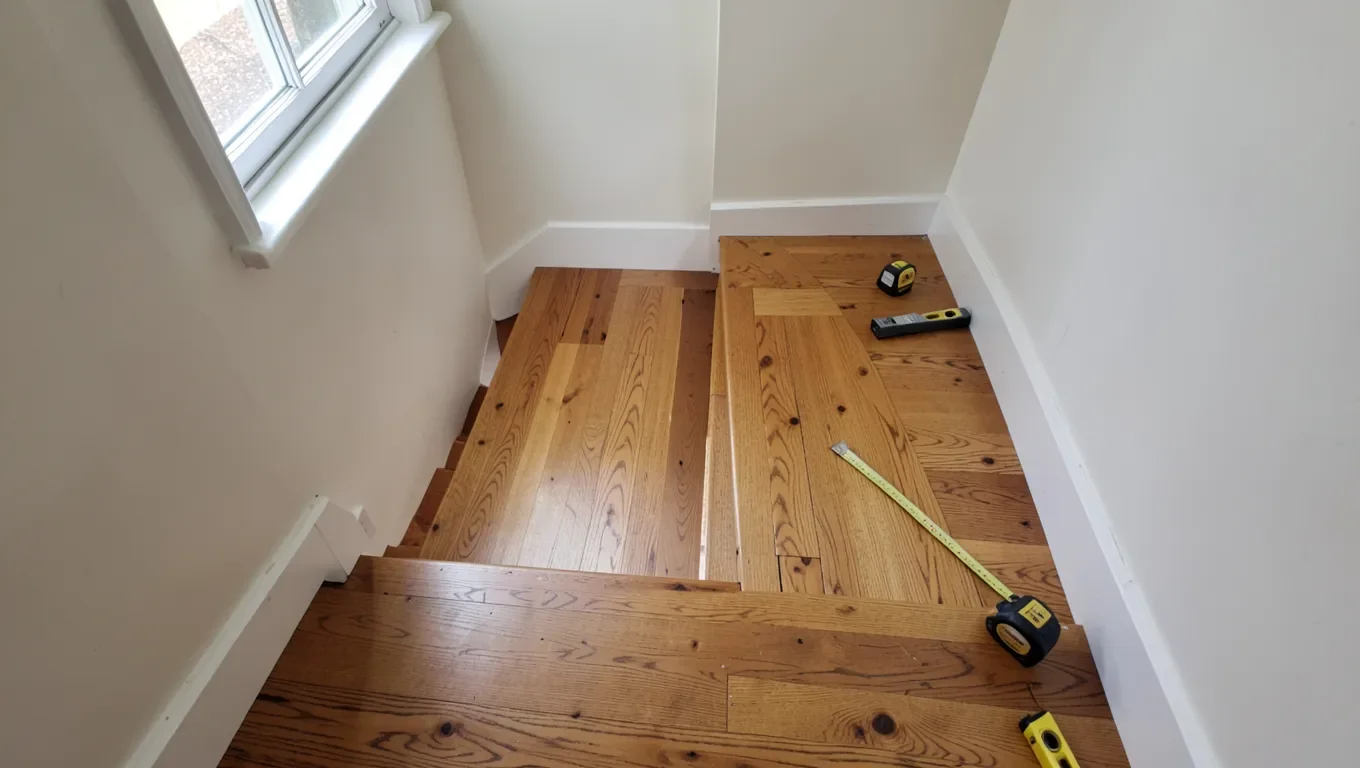
Wood flooring on a stair landing ties the upstairs hallway visually to the stairs below, but the landing is one of the trickier spots in a flooring job – it’s small, every step across it changes direction, and it almost always has at least one edge that needs a transition. This guide covers which way to run the planks, how to prep and fasten a landing that’s smaller and squarer than a typical room, and how to finish the edge where the landing meets the top stair tread so it doesn’t become a tripping hazard.
Which Direction Should Wood Planks Run on a Stair Landing?
On most landings, run the planks in the same direction as the flooring in the room or hallway the landing connects to. That keeps the sightline unbroken as you walk from the hallway onto the landing and down the stairs, instead of the boards visibly changing direction right at the transition.
If the landing bridges two rooms whose flooring runs in different directions, laying the landing boards on roughly a 45-degree diagonal is a common compromise – it reads as an intentional design choice rather than a mismatch. If there’s no adjoining room to match and you’re building over open plywood subfloor, run the boards perpendicular to the floor joists underneath the landing; that orientation gives each plank support across more joists and cuts down on flex over time.
Whichever direction you land on, decide before you cut anything. Changing direction partway through a landing this small usually means pulling up and recutting an entire row.
Best Stair Landing Nosing
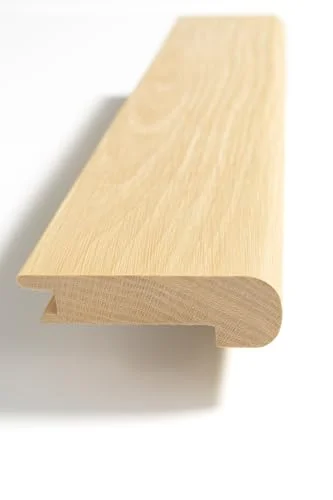 |
European White Oak Stair Nosing – $32.94 The exposed edge where a landing meets the top stair tread needs a nosing, not a butted plank – this one is cut to your flooring’s actual thickness.
|
Tools and Materials You’ll Need
Beyond the wood itself, a landing job needs the same core kit as any hardwood installation, plus a transition piece for the tread edge.
| Tools | Materials |
|---|---|
| Tape measure and chalk line | Wood planks (matched to adjoining floor if possible) |
| Moisture meter | Stair nosing / transition strip |
| Flooring nailer or drill/driver | Wood screws or trim-head fasteners |
| Miter saw | Finish nails / flooring cleats |
| Level and spacers | Wood glue, filler, and finish |
Measuring and Planning the Landing
Measure the length and width of the landing and calculate square footage, then add roughly 10% for waste and mistakes (closer to 15% if you’re going diagonal). Check the subfloor’s moisture content with a moisture meter – most solid hardwood wants to go in under about 12%, but check the plank manufacturer’s own spec since it varies by species and product. Let the planks acclimate in the space for 3-5 days before installing; a small, partly enclosed landing can hold humidity differently than the rest of the floor, so don’t skip this step just because the area is small.
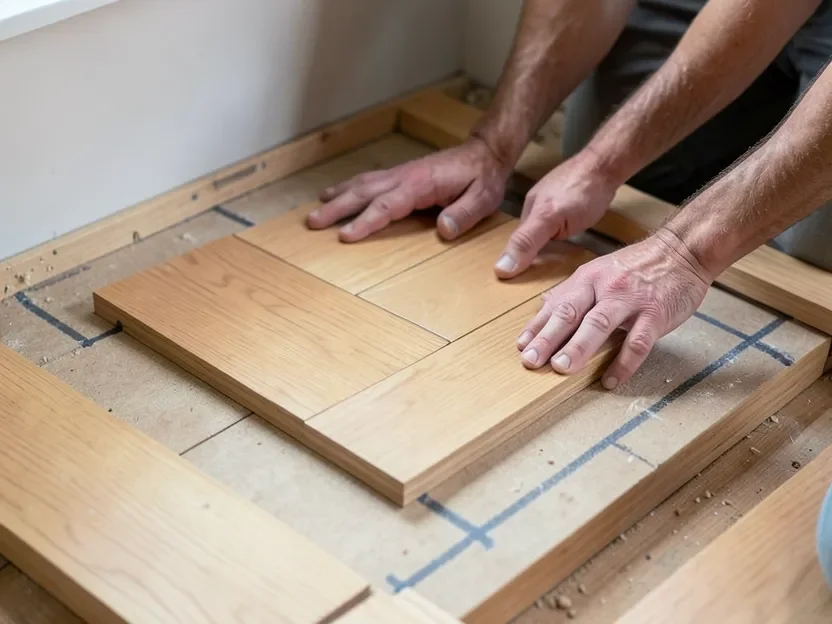
Dry-lay the first row or two without fasteners to confirm your chosen direction and layout look right before committing, then snap a chalk line for your starting row.
Preparing the Stair Landing Surface
Clean the landing thoroughly and check it for level, shimming low spots or sanding down high spots – more than about 1/8 inch of variance over 6 feet is worth correcting before you start. Repair any damaged subfloor sections and make sure the surface has no bounce; a landing takes concentrated, direction-changing foot traffic, so a soft or springy spot there is more noticeable than the same issue in the middle of a room.
If you’re removing old carpet first, pull up the padding and staples completely. Carpet padding compresses in ways a solid wood floor can’t tolerate, and any residue left behind will telegraph through the new flooring.
Cutting and Laying Out the First Rows
Mark your starting line with the chalk line you snapped earlier, then cut boards to length with a miter saw for clean, square crosscuts. Stagger the end joints between rows by at least 6 inches so you’re not lining up seams across the small landing, which weakens the field and looks obviously patterned in a tight space. Leave a 1/4 to 3/8 inch expansion gap at the walls – use spacers to hold it consistently – and plan for base or shoe molding to cover that gap later.
Transitioning Wood Flooring at the Landing Edge
The edge where the landing meets the top stair tread is the one spot on this job that can’t just be a butted plank end. That edge needs a stair nosing, which covers the exposed flooring and subfloor edge, matches the overhang the treads already have on the risers below, and keeps the edge from chipping or splintering under repeated foot traffic (the nosing recommended above is sold cut-to-length so you’re not stuck buying a full-length piece for a short landing edge).
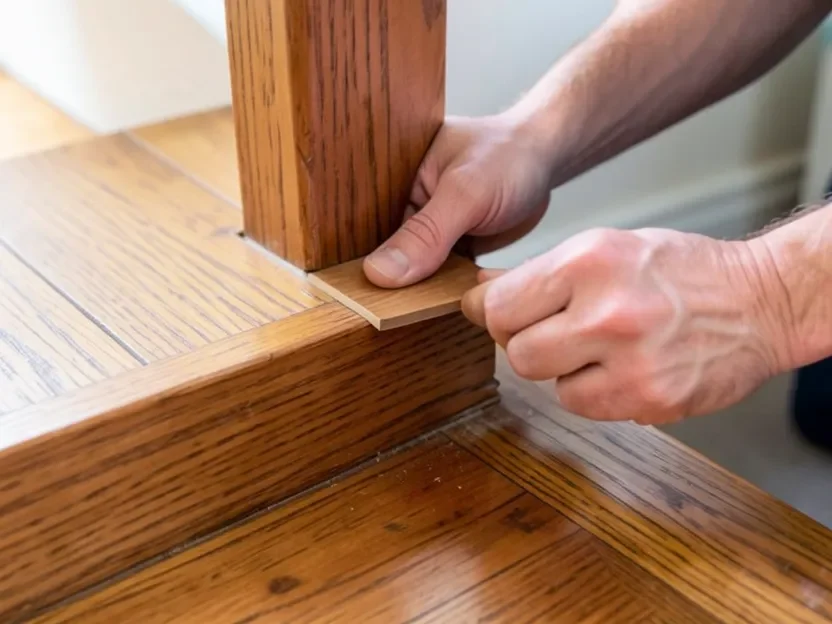
Before ordering, measure your flooring’s actual installed thickness rather than trusting the box – many “5/8-inch” or “3/4-inch” floors run slightly thinner in practice, and a nosing sized for the wrong thickness will sit proud or leave a step. Cut the nosing to the landing’s width, notch it around any newel post at the edge, and fasten it per the product’s instructions – typically blind-nailing through the tongue with adhesive or screws in the groove side.
Fastening and Installing the Planks
Face-nail or blind-nail through the tongue with a flooring nailer or stapler, using roughly 2-inch cleats driven at a 45-degree angle and spaced every 8 to 10 inches, with a fastener within 2-3 inches of each end. Along the walls, where a nailer usually can’t fit, hand-nail or use trim-head screws instead. A bead of wood glue in the groove adds extra hold, which is worth doing on a landing since it sees twisting foot traffic every time someone changes direction at the top of the stairs. Wipe off excess glue right away, before it skins over.
Trimming, Baseboards, and Finish Work
Cut and install base or shoe molding to cover the expansion gap around the perimeter, then caulk the trim seams and fill nail holes with color-matched wood filler. Sand lightly in the direction of the grain and apply a finish that matches the sheen used elsewhere in the house – a landing with a noticeably glossier or duller finish than the connecting hallway stands out immediately.
Fixing Squeaks, Gaps, and Other Common Problems
For squeaks, walk the landing slowly to locate the exact board, then predrill and drive a trim screw down through the subfloor into the joist at that spot; talc or graphite powder worked between boards is a decent temporary fix if you can’t get to the joist right away. Seasonal gaps under about 1/8 inch between boards are normal and will close up with humidity; wider gaps usually need color-matched filler or, in a bad case, replacing a board. If you see cupping or lifting specifically near the landing edge, check the nosing fasteners first – a loose nosing lets moisture get trapped right at that transition, which is a more likely cause than the field boards themselves.
Frequently Asked Questions
Which direction should wood planks run on a stair landing?
In most cases, run the planks in the same direction as the flooring in the hallway or room the landing connects to, so the sightline stays unbroken as you step from that room onto the landing. If the landing bridges two rooms with boards running different ways, laying the landing boards on a 45-degree diagonal is a common compromise. Over an open plywood subfloor with no adjoining room to match, run the boards perpendicular to the joists underneath for better support.
Do I need a stair nosing where the landing meets the top step?
Yes. A butted plank edge at the landing-to-tread transition leaves the flooring and subfloor edge exposed to chipping and splintering under repeated foot traffic. A stair nosing covers that edge, matches the overhang the treads already have on the risers below, and is cut to your flooring’s actual measured thickness rather than its nominal spec.
What type of wood is best for a stair landing?
Hardwoods such as oak, maple, or hickory hold up best on a landing because it’s a high-traffic pivot point where foot traffic changes direction. Softer woods like pine dent more easily in that spot. Match the species and finish to the adjoining hallway floor when possible so the landing doesn’t read as a patch.
Can I install wood flooring over carpet on a stair landing?
No. Carpet and its padding compress unevenly under a hard-surface floor and trap moisture against the subfloor, which can cause cupping or loosening over time. Remove the carpet, padding, and staples down to a clean, level subfloor before laying wood.
How much extra wood should I buy for a small landing?
Buy about 10% more than your measured square footage for a straight layout, and closer to 15% if you’re running the boards on a diagonal, since diagonal cuts waste more material at the edges.
Conclusion
A stair landing is a small area, but it takes an outsized amount of foot traffic and direction change for its size. Getting the board direction right, prepping a flat and dry subfloor, and finishing the tread edge with a proper nosing are the three details that make the difference between a landing that looks planned and one that looks patched in.
Sponsored / affiliate links. As an Amazon Associate I earn from qualifying purchases. I may earn additional commission from eligible campaigns.