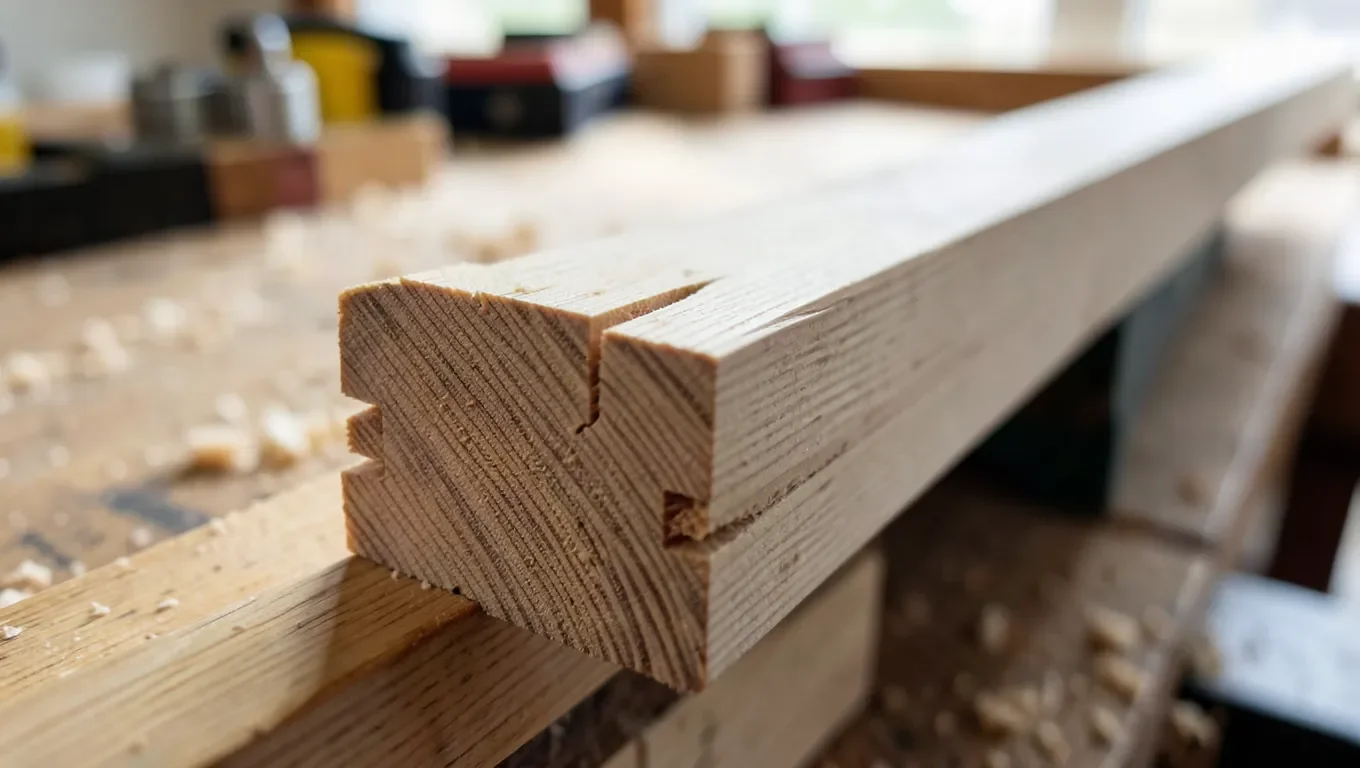
How to Learn Japanese Woodworking: Start With the Saw, Not the Joints
Most beginner guides jump straight to Japanese joinery — the visually striking interlocking joints like kanawa tsugi — but that’s backwards. The actual foundation of Japanese woodworking is the pull-stroke saw technique, and every one of those complex joints depends entirely on being able to make thin, precise, controlled cuts with a pull saw first. Start with the saw and basic cuts; the joints come later, once the fundamental hand control is there.
Why Pull-Stroke Cutting Comes First
Start Here, Not With a Joint
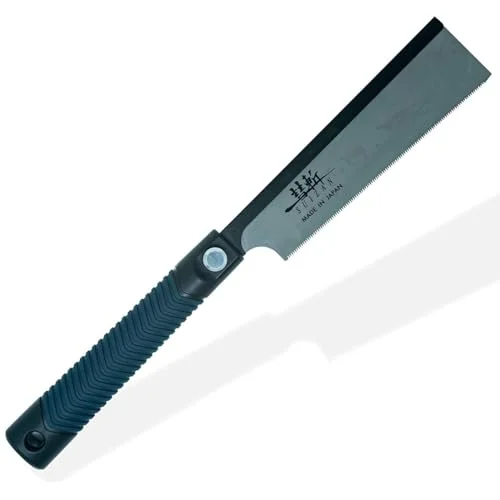 |
SUIZAN Dozuki Dovetail Saw, 7″ – $39.80 A real dozuki pull saw — the actual tool to buy first, before any joinery chisel set.
|
Japanese saws cut on the pull stroke, the opposite of Western push saws, which lets the blade be made thinner since it’s under tension rather than compression during the cut — a thinner blade means a narrower kerf and less material removed, which matters directly for tight-fitting joinery. The two main types are the ryoba (a double-edged saw with rip teeth on one side and crosscut teeth on the other) and the dozuki (a single-edged saw with a stiffening spine along the back, used for precise joinery cuts like dovetails and tenon shoulders). Learning to control a pull stroke without binding or wandering off your line is the actual prerequisite skill — rushing to complex joinery before this is controlled reliably is the most common reason beginner attempts at Japanese joints come out sloppy.
Real Books Worth Starting With
Toshio Odate’s Japanese Woodworking Tools: Their Tradition, Spirit and Use is the standard English-language starting reference, covering not just technique but the reasoning behind traditional tool design and sharpening. It’s a better first purchase than a joinery-pattern book, since understanding why the tools are shaped and used the way they are makes the later joinery instruction actually make sense, rather than being a set of steps copied without understanding the mechanics behind them.
Basic Techniques to Actually Practice First
- Straight ripping and crosscutting with a ryoba: before anything else, get comfortable starting a cut cleanly and tracking a straight line on the pull stroke
- Shoulder cuts with a dozuki: the precise, shallow cuts that define tenon shoulders and dovetail baselines
- Chisel paring with a Japanese nomi: Japanese chisels are typically struck with a genno (hammer) rather than pushed by hand alone for most joinery work, a different default technique than many Western hand-tool approaches
- Sharpening on water stones: Japanese blades are generally sharpened on water stones rather than oil stones, and blade steel/geometry differs enough that sharpening technique is worth learning specifically, not assumed to transfer directly from Western tool sharpening
When to Move to Interlocking Joints
Once straight cuts and basic shoulder cuts are reliably clean and accurate without excessive correction, simpler traditional joints (a basic mortise and tenon cut with Japanese tools, rather than a complex scarf joint) are the reasonable next step. Save the more elaborate interlocking joints like kanawa tsugi for after several simpler joints are genuinely comfortable — these joints require multiple precise cuts to align perfectly in three dimensions, and any inaccuracy in the underlying saw and chisel control compounds across every cut in the joint.
The Wood Itself: Hinoki and Sugi
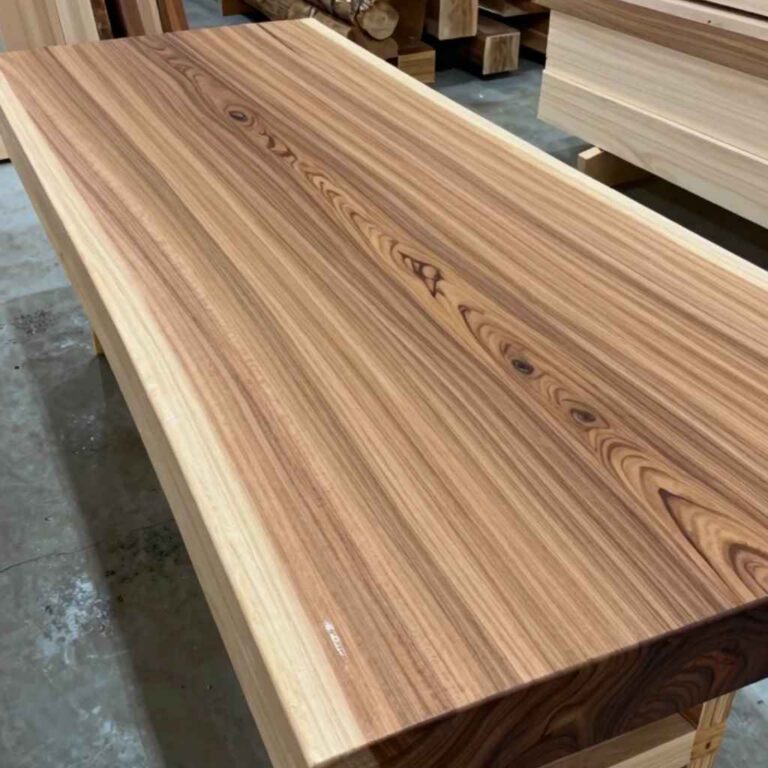
Traditional Japanese joinery developed around specific native softwoods, and the wood choice actually shapes the joinery, not just the finished look. Hinoki (Japanese cypress) is the premium choice — straight, tight grain, naturally rot-resistant, and prized enough that it’s the wood used for Shinto shrines and temple reconstruction (Ise Grand Shrine is rebuilt roughly every 20 years using it). Sugi (Japanese cedar) is softer, faster-growing, and more commonly used for everyday joinery practice and furniture. Both are softwoods, which matters for technique: Japanese chisels and saws are tuned for clean cuts in relatively soft, straight-grained material, and beginners practicing joints on a hard, interlocked-grain Western hardwood will fight the tools more than the technique itself deserves credit for.
The Workbench Difference: Kezuridai and Low Benches
Japanese hand-tool work is traditionally done at a much lower working height than a Western workbench, often on a low bench or trestle or directly on a plank secured with a kezuridai (a low planing platform), with the woodworker sitting or kneeling rather than standing at hip-height. Planing in particular is done by pulling the kanna (Japanese plane) toward the body rather than pushing it away, which uses body weight and a braced stance differently than a Western jack plane. This isn’t a minor stylistic detail — the low working height and pull-stroke planing motion are part of why traditional Japanese joints achieve such tight, gap-free fits, since the technique allows finer control over the very last shavings before a joint is test-fitted.
The Apprenticeship Tradition
Historically, Japanese joinery (miya-daiku, or shrine/temple carpentry, is the most rigorous branch) was passed down through multi-year apprenticeships under a master carpenter, with new apprentices spending a long initial period only sharpening tools and making basic cuts before being allowed near real joinery work. That tradition is largely impractical for a hobbyist learning outside Japan today, but the underlying lesson still applies directly: the sequence (tool care and basic cuts first, simple joints second, complex joints last) mirrors exactly the pull-saw-before-joinery order recommended earlier in this guide, just compressed from years into a realistic self-taught timeline of months.
Sharpening: The Skill Underneath the Skill
Japanese blade steel is typically a hard, high-carbon edge steel laminated onto a softer iron backing (the same lamination principle behind a Japanese kitchen knife), which holds a finer edge than most Western tool steel but is also more brittle and less forgiving of an incorrect sharpening angle. Water stones, not oil stones, are the standard sharpening medium — they cut faster and are used wet, which also means they need flattening more often since they wear unevenly with use. A woodworker who can’t maintain a sharp edge on a chisel or plane iron will fight every cut regardless of how good their saw technique is, which is why sharpening is treated as its own standalone skill to practice, not an occasional chore between projects. Because the laminated steel and iron backing rust at different rates, tools also need real storage care — a light coat of camellia oil after use and storage away from humidity is the standard practice, since a rust spot on the back of a plane iron or chisel ruins the flat reference surface that precise paring and planing depend on.
Real Places to Buy Tools and Keep Learning
Beyond a first saw, real Japanese-tool specialty retailers (Hida Tool, The Japan Woodworker brand, and Japanese-import sections carried by larger woodworking suppliers like Woodcraft) sell genuine imported chisels, planes, and water stones rather than Western tools rebranded with a Japanese-sounding name — worth checking before assuming a “Japanese style” tool at a general hardware store is the real import. Online, active woodworking forums and subreddits dedicated specifically to hand-tool and Japanese joinery work are a realistic way to get feedback on early joint attempts, since a joint’s fit is hard to self-assess accurately from written instructions alone — a second set of eyes on a fresh dovetail or a first kanawa tsugi attempt catches gap and alignment problems a beginner won’t yet recognize on their own.
Frequently Asked Questions
What’s the first tool to buy for Japanese woodworking?
A dozuki or ryoba pull saw, not a chisel set or joinery templates. Pull-stroke saw control is the foundational skill everything else in Japanese joinery depends on.
What’s the difference between a ryoba and a dozuki saw?
A ryoba has two cutting edges (rip teeth and crosscut teeth) and no back spine. A dozuki has one edge and a stiffening spine along the back, used for precise joinery cuts like dovetails and tenon shoulders.
Should I learn joinery before mastering the saw?
No. Complex interlocking joints depend entirely on precise, controlled pull-stroke cuts. Master straight cuts and shoulder cuts first, then move to simple joints before attempting elaborate ones.
What wood should I practice Japanese joinery on?
Traditional practice uses hinoki (Japanese cypress) or sugi (Japanese cedar), both soft, straight-grained softwoods. A hard, interlocked-grain Western hardwood fights the tools more than the technique deserves the blame for.
Conclusion
Japanese woodworking’s visual signature is its joinery, but the actual skill to build first is pull-stroke saw control — every impressive interlocking joint depends on cuts that are only possible once that foundation is solid. Start with a real dozuki or ryoba saw, practice straight cuts before shoulder cuts, and save the elaborate joints for after the fundamentals stop requiring conscious correction.
Sponsored / affiliate links. As an Amazon Associate I earn from qualifying purchases. I may earn additional commission from eligible campaigns.