How to Sand Rounded Objects: A Step-by-Step Guide
To sand rounded objects, use sandpaper or sanding blocks with a curved shape. Apply even pressure while moving in circular motions for a smooth finish.
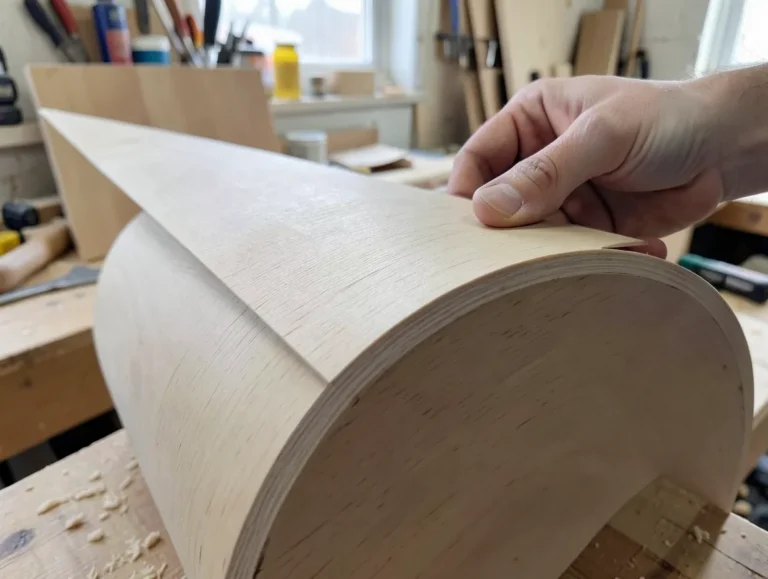
Sanding rounded objects can be challenging but rewarding. Achieving a smooth surface enhances the aesthetic appeal and prepares the item for finishing. The right technique and tools make all the difference. Curved surfaces require careful attention to detail, ensuring that every contour is treated equally.
Whether you’re working on furniture, crafts, or DIY projects, mastering this skill is essential. Using various grits of sandpaper helps achieve different levels of smoothness. This guide will walk you through the process, ensuring your rounded objects look polished and professional. Get ready to elevate your woodworking or crafting projects with these effective sanding techniques.
Introduction To Sanding Rounded Objects
Our Pick: Tools For Sanding Rounded Objects
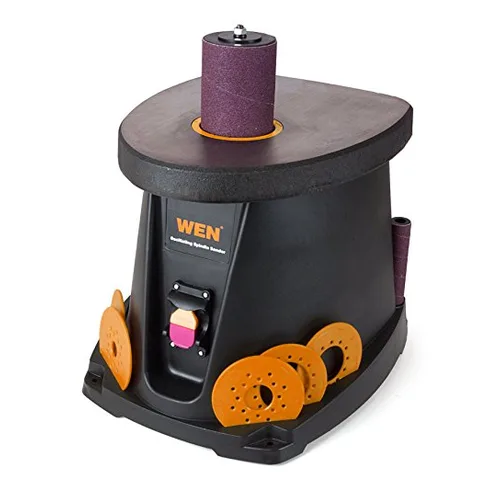
WEN 6510T Oscillating Spindle Sander
Best for: Anyone sanding curved edges regularly — bowls, chair seats, scroll-cut shapes.
Why we picked it: Interchangeable drum sizes and true up-and-down oscillation keep curved edges square instead of rounding them over.
Main drawback: Benchtop footprint needs dedicated shop space.
Check on Amazon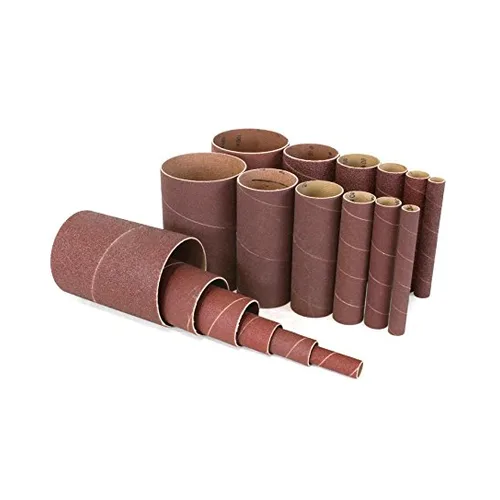
WEN 6510SPC Sanding Sleeves
Best for: Keeping the spindle sander stocked with fresh grits.
Why we picked it: Direct-fit replacement set spanning coarse to fine grits.
Main drawback: Sized for WEN drums only.
Check on Amazon →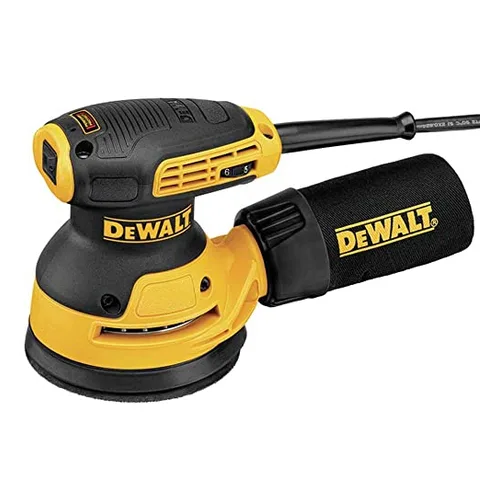
DEWALT DWE6423 Random Orbital Sander
Best for: Broad curved surfaces and final smoothing passes.
Why we picked it: Variable speed and a soft-grip body make it easy to control on rounded shapes.
Main drawback: Round pad can’t reach tight interior curves like a spindle sander can.
Check on Amazon →As an Amazon Associate we earn from qualifying purchases at no extra cost to you.
Sanding rounded objects can be tricky. Curves make it hard to get an even surface. Proper technique helps achieve smooth edges. Tools play a big role in this process.
Challenges include maintaining pressure and ensuring even contact. Different shapes require unique approaches. Using sandpaper with varying grits can help. Start with coarse paper and move to fine.
Safety is important. Always wear a mask and goggles. Dust can be harmful to health. Work in a well-ventilated area to avoid buildup.
Practice is key. With time, skills will improve. Experiment with different methods to find what works best.
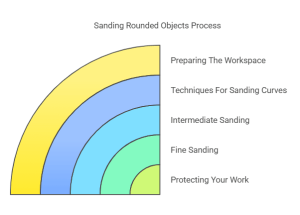
Essential Sanding Tools And Materials
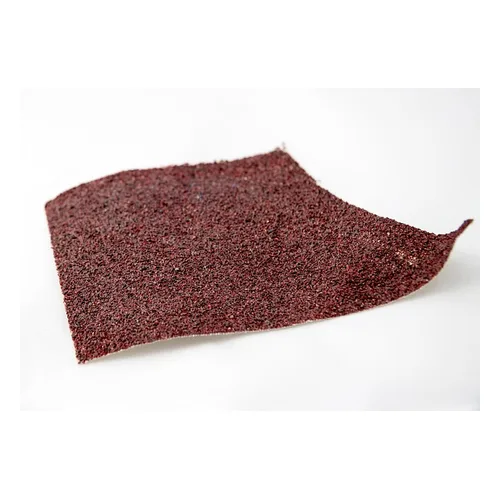
Choosing the right sandpaper grit is crucial for sanding rounded objects. Start with a coarse grit for rough shaping. Follow up with a medium grit to smooth the surface. Finally, use a fine grit for a polished finish.
For curved surfaces, specialized tools can make a big difference. A flexible sanding pad helps reach tight spots. Sandpaper rolls are great for custom shapes. Consider using a spindle sander for more control.
Direct answer: The dedicated tool for this job is called an oscillating spindle sander. A rubber drum covered with a replaceable sanding sleeve both spins and moves up and down at the same time, which uses more of the sandpaper’s surface and keeps curved edges square instead of rounding them over unevenly. It’s the tool Fine Woodworking’s tool test calls “a go-to tool for sanding the edges of curved furniture parts.”
Preparing The Workspace
Prepare your workspace for safe sanding. Wear a mask and goggles to protect yourself. Use a dust collection system to minimize debris. Keep the area well-ventilated to avoid inhaling dust.
Secure the object tightly. Use a vise or clamps to hold it steady. This will help you sand evenly without slipping. Soft pads can protect the surface while securing it. Always check that the object is stable before starting.
Initial Sanding Phase
Start by removing old finishes and paint. Use a stripper or sandpaper. Choose a medium grit for effective removal. Apply the stripper carefully to avoid damage.
After stripping, focus on evening out rough spots. Use fine-grit sandpaper to smooth the surface. Work gently to maintain the shape of the object. Always sand in the direction of the grain.
Check for any remaining imperfections. Repeat sanding until the surface feels even. This phase ensures a better finish later on.
Techniques For Sanding Curves
Hand sanding offers great control for rounded objects. Use various grits of sandpaper for a smooth finish. Start with coarse paper, then move to finer grades. It is perfect for detailed work.
Power tools can save time, but pick the right one. A stationary drum sander is built for flattening flat panels, not curves — for rounded and contoured work, an oscillating spindle sander or a rotary tool with sanding attachments is the correct choice. Caution is key to avoid removing too much material.
To adapt sandpaper for curves, cut it into smaller pieces. Use flexible sanding blocks to match the shape. Foam pads can also help sand tighter curves effectively.
If you’re working a flat circular disc – cut with a jigsaw, bandsaw, or router jig rather than a naturally curved part – see our separate guide to sanding a circle in wood true-round for the center-pin technique that keeps a disc from drifting oval.
“The oscillating action of the spindle and sanding drum mounted to it removes stock quickly and efficiently, because it uses most of the sandpaper sleeve.” — Bill Peck, Fine Woodworking Tool Test: Oscillating Spindle Sanders
Intermediate Sanding Steps
Start with a coarse grit sandpaper. This helps shape the rounded object. Use a sanding block for better control. Gradually move to finer grits for a smooth finish. Pay attention to the pressure applied while sanding.
Check the curvature regularly. This ensures the shape remains consistent. Use your hands to feel for any rough spots. A smooth surface is key to a good finish. Always sand in the direction of the grain.
Here’s a quick guide to grit levels:
| Grit Level | Purpose |
|---|---|
| 80 | Initial shaping |
| 120 | Refining edges |
| 220 | Smoothing surface |
Fine Sanding For A Smooth Finish
To achieve a silky surface, choose the right sandpaper. Start with a coarse grit to remove rough spots. Gradually move to finer grits for a smoother finish. Always sand in the direction of the grain.
Use light pressure to avoid damaging the surface. A sanding block can help maintain even pressure. Clean the object with a damp cloth to remove dust.
After sanding, feel the surface with your hand. It should feel smooth and even. Inspect for any imperfections before applying your finish.
Finally, take your time with the last touches. This step ensures your project looks professional and well-made.
Protecting Your Work
Protect your work by using the right materials. Choose a suitable finish for rounded objects. Oil-based finishes are great for durability. Water-based finishes dry quickly and are easy to clean.
Ensure even coating with proper techniques. Use a foam brush for smooth surfaces. A lint-free cloth helps avoid dust and debris. Sand lightly between coats for a smooth finish. Always follow the manufacturer’s instructions for best results.
Maintenance And Care Tips
Regular cleaning is essential for keeping rounded objects in top shape. Use a soft cloth to gently remove dust. Avoid harsh chemicals, as they can damage the surface. For wood items, consider using a mild soap solution.
Repairing scratches on curved surfaces requires care. First, clean the area around the scratch. Use fine sandpaper to gently smooth the scratch. Always sand in the direction of the grain for wood. After sanding, apply a matching finish to blend the repair.
| Tip | Description |
|---|---|
| Use Soft Cloth | Always use a soft cloth for cleaning to avoid scratches. |
| Avoid Harsh Chemicals | Harsh cleaners can ruin the finish of rounded objects. |
| Fine Sandpaper | Use fine sandpaper for repairing scratches on curved surfaces. |
Frequently Asked Questions
How Do I Sand Curved Surfaces Effectively?
To sand curved surfaces effectively, use flexible sanding tools. Sanding sponges or foam pads conform to the shape better than rigid sandpaper. Start with a coarser grit and gradually move to finer grits. Always follow the curve of the object to avoid flat spots and achieve a smooth finish.
What Tools Are Best For Sanding Rounded Objects?
For sanding rounded objects, consider using a rotary tool with sanding attachments. A detail sander or oscillating tool also works well. Hand sanding with flexible sanding blocks or sponges can be effective too. Choose tools that fit the specific contours of your object for the best results.
Can I Use A Power Sander On Rounded Items?
Yes, you can use a power sander on rounded items, but with caution. Use a random orbital sander with a soft pad for better control. Avoid applying too much pressure to prevent damage. Always test on a scrap piece first to ensure you achieve the desired finish.
What Grit Sandpaper Should I Start With?
Start with a coarser grit sandpaper, around 80 to 120 grit. This removes material quickly and shapes the object effectively. After shaping, switch to finer grits, like 220 or higher, for a smooth finish. The right grit sequence will enhance the final appearance of your rounded object.
Conclusion
Sanding rounded objects enhances their appearance and feel. By following the right techniques, you can achieve a smooth finish. Remember to choose the right tools and grit levels for the best results. With practice, sanding can become an enjoyable and rewarding task.
Embrace your creativity and enjoy the process!
Sponsored / affiliate links. As an Amazon Associate I earn from qualifying purchases. I may earn additional commission from eligible campaigns.