Cabinets, Drawers and Built-Ins
Treat cabinets, drawers, and built-ins as one system: pick load rating, reveal sizes, and finish schedule together, and size drawer slides or hinges to the heaviest expected load, with at least 10% margin. Parts sized below the expected load can lead to sagging drawers, sticky doors, chipped finishes, and repeat repairs. This guide covers building, hardware, fixes, and refinishing choices that keep all three working together.
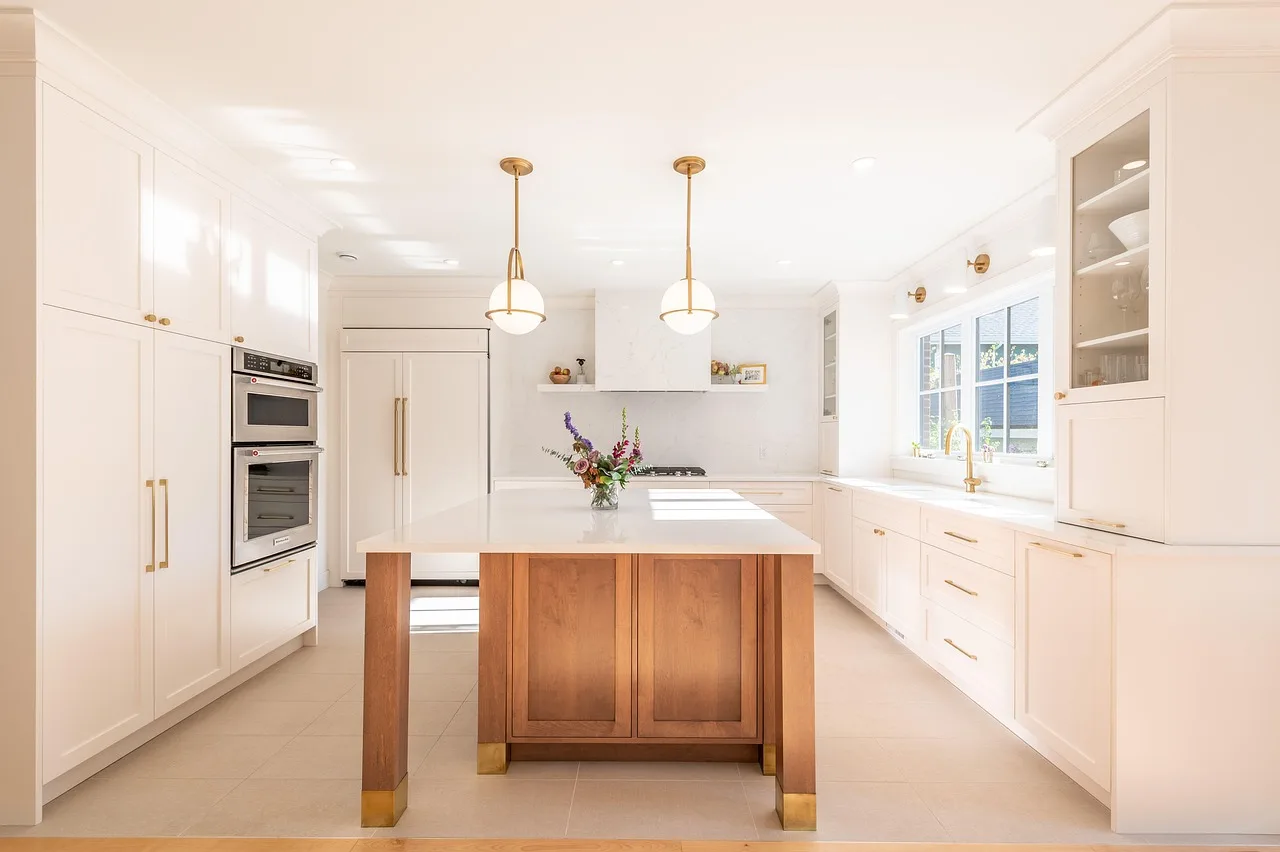
Cabinets are used in kitchens, bathrooms, bookcases, mudrooms, and closets. Cabinet boxes can create built-ins, bathroom vanities, bookcases, and more. That means the same decisions affect storage furniture across rooms, not only in a kitchen run.
Cabinet systems at a glance


One cabinet archive page groups how-to content for custom cabinet building. The archive includes base cabinets, wall cabinets, corner cabinets, and drawer base cabinets, plus built-in desk and built-in bookcase projects. Those categories matter because a drawer slide that works in a base cabinet may not suit a shallow desk drawer or a tall pantry pull-out.
Where cabinets, drawers, and built-ins differ
Use the cabinet box as the structure, the drawer or door as the moving part, and the finish as the wear layer. Built-ins add one more layer: they must fit the room, the wall, and the base condition before trim and face frames go on.
A base cabinet usually carries the most load and sees the most wear. A wall cabinet usually needs stronger anchoring and careful hinge adjustment. A built-in bookcase or desk often needs leveling legs, scribe space, and a finish that matches the room, not just the box.
When custom, premade, refacing, or refinishing makes sense
Choose full replacement when the boxes are swollen, out of square, or too damaged for new hardware to hold alignment. Choose refacing when the box is sound but the doors, drawer fronts, and visible faces need a new look. Choose refinishing when the boxes and doors stay in place and the goal is a new color or sheen.
Premade cabinets can work well when your openings are standard and the layout is simple. A built-in, a corner run, or a mudroom wall often needs field sizing, scribing, or filler strategy that premade boxes do not solve cleanly.
Core terms: boxes, fronts, slides, hinges, and levelers
The box is the carcass. The front is the visible door or drawer front. Slides carry the drawer. Hinges carry the door. Levelers and legs carry the cabinet weight and set final height.
In practice, these parts interact. A drawer front can look crooked because the box is racked, the slide is out of parallel, or the opening is out of level. A door can rub because the hinge plate is wrong for the face-frame or frameless layout.
Which hardware should you choose first?
Choose drawer slides and hinges before you finalize drawer box size, face reveal, and finish schedule. Hardware sets the clearances you must design around. If you pick the wrong mounting style first, you can end up rebuilding boxes, changing fronts, or drilling new hinge holes to fix fit problems later.
Side-mount vs undermount drawer slides
Side-mount slides attach to the drawer sides and cabinet sides. Undermount slides hide under the drawer box and usually need a compatible drawer box width, bottom groove, and rear support clip. Side-mount hardware is often easier to retrofit. Undermount hardware gives a cleaner look and usually needs tighter box control.
Ball-bearing slides are common in both styles. They move more smoothly under load than basic roller slides and are the usual choice for kitchen drawers, tool drawers, and heavy storage. Common lengths are often available in 2-inch steps, from shorter vanity sizes to deeper pantry pulls, so measure the cabinet depth before you buy.
Soft-close slides slow the drawer near the end of travel. Self-close slides pull the drawer shut without the cushioning effect. Some hardware combines both behaviors, but you should confirm whether the drawer closes fully under its own force or only finishes with a push.
Locking devices matter on undermount systems because they secure the drawer to the slide and provide front adjustment. On many systems, the locking hardware also lets you fine-tune height, side-to-side position, and tilt after installation.
Concealed hinge types for face-frame and frameless cabinets
Concealed European-style hinges are the standard upgrade for many cabinet doors. They hide the hinge cup inside the door and make final adjustment easier than old exposed hinges. Compatibility depends on whether the cabinet is face-frame or frameless, and on the hinge arm and mounting plate choice.
Face-frame cabinets usually need a mounting plate or adapter that bridges the frame thickness. Frameless cabinets mount the plate directly to the side panel. Blum Clip-Top hinges are a common concealed option because they pair with separate mounting plates and allow tool-free clip-on installation once the plate is set.
Soft-close hinge versions slow the door near the end of swing. Adjustment usually covers side-to-side, depth, and height through the hinge arm, plate position, or both. A template saves time and keeps cup drilling and plate placement consistent across a full run of doors.
When soft-close, self-close, or locking hardware matters
Choose soft-close where noise control and impact reduction matter, especially on kitchen and bath doors or deep drawers with heavy contents. Choose self-close where positive closure matters more than a cushioned finish, such as in utility storage or utility rooms. Choose locking hardware where slides or drawers must stay aligned under frequent use or removal.
For example, a 24-inch kitchen drawer may hold pots and a cutting board. If it slams shut and then sits proud by 1/8 inch, the issue may be the slide’s closing action, a bent member, or a front that is pulling the box out of square. The hardware choice and the box condition need to be checked together.
Drawer box sizing and construction
Drawer boxes need enough stiffness to stay square under load, enough clearance for the chosen slide, and enough depth to use the cabinet opening efficiently. Thin panels save weight, but weak joinery or undersized bottoms often show up as sagging, binding, or front misalignment after a short time in service.
Plywood thickness and panel choices
For many drawer boxes, 1/2-inch plywood is a practical starting point, while 5/8-inch or 3/4-inch plywood is commonly used when more stiffness is needed for wider or heavier drawers. The exact choice depends on slide type, drawer width, and the weight you expect the box to carry. Undersized material can flex enough to make slides bind.
Solid wood sides work too, but plywood stays more stable across seasons and is easier to keep flat. For undermount slides, the drawer bottom, side thickness, and groove location need to match the slide manufacturer’s requirements. A mismatch here can prevent the locking device from seating correctly.
Dovetail vs pocket-hole construction
Dovetail joints resist pullout well and are common in higher-end drawer work. Pocket-hole construction is faster and can be perfectly serviceable for utility drawers, shop storage, or hidden drawers where appearance matters less than speed and function. The better joint is the one that matches the load, schedule, and finish plan.
A dovetailed drawer with a thin bottom still fails if the bottom groove is too shallow or the box is not square. A pocket-hole box can work well if the screws are kept clear of slide hardware, the front is reinforced, and the assembly is clamped square before fastening.
Depth, load, and fit checks for slide compatibility
Drawer depth should follow the cabinet opening and the slide length. The drawer box usually needs to be slightly shorter than the slide so the hardware can retract fully. The drawer width must also leave the clearances required by the slide style, especially on undermount systems.
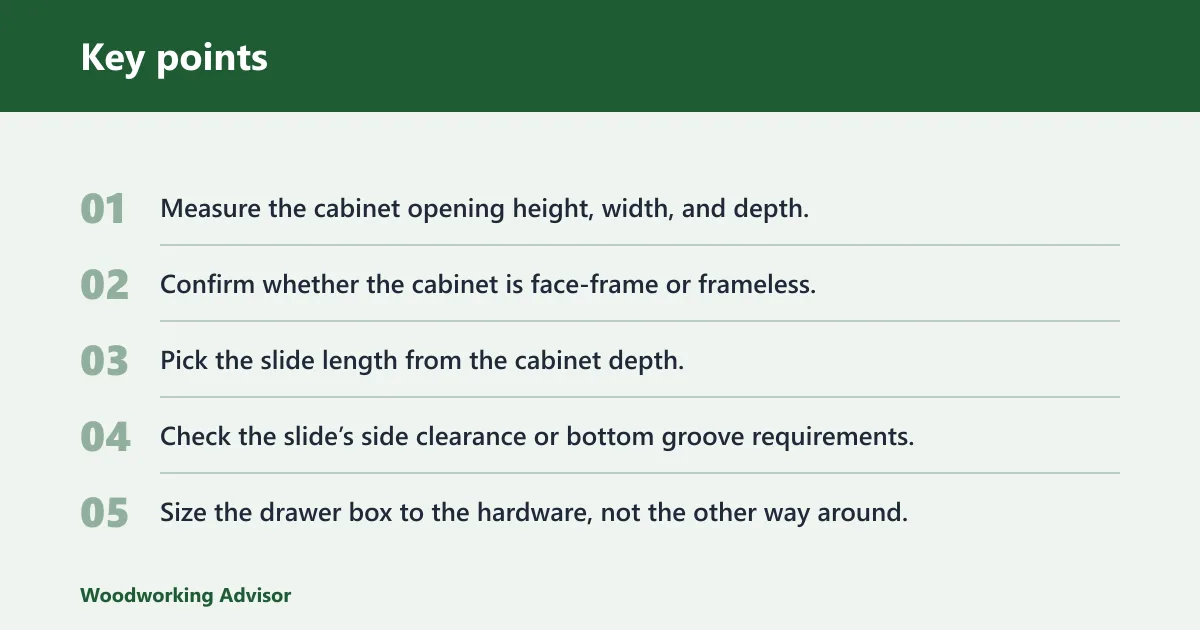
- Measure the cabinet opening height, width, and depth.
- Confirm whether the cabinet is face-frame or frameless.
- Pick the slide length from the cabinet depth.
- Check the slide’s side clearance or bottom groove requirements.
- Size the drawer box to the hardware, not the other way around.
- Dry-fit the box before you drill for locking devices or fronts.
Common failure starts with a drawer built too wide by a small amount. Even a minor oversize can make a ball-bearing slide feel sticky, especially once the finish builds on the sides or the box racks under load.
Choosing the right joint for plywood drawer boxes
The right joint depends on how much load the drawer will carry, how fast you need to build it, and whether you want maximum strength or the simplest layout. The supporting article breaks down the main options for plywood drawer boxes—dado, rabbet, pocket-hole, and dovetail joints—so you can match the joinery to the job instead of defaulting to one method for every build.
That matters because a weak or awkward joint can lead to racking, loose corners, and drawers that bind on slides. If you want a clear guide to the tradeoffs and the best use case for each method, see the plywood drawer joint guide.
Dovetail vs. Pocket Hole Drawer Joints
Drawer joint choice comes down to where the drawer will be used, how much weight it will carry, and how long it needs to stay tight at the corners. The supporting article compares dovetail and pocket hole construction so you can match the joint to the job instead of overbuilding a light-duty drawer or underbuilding a heavy one. It covers strength, appearance, cost, and assembly speed, plus when each method makes the most sense in real cabinet work.
If you are deciding between durability and efficiency, the dovetail drawer comparison helps clarify when the extra labor and material cost are justified and when a simpler pocket hole box is the smarter choice.
How do you fix a drawer that sticks or sags?
Start by identifying where the drag happens: front, middle, or near full extension. A sticking drawer is usually a geometry problem, a slide problem, or both. A sagging drawer often points to box flex, worn bearings, loose mounting screws, or a front that is pulling the box out of square.
Common symptom-to-cause checks
If the drawer rubs at the front only, check the reveal and the slide height. If it binds halfway out, check for side bow, debris in the bearings, or a slide that is out of parallel. If it will not close all the way, inspect the back stop, the locking devices, and the front alignment.
If the drawer droops when open, look at the load rating, the slide extension, and the box bottom. Heavy pots, files, or tools can overwhelm a light-duty slide, especially on long widths. A wider drawer often needs a stiffer box and a slide rated for that span.
Slide alignment, adjustment, and replacement cues
Many drawer problems resolve with a simple reset. Loosen the slide mounting screws, square the members, and retighten while the drawer sits level. On undermount systems, recheck the front clips or locking devices after you make the adjustment because they control final height and tilt.
Replace the slide when the bearings chatter, the drawer drops on one side despite adjustment, or the members are bent. Replace the drawer box when the bottom sags, the sides split at the joint, or the front no longer stays square. Replace the front when the hardware is sound but the reveal is wrong or the panel has warped.
When the box, front, or cabinet opening is the problem
The opening may be the real fault. A cabinet that is racked, not level, or out of square can make a good drawer seem defective. Check the diagonal measurements of the opening and the level of the slide mounting points before you blame the drawer box.
A common first-timer mistake is to tighten one slide completely, then force the second slide into place. That can twist the box and make the drawer feel tight only on the last inch of travel. Install both sides loosely first, check motion, then lock them down after final adjustment.
Cabinet refacing and refinishing decisions
Choose refinishing when the box and doors are structurally sound and you want to change the color or sheen without replacing the cabinet set. Choose refacing when the structure still works but you need new door and drawer fronts, new hardware, and a refreshed visible surface. Choose replacement when the substrate is failing or the layout no longer fits the room.
Paint vs stain finish paths
Paint gives a uniform look and covers mixed grain, patchwork repairs, and old color shifts. Stain works best when the wood species and surface condition support a natural look. If existing doors are veneered or already sealed with a problem finish, paint is often the more forgiving path.
For either path, prep matters more than the topcoat. Clean grease, remove silicone contamination, sand to create tooth, and repair chips before finish work begins. Hardware should come off before sanding so finish does not bridge around hinges, pulls, or slide mounting points.
Prep, sanding, and surface compatibility
Surface compatibility decides whether you can refinish or need to reface. Solid wood, plywood veneer, and laminate all need different prep. Laminate often needs a bonding primer and careful edge checking. Peeling veneer, swollen particleboard, or repeated chip-out around the hinge area usually points toward replacement or at least selective rebuild.
If you plan to change from old polished finish to paint, sand enough to dull the surface and remove loose coating, but do not sand through veneer. If you plan to keep stain, make sure all patch repairs accept color the same way; otherwise the repair spots will telegraph through the finish.
When hardware replacement should happen with finishing work
Replace hinges and drawer slides during finishing when the current hardware is worn, noisy, or incompatible with the new layout. New finish on old hardware can leave you with fresh-looking doors and drawers that still close badly. A refinish project is the right time to fix that mismatch.
One custom cabinetry company offers soft-close drawers as part of design, and lists premium finishing options including soft-close hinges and drawer glides. Their process includes final walkthrough and adjustments after installation. That kind of workflow is useful because it treats hardware and finish as one job, not two separate ones.
Choosing the right wood for face frames
The best face-frame wood depends on the finish, the room, and your budget: poplar is usually the easiest choice for painted cabinets, while hard maple, cherry, and red oak are better when the frame will stay visible under a clear finish. The right pick helps you avoid grain telegraphing through paint, stain mismatch, and movement that can throw door reveals out of alignment.
This face-frame wood guide compares common species by durability, appearance, and moisture resistance, so you can match the material to the cabinet’s job before you buy lumber.
Best wood for painted cabinet parts
If your goal is a smooth, durable painted finish, the best material depends on the cabinet part, not just the species. This guide explains why hard maple is a strong choice for doors and face frames, why MDF often wins for paint-ready panels, and where poplar, birch, and plywood fit in a budget or midrange build. It also shows how grain, dent resistance, and panel stability affect how clean the paint looks over time.
Use this painted cabinet wood guide to match each cabinet component to the right material, so you can reduce visible grain, avoid panel movement, and make smarter tradeoffs between appearance, cost, and durability.
Particle Board vs. Plywood Cabinet Lifespan
If you are choosing cabinet boxes, the key question is simple: plywood usually lasts longer, especially in sink bases, dishwasher runs, and other high-stress spots. This article breaks down particle board vs plywood cabinets by the failures that matter most—swelling, sagging, loose screws, and moisture damage—so you can judge durability without guessing.
It also shows where particle board can still be acceptable, and which construction details can make one cabinet outperform another regardless of sheet material. That makes it easier to spend money where it changes service life, not just where it sounds premium.
When cabinet-grade plywood is worth the cost
Cabinet-grade plywood is a smart buy when the part needs strength, stable edges, or a cleaner finish—especially for face frames, drawer boxes, toe-kicks, and panels that may see moisture or hardware stress. It is often overkill for hidden backs, stretchers, and other non-structural pieces where a lower grade can perform well and save money. The key is matching the sheet to the job so you do not spend extra where it will not improve durability.
The supporting guide breaks down where the upgrade pays off, where cheaper plywood is acceptable, and how to compare core quality, face grade, and sheet specs before buying. For a clear breakdown, see cabinet plywood value.
Choosing the Best Plywood for Built-In Shelves
For most built-ins, the safest choice is about 3/4-inch cabinet-grade veneer-core plywood with a hardwood face veneer, especially when you want shelves that stay straighter and finish cleanly. The supporting guide breaks down when 1/2-inch plywood is enough, when Baltic birch is worth considering for longer spans, and why MDF can work for painted, low-load shelves. It also explains how shelf span, support spacing, and a front hardwood nosing affect stiffness and sag. If you are planning built-in storage and want the shelves to look good and hold up over time, best plywood built-ins is the practical comparison to read first.
Built-ins, pantries, and storage cabinets
Built-ins need more than a cabinet box. They need layout, anchoring, trim strategy, and room-specific storage planning. Cabinets can create built-ins, bathroom vanities, bookcases, and more, so the same box logic can support a desk, a pantry wall, or a closet run when the size and support are right.
Bookcases, desks, and wall units
Bookcases need shelf spans chosen for the load you expect, plus back support if the run is wide. Desks need knee-space planning, cable access, and a front edge that stays rigid under arm pressure. Wall units need secure fastening to studs and a finish that blends with adjacent trim and walls.
A built-in desk from a cabinet box can work well if you plan for the toe-kick, the work surface height, and cable holes before the box is installed. A bookcase built from cabinet boxes needs shelf pin layout or fixed shelves set before the case is trimmed in.
Mudroom, closet, and pantry planning
A mudroom usually wants hooks, cubbies, drawers, and a bench zone that handles shoes and bags. A closet system needs hanging depth, shelf height, and accessory spacing that match what you store. A pantry often benefits from pull-outs, adjustable shelves, and narrow compartments that keep small items visible.
One cabinetry company offers built-ins, pantries, mudrooms, closets, and specialty storage. That range matters because each space asks for different hardware: pantry pull-outs for food, drawer dividers for tools, and bins for mudroom clutter.
Base, wall, and corner cabinet forms
Base cabinets carry counters, drawers, and the heaviest contents. Wall cabinets save floor space and need better anchoring. Corner cabinets need hardware or shelf planning that avoids dead space, especially in kitchens where the corner often becomes a storage problem instead of a storage solution.
Base cabinet organizers, lazy susans, trash pull-outs, and pantry pull-outs all depend on the cabinet form. Choose them during layout, not after the boxes are fixed in place. A pull-out that fits on paper can still fail if the face frame, hinge swing, or plumbing cutout steals usable width.
Cabinet system decision table
This table helps you decide whether to repair hardware, replace parts, refinish the surface, or rebuild the box. The right next step depends on project type, substrate condition, the hardware already in place, and the symptom you see in use.
| Project type | Substrate condition | Best hardware choice | Repair vs replace trigger | Typical failure symptom | Recommended next step |
|---|---|---|---|---|---|
| Kitchen drawers | Solid box, minor wear | Ball-bearing side-mount or compatible undermount with soft-close | Repair if box is square and screws still hold | Drawer sticks near the last inch | Reset slide alignment, then check front reveal and locking devices |
| Kitchen doors | Face-frame intact, doors sound | Concealed European hinge with matching mounting plate | Replace if cup holes are blown out or plates strip | Door rubs the frame or closes unevenly | Adjust hinge depth and side position; replace plates if loosened |
| Bathroom vanity | Minor finish wear, no swelling | Soft-close hinges and corrosion-resistant slides | Refinish if the box is dry and flat | Peeling finish near sink or toe-kick | Refinish, then replace exposed hardware if corrosion is present |
| Built-in bookcase | Stable wall and level base | Levelers or legs, fixed shelves, concealed fasteners | Replace if the back or side panels are warped | Unit leans, shelves rack, trim gaps open | Re-level the base, shim the case, then secure to studs |
| Closet storage | Moderate wear, good structure | Pull-outs, drawer slides, adjustable shelf pins | Repair if opening stays square after reset | Drawer front drops or racks under clothes weight | Upgrade to stronger slides and check drawer width and depth |
| Pantry or mudroom | High use, scattered wear | Heavy-duty slides, organizers, trash pull-outs, bins | Replace if repeated repairs fail within the same opening | Pull-out binds or bins tip under load | Rebuild the affected drawer or shelf module and reset hardware |
Picture a 30-inch pantry cabinet with a pull-out that scrapes the left side only when it reaches full extension. If the opening is square, the likely problem is a slide mounted slightly out of parallel or a box built a touch too wide. A simple reset may fix it; a swollen side panel usually means replacement.
Suppose a closet drawer front is flat and the hardware is new, but the drawer still sags when loaded with folded sweaters. The issue may be a thin box bottom, a weak rear attachment, or a slide rating that is too low for the width. In that case, rebuild the box before changing the front again.
Frequently asked questions
Which drawer slides should I choose for kitchen cabinets?
Choose ball-bearing slides for most kitchen drawers, then match the style to the cabinet and load. Side-mount slides are simpler to retrofit and tolerate a wider range of box designs. Undermount slides suit cleaner interiors, but they need more exact drawer sizing, the right bottom groove, and the correct locking hardware.
What is the difference between undermount and side-mount drawer slides?
Side-mount slides attach to the drawer sides and cabinet sides, so they are easier to see, measure, and replace. Undermount slides sit below the drawer box and hide better, but they require a compatible drawer bottom, precise width, and usually a front locking device for adjustment and removal.
How do I install or adjust Blum drawer hardware and cabinet hinges?
For Blum Clip-Top style hinges and compatible drawer hardware, start with the correct mounting plate, template, and cabinet type. Install the plate square, clip the hinge or drawer hardware in place, then use the adjustment screws for height, side-to-side, and depth. Recheck after loading the drawer or closing the door several times.
What size plywood should I use for drawer boxes with undermount slides?
Many drawer boxes use 1/2-inch plywood, but wider or heavier drawers often benefit from 5/8-inch or 3/4-inch material. The correct size depends on the slide maker’s clearance rules, the drawer width, and the load. Undermount slides also require a compatible bottom groove and rear support.
When should I refinish cabinets instead of replacing them?
Refinish when the boxes are sound, the doors are still usable, and the problem is mainly color, sheen, or surface wear. Replace when the substrate is swollen, badly warped, loose at the joinery, or no longer square enough for the hardware to adjust properly. If hardware is worn, replace it during the finish work.
What hardware and accessories do I need for built-ins and storage cabinets?
That depends on the use case, but most built-ins need levelers or legs, anchoring hardware, shelf pins or fixed shelf joinery, and the right pull-outs or bins. Pantries often benefit from drawer slides, trash pull-outs, and replacement bins. Closets usually need hanging hardware, shelf supports, and door or drawer hardware matched to the box.
Sponsored / affiliate links. As an Amazon Associate I earn from qualifying purchases. I may earn additional commission from eligible campaigns.