How to Make Wood Planks by Hand From a Log (3 Real Methods)
Turning a round log into a flat wood plank by hand means splitting, hewing, or chainsaw-milling it — a hand saw alone can’t rip a log lengthwise with any real efficiency, which is the step most guides skip over. This guide covers the three real hand methods (froe splitting, axe hewing, and chainsaw milling), which wood species work with each, and the shaping and finishing steps once you actually have a rough plank.
Turning A Log Into A Plank: 3 Real Methods
Best Chainsaw Mill Pick
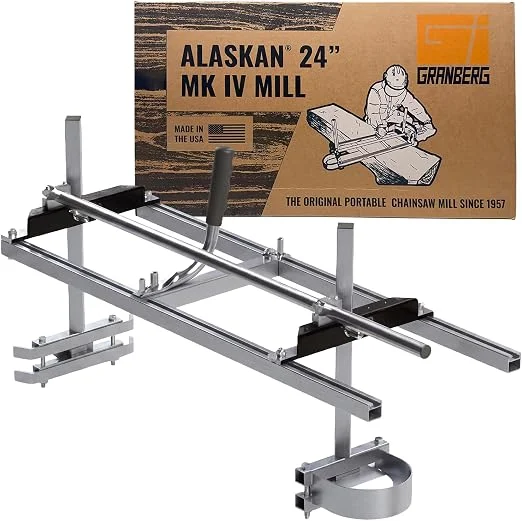 |
Granberg G778-24 Alaskan MKIV Chainsaw Mill (24-Inch) – $263.00 For the chainsaw-milling method covered below, this is the standard attachment woodworkers actually use — it clamps directly onto your chainsaw bar without drilling and rides a guide rail for a flat, consistent face on hardwoods that resist froe splitting.
|
Before any smoothing or finishing happens, you need to actually separate a flat plank from a round log. There’s no single “correct” way — the right method depends on the wood species, the tools you have, and how uniform you need the final thickness to be.
Froe Splitting
A froe is an L-shaped blade you drive into the end grain with a mallet, then lever sideways to split the log along the grain. It’s fast and requires no power tools, but it only works well on straight-grained, easily-splitting species — oak, cedar, and ash are classic froe woods. A log with twisted or interlocked grain will split unevenly no matter how careful you are, since the froe follows the wood’s natural grain line rather than a marked cut line.
Axe Hewing
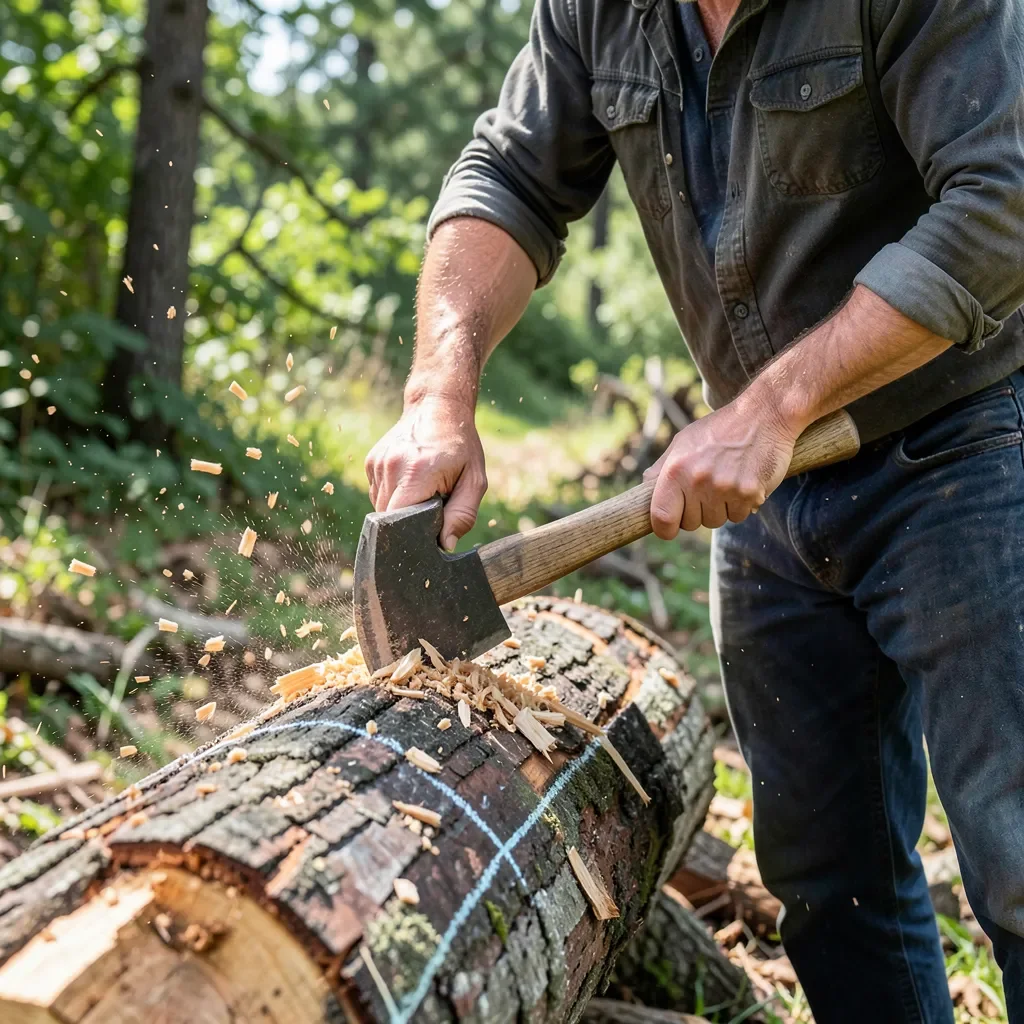
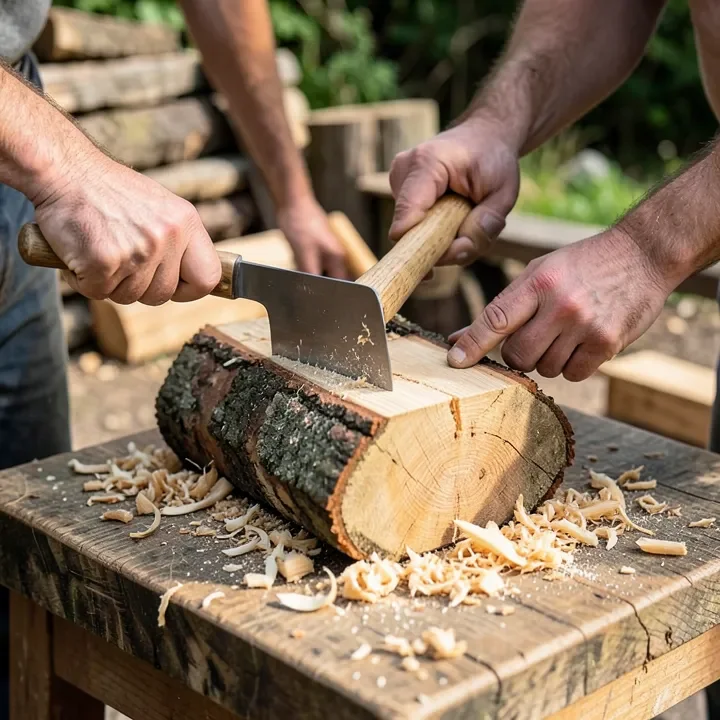
Hewing uses a broadaxe to flatten a log’s rounded surface into a plank face, guided by a snapped chalk line rather than the grain. Score a series of vertical notches down to the line, then knock the waste sections free before smoothing the face with the broadaxe’s flat side. Unlike froe splitting, hewing works on almost any straight-trunked species since you’re cutting to a marked line, not following grain — the tradeoff is it’s considerably slower and more physically demanding.
Chainsaw Milling
A chainsaw mill (often called an Alaskan mill) clamps onto your chainsaw bar and rides along a guide rail, letting one person cut consistent, flat-faced planks straight from a log in the field. It’s the closest thing to a real hand-portable sawmill: no pit, no second person, and it works on hardwoods that would wreck a froe. The tradeoff is chain speed and precision — a ripping-specific chain (not a standard crosscut chain) is required, and the kerf loss is wider than a bandsaw mill’s.
Selecting The Right Type Of Wood
Your wood choice determines which of the three methods above will actually work well, not just how the finished plank looks.
| Wood Species | Characteristics | Best Splitting/Milling Method |
|---|---|---|
| Oak | Strong, durable, straight-grained | Froe (splits cleanly along the grain) |
| Cedar | Lightweight, rot-resistant, splits easily | Froe |
| Maple | Hard, dense, often interlocked grain | Chainsaw mill (grain resists clean splitting) |
| Pine | Lightweight, easy to work, moderate grain | Hewing or chainsaw mill |
Sourcing sustainable timber matters here too — look for wood from managed forests, and check for FSC or PEFC certification when buying rather than felling your own.
Preparation And Safety
Whichever method you use, measure and mark the log before you start cutting — a chalk line snapped along the log’s length is far more reliable than eyeballing it, especially for hewing.
- Wear safety goggles and gloves for froe and axe work — both involve striking tools near your hands.
- Use hearing protection and chainsaw chaps for chainsaw milling — the saw runs under sustained load for longer than a typical bucking cut.
- Keep your work area clear of loose bark and chips, which are a slip hazard around swinging tools.
- Check the log for embedded metal (old nails, fencing staples) before running a chainsaw through it.
Shaping The Rough Plank
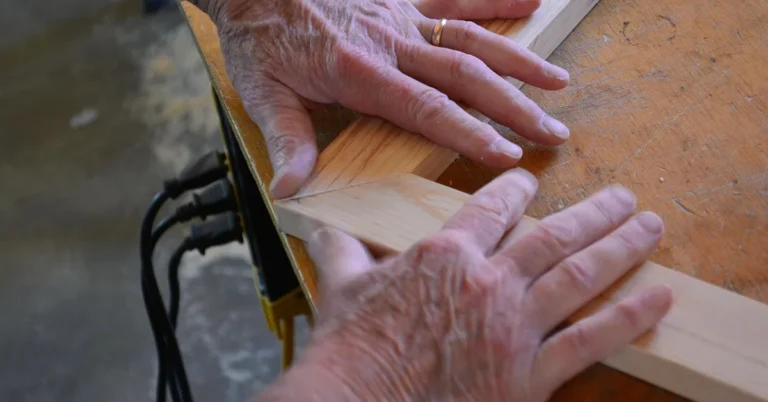
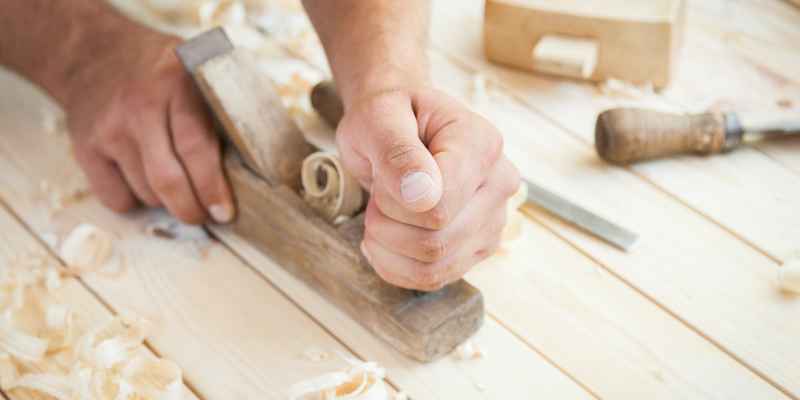
Once you have a rough plank off the log, a hand plane brings the face flat and smooth. Hold the plane at a slight angle to the grain direction and take light, even passes rather than trying to remove material in one deep cut — deep passes on rough-split wood tend to tear out chunks instead of shaving cleanly.
A chisel refines edges and corners a plane can’t reach cleanly. Keep it sharp, work in small controlled cuts, and always cut away from your body — a dull chisel that skips is more dangerous than a sharp one that cuts predictably.
Sanding And Finishing
Start with a coarse grit (60 or 80) to remove tool marks and rough spots left from splitting or hewing, then move to progressively finer grits (120, then 220) for a smooth surface. Always sand in the direction of the grain — sanding across it leaves visible scratches that show up under any finish.
Oil, varnish, or polyurethane each protect the wood differently: oil soaks in and highlights grain but offers the least surface protection, varnish and polyurethane sit on top and resist moisture better but can show wear at the surface over time. Apply with a clean brush or cloth and let each coat dry fully before the next.
Joinery And Assembly
A hand-split or hewn plank is rarely perfectly uniform in thickness, which matters when joining pieces. A butt joint is simplest but weakest; a lap joint gives more glue surface area and holds up better; a biscuit joint uses small wooden biscuits to align boards of slightly uneven thickness before the glue sets.
Apply wood glue to the joint, clamp evenly along its length, and let it cure fully before removing the clamps — rushing this step is one of the more common ways a hand-made joint fails under load later.
Maintenance Of Handmade Planks
Dust with a soft cloth weekly, and use a mild soap-and-water solution for deeper cleaning — avoid harsh chemicals, which can strip a hand-rubbed oil finish faster than normal wear would. Refinish every 1-3 years depending on use, sanding lightly before applying a fresh coat, and fill any cracks with wood filler before refinishing for a seamless result.
Creative Projects Using Handmade Planks
Hand-split or hewn planks carry visible tool marks that machine-milled lumber doesn’t — a feature, not a flaw, for the right project.
- Rustic coffee or dining tables that showcase the hewn or split surface texture
- Garden benches built for outdoor exposure
- Wall-mounted shelves with a live, uneven edge
- Handcrafted picture frames
Frequently Asked Questions
How Do I Start Making Wood Planks By Hand?
Pick a method based on your wood and tools: froe-split straight-grained species like oak or cedar, hew any straight log with a broadaxe and chalk line, or chainsaw-mill hardwoods that resist splitting. Cut the log to length, mark your line, then split, hew, or mill before planing the face smooth.
What Tools Do I Need For Hand-Making Wood Planks?
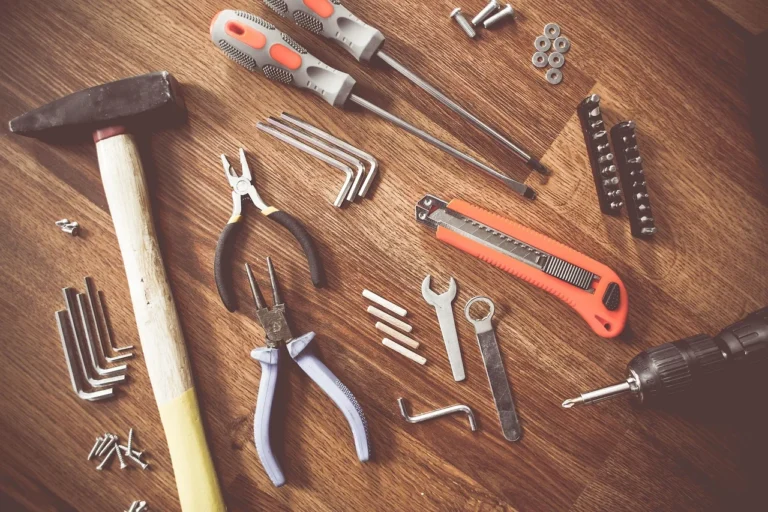
For froe splitting: a froe and mallet. For hewing: a broadaxe and chalk line. For chainsaw milling: a chainsaw and a chainsaw mill attachment with a ripping chain. All three methods also need a hand plane, chisel, and mallet for finishing the rough plank afterward.
Can I Make Wood Planks From Any Type Of Wood?
Not with every method. Straight-grained species like oak, cedar, and ash split cleanly with a froe, but interlocked-grain woods like maple resist splitting and are better suited to hewing or chainsaw milling. Softwoods like pine work with any of the three methods and are the most forgiving for beginners.
How Long Does It Take To Make Wood Planks By Hand?
A single froe-split plank can take 15-30 minutes once you’re set up; hewing the same length takes considerably longer since you’re removing more waste material by hand. A chainsaw mill is fastest per plank but needs setup time for the guide rail on each new log.
Conclusion
Making wood planks by hand starts with choosing the right conversion method for your wood and tools — froe splitting for straight-grained species, hewing for anything you can mark a line on, or a chainsaw mill when you need consistent hardwood planks without a second person. Get that first step right and the planing, joinery, and finishing steps that follow go far more smoothly.
Sponsored / affiliate links. As an Amazon Associate I earn from qualifying purchases. I may earn additional commission from eligible campaigns.