Scroll Saw Christmas Gifts You Can Cut in a Weekend
Pick one of these: layered ornaments, name plaques, gift tags, or simple silhouette signs. For a true weekend finish, choose designs with about 1–3 fretwork cuts, 1/8-inch stock, and a spray-on finish. Too much scrollwork adds sanding and finishing time, and that can push you past your deadline. This guide ranks scroll saw Christmas gifts by cut time, difficulty, and finish speed so you can choose a project that fits your weekend.
This guide is part of our Christmas Woodworking Projects: Ornaments, Gifts and Decor series.
What you’ll need


- Scroll saw blades: No. 5 blades for faster rough cuts, #2 blades for tighter fretwork, and #5 reverse-tooth blades when you want a cleaner lower edge on plywood.
- Drill bits: small twist bits for pilot holes, plus a 1mm drill bit for blade entry holes before enclosed cuts.
- Wood stock: 1/8-inch plywood, also listed as 3mm stock, for ornaments and backing boards; hardwood offcuts in maple, walnut, sycamore, or tulipwood for display pieces.
- Pattern transfer supplies: self-adhesive paper, glue stick, pattern copies, and a pencil for grain-direction alignment.
- Sanding tools: disc sander, pad sander, sanding block, and 180–240 grit sandpaper.
- Finishing materials: deep penetrating furniture wax, Danish oil, spray paint, acrylic matt varnish, and clear wax polish.
- Basic layout tools: ruler, masking tape, and a fine pencil for marking entry holes and cut lines.
Which scroll saw gifts fit a weekend?
Choose the smallest project footprint first. Simple outer cuts, stack cutting, and a giftable finish are the quickest route to a present you can complete by Sunday night. The easiest weekend builds are ornaments, gift tags, bookmarks, small name plaques, and silhouette signs with few inside cuts.
Fastest project types by cut time
Fewer internal cuts mean less drilling, less blade threading, and less cleanup. The 12 Days ornaments are a strong example of a small-format project: the set includes 12 themed pieces, uses 1/8-inch thick plywood or MDF, and is suited to repeated shapes that can be stack cut. The Christmas Tree Puzzle Box, by contrast, looks simple but adds fit-up time.
What makes a project beginner-friendly
Beginner-friendly projects use wide curves, large open areas, and short cutting runs. A No. 5 blade works better when the design is mostly perimeter work, while a #2 blade suits finer fretwork and tighter inside corners. If the pattern needs only a few blade entry holes and no fragile bridges, it is usually weekend-friendly.
Which ideas are better left for more time?
Projects with dense lettering, many interior cutouts, or thin standing details often move beyond a weekend once sanding starts. The Christmas puzzle project uses a No. 5 blade and a 1mm drill bit, and it can be displayed as a 3D Christmas ornament, but the extra layout and cleanup make it less forgiving than a flat ornament.
Weekend project selector
| Project type | Estimated cut time | Difficulty | Material thickness | Best finish | Common failure point |
|---|---|---|---|---|---|
| Stack-cut ornaments | 1–2 hours | Easy | 1/8-inch plywood | Spray paint or clear wax polish | Ragged edges on stacked corners |
| Name plaques | 2–3 hours | Easy to moderate | 1/8-inch plywood or thin hardwood | Acrylic matt varnish | Tear-out around narrow letters |
| Gift tags | 1 hour | Easy | 3mm plywood | Spray paint | Burning or fuzz on tight curves |
| Silhouette signs | 2–4 hours | Moderate | 1/8-inch plywood or maple | Danish oil or clear wax polish | Bridge breaks in thin details |
| Bookmark sets | 1–2 hours | Easy | 1/8-inch plywood | Deep penetrating furniture wax | Splitting at narrow ends |
| Puzzle box or 3D puzzle | 4+ hours | Moderate to hard | Thicker stock with exact fit | Clear wax polish | Loose joints or misfit parts |
- Ornaments: Yes, if the design has few interior cuts and you can finish with paint or wax.
- Name plaques: Yes, if the lettering is wide enough for a #2 or No. 5 blade.
- Gift tags: Yes, if you want the quickest gift from a single board.
- Silhouette signs: Maybe, if the outline is simple and the piece can dry overnight.
- Bookmark sets: Yes, if you cut several at once from stack-cut stock.
- Puzzle box: No, not if you need one uninterrupted weekend.
How do you cut and finish one fast?
Work in this order: choose a simple pattern, transfer it cleanly, cut with the right blade, then sand and finish before assembly. Fast results depend on avoiding fragile details, matching the blade to the cut, and using a finish that dries quickly on small surfaces.
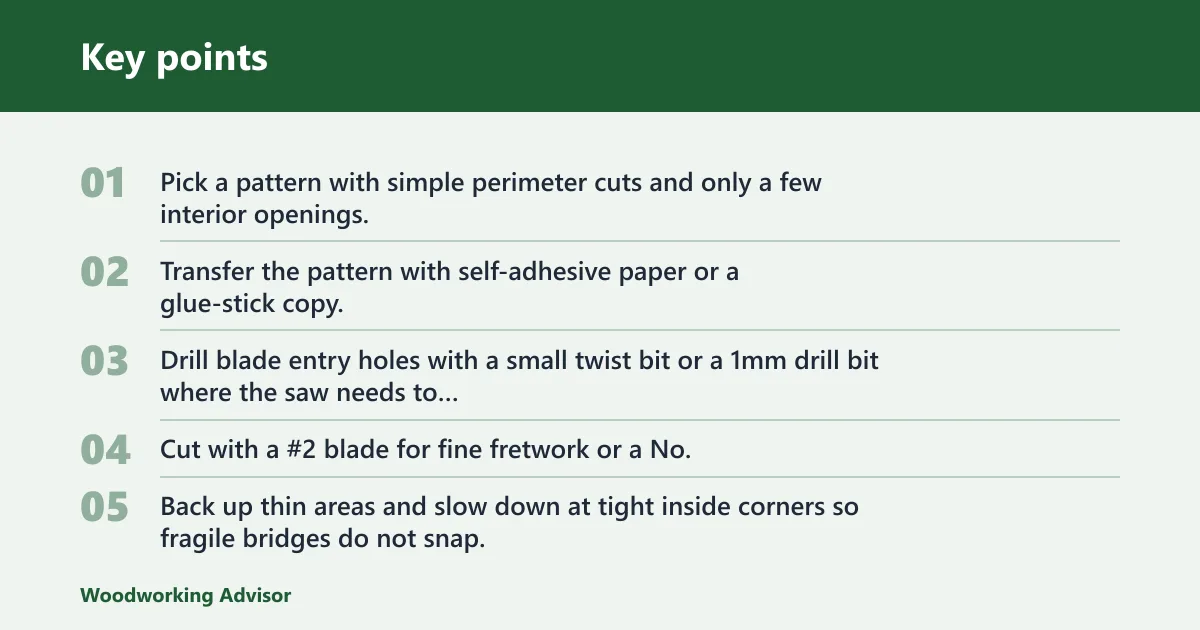
- Pick a pattern with simple perimeter cuts and only a few interior openings.
- Transfer the pattern with self-adhesive paper or a glue-stick copy, then align the grain so long details run with the wood fibers.
- Drill blade entry holes with a small twist bit or a 1mm drill bit where the saw needs to start inside the pattern.
- Cut with a #2 blade for fine fretwork or a No. 5 blade for faster rough cuts; use #5 reverse-tooth blades when you want cleaner underside edges in plywood.
- Back up thin areas and slow down at tight inside corners so fragile bridges do not snap.
- Sand the cut edges with 180–240 grit sandpaper, then move to a sanding block for flat edges and a pad sander or disc sander for larger faces.
- Apply finish in a single even coat, then top up only where the wood still looks dry; add 1 thin coat at a time and recheck after each pass.
Say your project is a set of 3-inch gift tags cut from 1/8-inch plywood. A spray finish gives the fastest clean look because it dries quickly and does not round over the details. Switching to walnut or maple adds visual contrast, but it also asks for cleaner sanding because defects show more readily on darker or finer-grained stock.
Suppose the design has one enclosed snowflake in the center. Drill the entry hole first, thread the blade through it, and cut the inside shape before the outer perimeter. That order keeps the small part stable while you work and reduces the chance of snapping a narrow outer edge.
Common mistakes
The most common problems are avoidable: using too much blade for a delicate pattern, choosing stock that is too thick, or stopping after the cut without cleaning up fuzz and burrs. Small holiday projects look rough when the edges are left raw, even if the pattern itself is sound.
- Using the wrong blade: A No. 5 blade moves faster, but it is a poor choice for tiny letters and narrow fretwork. Switch to a #2 blade when the pattern has tighter curves.
- Choosing stock that is too thick: Thick wood slows entry holes, increases drift, and makes sanding harder. Stay with 1/8-inch plywood or thin hardwood for a weekend target.
- Skipping cleanup: Fuzz on plywood edges and drill breakout around entry holes make small gifts look unfinished. Sand before finishing, not after the first coat only.
Can you use plywood or hardwood?
Yes, and the right choice depends on the project’s speed goal. 1/8-inch plywood is the better choice for ornaments, backing boards, and stack-cut small gifts because it cuts quickly and keeps repeated shapes consistent. Hardwood works better when the gift needs contrast, weight, or a more durable display surface.
When 1/8-inch plywood is the better choice
Use 1/8-inch plywood, or 3mm stock, for ornaments, tags, and backing boards. It is easy to stack cut, which saves time on repeated holiday shapes. It also takes paint well, so a spray-on finish can hide minor grain flaws and speed the job.
When hardwood gives a better result
Choose maple for a clean light surface, walnut for dark contrast, sycamore for a pale figure, and tulipwood when you want a brighter accent. Hardwood gives a more gift-like look on plaques and signs, but it usually takes longer to sand and finish than plywood.
How species choice affects finish speed
Softly figured woods accept Danish oil or clear wax polish quickly when the cut edges are smooth. Dense or highly visible grain shows sanding marks sooner, so a fine pass with 240 grit matters. For fast deadlines, spray paint on plywood is usually quicker than an oil finish on hardwood.
What are the easiest scroll saw Christmas gifts I can make in a weekend?
The easiest choices are stacked ornaments, gift tags, bookmarks, and simple name plaques. These projects keep the footprint small, need fewer blade entry holes, and finish quickly with paint or wax. They are better for last-minute gifting than puzzle boxes or deep fretwork panels.
What wood thickness should I use for quick scroll saw Christmas gifts?
Start with 1/8-inch plywood, or 3mm stock, for most small gifts. That thickness cuts fast, accepts pattern transfer well, and works for ornaments and backing boards. Use thin hardwood only when the design needs more visual weight or a more durable display piece.
How do I finish scroll saw Christmas gifts so they look polished fast?
For speed, choose a finish that matches the wood and the project size. Spray paint is the fastest cover coat for plywood ornaments, while Danish oil, clear wax polish, and deep penetrating furniture wax suit small hardwood pieces. Acrylic matt varnish gives a clean non-gloss look without heavy build.
What are good scroll saw gift ideas besides ornaments?
Good non-ornament choices include name plaques, stocking-stuffer bookmarks, gift tags, small display signs, and wine holders. These are all giftable or displayable, and several can be cut from small offcuts. Block-Printed Tees also appear in the roundup, though they are a different kind of project than sawing.
Can I make a scroll saw Christmas gift from plywood or hardwood?
Yes. Plywood is better for speed and repeated shapes, while hardwood gives stronger contrast and a more finished look. Maple, walnut, sycamore, and tulipwood each change the visual result, so pick the species based on whether you want quick paint coverage or natural grain to remain visible.
How do I keep scroll saw cuts clean on small holiday projects?
Use the right blade for the cut, mark blade entry holes before you start, and keep the wood flat against the table. A #2 blade handles finer fretwork, while a No. 5 blade is better for faster rough cuts. Clean edges usually come from controlled feed speed, not force.
What tools do I need for a weekend scroll saw Christmas project?
You need the saw, suitable blades, a small twist bit, a 1mm drill bit for enclosed cuts, and basic sanding gear. Add pattern transfer supplies and a finish that suits the wood. For the fastest results, keep a disc sander or pad sander nearby for large faces and a sanding block for edges.
Which scroll saw Christmas projects are best for beginners?
Beginners should start with simple silhouettes, tags, bookmarks, and basic ornaments. These projects use short cuts, tolerate small mistakes, and finish well with spray paint or clear wax polish. Designs with lots of tight inside corners, thin bridges, or press-fit parts are better left for a later weekend.
Sponsored / affiliate links. As an Amazon Associate I earn from qualifying purchases. I may earn additional commission from eligible campaigns.