Abstract Wood Sculpture Ideas: 8 Beginner Builds (2026)
Abstract wood sculpture ideas work best when you start with one simple move: a curve, a hole, an offset stack or a laminated block. Eight beginner-friendly builds are below, each using ordinary shop tools, plus the wood, finish and safety details that decide whether the piece looks finished.
Most lists of sculpture ideas show finished photos and skip the part that trips people up: how to hold the work, which way the grain runs, and how to get from a rough cut to a smooth surface. This guide covers those parts. Each idea names the tool, the likely failure and the fix.
The ideas are grouped from easiest (glue-ups and drilled voids) to more demanding (two-face profile cutting and lamination). Start with a small pine or basswood maquette, and only move to expensive hardwood once the form works in your hands.
What Makes a Sculpture Abstract, and What You Need to Start
Best Sculpture Shaping Rasp Pick
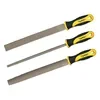 |
TARIST 3-Piece 8″ Wood Rasp Set (Flat, Half-Round, Round) Three hand rasps that cover most abstract shaping: broad curves, hollows and the inside of tight voids.
|
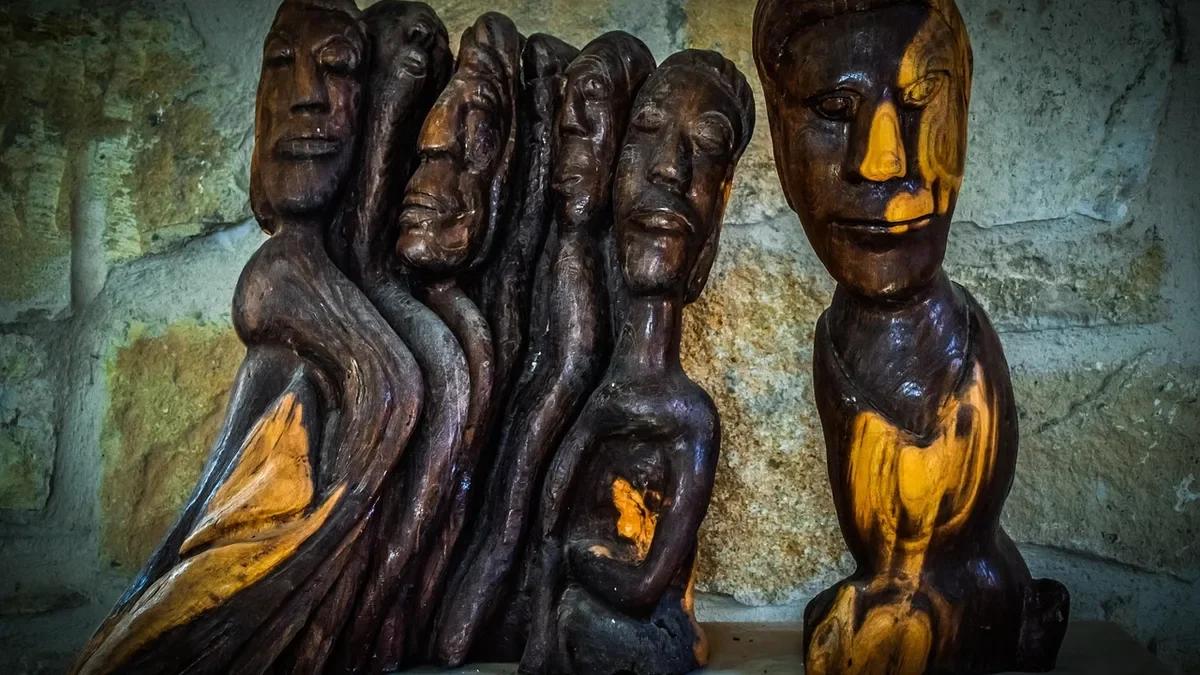
An abstract sculpture reduces a subject to shape, mass, movement and empty space, or skips the subject altogether. In wood that usually means a few strong decisions: how the form catches light, where the grain flows, and what you remove. It does not mean less skill. The sculptors in the table further down spent years learning to control exactly these things.
A basic kit covers all eight ideas: a band saw or jigsaw, a drill or drill press with a Forstner bit, a set of rasps, clamps, wood glue, and sandpaper from 80 to 220 grit. If you are unsure how a rasp differs from a file, our guide to metal file vs wood file explains the tooth patterns.
8 Abstract Wood Sculpture Ideas for Beginners
1. The Offset Block Stack
Glue four to six identical blocks (for example 3 x 3 x 3 inch pine) and rotate each one about 15 degrees from the block below. The stepped edges create a spiral that looks far more complex than the joinery. Cut all the blocks from one board in a single stop-block setup so they match, and clamp the stack in stages so nothing slides while the glue grabs. Round over the corners lightly with sandpaper so highlights roll along the edges.
2. Mass and Void
Take a thick block or slab and drill an off-center hole straight through it with a Forstner bit. The hole becomes the subject. Clamp the block to the drill press table, and if the surface is curved, flatten a spot for the bit tip first so it does not skate. Slow the drill speed as bit diameter grows. After drilling, sand the inside of the void with a rolled sheet of sandpaper wrapped around a dowel, since that surface is what viewers look into.
3. The Two-Face Wave (Band Saw Profile Cutting)
This is a classic trick for getting a carved look from one machine. Draw a wavy profile on one face of a square post and cut it out, keeping the offcuts. Tape the offcuts back on so the post is square again, rotate it 90 degrees, draw a second profile and cut that. Remove the tape and you have a flowing form with curves in two directions. Cut just outside the line, then refine with a rasp. Cut round or uneven stock only when it has a flat face against the table, because a rolling workpiece can bind the blade.
4. The Found-Wood Crook
A branch with a natural bend, a piece of driftwood or a spalted log end can be the entire sculpture. Remove loose bark and soft rot, flatten a stable base, and shape only where it improves the line. Rasp gently and sand with the grain. If the wood was cut green, let it dry for months before finishing because it can crack as it loses moisture. Our cedar stump ideas page has more ways to reuse offcut logs.
5. Stack-Lamination Contour Block
Glue boards of contrasting woods (say maple and walnut) into a thick block, then shape the block with a rasp and sandpaper. Every layer that the curved surface cuts through draws a contour line, like a topographic map. The layers make simple shapes look designed. Keep glue lines thin and flat, because gaps show up as dark lines once you shape through them. Let the glue cure fully before shaping.
6. Arc on a Heavy Base
A thin arc rising from a solid base is a striking pose, and a common failure point. If you cut the arc from a wide board, the grain runs across the ends of the curve and it can snap. Build the arc by bent lamination instead: glue several thin strips around a curved form so the grain follows the bend. Fix it to the base with a dowel or mortise, not just glue on end grain.
7. Scrap Assemblage in a Single Color
Collect offcuts, moldings and turned scraps, glue them into a shallow box or onto a panel, and paint the whole assembly one color, often black. The single color hides the original parts and lets the shadows do the work. This is the principle behind the wall-sized pieces of Louise Nevelson, and it is one of the cheapest ideas on the list because your material is scrap.
8. Rippled Wall Relief
On a flat panel of basswood or pine, carve or rasp a series of parallel shallow ridges that curve across the surface. Angled light changes the piece through the day. Mark the ridge lines with a pencil first, work with a shallow gouge, and cut in the direction where the grain supports the edge rather than tearing. Finish by sanding through the grits. If you like the surface-work side of this, try adding lines with a burning pen: see our wood burning pen guide.
How Real Sculptors Used Wood
Looking at museum work helps you see what these ideas are borrowing. The pieces below are documented in the collections of the institutions named.
| Artist and work | Wood and method | What a beginner can borrow |
|---|---|---|
| Barbara Hepworth, Pelagos (1946, Tate) | Carved elm on an oak base, with strings and a painted blue interior | A void with a contrasting painted interior (idea 2) |
| Henry Moore, Reclining Figure (1936, The Hepworth Wakefield) | Carved elmwood, a theme he returned to throughout his career | Flowing forms that echo landscape (ideas 3 and 4) |
| Louise Nevelson, Sky Cathedral (1958, MoMA) | Wood scraps, moldings and furniture parts in stacked boxes, painted all black | One color unifying scrap material (idea 7) |
One thing the table shows: none of these works hides the wood as a material. Hepworth and Moore let the material and the shaping remain visible, and Nevelson turned humble scrap into a large unified structure. That is a useful test for your own piece. If the wood or the making process is visible and intentional, the sculpture reads as deliberate.
Choosing Wood for Abstract Work
Softer woods are easier to shape but show tool marks and dents. Harder woods take a crisp edge and a smooth polish but wear out your rasp faster. Approximate Janka hardness numbers make the trade-off concrete.
| Wood | Janka hardness (lbf, approx.) | Good for |
|---|---|---|
| Eastern white pine | 380 | Practice maquettes and stacked blocks |
| Basswood | 410 | Hand shaping, reliefs, first carving |
| Black walnut | 1,010 | Dark contrast, oiled finishes |
| Cherry | 950 | Smooth curves that darken with age |
| Hard maple | 1,450 | Crisp edges, light contrast in laminations |
For a full comparison of species, see our types of wood guide. If your idea is more figurative carving than abstract form, the tree stump carving ideas page covers that direction.
Finishing Without Flattening the Form
Sculpture finishes should show the curve. A wipe-on oil (Danish oil or tung oil) deepens the grain and leaves a low sheen. Paste wax adds a soft feel and can go over oil once it has cured. Thick gloss film finishes tend to flatten subtle shapes and highlight every scratch. Sand the piece evenly through 80, 120, 180 and 220 grit before any finish, because oil makes leftover scratches obvious. Our wood finishing guide lists cure times for each type.
Oily rag warning: rags soaked in oil finishes such as linseed or Danish oil can heat up as the oil cures and ignite by themselves. Lay used rags flat outdoors to dry, or soak them in water in a sealed metal container, before disposal.
Safety for Sculpture Work
- Hold the work firmly. Clamp pieces to the bench when rasping, and use a vise or clamps rather than your hand when drilling. Keep hands out of the line of a rasp stroke.
- Support round and irregular stock. Cutting a log or twisted branch freehand on a band saw lets it roll. Cut a flat face first or use a cradle.
- Control dust. Sanding hardwood makes very fine dust. Wear a well-fitted respirator (N95 or better), use dust collection or a vacuum, and clean up with a vacuum rather than a broom. Wood dust is classified by IARC as carcinogenic to humans, with the nasal passages the main concern.
- Wear eye protection for every cut and every sanding session.
Frequently Asked Questions
Do I need carving skills to make an abstract wood sculpture?
No. Most of the ideas here use a band saw or jigsaw, a drill, a rasp and sandpaper. Abstract does not mean careless, though: clean cuts, even sanding and a stable base are what make a simple form look intentional.
What is the best wood for a first abstract sculpture?
Basswood is the classic beginner carving wood because it is soft (about 410 lbf Janka) with tight, even grain. Pine works for practice blocks. Walnut and cherry cost more but finish beautifully once your shaping is under control.
How do I stop a thin curved piece from snapping?
Cut curves so the grain follows the arc instead of running across it. An arc cut out of a wide straight-grain board has short grain at its ends and breaks easily. Bent lamination, where thin strips are glued and clamped around a form, keeps the grain continuous.
What finish is best for abstract wood sculpture?
A wipe-on oil or a paste wax keeps the surface close to the bare wood and shows the curves. Thick gloss film finishes tend to flatten subtle shapes and highlight every sanding scratch.
How do I stop a rasped surface from looking scratchy?
Work from the rasp to a cabinet file if you have one, then sand starting around 80 grit and move up through 120, 180 and 220. Skipping grits leaves scratches that show up as soon as oil goes on.
How big should my first piece be?
Around 6 x 4 x 3 inches is easy to clamp and handle, and small enough to finish in a weekend. Make one small maquette before committing good hardwood to a large version.
Conclusion
Pick one of the eight builds, make it small in pine, and treat the first version as a sketch. The shapes that look best are usually the simplest: one strong curve, one clean void, one clear stack. Shape with the rasp, sand through the grits, finish lightly, and the wood does the rest.
Sponsored / affiliate links. As an Amazon Associate I earn from qualifying purchases. I may earn additional commission from eligible campaigns.