How to Make Wooden Star Knobs: DIY Mastery
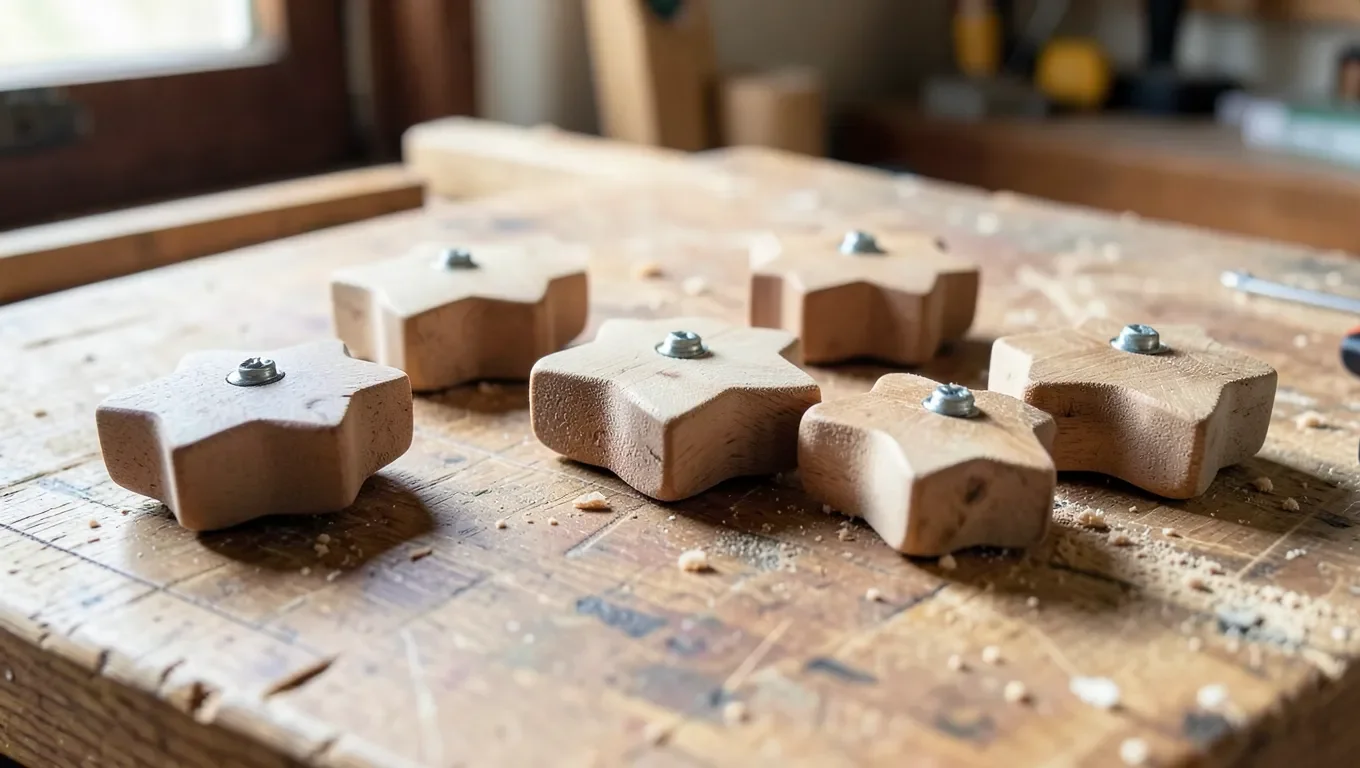
To make a wooden star knob, trace a five-pointed star onto a wood blank (1-2 inches across works well for cabinet hardware), cut it out with a jigsaw or scroll saw, drill a center hole for the mounting bolt, sand and round the points so they’re comfortable to grip, then finish and attach with a knob bolt from the back of the cabinet or drawer face.
The full process below covers pattern-making, cutting, mounting hardware sizing, and finishing — including the two mistakes that make a homemade knob feel wobbly or uncomfortable compared to a store-bought one.
Choosing Wood and Materials
Best For Hand-Shaping The Star Points
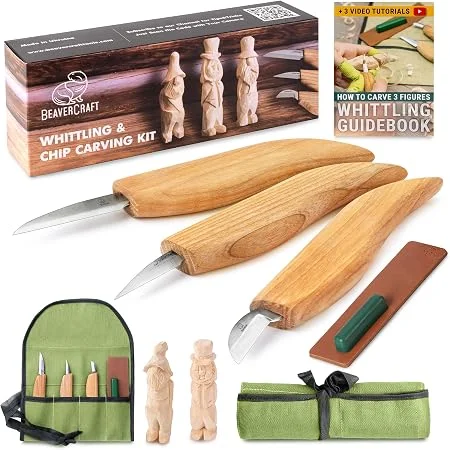 |
BeaverCraft Wood Carving Knife Kit – $39.99 A jigsaw gets the rough star outline, but hand-carving each point afterward is what gives a knob its comfortable, rounded grip rather than sharp jigsaw-cut corners.
|
Pine or basswood cut cleanly and hold detail well for a first attempt at hand-shaping the points. Hardwoods like maple, oak, or walnut are more durable and take a finish beautifully, but they’re harder on both saw blades and hand tools — better for a second or third knob once the shaping technique feels comfortable. You’ll also need a knob bolt (sized to match your cabinet or drawer thickness), a jigsaw or scroll saw, a drill with a bit matching the bolt diameter, and sandpaper from medium to fine grit.
Making the Star Pattern
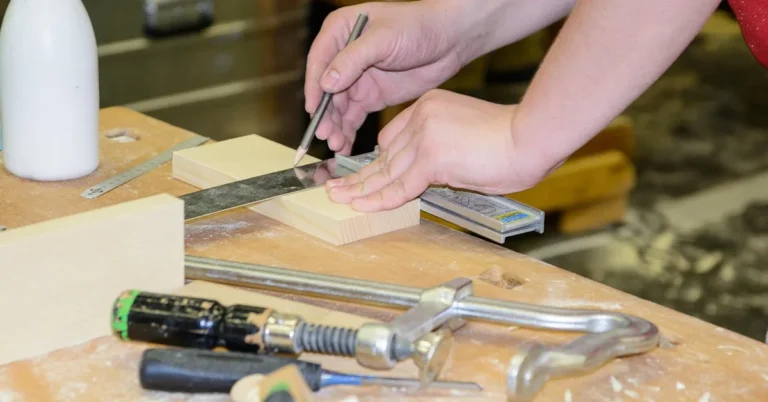
Draw or print a five-pointed star template sized to your target knob (1-2 inches across is typical for cabinet hardware — much smaller and there’s not enough wood left after drilling the center hole). Trace it onto your wood blank with a pencil, keeping the design symmetrical; a slightly uneven star reads as a mistake in a way an uneven organic shape wouldn’t. Mark the center point clearly, since that’s where the mounting hole goes.
Cutting the Shape
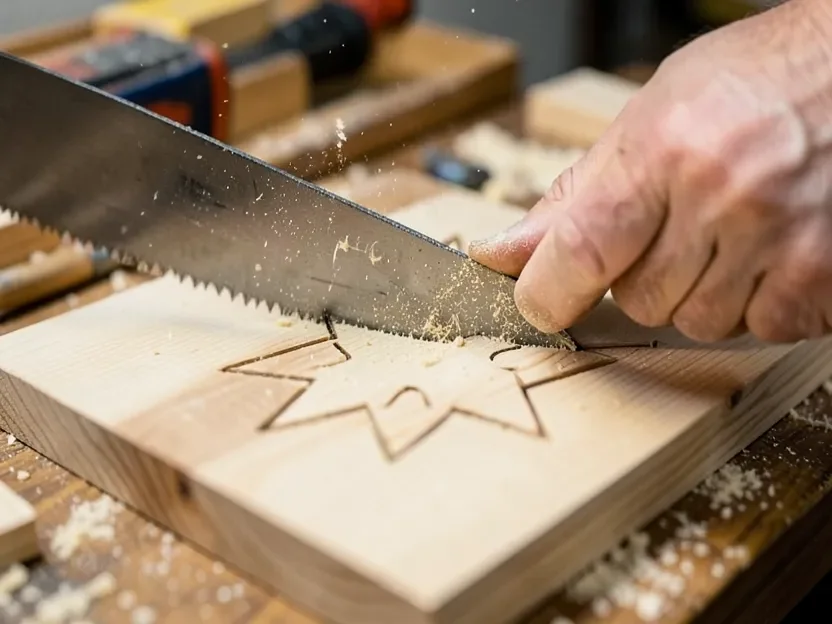
Cut along the traced outline with a jigsaw for a single knob or a scroll saw if you’re batch-cutting several at once — the scroll saw’s thinner blade turns the tight inner angles between star points more cleanly. Cut just outside your line rather than exactly on it, leaving a small margin to sand or carve away for a crisp final edge. Drill the center mounting hole now, before shaping the points further, while the blank still has flat, stable faces to keep the drill from wandering.
Shaping and Sanding the Points
This is the step that separates a knob that feels good in the hand from one that just looks like a star cutout. Using a carving knife, file, or rotary tool, round over the sharp inner and outer corners of each point slightly — a knob gets gripped and turned repeatedly, and sharp jigsaw-cut corners dig into fingers over time. Work with medium-grit sandpaper first to smooth the cut edges, then fine-grit to eliminate any remaining roughness. Check the feel by actually picking it up and turning it as you would a real knob, not just by looking at it.
Mounting Hardware and Installation
A standard cabinet knob bolt is 1 inch long, but drawer fronts and cabinet doors vary in thickness — measure yours before buying bolts, since a bolt that’s too short won’t reach through to thread into the knob, and one that’s too long will bottom out before the knob sits flush. Insert the bolt through the back of the door or drawer face, thread it into the knob’s center hole, and tighten by hand first, then snug it with a screwdriver — overtightening a wood-threaded knob can crack it, especially near the tip of a star point.
Finishing
Stain brings out the wood grain and works well if you want the knobs to match existing wood furniture or cabinetry. Paint offers full color customization and hides any small inconsistencies between multiple handmade knobs better than stain does. Either way, sand to a final fine grit before finishing, apply the stain or primer-then-paint, and top with a clear varnish or wipe-on polyurethane — knobs get handled constantly, so they need more finish durability than a static decorative piece would.
Where Star Knobs Work Well
Kids’ rooms and toy boxes are the obvious fit for a playful star shape, but they also read well on nautical or coastal-themed furniture, and a single row of matching stars can turn a plain dresser makeover into something distinctive. Since they’re handmade, it’s easy to batch-cut a full set at once and vary only the finish — natural on some, painted bright colors on others — for a coordinated but not identical look across multiple drawers.
Frequently Asked Questions
How Do I Choose Wood for Star Knobs?
Pine or basswood is easiest for a first attempt since it cuts and carves cleanly. Hardwoods like maple, oak, or walnut are more durable and take a finish beautifully, but they’re harder to shape by hand and better saved for once you’re comfortable with the basic technique.
What Tools Do I Need to Make Wooden Star Knobs?
A jigsaw or scroll saw for the initial cut, a drill for the mounting hole, sandpaper, and optionally a carving knife or rotary tool to round the points for a comfortable grip. A wood lathe isn’t useful here since it turns round, symmetric profiles rather than the flat star shape a knob like this needs.
Can I Paint or Stain Wooden Star Knobs?
Yes, both work well. Stain highlights the natural grain and suits matching existing wood furniture; paint gives full color control and evens out small inconsistencies between multiple handmade knobs. Sand thoroughly before either, and finish with a durable clear coat since knobs get handled constantly.
How Long Does It Take to Make Star Knobs?
Cutting and shaping one knob typically takes 30-60 minutes once you have a pattern; sanding and rounding the points can add another 15-30 minutes. Finishing adds drying time on top of the build time itself, often the longest part of the whole process.
Conclusion
The cut is the easy part — a jigsaw or scroll saw handles the star outline in minutes. What actually makes a homemade knob feel finished is rounding the points by hand afterward and matching the mounting bolt length to your specific cabinet or drawer thickness before you buy hardware.
Sponsored / affiliate links. As an Amazon Associate I earn from qualifying purchases. I may earn additional commission from eligible campaigns.