How to Make a Plywood Tabletop That Stays Flat (Step by Step)
To make a plywood tabletop, buy 3/4 inch hardwood plywood, cut it with the good face in the right direction for your saw, glue a second layer under it if the span is long, cover the edges with banding or a solid strip, sand to 180 or 220 grit, and seal both faces. That order matters more than any single tool, because every step after cutting exists to fix or hide something plywood does by default: show its layers, sag in the middle, and cup when only one face is finished.
This guide is about the top itself, not the base or a countertop. If you are building a kitchen surface that meets water, the sealing details differ, so see our guide to plywood countertops. For a desk-specific finishing sequence, the plywood desk finishing guide goes deeper on edge-banding repairs.
Choose the Plywood and the Thickness
Best Iron-On Edge Banding Pick
 |
BEVTEE Wood Edge Banding 3/4 in x 50 ft, Iron-On Birch Veneer: about $7 The exposed plies on a plywood tabletop edge are the first thing people notice. A pre-glued birch roll hides them for the price of a lunch.
|
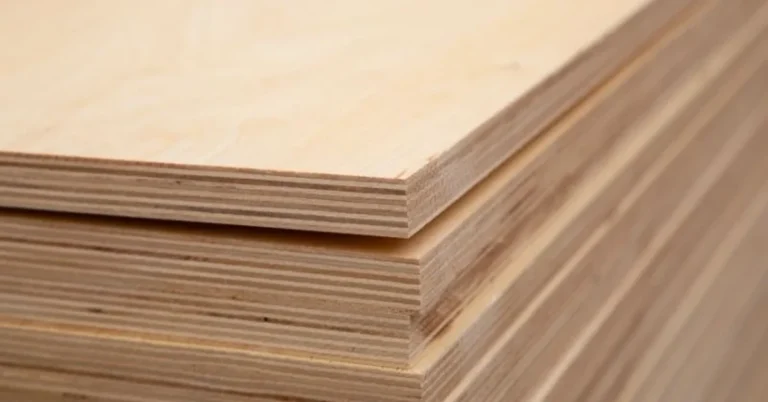
Pick the face first. Birch, maple and oak veneer plywood take a clear finish well and look like real furniture. Construction sheathing (CDX) has voids and a rough face, and is a poor choice for a surface people will touch every day. Whatever you buy, sight down the sheet at the store: a sheet that is already bowed will not flatten out on your table.
Nominal 3/4 inch sheets are usually a little thinner than they sound, often about 23/32 inch, so measure the sheet you actually bring home before you cut a groove or a rabbet to fit it.
Doubling up: the numbers most guides skip
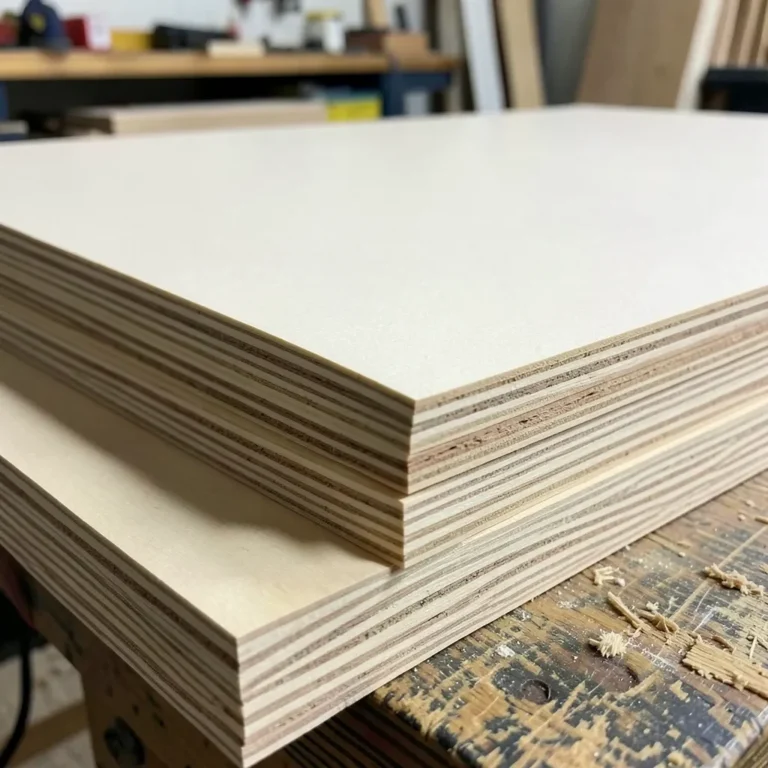
A single 3/4 inch top looks solid, but over a 30 inch or longer unsupported span it can sag under load. Beam stiffness scales with thickness cubed, which means how you stack layers matters far more than how many you use. Two sheets simply set on top of each other only double the stiffness. Two sheets glued face to face act like one 1-1/2 inch slab.
| Top build | Effective thickness | Stiffness vs. one 3/4 inch sheet |
|---|---|---|
| Single 1/2 inch sheet | 1/2 inch | about 0.3x |
| Single 3/4 inch sheet | 3/4 inch | 1x (baseline) |
| Two 3/4 inch sheets stacked, not glued | two 3/4 inch layers | about 2x |
| Two 3/4 inch sheets glued face to face | 1-1/2 inches | about 8x |
These figures come from the ideal cubic relationship, so treat them as relative guides rather than a load rating. The takeaway is a corrected myth: a “double layer” only earns its extra cost if the glue line is continuous and clamped. A stack held by a few screws is barely better than one sheet.
How to laminate two layers
- Cut both panels 1/2 inch oversize so you can trim them flush after the glue cures.
- Spread a thin, even coat of wood glue over the whole face with a notched spreader or roller, since glue applied in beads leaves dry gaps.
- Set the second layer on top, then screw from the underside with screws short enough to stay at least 1/4 inch below the top surface.
- Weight or clamp the panel flat overnight, then trim all four edges together for a perfectly flush edge.
For glue choices and open-time differences, see our comparison of Gorilla Wood Glue vs Titebond.
Tools and Materials
- Saw: a circular saw with a straightedge guide, a track saw, or a table saw with an outfeed support. A blade with 60 or more teeth reduces chip-out.
- Clamps and cauls: at least four bar clamps if you laminate, plus a flat scrap board to spread pressure.
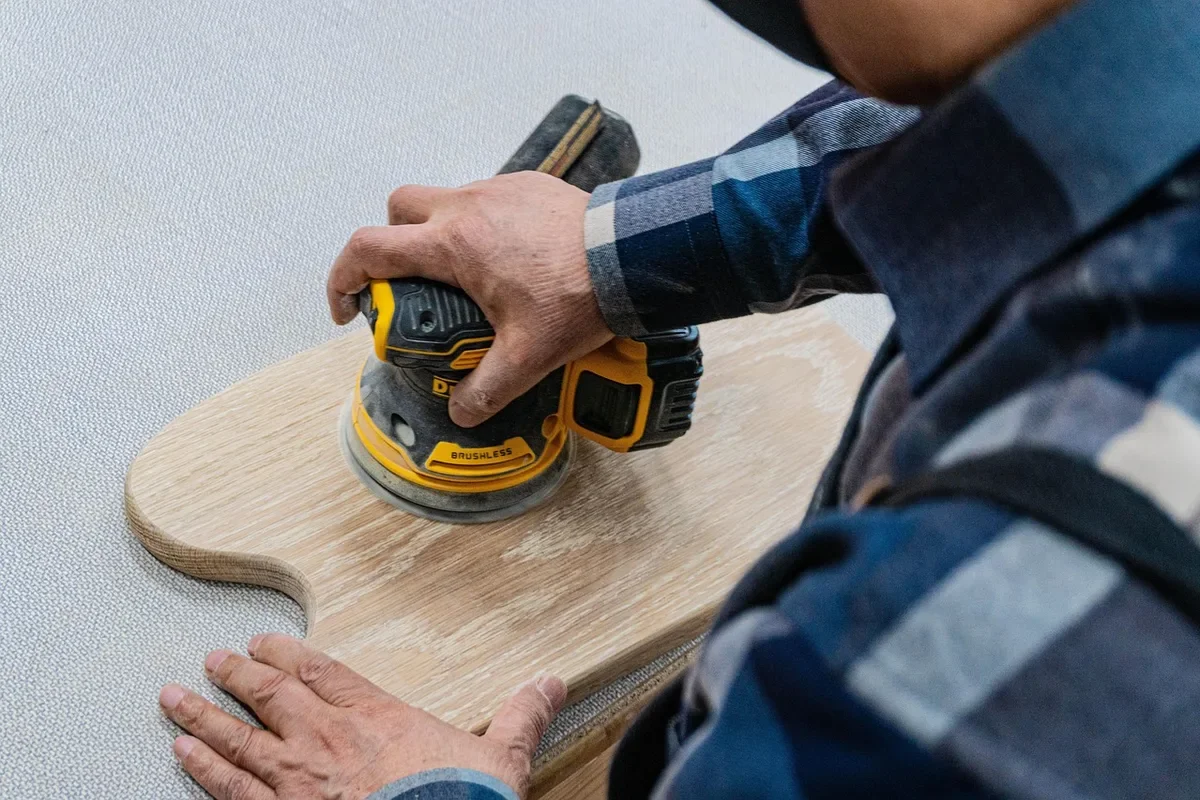
- Sanding: a random-orbit sander with 120, 180 and 220 grit discs.
- Edge treatment: iron-on veneer banding, or a solid wood strip, plus a flush-trim bit or a sharp block plane.
- Finish: water-based polyurethane, a quality brush or foam applicator, and tack cloths.
Store-cut plywood is a fair way to break a full sheet into manageable panels, and our plywood cut to size guide covers what accuracy to expect from it.
Design the Top: Size, Shape and Overhang
Standard table and desk height is around 28 to 30 inches, and a common rule of thumb is about 24 inches of table edge per seated person. A rectangular top around 72 by 36 inches seats six, while a 36 inch square or a 42 inch round suits a small kitchen. Keep the overhang beyond the base modest, roughly 1 to 3 inches past the apron, so knees clear and the edge is not levered by a person leaning on it.
| Use | Typical size | Thickness that works |
|---|---|---|
| Desk | 48 to 60 in wide, 24 to 30 in deep | 3/4 in with an apron, or 1-1/2 in laminated |
| Dining table | 60 to 72 in long, 36 in wide | 1-1/2 in laminated, or 3/4 in with a deep apron |
| Coffee or side table | 30 to 48 in long, 16 to 18 in high | 3/4 in is usually enough on a short span |
Cut the Plywood Without Tearing the Face
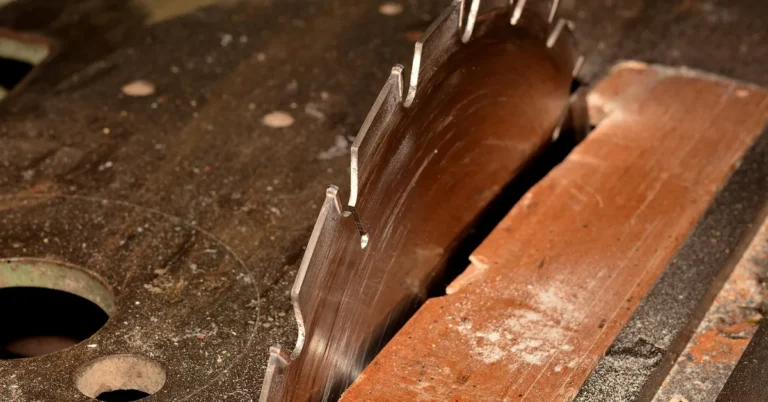
Chip-out is decided by which way the teeth exit the wood. A circular saw cuts upward through the sheet, so put the good face down. A table saw blade cuts downward at the front, so put the good face up. Score the cut line with a utility knife or lay painter’s tape along it, and support the sheet fully on foam insulation board so the offcut cannot pinch the blade.
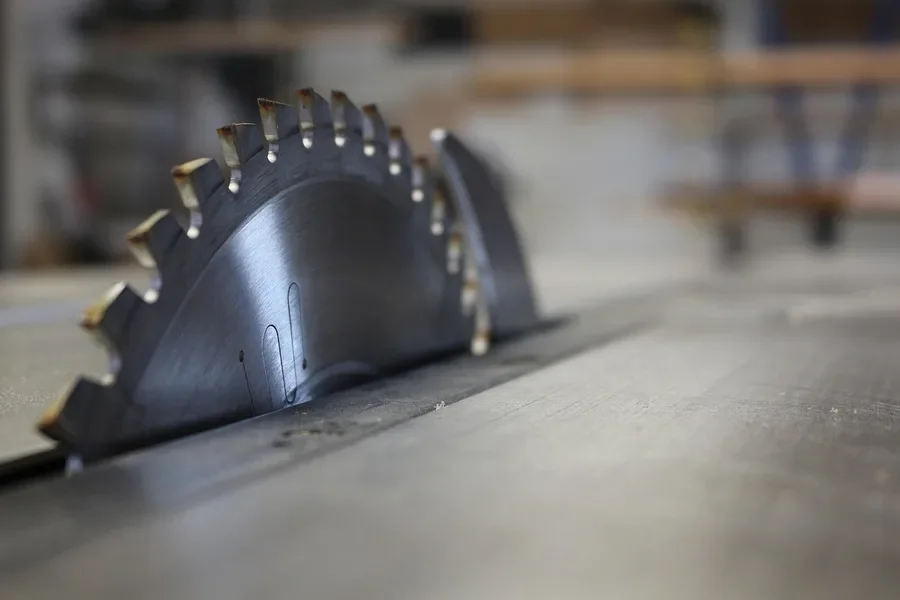
Cut the top slightly long and trim to final size in a second pass. A sharp fine-tooth blade at a steady feed rate gives a cleaner edge than a fast pass with a dull one, and a clamped straightedge beats freehand every time. Wear eye and hearing protection, and a dust mask, because plywood dust contains the glue that holds the veneers together.
Hide the Edges: Banding, Solid Strips or Lamination
Plywood edges show every ply, which is what gives cheap projects away. You have three practical fixes.
| Method | Best for | Trade-off |
|---|---|---|
| Iron-on veneer banding | Single 3/4 in tops, painted or stained | Thin veneer, can chip if the edge is bumped often |
| Solid wood strip, glued and trimmed flush | Tables that take daily use | More work, needs clamps and a flush-trim tool |
| Wide solid strip on a laminated top | 1-1/2 in doubled tops | Strip must be planed or ripped to the full edge width |
Applying iron-on banding
- Cut a length of banding about an inch longer than the edge.
- Press with a household iron on the cotton setting, moving steadily so the hot-melt glue melts evenly.
- Press the banding down with a scrap block while it cools, about 10 minutes, then trim the overhang with a sharp utility knife or an edge trimmer.
- Sand the edge flush with a block wrapped in 220 grit, keeping the block flat so you do not sand through the thin veneer.
Sand Without Going Through the Veneer
The face veneer on hardwood plywood is thin, often a small fraction of a millimeter to about a millimeter, so an aggressive grit can cut right through to the layer underneath. Many older guides start at 60 or 80 grit, which is fine for solid wood but risky on a veneered face. Start at 120 grit, move to 180, and stop at 220 for a film finish. Let the sander do the work with light pressure, and sand with the grain.
Finish and Seal Both Faces
A tabletop takes heat, spills and scratches, so a film finish is a better bet than oil alone. Water-based polyurethane dries clear and does not turn amber. Oil-based versions add a warm tone but yellow over time. Whichever you choose, thin coats build better than thick ones.
- Wipe the surface with a tack cloth after the final sanding.
- On birch or maple, apply a pre-stain conditioner before any stain, since both blotch easily.
- Brush on a thin first coat, let it dry as directed on the can, and sand lightly with 220 grit.
- Apply at least three coats total, and put the same number on the underside and the edges.
Finishing both faces is the single biggest thing you can do to keep the top flat, because a sealed top over a bare underside dries and swells unevenly. Allow the finish to cure fully, which can take days to weeks depending on the product, and use coasters and trivets in the meantime.
Keep It Flat: Storage and Attachment
- Store panels flat on three or more supports, never leaning against a wall for weeks.
- Let the sheet sit in the room for a few days before cutting so it matches indoor humidity.
- Attach the top to the base with slotted holes, buttons or figure-8 clips so the panel can move slightly.
- Add the apron or a pair of stretchers under a single-layer top so the edges stay straight.
Common Mistakes to Avoid
- Finishing only the top face.
- Screwing a doubled top together without glue and calling it 1-1/2 inch thick.
- Starting sanding at 60 grit on a veneered face.
- Cutting the good face up with a circular saw.
- Skipping the edge treatment.
Frequently Asked Questions
How thick should a plywood tabletop be?
For a dining table or desk, start with 3/4 inch plywood and either double it to 1-1/2 inches or add an apron 3 to 4 inches deep under the edges. A single 3/4 inch sheet with no apron will sag over long spans. Stiffness rises with the cube of thickness, so going from 3/4 to a fully glued 1-1/2 inches makes the top about eight times stiffer.
How do you hide the edges of a plywood tabletop?
Cover the exposed plies with iron-on veneer edge banding for a single 3/4 inch layer, or glue on a solid wood strip that is cut slightly proud and trimmed flush. On a doubled-up top, a solid strip about 1-1/2 inches wide hides both layers and the glue line at once.
What is the best finish for a plywood tabletop?
Water-based polyurethane is the easiest choice for most tabletops because it dries clear, does not amber, and cleans up with water. Apply three thin coats, sanding lightly with 220 grit between coats, and finish the underside too so both faces take up moisture at the same rate.
Why is my plywood tabletop warping?
Most warping comes from finishing only the top face, so the bare underside absorbs and releases humidity faster than the sealed top. Seal both faces and all edges, store the panel flat, and fasten the top to its base with slotted holes or figure-8 clips instead of rigid glue.
Conclusion
A plywood tabletop can look like real furniture when you treat plywood as a layered sheet rather than a board. Laminate for stiffness, band the edges, sand gently, and seal every face. Those four habits give you a flat, durable top for a small fraction of the price of solid hardwood.
Sponsored / affiliate links. As an Amazon Associate I earn from qualifying purchases. I may earn additional commission from eligible campaigns.