Homemade Wood Bed Frame: Full Cut List by Size (Twin-King)
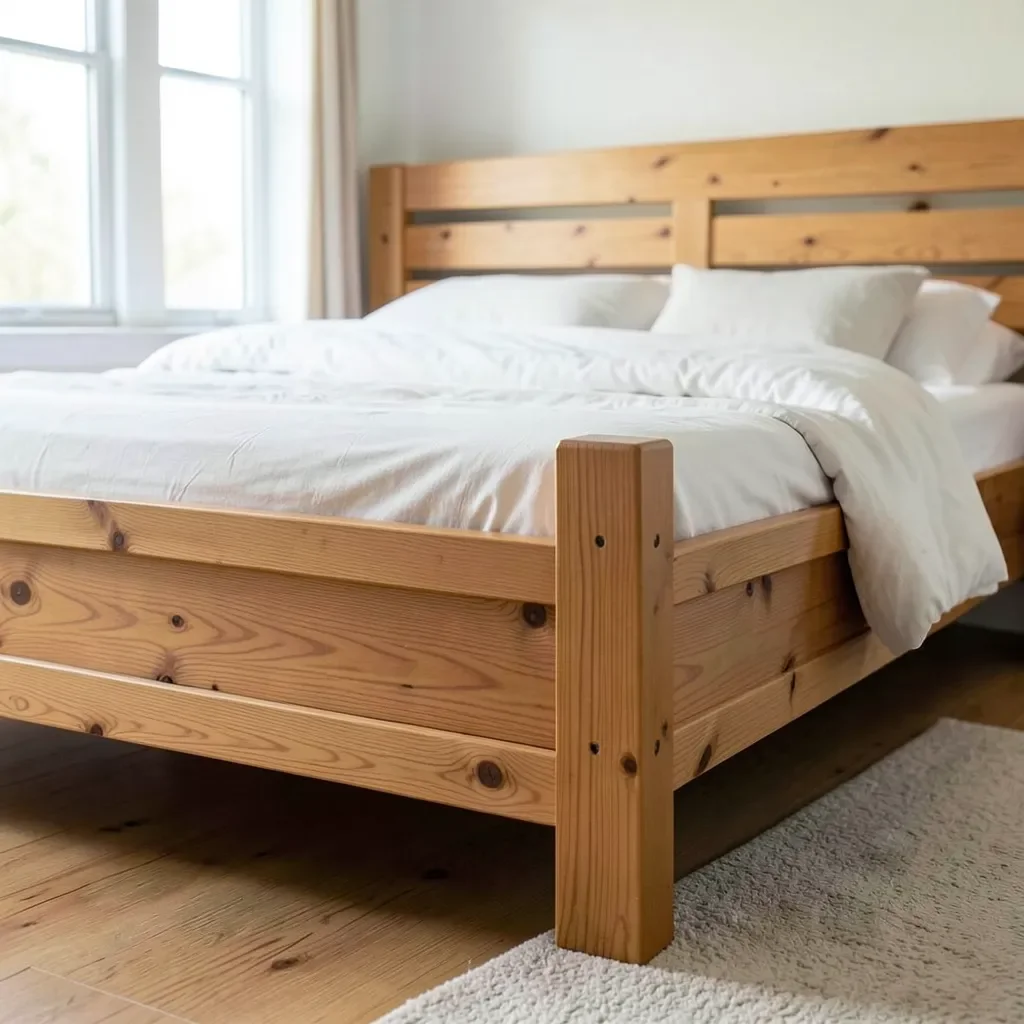
A homemade wood bed frame is built from 2×6 side rails, 4×4 legs, and—on queen size and larger—a center support beam; pine runs roughly $140-190 in lumber for a queen, oak nearly triples that. Skip the center beam on a queen or king frame and most mattress warranties (Tempur-Pedic included) are void, and the mattress sags within months. This guide covers the full cut list by bed size, whether pocket screws or bed rail brackets hold up better, and real board-foot costs for pine, oak, and plywood.
Quick Answer
Build a homemade wood bed frame from 2×6 side rails bolted to 4×4 legs with structural screws or bed rail hardware, then add 1×4 slats spaced no more than 3 inches apart. Queen and king frames also need a center support beam with 2-3 floor legs—without it, most mattress warranties are void. Pine costs about half of oak and is easier to cut for a first project.
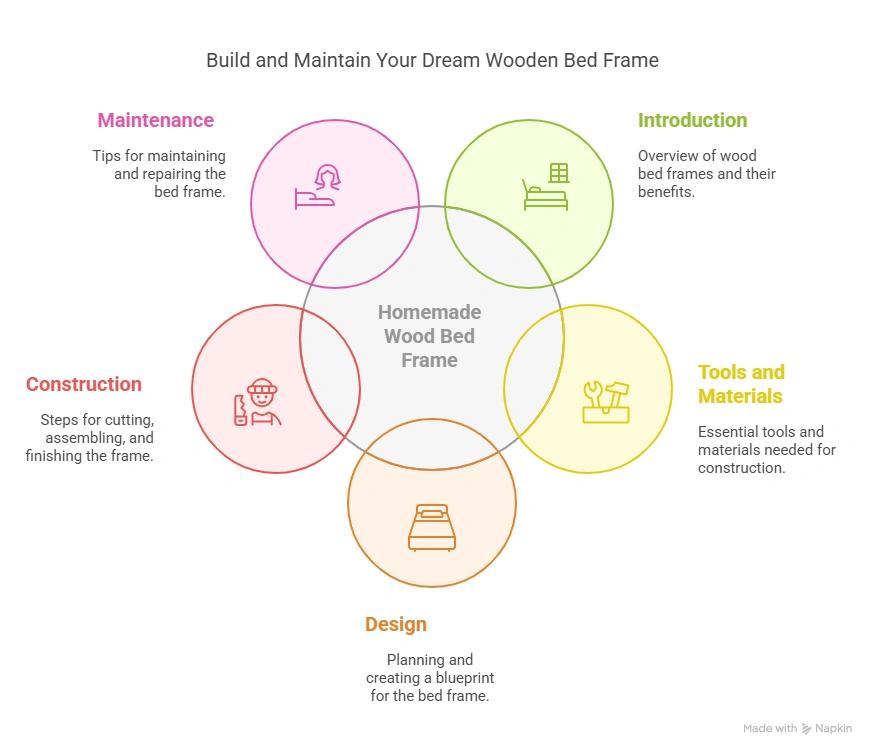
Quick build overview—the full steps with measurements are below:
- Pick your lumber: choose pine, oak, or plywood based on the cut list and cost table below.
- Cut the rails, legs, and slats to the measurements for your mattress size.
- Cut the joinery—pocket holes, half-lap joints, or drill for bed rail hardware.
- Assemble the side rails and legs, then square and glue the joints.
- Add the center support beam (queen/king) and lay the slats no more than 3 inches apart.
- Sand and finish with stain or paint, then let it cure before adding the mattress.
Lumber Cut List and Cost by Bed Size (Twin, Full, Queen, King)
Best Bed Rail Bracket Pick
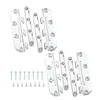
POWERTEC Surface Mounted Bed Rail Brackets (4-Pack)
Heavy-duty zinc-coated steel brackets that let you knock the bed frame down for moving without re-drilling holes.
- Best for: queen and king frames you’ll need to disassemble for moving
- Why we picked it: no-mortise design installs with just screws, no chiseling
- Main drawback: needs at least a 6-inch-wide rail to seat properly
Compare more bed frame hardware options
 Option 1 GRK 5/16″ x 4″ Star Drive Structural Screws
|
 Option 2 Bed Claw Adjustable Center Support Leg
|
 Option 3 Kreg 320 Pocket-Hole Jig
|
As an Amazon Associate we earn from qualifying purchases.
Every published bed frame plan online is sized for a queen mattress. If you’re building a twin, full, or king, here’s the board footage and typical big-box lumber cost for each—scaled from a real queen cut list (2 side rails, headboard/footboard trims, center support, and slats) and current SPF pine and red oak dimensional lumber pricing. Prices are typical ranges; local big-box prices vary by region.
| Bed Size | Mattress Size | Side Rails | Center Support? | Approx. Pine Cost | Approx. Oak Cost |
|---|---|---|---|---|---|
| Twin | 39″ x 75″ | 2×6 x 80″ (2) | Not required | $70–95 | $210–260 |
| Full | 54″ x 75″ | 2×6 x 80″ (2) | Recommended | $85–115 | $250–300 |
| Queen | 60″ x 80″ | 2×6 x 84″ (2) | Required (1 beam + 2 legs) | $140–190 | $380–450 |
| King | 76″ x 80″ | 2×6 or 2×8 x 84″ (2) | Required (1–2 beams + 3–4 legs) | $190–260 | $520–620 |
These totals include the rails, legs, center support, and slats for each size, based on a real published queen cut list (11 pieces of 2×6 at 29″, 4×4 legs, and 17 slats at 60 1/2″) scaled up or down. If you want the full board-foot math behind these numbers, see how much wood is required to make a bed for a size-by-size breakdown.
Pine vs Oak vs Plywood: Which Wood Costs Less and Lasts Longer?
Pine is a softwood that costs roughly half of oak and is easy to cut with basic tools, but it dents and scratches more easily under daily use. Oak is a hardwood that costs about 2.5-3x more than pine, resists dents, and holds screws tighter over decades of use—but it’s heavier and harder on blades. Plywood (3/4-inch, cabinet or furniture grade) is the budget structural option for a platform-style base and is strong enough for a mattress when it’s a full 3/4-inch thickness with support every 16-19 inches; thinner or lower grades will flex and creak.
| Wood | Relative Cost | Durability | Best For |
|---|---|---|---|
| Pine (SPF) | $ (baseline) | Good, dents/scratches show | First-time builders, painted finishes |
| Oak | $$$ (2.5–3x pine) | Excellent, resists wear | Heirloom frames, stained finishes |
| 3/4″ Plywood | $$ (varies by grade) | Good if full thickness + supports ≤19″ apart | Platform beds, budget builds |
If you’re building a plywood platform base instead of a slatted frame, what thickness plywood for a bed base covers the exact sheet thickness by mattress weight.
Do You Need a Center Support Beam? (Queen, King & Mattress Warranty Rules)
Queen, king, and California King mattresses need a center support beam with at least 2 additional legs reaching the floor. Without it, the middle of the frame flexes under body weight, the mattress bows toward the center, and it ages prematurely. Twin and most full-size frames are narrow enough to skip it, though a center leg on a full frame adds cheap insurance against flex.
📊 Most mattress manufacturers void the warranty on queen, king, and Cal King mattresses if the frame lacks a center support beam and floor-contact legs — missing center support is one of the most common reasons warranty claims get denied. Source: mattress manufacturer warranty terms (Tempur-Pedic and others), 2026.
A DIY center support is just a 2×6 or 2×4 beam running the length of the bed, resting on 2-3 legs that touch the floor at the middle. A packaged adjustable center support leg kit does the same job in minutes if you’d rather not cut and fit a beam yourself.
Tools and Materials Needed
Essential tools include a saw, drill, measuring tape, and clamps. Materials are wood planks or boards, screws or bed rail hardware, sandpaper, and wood glue. A square keeps your cuts accurate enough that the frame goes together without fighting the joints.
Essential Tools
- Measuring tape and square — for accurate cuts and square corners.
- Circular saw or miter saw — to cut rails, legs, and slats to length.
- Drill/driver with bits — for pilot holes and driving screws.
- Clamps — to hold joints square while glue sets.
- Sandpaper (120 then 220 grit) — for a smooth, splinter-free finish.
Material Checklist
| Material | Typical Quantity (Queen) |
|---|---|
| 2×6 Side Rails / Headboard-Footboard Trim | 9–11 boards |
| 4×4 Legs | 4–6 pieces (cut from 2 posts) |
| 1×4 Slats | 15–17 pieces |
| Structural Screws or Bed Rail Bracket Set | 12 screws or 1 bracket set |
| Wood Glue | 1 bottle |
| Stain or Paint + Sealant | 1 can each |
Best Joinery for a Bed Frame: Pocket Screws vs Mortise-and-Tenon vs Bed Rail Brackets
Mortise-and-tenon is the strongest joint for a bed frame that will stay in one place—the tenon locks mechanically into the mortise and resists the racking forces that cause creaking, but it takes real time and a router or chisel to cut cleanly. Pocket screws assemble fast and hold up fine for panels like a headboard, but a pocket screw joint alone isn’t built for the repeated lateral stress a leg-to-rail bed joint sees over years of use—are pocket holes stronger than regular screws breaks down where pocket screws do and don’t hold up. Bed rail brackets or hook-style bed rail fasteners are the best choice if the bed ever needs to come apart to move through a doorway—as weight is applied, the fastener tightens rather than loosens, which is the opposite of what a basic L-bracket does.
| Joinery Method | Strength | Best For |
|---|---|---|
| Mortise-and-Tenon | Highest—resists racking best | Permanent, heirloom-quality frames |
| Pocket Screws | Good for panels, weak under repeated lateral load | Headboard/footboard panel assembly |
| Bed Rail Brackets/Hardware | Good, tightens under load | Frames that need to be knocked down to move |
“After 12+ years building furniture, the mistake I see most often on a first bed frame build is skipping the center support on a queen or king size—the frame looks solid empty, then sags within a few months once a mattress and two sleepers are on it every night.”
— Md Meraj, Woodworking Advisor
Designing Your Bed Frame
Measure the room where the bed will go, including doorway width if you’ll ever need to move the assembled frame. Note ceiling height if you’re adding a tall headboard. Sketch the frame with length, width, and height, and mark where the screws or bracket hardware will sit before you cut anything—that one step prevents most of the fit problems people run into.
If this is your first big furniture build, 10 DIY plywood furniture plans is a good warm-up list for practicing joints and finishes before committing lumber to a full bed frame.
Cutting the Wood Safely
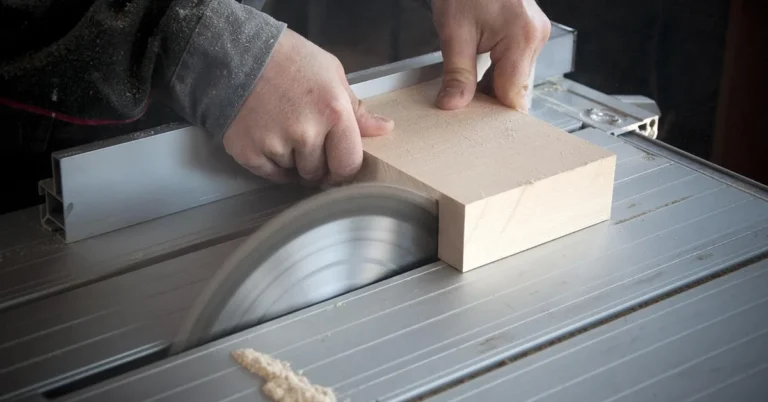
Wear safety glasses and keep the work area clear of clutter, kids, and pets. Measure twice, mark with a pencil against a straight edge, and clamp the board before cutting—a board that shifts mid-cut is the most common way beginners get hurt or ruin a piece. Cut slats and rails a hair long first, then trim to the exact line; it’s much easier to remove 1/16 inch than to add it back.
Assembling the Frame
Lay out all the cut pieces and confirm nothing is missing before you glue anything. Connect the side rails to the legs first, checking each joint stays square, then join the headboard and footboard ends. Apply wood glue to every joint in addition to screws or bracket hardware—glue fills the microscopic gaps that fasteners alone leave loose over time. Add the center support beam last on queen and king frames, and check every joint is snug before moving on to slats.
Finishing Touches
Sand and finish the frame after assembly, before the mattress goes on, so you can reach every joint and corner.
Sanding the Wood
Start with 120-grit to knock down rough edges and glue squeeze-out, then move to 220-grit for a smooth final surface. Always sand with the wood grain, not across it, or you’ll leave scratch marks that show up under stain.
Applying Stain or Paint
Stain shows off the wood’s natural grain; paint fully covers it and hides mismatched boards. Apply thin, even coats and let each one dry fully before adding the next—a rushed second coat is the most common reason a finish ends up blotchy. Work in a ventilated area, and use a wood conditioner first if you’re staining pine, since it’s prone to blotching without one.
Adding the Mattress Support (Slats)
Space slats no more than 3 inches apart center-to-center—wider gaps are the most common reason foam and hybrid mattresses fail early, since most mattress warranties specify this exact spacing limit. Screw each slat down at both ends rather than letting them float loose; loose slats shift and eventually crack the box near the legs. If you’d rather skip individual slats entirely, DIY bed slats covers spacing and thickness options in more depth, and a bunkie board is a common one-piece alternative—see bunkie board vs plywood support options for that comparison.
Maintenance Tips
Regular Inspections
Check the frame every few months for loose joints, cracks, or a sagging center. Catching a loose screw early takes five minutes; catching it after the joint has worked itself further loose usually means re-drilling and gluing — our bed frame reinforcement guide covers brackets, corner blocks, and center supports for frames further along than a quick tighten.
Repairing Minor Damage
Sand out small scratches by hand. For deeper gouges, pack wood filler into the damage, let it cure fully, then sand flush and touch up the finish. For a joint that’s gone loose, back out the screw, add fresh glue, and reset it rather than just driving the same screw in tighter—the original hole is usually already stripped.
Frequently Asked Questions
Is It Cheaper to Build Your Own Bed Frame?
Yes, in most cases. A DIY pine queen frame typically runs $140-190 in lumber versus $250 and up for a comparable store-bought wood frame, though the gap narrows if you choose oak or add premium hardware.
What Kind of Wood Is Best for a Bed Frame?
Pine is the best budget choice and is easy to cut with basic tools. Oak and other hardwoods cost more but resist dents and hold screws tighter over decades. 3/4-inch plywood works for a platform-style base if it’s supported every 16-19 inches.
What to Use Instead of Slats for a Bed?
A bunkie board, a full sheet of 3/4-inch plywood, or a metal platform grid all work as slat alternatives. Each spreads the mattress’s weight across a continuous surface instead of individual boards, which some warranties actually prefer.
Is Plywood Strong Enough for a Bed?
Yes, provided it’s a full 3/4-inch cabinet or furniture-grade sheet with support every 16-19 inches. Thinner plywood or sheets with wide unsupported spans will flex and eventually crack.
Do You Need a Center Support Beam for a Queen or King Bed Frame?
Yes. Queen, king, and California King mattresses need a center support beam with at least 2 floor-contact legs. Skipping it is one of the most common reasons mattress warranty claims get denied, and the frame will sag toward the middle over time.
Are Pocket Screws Strong Enough for a Bed Frame?
Pocket screws work well for panel assembly like a headboard, but they aren’t the best choice for the leg-to-rail joint, which takes repeated lateral stress every time someone gets in or out of bed. Bed rail brackets or mortise-and-tenon joinery hold up better at that specific joint.
Conclusion
A homemade wood bed frame comes down to three decisions: pine or oak, which joinery method fits how you’ll use the bed, and whether your size needs a center support beam. Get the cut list and center support right and the frame will outlast a comparable store-bought one at a fraction of the cost. For headboard styling ideas once the frame is built, see modern teak wood bed designs for inspiration. If you place the finished frame on a hardwood floor, wood legs slide more than most people expect — see our guide on keeping a bed from sliding on hardwood before you find that out the hard way.
Sponsored / affiliate links. As an Amazon Associate I earn from qualifying purchases. I may earn additional commission from eligible campaigns.