Easy Wood Projects for Students: 3 Builds Under 90 Minutes
Three easy wood projects suit students best: a mitered photo frame, a small dado shelf and a drilled pen holder. Each takes 30 to 90 minutes of shop time, uses a few dollars of pine and needs only a backsaw, a chisel, a hand drill and sandpaper. Cut lists are in inches and millimeters, and a classroom safety checklist is included.
Buy One Tool First: A Miter Box and Backsaw
Best Miter Box Pick
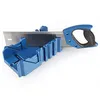 | Olympia Tools 14-Inch Backsaw and Miter Box Set ($22.24) Its 90, 45 and 22.5 degree guide slots give a student the repeatable 45 degree cuts the photo frame below depends on, and the saw is included.
|
As an Amazon Associate we earn from qualifying purchases.
A photo frame is the project where a bad saw cut shows most, because four corners must all close at exactly 45 degrees. A miter box takes the guesswork out, and one set can be shared between two students at a bench. If you already have a speed square and a backsaw, you can skip the purchase and scribe the angles by hand, but expect more gaps on the first try.
The rest of the kit is cheap. The table shows what each tool does and which of the three builds uses it.
| Tool | Used for | Frame | Shelf | Pen holder |
|---|---|---|---|---|
| Backsaw and miter box | Square and 45 degree cuts to length | Yes | Yes | Yes |
| Bench chisel, 3/4 in. (19 mm) | Paring out the dado groove | No | Yes | No |
| Hand drill, 1/8 in. bit and 3/4 in. spade bit | Pilot holes and pen holes | No | Yes | Yes |
| Try square and pencil | Marking square lines | Yes | Yes | Yes |
| Sandpaper, 120 and 180 grit | Smoothing before finishing | Yes | Yes | Yes |
| Wood glue | Joining parts | Yes | Yes | No |
| Two bar clamps or painter’s tape | Holding glued joints and workpieces | Tape works | Yes | Yes, for drilling |
For a first build, pine is the practical choice. It is soft enough to saw and chisel by hand and cheap enough that a ruined board costs little. Older students who want bigger builds will find them in our woodworking projects for teens guide, and our simple woodworking projects list covers more beginner ideas for home.
Lumber Sizes: Why a 1×8 Is Not 8 Inches Wide
The most common beginner mistake is measuring a joint against the label on the board instead of the board itself. Dimensional lumber is sold by nominal size, and the real size is smaller after drying and planing. A 1×8 is actually 3/4 in. thick and 7-1/4 in. wide, and a 4×4 is 3-1/2 in. square. Cut every joint to the actual measurement, because a groove sized for a 1 in. board will leave a loose gap around a real 3/4 in. one.
| Nominal size | Actual size (in.) | Actual size (mm) | Used for |
|---|---|---|---|
| 1×2 | 3/4 x 1-1/2 | 19 x 38 | Photo frame |
| 1×8 | 3/4 x 7-1/4 | 19 x 184 | Shelf sides and shelf |
| 4×4 | 3-1/2 x 3-1/2 | 89 x 89 | Pen holder block |
Metric boards come in similar but not identical sizes, so measure the real thickness and mark every joint from that number.
The Three Projects at a Glance
| Project | Active time | Typical material cost | Skill practiced | Main hazard |
|---|---|---|---|---|
| Mitered photo frame | About 45 min | Under $5 in scrap or one 4 ft 1×2 | Sawing to a line, 45 degree cuts, gluing | Saw slipping on the miter cut |
| Dado shelf | 75 to 90 min | About $8 to $12 for pine and screws | Marking, chiseling a groove, fitting a joint | Chisel slipping toward the hand |
| Drilled pen holder | About 30 min | Under $3 in a 4×4 offcut | Layout, drilling to depth, sanding end grain | Drill bit grabbing and spinning the block |
Project 1: Mitered Photo Frame
This frame is flat, with no rabbet, so the photo is held by a backing board instead of a groove. That keeps it within reach of beginners. It fits a 5×7 inch (127 x 178 mm) photo, and each corner is a 45 degree miter.
| Piece | Qty | Long-point length (in.) | Long-point length (mm) |
|---|---|---|---|
| 1×2 pine, long sides | 2 | 9-1/2 | 241 |
| 1×2 pine, short sides | 2 | 7-1/2 | 190 |
Long-point length is the longest edge of each mitered strip, measured from one sharp tip to the other. The numbers come from the opening: a 4-1/2 x 6-1/2 in. opening covers 1/4 in. of the photo edge on every side, and the two 1-1/2 in. wide strips on each axis add 3 in. to each dimension. One 4 ft board holds all four pieces with a little to spare for a practice cut.
- Mark the first strip on the face with a pencil. Set it in the miter box with the mark just beyond the 45 degree slot and cut on the waste side of the line.
- Flip the strip, measure the long-point length from the first sharp tip, and cut the opposite end at 45 degrees the other way. Cut the matching strip at the same setting so the pair is identical.
- Dry-fit all four strips on a flat table. A gap in a corner usually means one strip is a hair long or a cut drifted off 45 degrees. Re-cut that strip rather than filling the gap.
- Sand the cut faces lightly with 120 grit on a flat block, then 180 grit on the faces, always along the grain.
- Spread a thin film of glue on both miter faces, wait about a minute for the end grain to drink it in, then add a second thin coat and bring the corners together.
- Hold the frame square with a strap clamp, or pull painter’s tape tight across each corner, and check the diagonals match before setting it aside to dry.
- When dry, glue and tape a thin backing board of hardboard or stiff cardboard behind the photo, and add a small saw-tooth hanger.
A glued miter has very little long grain to bond to, so the corners hold a hanging frame but can pop if the frame is dropped. Two small brads at each corner help, and a backing board glued across all four corners stiffens the whole frame. For more on this joint, see our guide to gluing a miter joint on trim and picture frames, and the wood glue clamp time chart for how long to leave it clamped.
Project 2: Small Dado Shelf
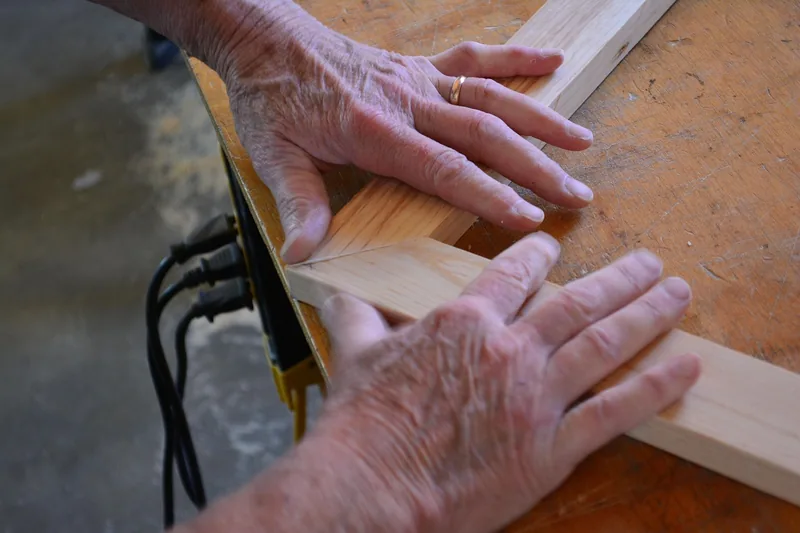
Many beginner guides call this build a lap joint, but a groove cut across a board to seat the end of another board is a dado, also called a housing joint. A true lap joint overlaps two pieces, and our half-lap joint calculator covers that one. The dado is the right choice here because the shelf rests in the groove and the groove carries the load, not the screws.
Two details matter. The groove should be about half the thickness of the side, so on 3/4 in. pine that means a depth of 3/8 in. (10 mm). A groove cut the full 3/4 in. would go straight through the side. The groove width should match the shelf thickness, 3/4 in. (19 mm), so the joint fits snugly with no slop.
| Piece | Qty | Cut size (in.) | Cut size (mm) |
|---|---|---|---|
| Sides, 1×8 pine | 2 | 10 long x 7-1/4 wide | 254 x 184 |
| Shelf, 1×8 pine | 1 | 18 long x 7-1/4 wide | 457 x 184 |
| Back rail, 1×2 pine | 1 | 17-1/4 long | 438 |
With 3/8 in. of the shelf end sitting in each groove, the inside span between the sides is 17-1/4 in. (438 mm), which is also the length of the optional back rail that keeps the shelf from racking. The finished shelf is 18-3/4 in. (476 mm) wide overall, so it sits on a desk or on a wall bracket.
- Mark the groove on the inside face of each side, 3 in. up from the bottom edge. Use a try square and a pencil to draw two lines 3/4 in. apart, then mark 3/8 in. depth on both edges.
- Saw down each line with the backsaw on the waste side, stopping at the depth mark. Clamp the side to the bench first so it cannot move.
- Pare out the waste between the cuts with the 3/4 in. chisel, working from both edges toward the center with the bevel down. Keep both hands behind the cutting edge.
- Test-fit the shelf in both grooves. It should slide in with hand pressure and sit flat. If it is too tight, pare a thin shaving from the groove wall, not the shelf.
- Spread glue in the grooves, seat the shelf, and drive one 1-1/2 in. screw through each side into the shelf end after drilling a 1/8 in. pilot hole.
- Screw the back rail between the sides near the top, check the shelf is square with a try square, and clamp until the glue sets.
- If time is short or the group is young, skip the chisel. Glue and screw the shelf to the sides as a simple butt joint with two screws per end, and use a pencil line to mark the height.
Project 3: Drilled Pen Holder
A 4×4 offcut is a good block for this build because the real size is 3-1/2 in. square, which gives room for four holes with solid walls between them. Cut the block to 3 in. (76 mm) tall, using the miter box slot set at 90 degrees.
- Draw two lines across the top face that cross at the center. Mark four hole centers 1 in. (25 mm) from the center point along both lines, so the centers form a 2 in. square.
- Wrap a piece of masking tape around a 3/4 in. spade bit 2 in. from the tip as a depth flag. A 2 in. depth leaves 1 in. of wood under the holes.
- Clamp the block to the bench with a scrap board under it. Drill each hole slowly, backing the bit out often to clear shavings, and stop when the tape touches the wood.
- Sand the top, sides and hole rims with 120 grit, then 180 grit. End grain drinks finish quickly, so sand it a little finer than the faces.
- Finish with a coat of water-based clear finish or paint, and let it dry fully before using it.
This layout leaves about 3/8 in. of wood between each hole and the outside face, which is enough for a pine block but thin. Do not enlarge the holes, and do not place them closer to the edges than the layout shows. A spade bit can grab and spin the block, so clamping is not optional.
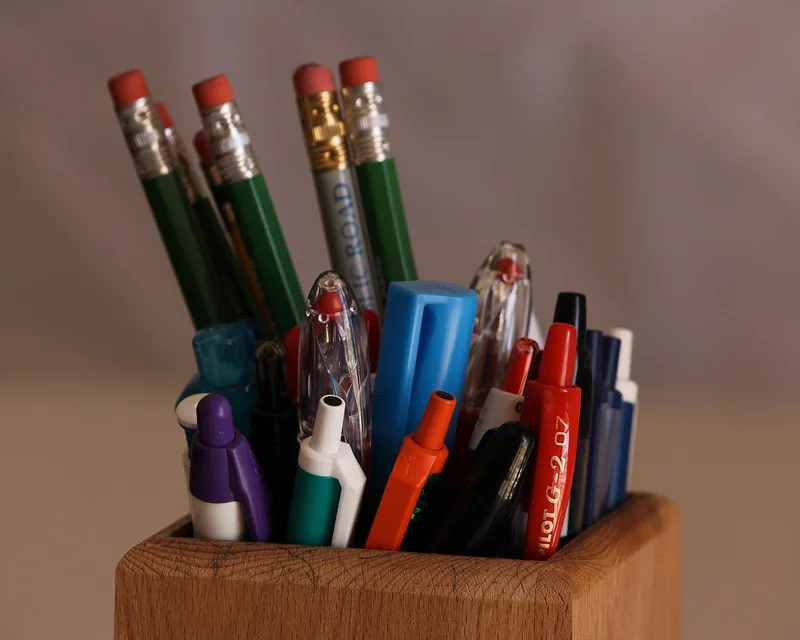
Sanding and Finishing Pine
Sand in order: 120 grit to remove saw marks, 180 grit for the faces, and a final pass on end grain, always along the grain.
Pine has a reputation for finishing badly under stain. Soft and hard patches in the wood absorb stain unevenly and leave a blotchy look, so a student who wants a wood-tone look should use a pre-stain conditioner or choose paint or a clear water-based finish instead. Avoid oil-based finishes in a classroom: rags soaked in oil-based stains and finishes can heat up and ignite on their own if left in a pile, so dry them flat outdoors or soak them in water in a metal can. Our wood finishing guide covers finish types and cure times in more detail.
Running This in a Class or Group
A group of 20 students does not need 20 of everything. Set up one sawing station per two students, a single clamped drilling spot, and keep chisel work to the dado-shelf students with an adult nearby.
A simple rule of thumb is to cut all the parts in session one, then glue and finish in session two, so cure time never rushes a build.
Student Shop Safety Checklist
- Wear safety glasses whenever a saw, drill, chisel or sander is in use. Look for eyewear marked Z87.1 or Z87+.
- Tie back long hair and secure loose sleeves and drawstrings before using a drill.
- Clamp the work before sawing, chiseling or drilling. Never hold a board by hand while cutting toward it.
- Chisel away from your body, with both hands behind the cutting edge. Put the chisel down on the bench when you are done with a cut.
- Saw with light back strokes to start the cut, and keep the free hand clear of the line.
- Wear a dust mask when sanding for more than a few minutes, and sand in a ventilated space.
- An adult should supervise sawing and chiseling for younger students. Check your own school’s rules before using any tool.
Frequently Asked Questions
What wood is easiest for a first student project?
Pine is the easiest to find and cheapest, and poplar is a little harder and cleaner to sand. Both cut cleanly with a hand saw and take glue and screws without splitting easily. Avoid oak and other dense hardwoods for a first build, because they are slower to saw and chisel by hand.
Do these student wood projects need power tools?
No. Every cut and joint here can be made with a backsaw, a miter box, a chisel, a hand drill and sandpaper. A drill speeds up the pen holder and the shelf screws, and it is the only power tool involved.
How long does an easy wood project take for a student?
Plan on about 30 minutes for the pen holder, about 45 minutes for the photo frame and 75 to 90 minutes for the dado shelf, counting only active shop time. Glue needs extra time to cure, so split a class build across two sessions.
How do you cut a 45 degree angle without a miter saw?
Use a hand miter box with a backsaw. The slots in the box guide the blade at 45 degrees, so each cut matches the last. Clamp or hold the board firmly against the fence, start the cut with light back strokes, and cut on the waste side of the line.
What can middle school students make with hand tools?
A mitered photo frame, a small dado shelf and a drilled pen holder are all realistic with a backsaw, a chisel and a hand drill with adult supervision. Younger students can skip the chisel and screw the shelf on as a butt joint.
Next Steps
Next, try our woodworking projects for kids list for younger students, or build a birdhouse with a real cut list for an outdoor project. If you are choosing saws for a larger shop, our woodworking tools and saws guide explains the common types.
Sponsored / affiliate links. As an Amazon Associate I earn from qualifying purchases. I may earn additional commission from eligible campaigns.