Log Slice Christmas Craft Ideas
Choose log slices 3/8 to 3/4 inch thick for hanging ornaments, 1 to 1 1/2 inch thick for freestanding pieces, and seal both faces before decorating. Skip drying, sanding, or sealing, and the wood can crack, stain can bleed, and paint or glue can fail. This guide matches slice condition, paint or pyrography methods, and clear coats to specific Christmas projects so you can plan the right holiday wood-slice result.
This guide is part of our Christmas Woodworking Projects: Ornaments, Gifts and Decor series.
What you’ll need



- Log slices, often cut about 2 to 3 centimeters thick, can be chosen in the size matched to your project.
- Sandpaper in 120-, 180-, and 220-grit
- Drill with a small bit for hanger holes
- Twine, ribbon, or thin cord for hanging
- White glue or craft glue
- Acrylic craft paint in holiday colors
- Paintbrushes
- Sharpie or pen for tracing and lettering
- Wood burning tool, if you already know basic pyrography control
- Paper napkins, tissue paper, or printed images for decoupage
- ModPodge or a similar decoupage medium for paper napkins, tissue, or printed designs
- Clear finish for paint: water-based polyurethane or acrylic sealer
- Oil finish for raw wood: hemp seed oil, linseed oil, or mineral oil
- Glitter, beads, bows, or calligraphy supplies for final detail work
How do you prep log slices?
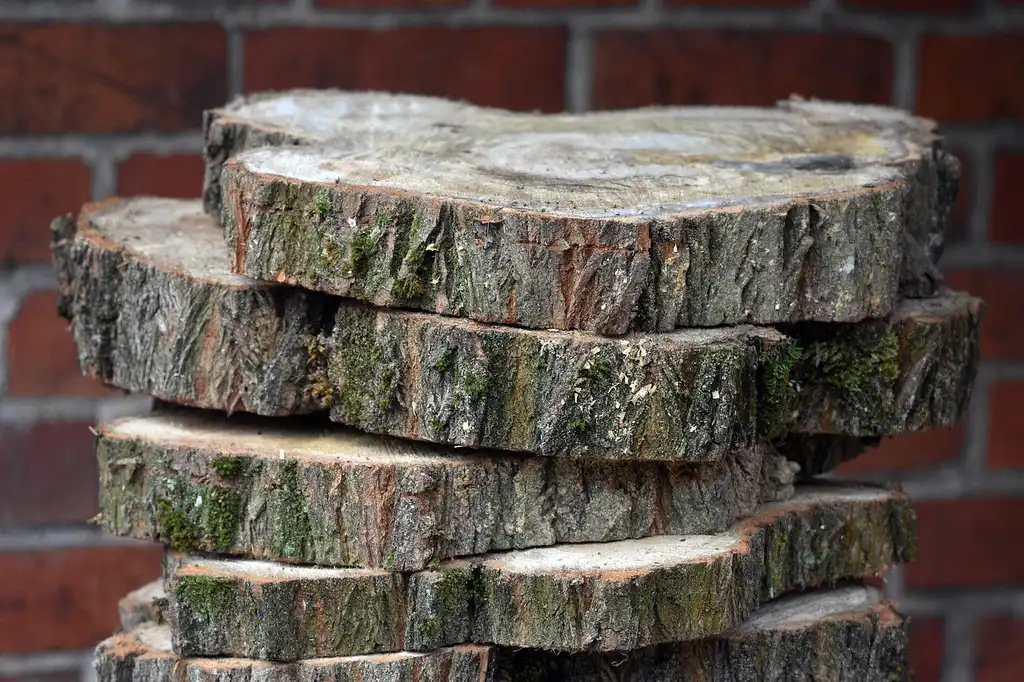
Prep starts by choosing the slice condition that fits the project, then smoothing, drilling, and drying before decoration. The aim is simple: reduce movement in the wood before you add paint, paper, or burning. Good prep limits bark loss, finish failure, and the hairline splits that often show up after the holidays.
- Sort slices by condition and project use. Keep lighter slices for ornaments and heavier ones for table decor, gift tags, or centerpieces.
- Stop when the surface feels smooth but still looks natural.
- Drill hanger holes near the top before decorating. Use twine for ornaments, or leave the hole out if the slice will sit on a table.
- Dry the slices fully, then seal both faces and the edges. Let the finish cure before painting or gluing anything on.
- Add decoration after the surface is stable. If a design needs a topcoat, apply it only after the paint or paper layer is dry.
Common mistakes
Freshly cut wood can be a problem because it may crack, cup, or loosen bark as it dries. It can crack, cup, or push bark loose as it dries. Skip heavy sanding that rounds the face too much, and do not drill after the ornament is already painted unless you want chipped edges and a messy back side.
Say your slice came from freshly cut wood and the bark lifts at one edge after a day indoors. That is a drying problem, not a decoration problem. Stop decorating that piece, dry it more slowly, and seal the faces only after the surface stops changing shape.
If that didn’t work, sort the slice out of the ornament pile and use it for a freestanding piece instead. A split or shedding bark edge is easier to hide on a tabletop tree base than on a hanging ornament that turns front and back every day.
What thickness should wood slices be for Christmas crafts?
Use slices about 3/8 to 3/4 inch thick for hanging ornaments and gift tags, since they are commonly light enough for a branch and still feel sturdy. Use slices about 1 to 1 1/2 inches thick for table decor, place settings, and stand-alone pieces. Very thick slices belong on a table, not a tree.
Thin slices are easier to hang, faster to dry, and less likely to pull a branch downward. They also accept paint and decoupage more cleanly because the face is easier to sand flat. If you want twine, drill a hole near the top edge before finishing.
Table decor and place settings
Mid-thickness slices give enough mass for a centerpiece ring, name card holder, or place setting base. A 1-inch slice can often hold painted initials, a stamped name, or a small figure without tipping. They also work well for a set of matching ornaments laid at each plate.
Centerpieces and stand-alone pieces
Thicker slices are better when the wood needs to sit upright or support layered decor. They suit tabletop Christmas trees, candle bases, and grouped displays. One tabletop-tree roundup includes 43 DIY tabletop Christmas trees, which shows how far this material can go beyond a basic hanging ornament.
When to skip very thick slices
Skip thick slices for tree ornaments. They add weight, can swing oddly, and may stress a branch. A common mistake is choosing the thickest disc in the pile because it looks substantial. For the tree, lighter is better and easier to hang.
Log slice decision table
Use this table to match slice condition with project goal, prep, decoration method, and finish. It keeps the material choice aligned with the job instead of forcing one slice to do everything.
| Slice condition | Best use | Prep steps | Recommended adhesive, paint, or finish | Common failure to avoid |
|---|---|---|---|---|
| Fresh | Table decor, centerpieces, heavy gift bases | Air-dry fully, sand both faces with 120-, 180-, and 220-grit, then seal both sides | Raw-wood oil finish after drying; paint only after the slice is stable | Cracking, cupping, and bark loss from moisture movement |
| Dried | Ornament, gift tag, small sign | Light sanding, wipe dust, drill hanger hole before decoration | Acrylic craft paint, ModPodge for paper designs, water-based polyurethane over paint | Stain bleed or rough grain that ruins lettering |
| Bark-on | Rustic ornament, centerpiece, cabin-style tag | Check bark edges, sand loose spots lightly, dry slowly, seal edges and back | Acrylic paint, twine hanger, clear coat on the back and face | Bark shedding if the slice came from wet wood or dried too fast |
| Bark-free | Clean modern ornament, painted name tag, place setting | Sand smooth, round over splinters, drill before paint if needed | Paint, pyrography, decoupage, then clear acrylic sealer | Flat, dull surface if the sanding stops too early |
| Pre-drilled | Fast ornaments, gift sets, classroom or family projects | Check hole placement, sand hole edges, wipe dust, then decorate | Twine, ribbon, acrylic paint, simple clear finish | Frayed holes or chipped paint around the hanger point |
What can you decorate them with?
Acrylic paint, wood burning, and decoupage cover most log slice Christmas craft ideas. Paint is the easiest starting point. Burning gives stronger contrast on natural wood. Decoupage works best when you want printed images, napkin art, or vintage-style paper layers on a smooth, sanded face.
Acrylic paint for simple holiday motifs
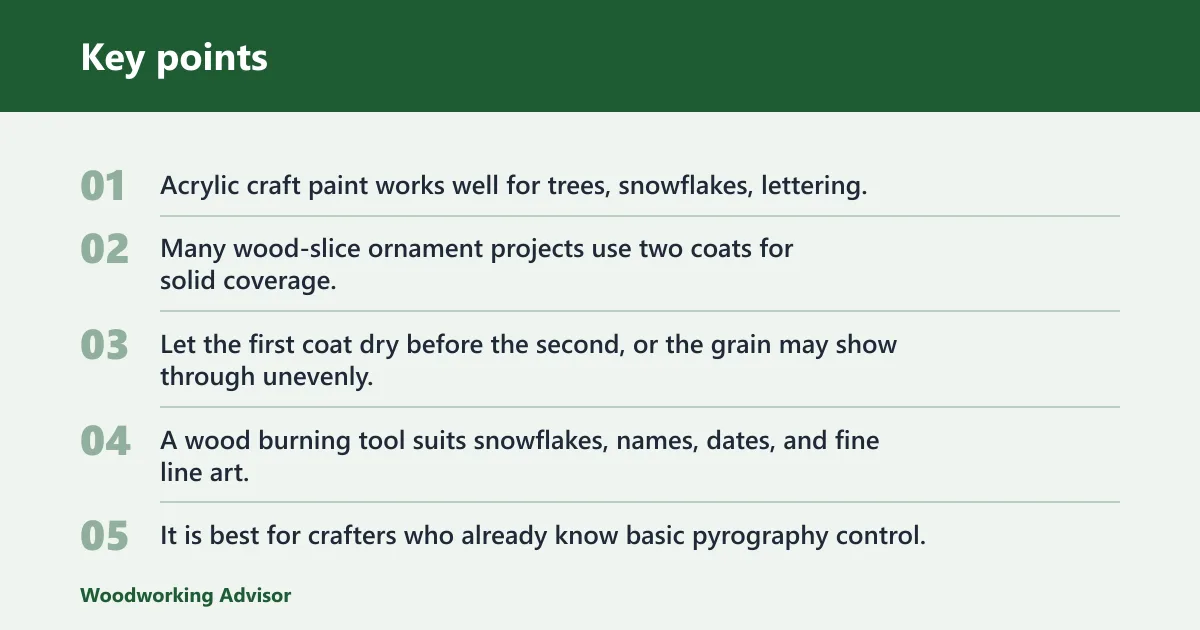
Acrylic craft paint works well for trees, snowflakes, lettering, and holiday icons in white, gold, black, or bright colors. Many wood-slice ornament projects use two coats for solid coverage. Let the first coat dry before the second, or the grain may show through unevenly.
Wood burning for line art and lettering
A wood burning tool suits snowflakes, names, dates, and fine line art. It is best for crafters who already know basic pyrography control, since pressure and tip speed change the line quickly. Burn first, then add paint if you want contrast on top of the dark lines.
Decoupage for paper or printed designs
Decoupage with paper napkins, tissue paper, or printed images gives a clean way to add botanical motifs, vintage birds, or patterned ornaments. It works best on a smooth, sanded surface. Use ModPodge, press the paper flat, and trim the edges only after the surface dries.
Trim, bows, beads, and twine
Small add-ons make the ornament feel finished without hiding the wood. Twine is the most common hanger, especially with a drilled hole near the top. Bows, beads, glitter, and calligraphy details work well on a wood slice ornament that carries mistletoe, trees, snowflakes, animals, initials, or a short saying.
Picture a 3-inch bark-free slice for a name ornament. A single painted snowflake, a short word in black calligraphy, and a twine loop are enough. Add one bead below the knot, and the piece still reads cleanly on the tree instead of looking crowded.
Should you buy pre-cut slices?
Buy pre-cut slices when you want fast, repeatable results, especially for a set of ornaments, classroom projects, or gift tags. Make your own when you need a specific species, diameter, bark style, or thickness. Pre-cut stock also helps when you want pre-drilled holes and less prep time.
When pre-cut slices save time
Pre-cut slices reduce sawing, dry time, and cleanup. They are useful when you need a batch of matching ornaments for a holiday market, family craft night, or gift bundle. A prepped slice with the hole already drilled lets you move straight to paint, burn, or decoupage.
When making your own makes sense
Make your own when sustainability, local wood species, or exact dimensions matter. You can choose thinner pieces for ornaments and thicker ones for tabletop decor from the same log. You also control bark retention, which matters if you want a clean bark-free edge or a rustic bark-on look.
What to check before buying
Look for even thickness, flat faces, and dry edges. Ask whether the slices are kiln-dried or air-dried, and check whether the bark is stable. If the listing says pre-drilled, confirm hole size and placement before you commit to a batch.
How do you stop wood slices from cracking?
Cracking is mainly a moisture problem. Dry the slices slowly, seal both sides, and keep the ornament thickness light enough for the job. If a slice is already checking, use it for a tabletop craft instead of trying to save it as a hanging ornament.
- Choose dried wood instead of freshly cut wood.
- Sand both faces evenly so one side does not dry faster than the other.
- Seal the front, back, and edges with a compatible finish.
- Store the slices flat in the same room where you will craft with them.
- Apply decoration only after the wood has settled.
If that didn’t work
If a slice still cracks, move it to a non-hanging project. A split piece can still hold a painted house number, a candle ring, or a centerpiece base. The fix is to lower the stress on the wood, not to force it back into ornament duty.
Prevention
Seal both faces, not just the front. That keeps moisture exchange more even and lowers the chance of one side bowing more than the other.
What Christmas crafts can you make from log slices besides ornaments?
Log slices work for more than tree decorations. Use them for gift tags, table settings, candle bases, centerpiece platforms, tabletop trees, and small signs. The same wood can handle different jobs if you match thickness, finish, and decoration method to the use.
Thin slices can carry a name, a date, or a short greeting. Drill a hanger hole for a tag, or leave the slice flat for a place card. A painted initial or burned name looks crisp on a bark-free face.
Tabletop decor
Mid-thickness slices make good bases for candles, small figurines, and grouped holiday scenes. They add a clean wood edge without taking over the table. They also work well for small stacked trees made from layered slices.
Family craft projects
Easy, simple projects suit family craft time because the shapes stay familiar and the tools stay basic. A roundup of Christmas crafts for families often includes wood-slice pieces because they accept paint, paper, and twine without a steep learning curve. One roundup even centers on 12 festive Christmas craft ideas, while another offers 10 DIY craft ideas for Christmas.
Frequently asked questions
How do you make a log slice Christmas ornament?
Finish with a clear acrylic sealer and thread twine through the hole for hanging.
Do wood slices need to be dried before crafting?
Yes. Drying reduces cracking, bark loss, and finish failure. Fresh wood can move after you paint it, which can split the surface or push glue loose. Air-dry or buy kiln-dried slices, then seal both faces before decoration.
How do you keep bark attached to wood slices?
Start with bark that already feels firm, then dry the slice slowly and seal the edges and back. Bark on wood cut from wet logs can shed as moisture leaves. Light sanding at the edge helps remove loose fibers without stripping the whole rim.
What can I use to decorate wood slice ornaments?
Use acrylic paint, a wood burning tool, decoupage with paper napkins or printed images, and small trims such as bows, beads, or glitter. Twine is the common hanger. For most ornaments, paint works best for simple motifs and burning works best for line detail.
Should I buy pre-cut slices or make my own?
Buy pre-cut slices when you want speed and consistency, especially if the batch needs pre-drilled holes. Make your own when you need exact diameter, species, bark style, or thickness. Pre-cut stock is the faster route; DIY cutting gives more control.
Sponsored / affiliate links. As an Amazon Associate I earn from qualifying purchases. I may earn additional commission from eligible campaigns.