How to Make Furniture With Green Wood: Tools & Techniques
To make furniture with green wood, you split and shape freshly cut, high-moisture logs while they are still soft enough to work with hand tools, then let the finished piece dry slowly in place so joints such as a wedged tenon actually tighten as the wood shrinks, instead of the piece working loose over time.
This is one of the oldest branches of the craft, going back to the chairmakers and bodgers who worked entirely by hand before power tools existed. It is not a marketing label. It is a specific, deliberate way of choosing and cutting wood that still produces some of the strongest, most durable joinery in furniture making today, from Windsor chairs to simple post-and-rung stools.
What “Green” Wood Actually Means
In woodworking, “green” has nothing to do with color or eco-marketing. It refers to moisture content. A freshly felled log can hold anywhere from 30% to well over 100% moisture content by weight, depending on the species and time of year it was cut. Compare that to kiln-dried lumber at the hardware store, which is typically brought down to 6-8% moisture, or air-dried stock at 12-20%.
That high moisture content is exactly what makes green wood appealing to work with by hand. It is softer and more pliable than seasoned lumber, so a sharp drawknife or spokeshave slices through it with far less effort than it would take on dry oak or maple. The tradeoff is that green wood will move, sometimes significantly, as it dries. Every technique in this guide exists to work with that movement instead of fighting it.
Best Drawknife Set For Shaving Horse Work
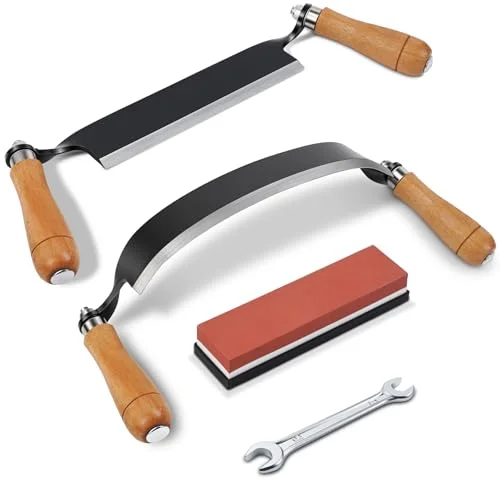 |
Konvixon 2-Piece Draw Knife Set – $43.99 A straight and curved drawknife cover most green woodworking tasks, from debarking a log to shaping a chair spindle on a shaving horse.
|
Why Woodworkers Choose Green Wood On Purpose
Working green is not just a fallback for when you cannot afford kiln-dried lumber. Experienced chairmakers and spoon carvers seek it out for real, practical reasons:
- It cuts faster and easier. A sharp hand tool removes green stock with a fraction of the effort dry wood demands, which is why entire chairs were traditionally built with nothing but a froe, a drawknife, and a shaving horse.
- Less tool wear. Softer fibers are gentler on edges, so you sharpen less often than you would working seasoned hardwood.
- You can use shrinkage as a fastener. As explained further down, green-to-dry joints tighten on their own as moisture equalizes, which is how traditional staked furniture holds together without screws or glue.
- Better use of the log. Splitting green wood along the grain (called riving) follows the wood’s natural fiber lines, producing stronger parts than sawing the same log after it has dried and developed stress cracks.
The Core Tools Of Green Woodworking
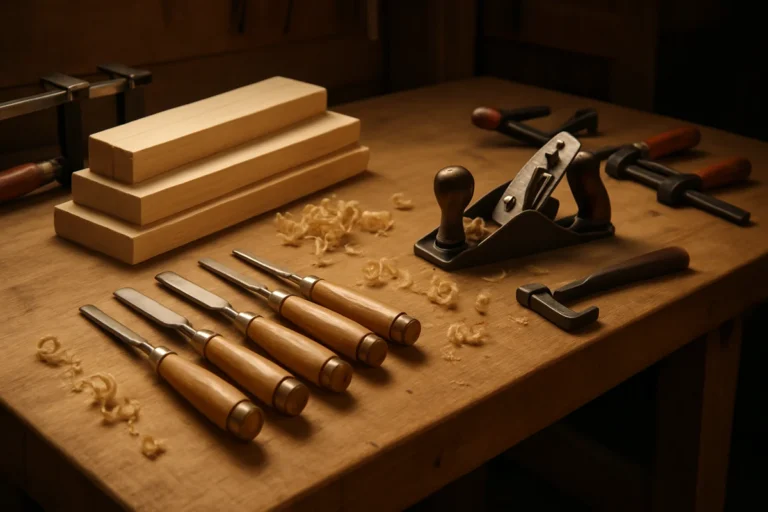
Green woodworking is largely a hand-tool craft, and the tool list is shorter than most people expect:
- Froe: A wedge-shaped blade with a perpendicular handle, driven into the end grain with a mallet to split (rive) a log into billets along the grain.
- Drawknife: A two-handled blade pulled toward the body, used on a shaving horse to remove bark and rough-shape spindles, legs, and stretchers quickly.
- Shaving horse: A foot-operated clamping bench that holds the workpiece steady with constant pressure, freeing both hands for the drawknife.
- Spokeshave: A shorter, one-handed shaving tool for fine-tuning curves and tapers after the drawknife has done the rough work.
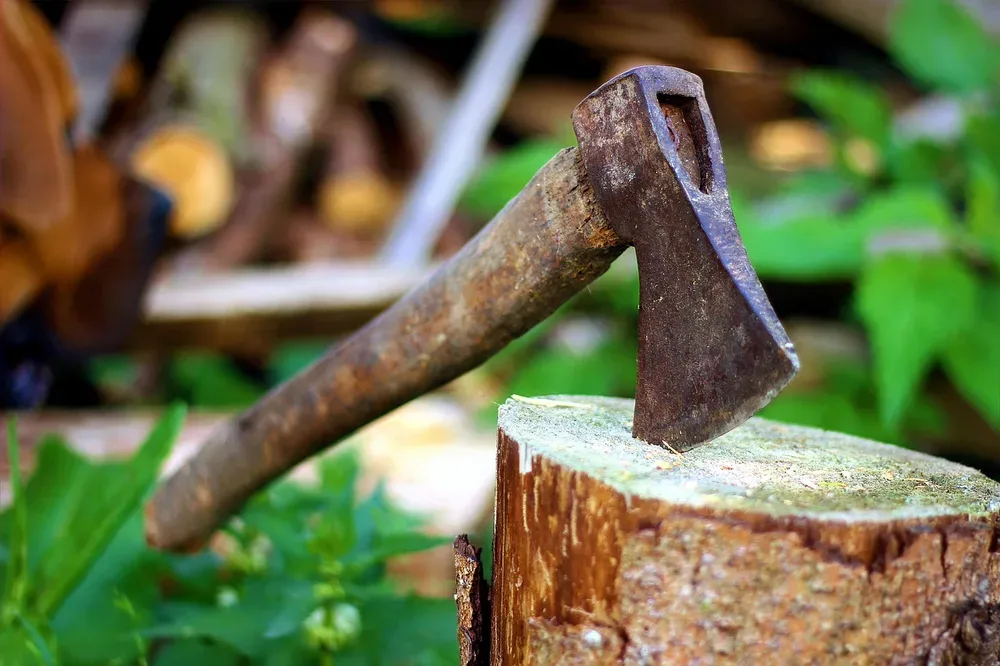
- Carving or hewing axe: A smaller, single-bevel axe used for rough shaping and, in spoon and bowl carving, for the initial blank removal.
- Bowl gouge or hook knife: For green wood turning and spoon carving specifically, where the wood is worked wet from a fresh blank.
Choosing And Cutting Your Log
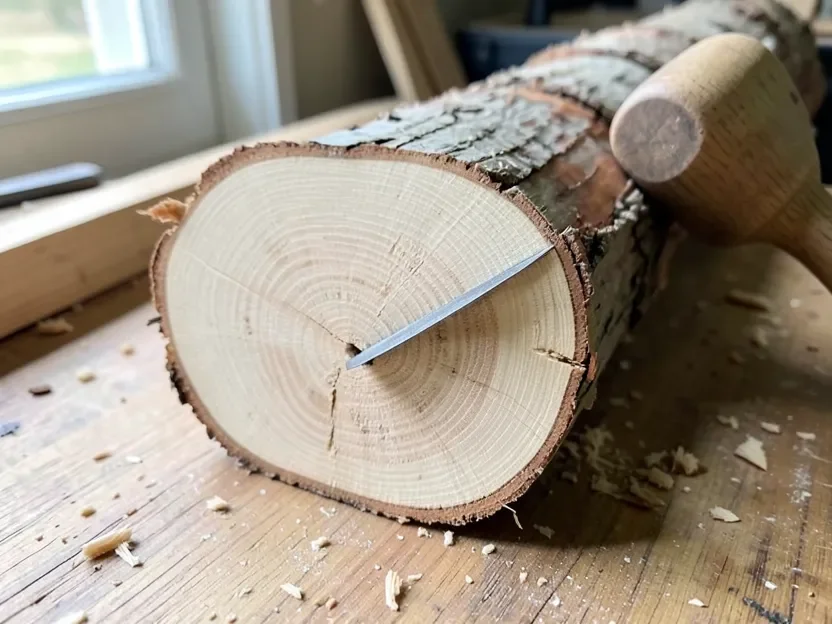
Not every species rives (splits along the grain) cleanly, and that matters more in green woodworking than it does in ordinary lumber shopping. A few reliable choices:
- Oak: Splits straight and predictably, strong once dry, a traditional first choice for post-and-rung furniture.
- Ash: Shock-resistant and bends well, which is why it shows up in tool handles and steam-bent chair parts.
- Cherry: Fine, even grain that carves cleanly, popular for spoons and detail work, though it moves more than oak as it dries.
- Birch and beech: Dense, close-grained, and favored for green wood turning and bowls.
Cut logs during winter dormancy when possible; the wood carries less sap and is less prone to fungal staining while you work it. Buck the log to rough length and split it the same day if you can. Once a log’s bark is off and the ends are exposed, moisture leaves the end grain far faster than the rest of the piece, and that uneven drying is what causes the radial cracks (checks) you see in logs left sitting in a yard.
Joinery That Uses Shrinkage On Purpose
This is the technique that separates green woodworking from simply “working with wet wood.” As a piece dries, it shrinks across the grain (tangentially and radially) far more than it shrinks along its length. Traditional staked furniture, the style behind Windsor chairs and post-and-rung stools, is built around that fact.
A typical approach: the leg (or stretcher) is turned or shaved green, while the seat or the mortise it fits into is left to dry first. When the green tenon is driven into the drier mortise, it starts out slightly oversized. As the tenon itself continues to lose moisture and shrink, its shape locks tighter into the mortise rather than loosening the way a glued joint can over decades of seasonal humidity swings. Many chairmakers add a saw-kerf and a small wooden wedge to the tenon’s end, driven in after assembly, so the tenon flares against the mortise walls as final insurance. No metal fasteners, no glue, and the joint gets stronger with age rather than weaker.
Classic Projects To Start With
If you are new to the craft, start small before attempting a full chair:
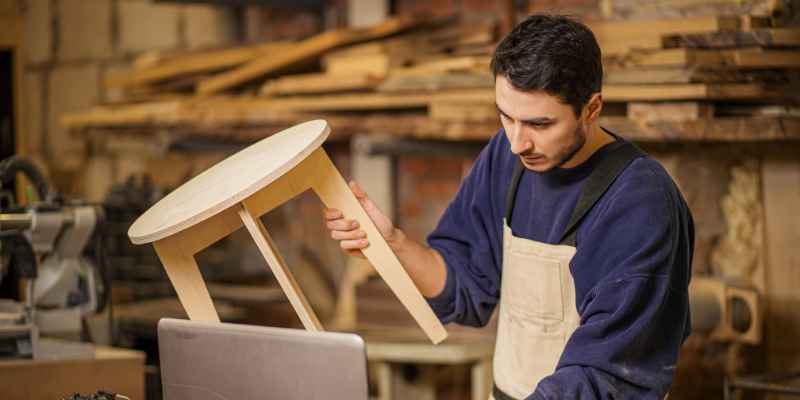
- Post-and-rung stool: The classic beginner project. Green rungs are driven into holes bored in drier legs, using the shrink-fit principle above on a small, forgiving scale.
- Windsor or staked chairs: The traditional showcase for these techniques, combining a carved seat, staked legs, and steam-bent or riven spindles.
- Spoons and small bowls: Worked entirely green with a hook knife, carving axe, or gouge. They dry (and can crack) fast because of their thin cross-section, so many carvers finish them within a day or two of starting. If you want species guidance specific to kitchenware, see our guide to the best wood for wooden cooking utensils.
Drying, Finishing, And Avoiding Cracks
Once a piece is assembled, let it dry slowly and out of direct sun or forced heat. Fast, uneven drying is the main cause of splitting after the fact, since the outer surface dries and shrinks before the core does. A rough rule of thumb used by many hobbyists is about one year of air drying per inch of thickness for a solid section, though thin-walled spindles and carved pieces dry much faster than that. If you want a deeper breakdown of drying timelines by species and thickness, our guide to how long oak takes to season covers the same moisture-loss principles used here, just applied to firewood instead of furniture parts.
Once moisture content has stabilized, typically somewhere under 15%, you can finish the piece. Penetrating oils like linseed or tung oil are the traditional choice for staked furniture because they do not form a hard film that would crack along with any final seasonal movement in the joints.
Common Mistakes To Avoid
- Ignoring grain direction when riving. A froe follows the grain, not a straight line. Forcing a split against the grain wastes material and weakens the piece.
- Rushing the dry time. A joint assembled correctly still needs time for the shrink-fit to do its job. Handling or stressing the piece too soon can crack a still-wet tenon.
- Sealing the wrong end. If you need to store a log or billet before working it, seal the cut ends (wax or paint works) to slow moisture loss there specifically, since end grain dries many times faster than the surface grain.
- Treating “green” as a style choice. Painting furniture green or buying reclaimed pallet wood is a different project entirely. It will not behave like true green (freshly cut, high-moisture) stock, and none of the shrink-fit joinery above applies to it.
Frequently Asked Questions
What does “green wood” mean in woodworking?
Green wood is freshly cut, unseasoned wood that still holds a high moisture content, often 30% or more by weight. It has nothing to do with color; it refers to how much water is still in the fibers compared to air-dried or kiln-dried lumber.
Do I need power tools to work with green wood?
No. Green wood is soft enough that a froe, drawknife, and spokeshave on a shaving horse can rough out and shape a piece entirely by hand. That is part of the appeal, and it is how this style of furniture making was done for centuries before powered machinery existed.
How does green wood joinery stay tight without glue?
A green tenon driven into a drier mortise starts out slightly oversized. As the tenon continues to lose moisture and shrink, it locks tighter into the mortise instead of loosening, which is why traditional staked chairs and stools hold together without screws or glue.
How long should green wood furniture dry before finishing?
A common rule of thumb is about one year per inch of thickness for solid sections, though thin spindles and carved pieces dry much faster. Finish once moisture content has stabilized under about 15%, using a penetrating oil rather than a hard film finish.
Conclusion
Green woodworking is less about a green aesthetic and more about timing: cutting and shaping wood while it is soft and full of moisture, then letting the joints tighten as it dries. Start with a small post-and-rung stool to learn the shrink-fit principle before moving on to a full chair, and pick your species based on how it rives and carves, not just what is available.
Sponsored / affiliate links. As an Amazon Associate I earn from qualifying purchases. I may earn additional commission from eligible campaigns.