How to Make Wooden Snowshoes: Ash Frame, Steaming and Lacing
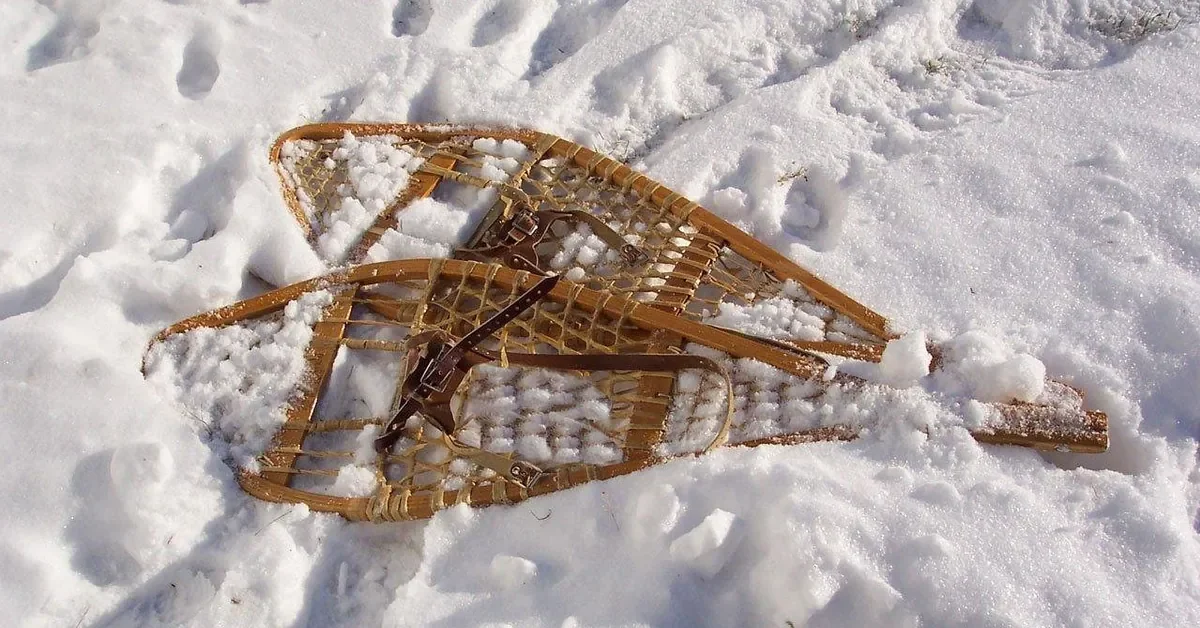
Wooden snowshoes are made from a steam-bent ash frame laced with rawhide or neoprene, not cut from a flat board. One published 9 x 36 inch plan needs an 82-inch ash bow, at least 2 hours of steaming, and 2 weeks of drying on a jig before you lace it. This guide covers the shapes, the wood, the bending, the crossbars, the lacing yardage and the finish.
Which Wooden Snowshoe Shape Should You Build?
Best Snowshoe Frame Finish Pick
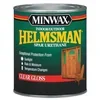 |
Minwax Helmsman Indoor/Outdoor Spar Urethane, Quart, Gloss An exterior-grade clear varnish sold for sun, rain and temperature swings, which is the kind of coating a wooden snowshoe frame needs.
|
As an Amazon Associate we earn from qualifying purchases.
The shape decides how the pair floats, turns and snags, so pick it before you cut anything. Snowshoe Magazine’s guide to traditional patterns lists the common frames with their usual sizes (width x length, in inches) and the terrain each was made for. The table below is compiled from that guide. The sizes are the ones offered by makers, not a formula for your weight.
| Pattern | Typical sizes (in) | Best terrain | Key features |
|---|---|---|---|
| Bearpaw | 12 x 30, 14 x 32, 16 x 32 | Dense brush | Oval, tailless, toe bar only, no heel bar |
| Modified Bearpaw | 10 x 30 up to 14 x 36 | General use | Oval, toe and heel bars, swallowtail |
| Green Mountain | 9 x 30, 10 x 36, 12 x 44 | Narrow upland trails | Lenticular, tailless, moderate nose upturn |
| Huron / Michigan | 12 x 42, 12 x 46, 14 x 48 | Flat or rolling ground, deep snow | Teardrop, upturned nose, long trailer |
| Ojibwe | 10 x 48 up to 12 x 60 | Flat ground, heavy loads | Cusped upturned nose, three or more crossbars |
| Alaskan | 10 x 56, 12 x 60 | Flat ground, heavy loads | Rounded nose, long trailer, three or more crossbars |
For a first build, a short, compact pattern is the easier lesson. The plan we used as the backbone of this guide is a 9 x 36 inch frame with a 5-inch tail, close in size to the Green Mountain pattern above. Longer patterns like the Ojibwe and Alaskan mean a longer bow, a longer steam box and more lacing. Source for shapes: Snowshoe Magazine, traditional snowshoe shapes.
What Wood and Tools Do You Need for Wooden Snowshoes?
Ash is the answer in every source we checked. The manufacturing overview at Made How puts it plainly: the wood is usually ash, straight and at an appropriate moisture content. Our own primer on ash heartwood covers its properties.
The wood spec in the Mother Earth News plan is the most useful set of numbers for a maker. It starts from a 6 to 8 inch diameter trunk of second-growth white ash, straight-grained with 10 to 12 growth rings per inch, or, in the opinion of a few makers, white birch. Straight, evenly ringed stock matters for any bent part, because a strip whose grain runs out of the edge is a likely place for a break.
A common mistake: building the frame from pine or cedar
Older versions of this page named pine or cedar as good frame woods. The traditional-snowshoe sources we checked never do; they name ash, with birch as a second choice. Softwoods are not the species these makers steam into a tight toe curve, so treat pine or cedar as a poor bet for the bent frame itself.
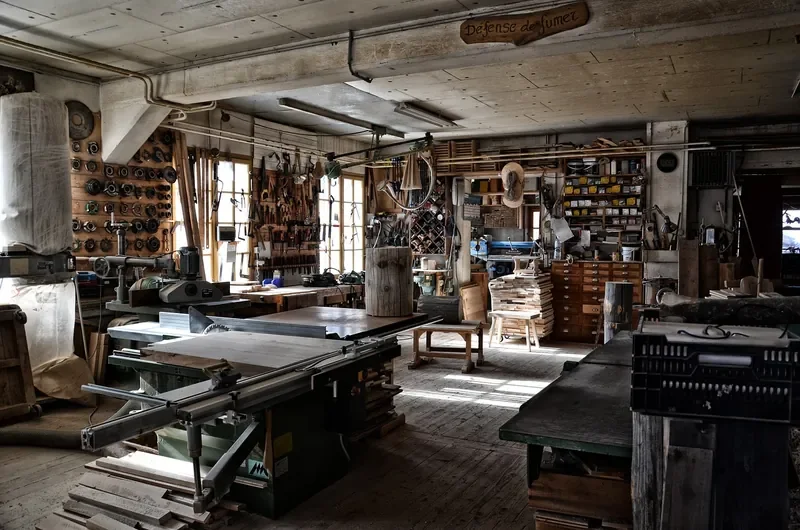
Beyond the wood, the build needs a steam source and a closed box, clamps and a jig shaped like the finished frame, hand tools to fair the strips smooth, and the lacing material. For fairing curved stock, our guides to making a wooden spokeshave and rounding wood edges by hand apply directly. The sources we read give dimensions rather than a specific tool list, so choose tools by comparing them to the stock sizes below.
How Do You Cut and Steam-Bend the Frame?
The Mother Earth News plan cuts the frame from one long strip, called the bow. It is 82 inches long overall, with the thickness tapering from 1/2 inch at the ends to 3/4 inch at the sides and back to 1/2 inch at the toe. The sides carry the most load, so they stay thicker, while the thinner ends make the tighter curves easier.
- Rip and fair the strip: cut the ash bow to about 82 inches and shape it to the taper above, working with the grain so it stays uniform.
- Steam it: the plan calls for at least 2 hours in a sealed wooden steam box. Do not cut this short, since under-steamed wood is less forgiving in a tight bend.
- Bend it on the jig: pull the hot strip around a jig cut to the snowshoe outline. The plan’s Trail Blazer shape is about 9 inches wide by 36 inches long, with the widest point marked 11.5 to 12 inches from the front, a toe curve that begins 6 inches from the front, and a 3-inch upward turn.
- Clamp and leave it: the plan leaves the frame on the jig for at least 2 weeks to cure, so it holds its shape once released.
Factories are faster because they dry frames in a kiln or hot room for two to seven days, according to Made How. At home, plan on the 2-week figure unless you have a way to dry the wood evenly. This waiting period is the main reason wooden snowshoes take weeks from log to finished pair, and it is why the old “8 to 12 hours” figure on this page was wrong.
Steam box safety
Steam scalds quickly. The plans we read do not give safety instructions for the box, so this is general shop practice rather than a quote from them: wear heat-resistant gloves when you open the box and pull the strip, stand to the side of the door, keep the steam generator on a stable surface, and do not seal the box so tightly that steam has nowhere to go, since a closed vessel with a heat source can build pressure. Work quickly once the strip is out, because the wood stiffens as it cools.
For why wet heat makes ash bendable and which moisture range matters, see our reference on the best wood for steam bending, which ranks species and explains why ash and white oak beat maple.
Adding the Crossbars
Once the frame is dry and holds its shape, crossbars keep it from sagging and hold the width. The Mother Earth News plan uses two:
| Part | Size (in) | Position |
|---|---|---|
| Front crossbar | 1/2 x 1-1/8 x 8 | Toe end of the decking |
| Rear crossbar | 1/2 x 1 x 6.5 | 16.5 inches behind the front bar |
The toe-cord spacing in the same plan is 5 inches wide by 4.5 inches long, sized to take bulky winter footwear. Use these as a starting layout for a 9 x 36 frame and scale them if you change the pattern. A Bearpaw has only a toe bar, and the long Ojibwe and Alaskan shapes have three or more bars, as the shapes table shows.
How Much Lacing Does a Wooden Snowshoe Need?
The lacing, called decking, is what carries your weight on the snow. Traditional pairs are laced with rawhide. Neoprene and nylon are the modern alternatives. The plan we read gives yardage by section, which makes it possible to buy the right amount before you start:
| Section | Cord width | Lanyard | Webbing |
|---|---|---|---|
| Toe (upper crossbar to tip) | 1/8 in | 1.75 yd | 4.75 yd |
| Heel | 1/8 in | 1.5 yd | 3.5 yd |
| Middle (between crossbars) | 3/8 in | not listed | 13 yd |
That adds up to 11.5 yards of 1/8-inch cord plus 13 yards of 3/8-inch material. We read these figures as being for one snowshoe, but the plan’s wording is not explicit, so confirm against your own pattern and buy extra. Source: Mother Earth News, How to Make Snowshoes.
Rawhide gives wooden snowshoes their traditional look, but it has a drawback: Made How notes that the hide can spoil and has to be kept under good conditions, which is why factories lace on site. For a home builder, neoprene or nylon cord is simpler to store, and the plan we read lists it as a supported option. If you use rawhide, get pre-cut lacing from a supplier and follow the supplier’s directions for preparing it, since we have no sourced times for that step.
How Do You Finish and Waterproof the Frame?
The plan calls for an exterior-grade waterproof varnish, applied in a different order depending on the lacing you chose:
| Lacing | Coats before lacing | Coats after lacing |
|---|---|---|
| Rawhide | 1 | 2 |
| Neoprene | 2 | 0 |
Let each coat dry as the varnish label directs before the next one goes on, and cover the whole frame including the inside edges and the crossbar ends, since any bare wood is where meltwater will get in.
Using and Storing Your Snowshoes
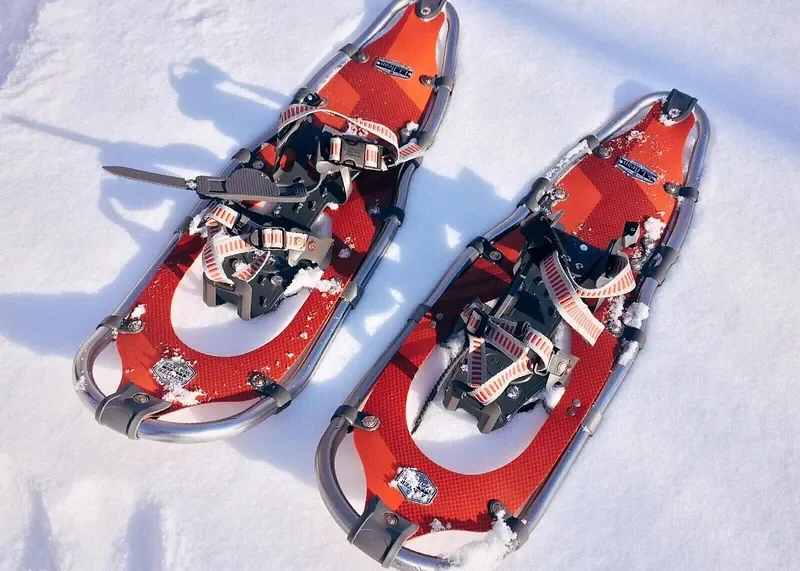
The Mother Earth News plan advises walking with your legs slightly farther apart than usual, and avoiding stepping on the side of one snowshoe with the other. It also suggests dressing in layers, with an absorbent cotton base and a wool outer layer, and storing the finished shoes in cool, dry conditions where rodents cannot reach the lacing.
Before each trip, check the lacing for cuts and the frame for cracks, especially where the toe curve is tightest. Wipe off snow, let the shoes dry before you put them away, and touch up worn spots with the same varnish.
Frequently Asked Questions
What wood is best for wooden snowshoe frames?
White ash is the standard choice. It bends well after steaming, is strong yet light, and is what traditional makers and factories use. One published plan starts with a straight-grained second-growth white ash log 6 to 8 inches across with 10 to 12 growth rings per inch, and mentions white birch as an alternative some makers prefer.
How long do you steam wood for snowshoes?
One published plan calls for a minimum of 2 hours in a sealed wooden steam box before bending the ash bow. After bending, the frame stays on the jig for at least 2 weeks in that plan, while factories dry frames in a kiln or hot room for 2 to 7 days.
How long does it take to make wooden snowshoes?
Expect weeks, not a weekend. Steaming takes at least 2 hours and drying on the jig takes at least 2 weeks in the plan we followed, and lacing and varnishing come after that. The hands-on time is shorter than the calendar time, since much of it is waiting for the frame to set.
What is the difference between Bearpaw and Huron snowshoes?
A Bearpaw is an oval, tailless frame with only a toe bar, sold in sizes such as 12 x 30 and 14 x 32 inches, and it suits dense brush. A Huron is teardrop-shaped with an upturned nose and a long trailer, in sizes such as 12 x 46 inches, and it suits flat or rolling terrain with deep snow.
Should I use rawhide or neoprene for lacing?
Both work. Traditional wooden snowshoes are laced with rawhide, while neoprene and nylon cord are the synthetic options that published plans also allow. The finishing steps differ: the plan we read varnishes rawhide once before and twice after lacing, but varnishes neoprene twice before lacing.
Final Thoughts
A wooden snowshoe is a patient project: an ash bow steamed for hours, a frame that sits on its jig for weeks, then a long stretch of lacing and varnish. Pick a short pattern for your first pair, be honest about the waiting time, and buy the lacing in generous lengths. Once you have a frame that holds its curve, you can move up to a Huron or a Bearpaw.
Sponsored / affiliate links. As an Amazon Associate I earn from qualifying purchases. I may earn additional commission from eligible campaigns.