How to Measure 45 Degree Miter Cuts: Expert Tips and Tricks
Measuring 45-degree miter cuts can seem tricky. But with the right steps, it’s simple.
A 45-degree miter cut is essential in woodworking and framing. Whether you’re building picture frames, molding, or furniture, accuracy is key. Small mistakes can lead to gaps and misalignments. This guide will help you measure and cut 45-degree angles perfectly.
You’ll need basic tools like a miter saw, a protractor, and a pencil. We’ll walk you through each step, ensuring your cuts are precise and clean. Understanding these techniques can make your projects look professional. Ready to master the art of 45-degree miter cuts? Let’s get started!
Credit: www.thisiscarpentry.com
Introduction To Miter Cuts
Accurate miter cuts are essential for strong joints. Precise cuts ensure pieces fit snugly together. This prevents gaps and makes the project look neat. Correct angles help in creating stable structures. Inaccurate cuts can lead to weak joints. This can make the structure unsafe. Accuracy in miter cuts is crucial for both aesthetics and safety.
Miter cuts are used in many projects. Picture frames often need miter cuts for corners. Crown molding in homes requires precise miter cuts. Wooden boxes and furniture also need these cuts for perfect joints. Many DIY projects rely on accurate miter cuts. They help in creating clean and professional looks. Miter cuts are versatile and used widely in woodworking.
Essential Tools
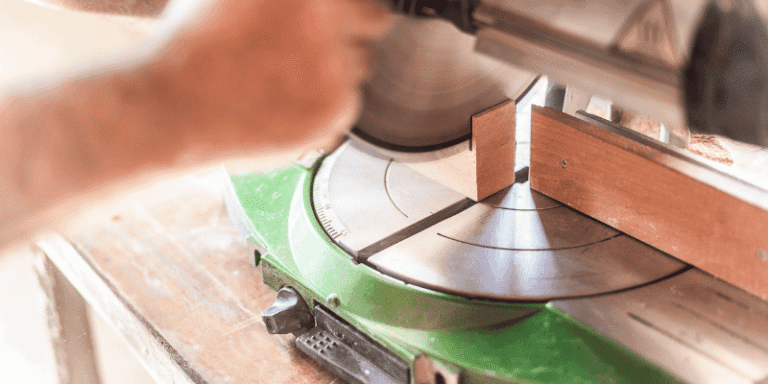
A miter saw helps make precise cuts. It can cut at different angles. Set the saw to 45 degrees. Hold the wood firmly. Cut slowly to avoid mistakes. Always wear safety gear. This includes goggles and gloves.
A protractor measures angles. Place it on the wood. Align it to 45 degrees. Mark the angle with a pencil. This ensures accuracy. Double-check the angle before cutting. It helps avoid errors.
Use a measuring tape to measure the wood. Mark the length you need. A clear mark helps guide the cut. Measure twice to confirm. This prevents wasting wood. Keep the tape straight for accuracy.
Preparing The Work Area
Clear the work area to ensure safety and precision. Organize tools and materials for accurate 45-degree miter cuts.
Safety Precautions
Always wear safety glasses to protect your eyes. Ear protection is also important to avoid damage from loud tools. Keep your work area clean and free of clutter. This helps prevent accidents. Make sure your tools are sharp and in good condition. Dull tools can slip and cause injury. Keep a first aid kit nearby in case of accidents.
Organizing Tools
Start by gathering all necessary tools. You will need a miter saw, a measuring tape, and a pencil. Ensure your miter saw is properly set up and calibrated. A protractor can help to check angles. Use a clamp to hold the wood in place while cutting. Keep a brush handy to clear sawdust. Organizing tools before starting saves time.

Credit: m.youtube.com
Measuring For Accuracy
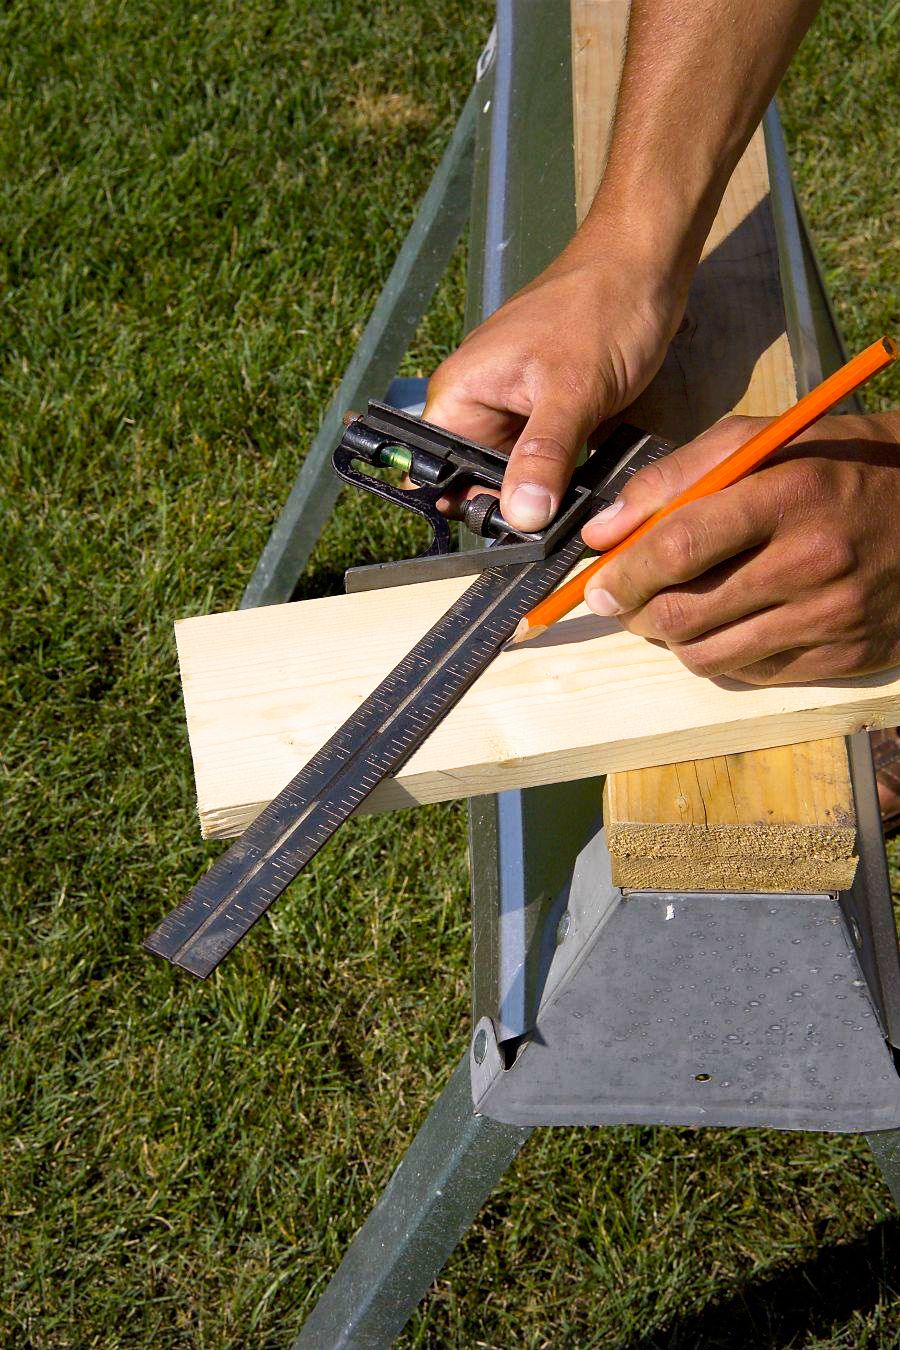
A protractor helps you measure angles. Place the protractor on the wood. Align the baseline with the edge. Mark the 45-degree angle. A pencil works best for marking. Make sure the mark is clear. Double-check your angle. This ensures it’s accurate.
Use a ruler to draw the cut line. Start from the mark you made. Draw a straight line across. Ensure the line is clear. Use a pencil for best results. Check the line again. Make sure it’s 45 degrees. This helps in cutting.
Setting Up The Miter Saw
Turn on the miter saw. Locate the angle adjustment knob. Turn the knob to 45 degrees. Make sure the indicator points exactly to 45 degrees. Tighten the knob to lock the angle.
Place the wood on the saw table. Align the cutting mark with the blade. Clamp the wood tightly. This prevents any movement. Double-check the alignment before cutting.
Making The Cut
A good saw guide helps keep cuts straight. Align the guide with the cut line. Hold the saw steady and firm. Start the saw and let it reach full speed. Slowly push the saw through the wood.
Sharp blades make cleaner cuts. Check the blade before cutting. Clamps hold wood in place. This prevents movement. Cut slowly to avoid tearing the wood. Sand the edges if needed.
Checking For Precision
First, put the two pieces together. Ensure the angles touch perfectly. If they don’t, adjust them a bit. Look for any gaps. Gaps mean the cut is not precise. Small gaps can be fixed with sanding. Big gaps need a new cut.
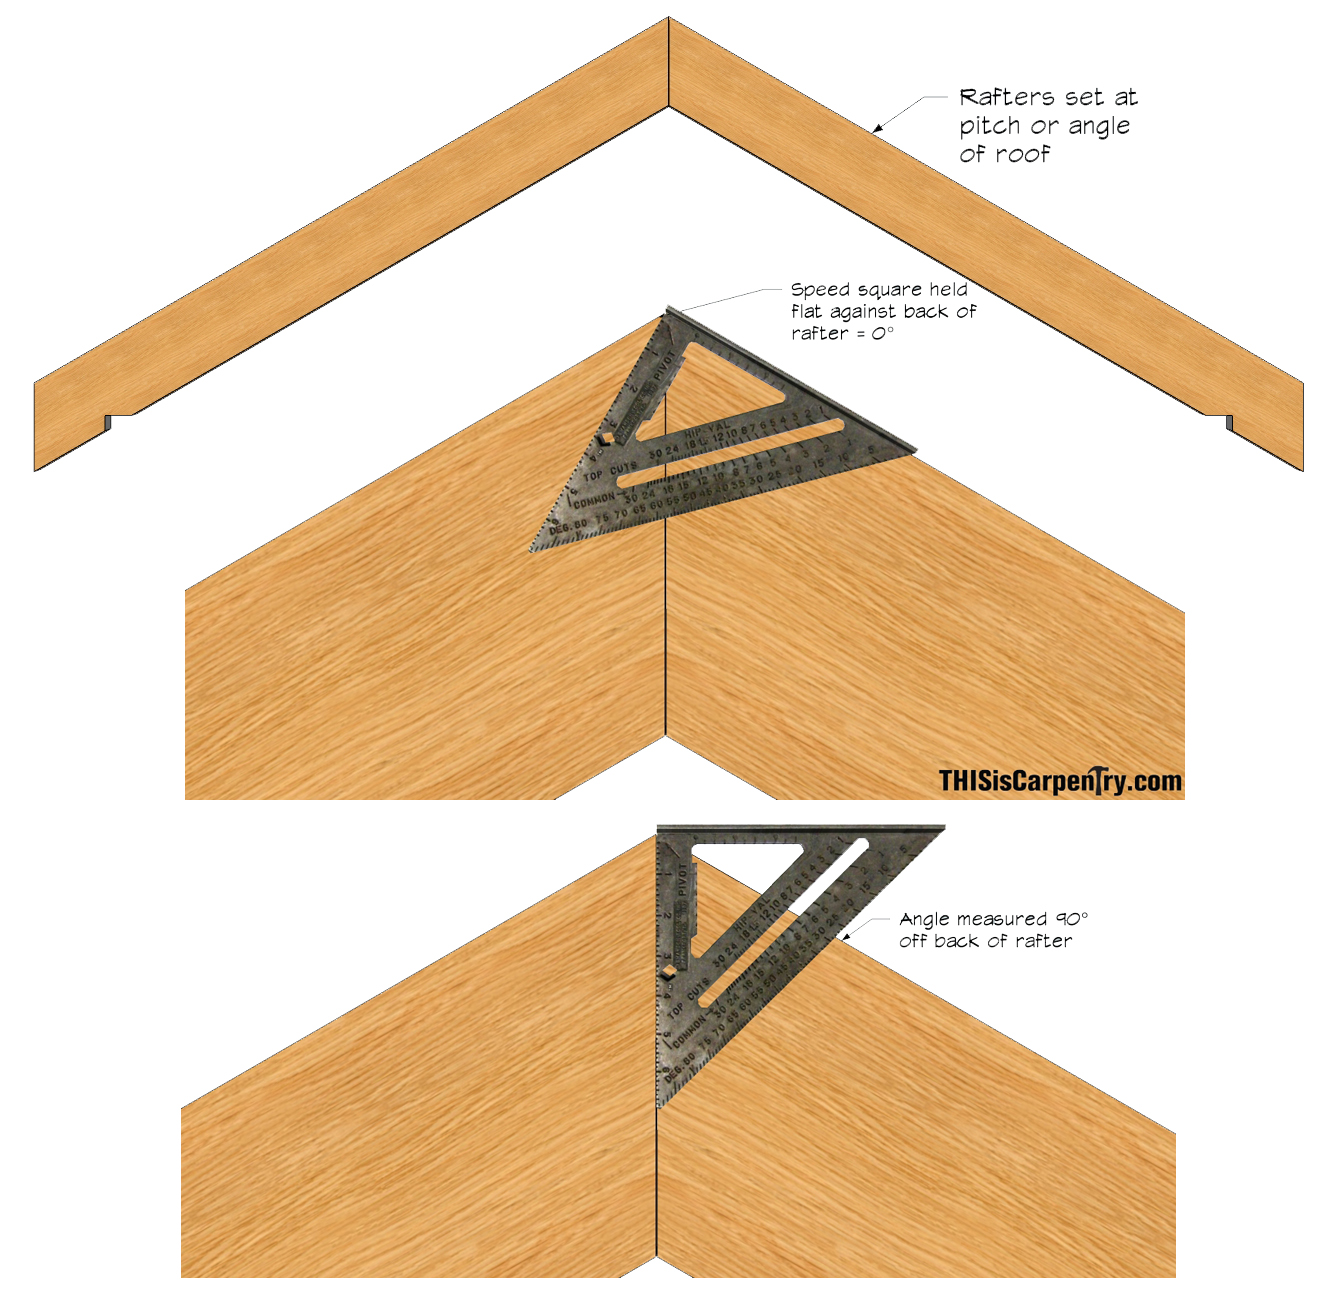
Place a square at the corner of the joint. The square helps you see any errors. If the cut is perfect, the square fits right. If it doesn’t fit, the cut is off. Adjust and check again. This ensures the angles are correct.

Credit: www.youtube.com
Troubleshooting Common Issues
Learn how to measure 45-degree miter cuts with ease. Use a protractor, measure twice, and mark your wood clearly. Accurate cuts ensure perfect joints.
Inaccurate Cuts
Inaccurate cuts can ruin your project. Always check your measurements. Use a protractor or miter gauge. Ensure the saw is at the correct angle. Double-check before cutting. This prevents mistakes. Incorrect blade alignment causes problems. Adjust the blade if needed. Make test cuts on scrap wood. This helps you see if it’s correct.
Rough Edges
Rough edges make your project look bad. A dull blade often causes rough cuts. Replace dull blades promptly. Ensure the wood is firmly secured. This prevents movement during cutting. Slow and steady cuts produce smoother edges. Sand the edges if needed. Sanding smooths out any roughness. Choose fine-grit sandpaper for best results.
Tips From Experts
A sharp blade is key. Pick a blade designed for miter cuts. A fine-toothed blade is best. It makes clean, precise cuts. Check the blade’s diameter. Ensure it fits your saw. Look for carbide-tipped blades. They stay sharp longer. Avoid dull blades. They can cause rough edges.
Keep tools in good shape. Clean the saw after each use. Remove sawdust and debris. Lubricate moving parts. It keeps the saw running smoothly. Check blade alignment often. Misaligned blades cause inaccurate cuts. Store blades properly. Use blade guards for safety. Inspect tools regularly. Replace worn parts quickly. Proper care extends tool life.
Frequently Asked Questions
How Do You Measure A 45-degree Miter Cut?
To measure a 45-degree miter cut, use a protractor or a miter saw with a built-in angle gauge. Place the material against the saw fence and adjust the blade to 45 degrees. Measure twice to ensure accuracy.
What Tools Are Needed For 45-degree Miter Cuts?
You need a miter saw, protractor, measuring tape, and pencil. These tools help in marking and cutting the angles accurately.
Can I Use A Hand Saw For 45-degree Miter Cuts?
Yes, you can use a hand saw with a miter box. Ensure the miter box is set to 45 degrees and cut along the guide.
How To Ensure Accurate 45-degree Miter Cuts?
Double-check your measurements and angles before cutting. Use clamps to hold the material in place. Mark the cut line clearly.
Conclusion
Measuring 45 degree miter cuts isn’t difficult with the right tools. Practice improves your accuracy. Use a miter saw for precise cuts. Double-check angles with a protractor. Always mark your wood clearly. These steps ensure perfect miter joints. Remember, patience is key.
Happy woodworking!