How to Prep MDF: Expert Tips for Perfect Finish
Prepping MDF is everything that happens before a single drop of primer or paint goes on: picking a good board, cutting it without chipping the edges, sanding it correctly, and sealing the raw edges so they don’t drink up finish unevenly later. Get this stage right and priming and painting go smoothly. Rush it, and no amount of careful painting fixes a fuzzy edge or a chipped corner underneath.
This guide covers prep specifically — selecting, cutting, sanding, and edge treatment. Once the board is properly prepped, our guide on how to treat MDF covers priming, painting, and long-term protective finishing in depth.
Picking A Board Worth Prepping
Best Sealer For Raw MDF Edges
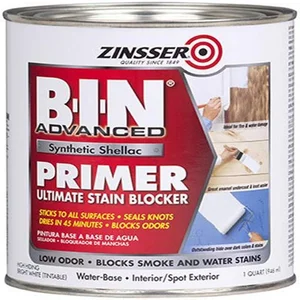 |
Zinsser B-I-N Shellac-Base Primer-Sealer – $25.10 Dries fast and seals MDF’s absorbent cut edges completely in one coat, locking down surface fibers before you move on to full priming and paint.
|
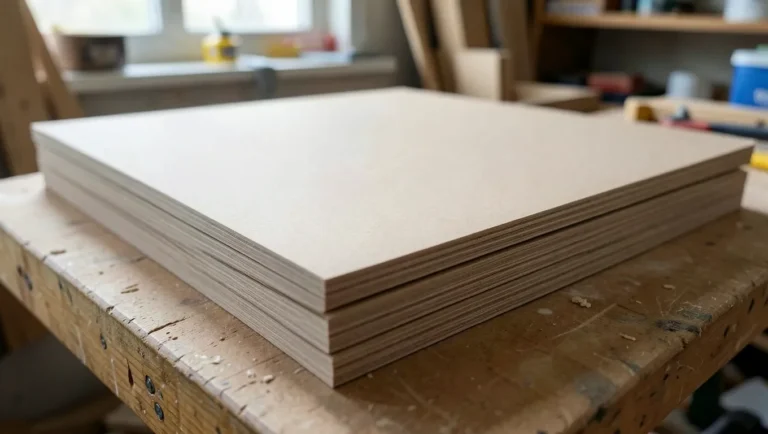
MDF (medium-density fiberboard) is wood fiber bonded with resin under heat and pressure into a dense, uniform sheet. Not all sheets are equal quality. Sight down the board for warping, check for consistent color and density (dark blotches can mean uneven resin distribution), and flex a corner gently — it should resist without cracking. If your project will see any moisture at all (a bathroom shelf, a kitchen cabinet door), buy moisture-resistant MDF specifically; standard MDF swells permanently once water gets into the fibers, and no amount of good finishing fully undoes that.
Cutting Without Chipping The Edge
MDF’s dense, uniform structure cuts cleanly with a sharp blade and tears badly with a dull one — this is the single biggest variable in how clean your cut edges come out. Use a fine-tooth blade (higher tooth count than you’d use for solid lumber), cut slowly, and support the offcut side so it doesn’t snap away and tear fibers at the cut line. A straightedge guide for a circular saw, or a table saw with a zero-clearance insert, meaningfully reduces chipping on the top face.
MDF dust is fine, easily airborne, and worth taking seriously — wear a real dust mask (not just a bandana) and cut in a ventilated space or with dust collection running. This matters more with MDF than with solid wood because of how fine and how much dust a cut produces.
Sanding: Progression Matters More Than Pressure
| Stage | Grit | Goal |
|---|---|---|
| Initial smoothing | 120 | Knock down saw marks and rough spots |
| Refinement | 180–220 | Even out the surface, remove 120-grit scratches |
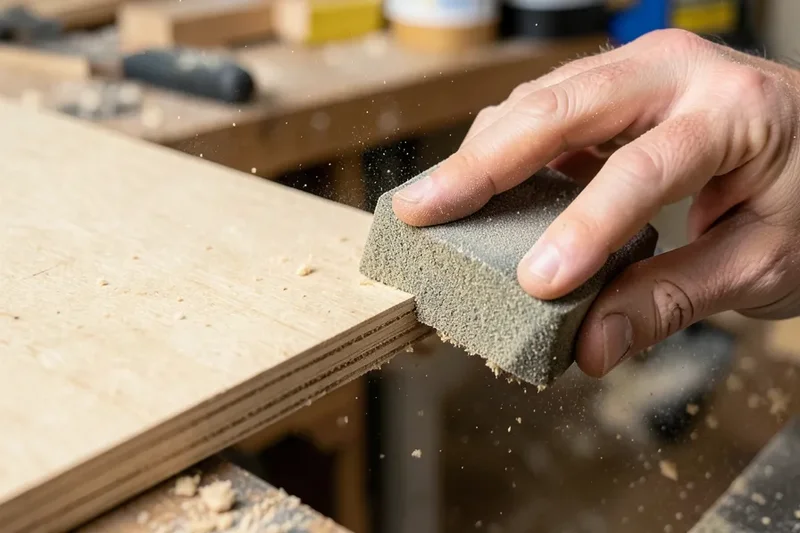
Sand with a block for even pressure rather than just your fingers — uneven hand pressure creates low spots that show up as a dull patch once finish is applied. Move the block back and forth in line with the panel’s length rather than in circles, and check progress by feel and by raking light across the surface, not just by eye straight-on. Don’t over-sand: MDF’s surface fibers are relatively thin, and aggressive sanding can burnish the surface (making it too smooth to hold finish well) or wear through to a fuzzier, less dense layer underneath.
The Step Most Guides Skip: Edge Treatment
Cut MDF edges are the most absorbent, roughest part of the whole board — the compressed fibers get exposed and drink up primer and paint disproportionately compared to the smooth factory faces, leaving edges that look duller or rougher than the rest of the piece even after finishing. Two approaches handle this:
- Edge banding tape for a clean, furniture-grade look: apply heat-activated banding with a household iron on low-medium heat, press firmly while it’s warm, then trim the overhang with a sharp utility knife and lightly sand the seam flush.
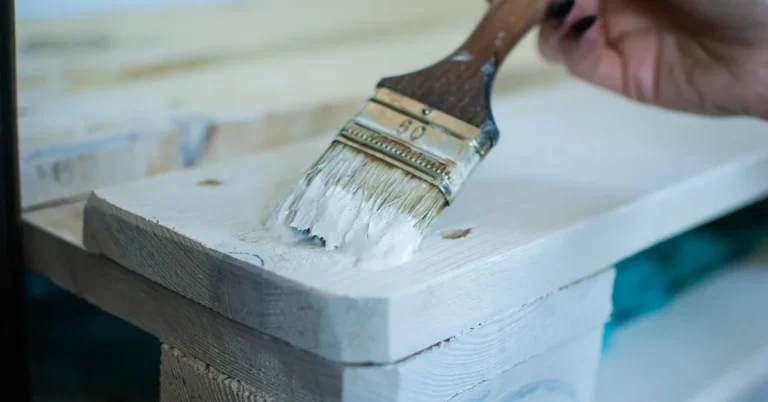
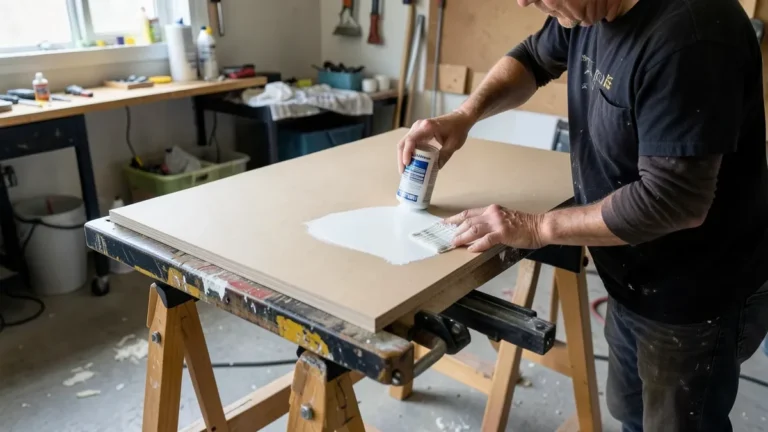
- Sealing the raw edge directly for a simpler, paintable result: apply a fast-sealing primer heavier on the cut edges than the faces, let it soak in, then sand lightly and apply a second thin coat if the edge still looks thirsty compared to the rest of the board.
The First Seal Coat: Locking Down The Fibers
Before full priming (covered in our treating guide), a single seal coat on bare MDF — especially the edges — does two things: it locks down any loose surface fibers that sanding raised, and it keeps the porous edges from soaking up your actual primer unevenly later. A shellac-based sealer is the standard choice here because it dries fast, sands easily, and seals MDF’s absorbency more completely per coat than a standard latex primer. Let it dry fully, scuff-sand lightly, and the board is ready to move to full priming and painting.
Prep Mistakes That Show Up Later
- Skipping the edge seal. Unsealed cut edges absorb finish at a different rate than the faces, and that mismatch is visible under almost any paint sheen above flat.
- Sanding with the grain that isn’t there. MDF has no grain direction, so “sand with the grain” doesn’t apply — sand in one consistent direction anyway to avoid swirl marks that show under a glossy finish.
- Using water to clean dust off before finishing. A damp cloth is fine; soaking or wet-wiping raw MDF can raise the surface fibers you just sanded smooth.
- Buying standard MDF for a moisture-prone spot. No amount of sealing fully compensates for using the wrong board type somewhere genuinely wet.
Frequently Asked Questions
What Is The Best Way To Prep MDF?
Cut with a sharp, fine-tooth blade to avoid chipping, sand progressively from 120 to 220 grit with a sanding block, treat the raw cut edges (banding tape or a heavier seal coat), and apply one shellac-based seal coat before moving on to primer and paint.
Does MDF Need To Be Sanded?
Yes. Sanding removes saw marks and evens the surface so primer and paint go on uniformly. Use fine grits (120 through 220) and avoid aggressive sanding, which can burnish the surface or wear through the denser top layer.
Can You Paint Directly On Raw MDF Without Prepping It First?
Technically yes, but it comes out visibly worse — raw, unsealed MDF absorbs paint unevenly, especially at the edges, leading to a blotchy, dull finish. Sanding and a seal coat first make a real, visible difference.
What Is The Best Way To Seal Raw MDF Edges Before Finishing?
A shellac-based sealer applied heavier on the cut edges than the faces, left to dry fully, then lightly sanded. Edge banding tape is the alternative for a cleaner, seamless furniture-grade look.
Bottom Line
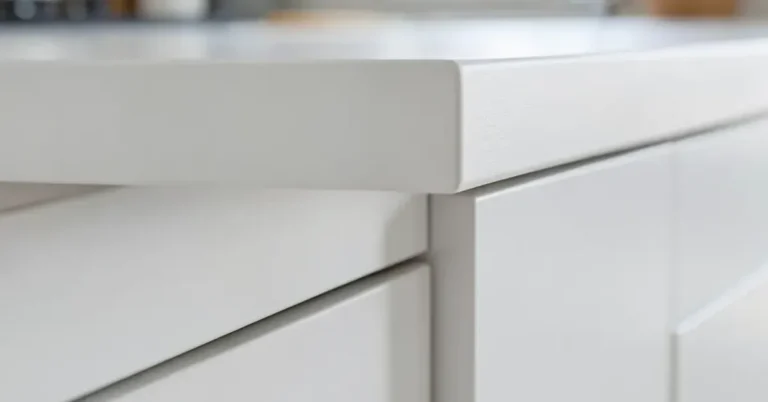
Good MDF prep is a board that’s cleanly cut, evenly sanded, and has its raw edges sealed or banded before any primer touches it. Once that’s done, move on to treating and finishing the MDF for the paint, sealant, and protection steps that make it last.
Sponsored / affiliate links. As an Amazon Associate I earn from qualifying purchases. I may earn additional commission from eligible campaigns.