How to Remove Hardwood Flooring Without Damage
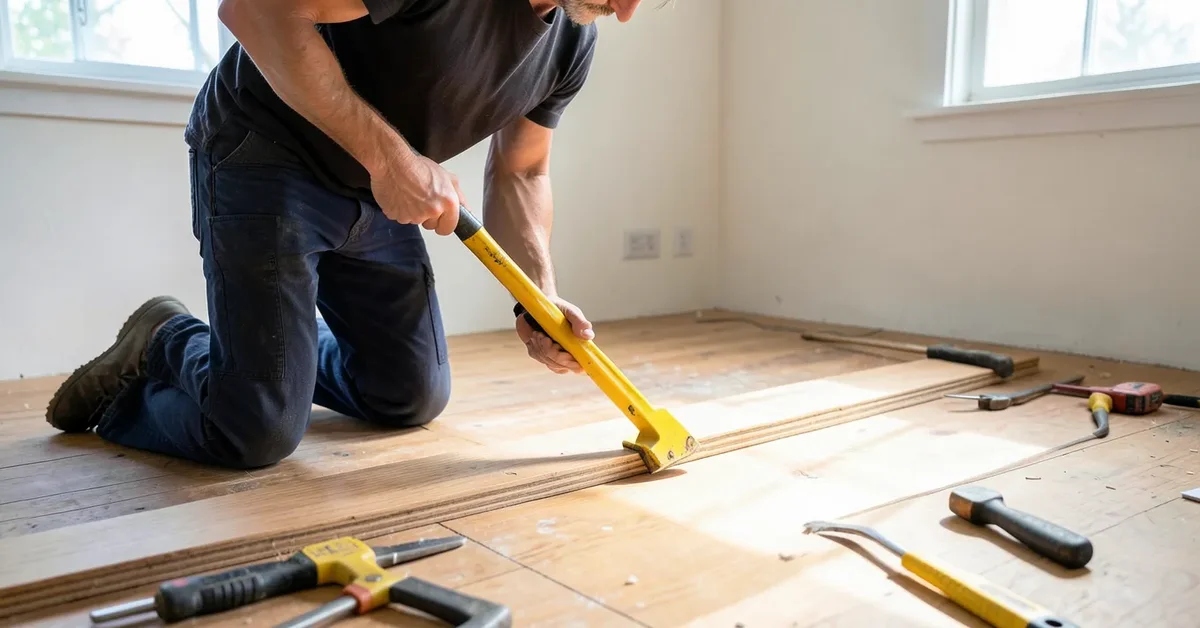
Pulling up hardwood without wrecking the boards, the subfloor, or your trim comes down to working from the edges in, using the right pry tool at each stage, and never forcing a stuck plank. This guide walks through the full process in order, whether you’re salvaging the wood for reuse or just want the demolition to go cleanly.
Tools You’ll Need
Best Pry Bar for Floor Removal
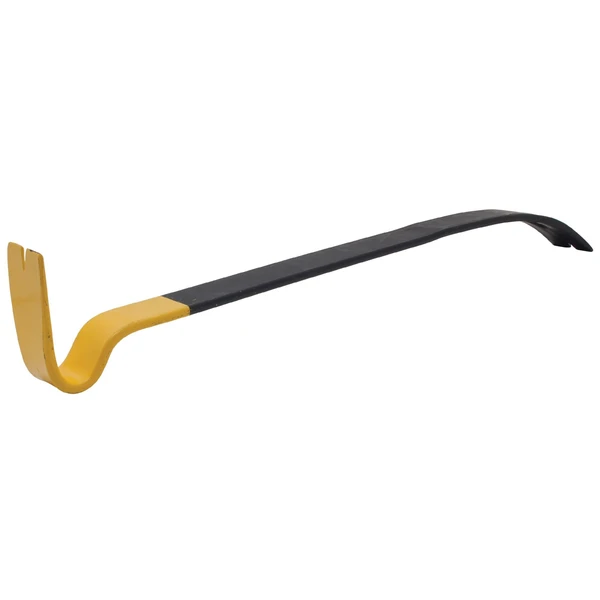 |
Stanley Wonderbar Pry Bar (55-515) – $9.99 A thin, flat pry bar sized for sliding under floorboards and trim without denting the surrounding wood.
|
A flat pry bar (sometimes called a wonder bar) is the tool you’ll use most – its thin, flat end slides under boards without denting the wood the way a heavier bar does. Pair it with a hammer for tapping it into tight seams, a putty knife for prying in spots too tight for the pry bar, a utility knife for cutting through old caulk and adhesive, and pliers for pulling out old nails once boards are up. An oscillating multi-tool is worth renting or buying if you’re dealing with glued-down flooring – it cuts through the glue bond cleanly without chewing up the board underneath.
Don’t skip the safety gear: safety glasses (old nails and splinters fly when boards let go suddenly), work gloves, a dust mask if the flooring has any old finish that might be pre-1978 (lead paint risk on baseboards, not the floor itself, but worth checking), and knee pads – you’ll spend most of this job on your knees.
Prep the Room First
Clear the room completely, including rugs and curtains near the floor. Tape plastic sheeting over doorways and vents so dust doesn’t spread to the rest of the house, and lay drop cloths on any adjoining floors you’re not tearing up. Before you touch a pry bar, walk the room with a flashlight at a low angle – raking light makes proud nail heads and staples much easier to spot than looking straight down. Mark what you find with a piece of tape so you’re not surprised mid-pry.
Removing Baseboards and Trim
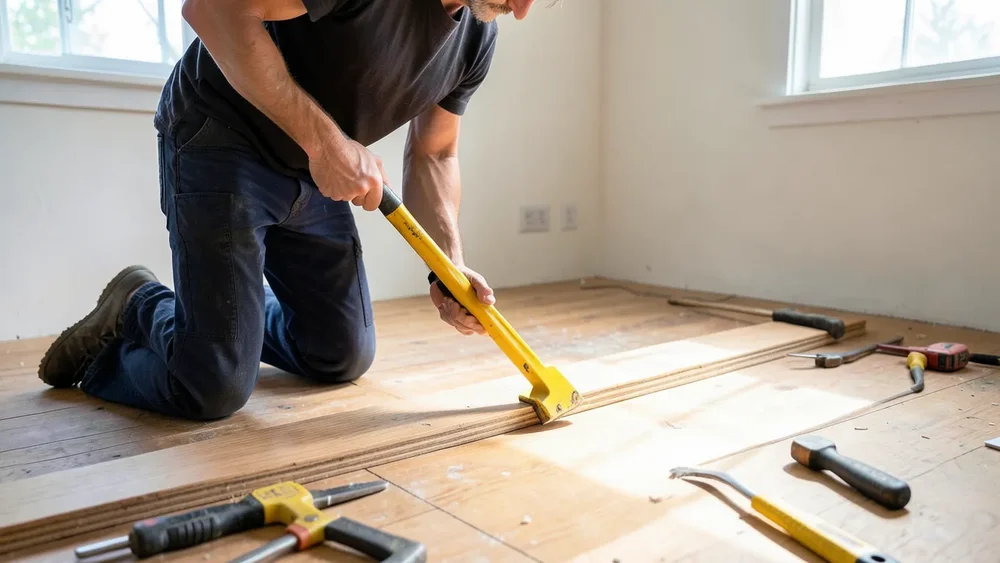
Take the trim off before you touch the floor – it’s much easier to work along a bare wall edge, and you’ll want to reuse or replace the baseboards cleanly anyway. Score along the top edge with a utility knife to break the paint or caulk seal, which stops the wall’s paint from peeling away with the trim. Work a putty knife or thin pry bar behind the board, and slip a wood shim or scrap block between the bar and the wall so you’re prying against the shim, not denting the drywall or plaster.
Pull nails straight out from the back of the removed trim with a nail puller or pliers rather than hammering them through the face – that keeps the visible side clean if you’re reinstalling the same boards later. Number the pieces with painter’s tape and a marker as you go if the room has multiple wall lengths; matching them back up later by eye rarely goes as smoothly as you’d expect.
Loosening and Lifting the Planks
Start at a doorway, a closet edge, or wherever the floor already has a loose or damaged board – these give you a natural entry point without having to force the first board. Avoid starting in the middle of a run, since intact tongue-and-groove joints on both sides make the first pry much harder and more likely to snap the board.
- Slide the thin edge of a pry bar under the board’s end or a damaged section.
- Apply steady, gradual pressure rather than a sharp yank – nailed hardwood lets go in stages, and a hard jerk is what snaps boards.
- Work along the board’s length in short sections instead of trying to pop the whole thing at once from one end.
- For boards held by both nails and adhesive, tap the pry bar gently near each nail location first, then slide a putty knife under to break the glue bond before lifting fully.
Dealing With Nails and Glued-Down Adhesive
Pull nails straight up and out rather than twisting them, which tears the surrounding wood fibers and makes the hole bigger than it needs to be. A hammer’s claw gives better leverage than pliers on stubborn nails that are flush or below the surface.
For glued-down flooring, heat is your friend: a heat gun (kept moving, never held in one spot) or even a hairdryer on its highest setting softens most adhesives enough to scrape them with a plastic putty knife. Never use a metal scraper directly on the wood face – it gouges the surface even through a finish. Once the bulk of the glue is off, a rag dampened with mineral spirits or a mild adhesive remover handles the residue; wipe with soapy water afterward to keep the wood’s finish from clouding.
If You’re Saving the Wood
Wipe each plank down with a soft cloth as you go rather than letting dust and grit build up, and pull any remaining nails or staples immediately so they don’t scratch other boards in the stack. Sort as you clean: separate anything cracked, split, or badly warped from boards that are still straight and solid – mixing them in with a “we’ll deal with it later” pile almost always means the damaged ones get reused by mistake.
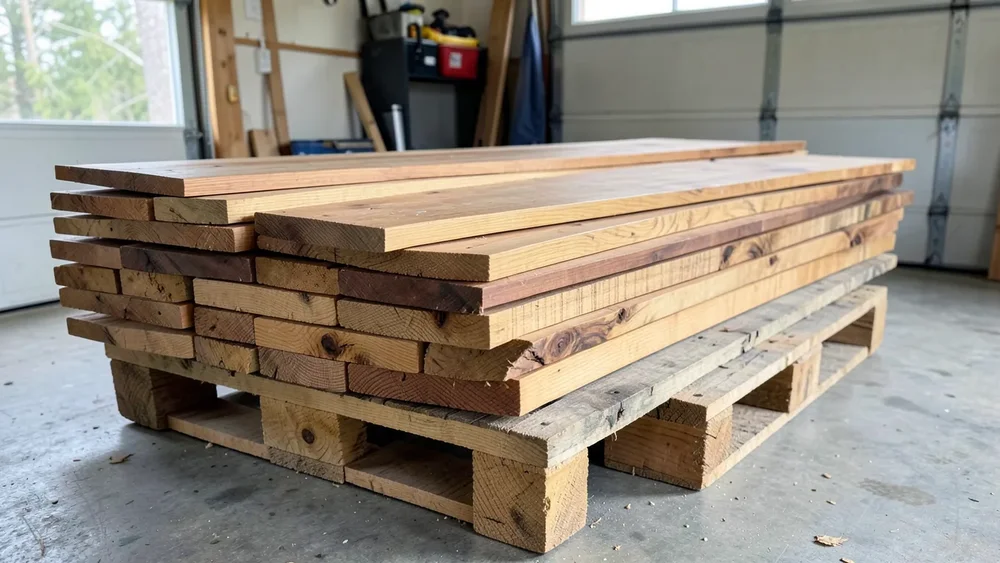
Store good boards flat and off the concrete floor on pallets or scrap 2×4 runners, with airflow underneath. Stack in modest, even layers rather than one tall pile, which lets weight bow the bottom boards over time. Keep the stack in a dry space out of direct sun and away from big swings in humidity – both cause reclaimed hardwood to cup or crack before you ever get to reuse it.
Mistakes That Cause the Most Damage
- Forcing a stuck board. If a plank isn’t moving, stop and check for a nail or glue point you missed rather than leaning harder on the bar – that’s how boards snap in half.
- Starting in the middle of a run instead of at an edge, doorway, or already-loose board.
- Skipping the subfloor check. Old subfloor nails or staples left standing proud will gouge new flooring later, so pull or hammer them flat before you consider the job done.
- Leaving walls and trim unprotected. A pry bar with no shim behind it will dent drywall and baseboards just as easily as it lifts a board.
Frequently Asked Questions
How do I remove hardwood floors without damage?
Remove the baseboards first, then work a flat pry bar under boards starting at an edge or doorway, using steady pressure rather than force. Pull nails straight out and check for hidden fasteners before lifting each board fully.
What tools are needed to remove hardwood floors safely?
A flat pry bar, hammer, utility knife, putty knife, and pliers cover most of the job; an oscillating multi-tool helps with glued-down floors. Wear safety glasses, gloves, and knee pads throughout.
Can hardwood floors be reused after removal?
Yes, if the boards come up intact. Clean and sort them by condition, then store the good ones flat, off the ground, and in a dry space until you’re ready to reinstall or refinish them.
How do I protect the floor and subfloor during removal?
Work in short sections with steady pressure instead of yanking boards up, use a shim between your pry bar and any wall or trim, and check for leftover nails or staples on the subfloor before calling the job finished.
Conclusion
Damage-free hardwood removal is really a patience problem, not a tool problem – the right pry bar helps, but working from the edges in, in short controlled sections, is what actually keeps boards intact. Take your time on the first few planks, and the rest of the room goes much faster once you’ve got the rhythm down.
Sponsored / affiliate links. As an Amazon Associate I earn from qualifying purchases. I may earn additional commission from eligible campaigns.