How to Get Up Glued-Down Hardwood Flooring (Without Wrecking the Subfloor)
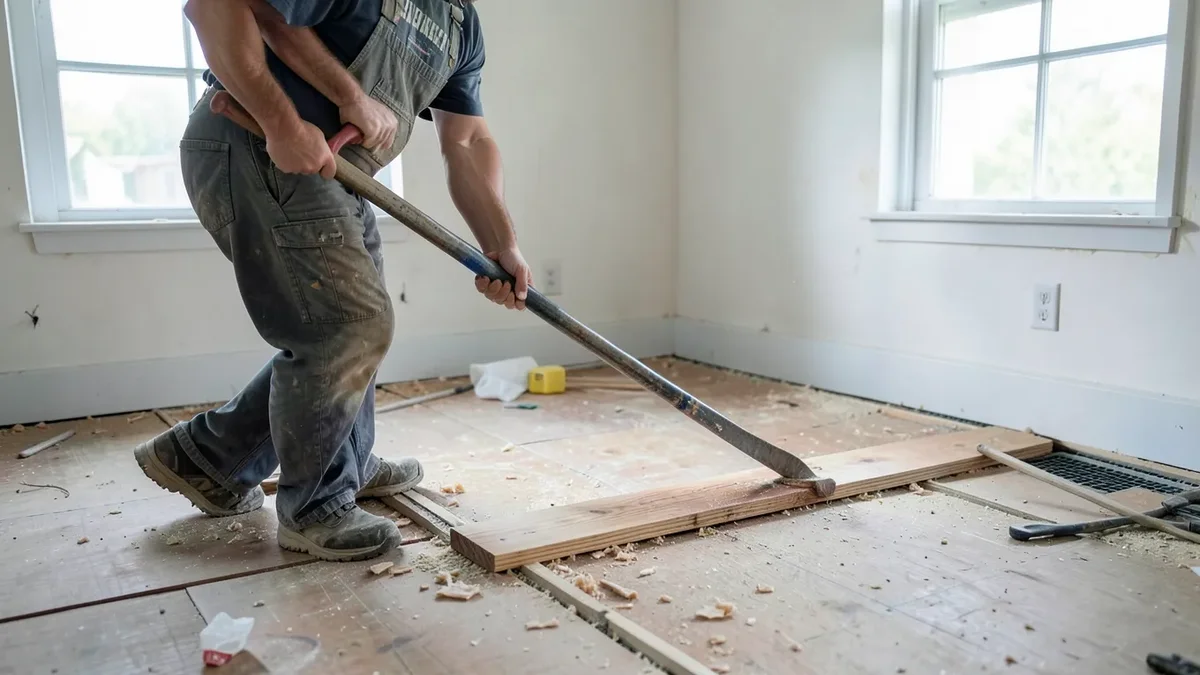
Glued-down hardwood comes up in a mix of prying, cutting, and softening the adhesive—expect boards to break as they release, since a full-strength adhesive bond rarely lets a plank come up in one piece. That’s the key difference from removing nailed or floating hardwood: you’re not trying to save the boards, you’re breaking a permanent bond, which changes both the tools and the technique.
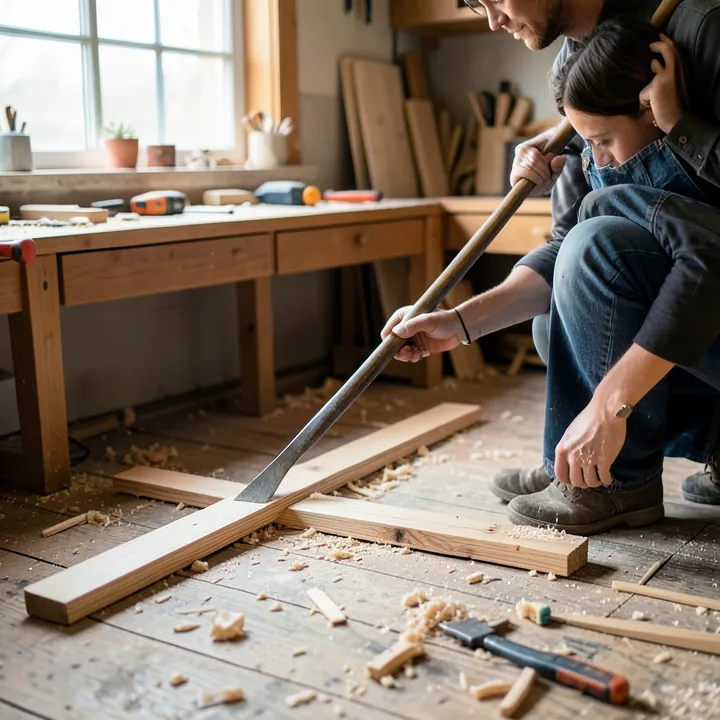
If you’re trying to salvage the boards intact instead, or your floor is nailed down rather than glued, the technique is different—see our guide to removing hardwood floor without damage for that approach.
Identify the Adhesive Before You Start
For Scraping Off The Adhesive Residue
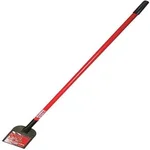 |
Bully Tools 58″ Long-Handle Floor Scraper – $42.99 Pulling the boards is only half the job; a long handle lets you scrape dried adhesive off the whole subfloor standing up instead of on your knees with a putty knife.
|
Adhesive type affects both technique and safety. Older black or dark-brown “cutback” asphalt adhesive, common in installations before the 1980s, sometimes contains asbestos and softens with heat or solvent but can crumble into fine dust that shouldn’t be sanded without testing first. Modern urethane or polyurethane adhesives (usually tan or yellow) are tougher, more rubbery, and resist solvents better, so they generally respond best to mechanical scraping rather than trying to dissolve them. Knowing which one you’re dealing with, rather than assuming acetone or heat works on everything, saves time and avoids a health risk you didn’t need to take.
Tools and Safety Gear
- Pry bar for leverage under plank edges
- Floor scraper with a wide, sharp blade for getting under planks and cleaning adhesive
- Hammer and chisel for tapping tools into place and breaking stubborn glue lines
- Reciprocating saw with a demolition blade for cutting planks into manageable sections
- Heat gun to soften certain adhesives before prying
- Utility knife for scoring edges and glue lines
- Heavy-duty gloves, safety glasses, knee pads, and a dust mask or respirator
If you suspect the adhesive or flooring underlayment could contain asbestos (a real possibility in homes built before the 1980s), stop before cutting, sanding, or heating anything and have a sample tested or bring in a certified asbestos abatement professional. This isn’t a step to skip to save time.
Step-by-Step Removal
1. Clear and Prep the Room
Remove furniture and pry off baseboards or quarter-round with a flat bar, protecting the wall with a scrap of wood behind the tool. Save trim you plan to reinstall.
2. Find or Create a Starting Edge
Check the room’s perimeter near a wall or doorway for a loose plank edge. If everything is tightly fitted, cut a plank in half near the center of the room with a reciprocating saw to create a starting point.
3. Pry, Cut, or Both
Slide a pry bar or scraper under the plank and apply steady pressure, tapping the tool deeper with a hammer if needed. Where prying alone won’t move a plank, cut it into 2-3 foot sections with the reciprocating saw first, then pry the smaller pieces—shorter sections take dramatically less force to lift. Keep the saw’s cutting depth shallow enough that it doesn’t gouge into the subfloor underneath.
4. Soften Stubborn Adhesive if Needed
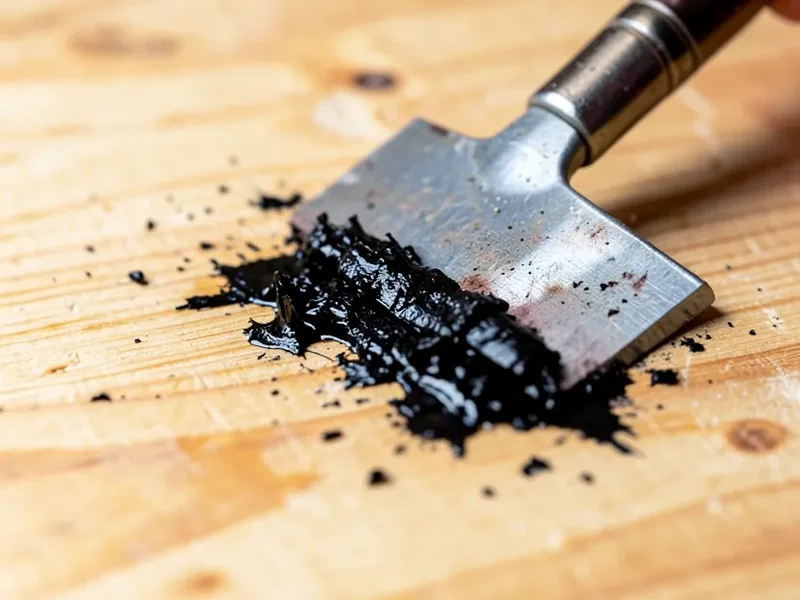
A heat gun moved continuously back and forth (never held in one spot) can soften many adhesives enough to pry the plank free. For adhesive that won’t budge with heat, a small amount of acetone applied to the glue line and left a few minutes can help—but acetone is highly flammable with strong fumes, so work with heavy ventilation, no open flames or sparks nearby, gloves, eye protection, and a respirator rated for organic vapors, not just a dust mask.
5. Work Plank by Plank
Move across the floor methodically rather than jumping around. If the planks run in a pattern with a perpendicular row, finish one direction before tackling the other. Expect some boards to come up easily and others to fight you the whole way; that’s normal, not a sign you’re doing something wrong.
6. Clean the Subfloor
Scrape off as much residual adhesive as possible with a floor scraper and putty knife. Thin, hardened residue may need light sanding, but confirm the adhesive isn’t an asbestos-containing type before sanding anything. The subfloor needs to end up clean, smooth, and flat before new flooring goes down.
Comparing the Removal Methods
| Method | Pros | Cons | Best For |
|---|---|---|---|
| Prying and scraping | Low cost, minimal tools, controlled pace | Slow and physically demanding on strong adhesive | Planks that lift relatively easily, small rooms |
| Reciprocating saw + prying | Faster on stubborn floors, breaks planks into manageable pieces | Power tool required, more dust, risk of subfloor gouging | Most rooms, especially with strong adhesive or tight-fitted planks |
| Heat or solvent assisted | Significantly softens adhesive before prying | Ventilation and fire-safety precautions required, not safe on suspected asbestos | Very old or unusually stubborn adhesive |
Most real jobs end up combining methods: cut with the saw, pry what comes easily, then heat or scrape the sections that won’t budge.
When to Call a Professional
- Suspected asbestos in the adhesive or underlayment, especially in pre-1980s homes—stop and have it tested rather than disturbing it.
- Adhesive that won’t respond to any method you’ve tried—professionals have access to stronger commercial solvents and floor-grinding equipment.
- A subfloor you can’t risk damaging, such as a delicate or historic surface underneath.
- A tight deadline where a crew can finish in a day what would take a weekend solo.
Frequently Asked Questions
How Difficult Is It to Remove Glued-Down Hardwood Flooring?
It’s more labor-intensive than a floating or nailed floor because you’re breaking an adhesive bond rather than just pulling fasteners. Expect several hours to a full day or more for an average room, with more time if the adhesive is old or unusually strong.
Do I Need a Special Saw to Remove Glued-Down Hardwood?
A reciprocating saw with a demolition blade is the standard tool for this job—it cuts planks into shorter, more manageable sections and works in tight spots a circular saw can’t reach. It’s not strictly required if planks come up with prying alone, but it saves significant time on stubborn floors.
What’s the Best Way to Remove Old, Stubborn Adhesive?
Identify the adhesive type first. Heat or acetone can soften many adhesives for scraping, but modern urethane adhesives resist solvents and usually need mechanical scraping instead. If the adhesive is exceptionally stubborn or you suspect asbestos, bring in a professional rather than forcing it.
Can I Damage My Subfloor While Removing Glued-Down Hardwood?
Yes. Aggressive prying or an overly deep saw cut can gouge or scratch the subfloor. Work steadily, keep the saw’s depth shallow, and let the tool do the work rather than forcing it.
What Should I Do After Removing the Flooring?
Clean and inspect the subfloor thoroughly, scraping off remaining adhesive and checking for damage from the removal process. The surface needs to be smooth, level, and debris-free before new flooring goes down, so budget time for minor subfloor repairs if needed.
Bottom Line
Removing glued-down hardwood is a demolition job, not a delicate one: identify the adhesive first, expect boards to break as they come up, and combine cutting, prying, and heat or solvent as needed rather than relying on one method for the whole room. The one step worth never skipping is checking for asbestos before you sand or heavily disturb old, dark adhesive in a pre-1980s home.
Sponsored / affiliate links. As an Amazon Associate I earn from qualifying purchases. I may earn additional commission from eligible campaigns.