Engineered Hardwood Scratch Repair: Pet & Furniture Fixes
To remove scratches from engineered hardwood, clean the area, buff light scratches with a soft cloth and mild solution, or fill deeper ones with wax sticks or wood filler. Sand and refinish for severe damage. Regular care prevents future scratches, keeping your floors stunning and durable.
Scratches on your engineered hardwood floors usually come from furniture, pets, or daily foot traffic, and most can be buffed, waxed, or filled without a full refinish. Left alone, pet claws and dragged furniture cut through the finish and into the wear layer, and thin veneers under 2mm can’t take heavy sanding, so the wrong fix can ruin the plank. This guide covers buffing surface marks, filling minor and deep scratches, and preventing repeat damage from pets and furniture.
Understanding Engineered Hardwood
Best Engineered Hardwood Scratch Repair Pick
Wood Floor Scratch Repair Kit, Set of 39 – $21.20
Covers every material this guide’s tools table calls for: wood fillers, touch-up markers, sandpaper, brushes, and scrapers, so you’re not buying separate products for surface, minor, and deep scratches.
- Best for: Handling all three scratch severities this guide covers with one kit
- Why we picked it: 18 filler colors and 8 marker shades make it easy to match your engineered hardwood’s tone
- Main drawback: Colors are close matches, not an exact factory finish – test on a hidden spot first, as this guide recommends
Compare more engineered hardwood scratch repair options
 Option 1 Mohawk Capillary Touch-Up Marker – $13.89
|
 Option 2 Mohawk Fil-Stik Wax Putty Stick – $9.49
|
 Option 3 J-B Weld KwikWood Epoxy Putty – $6.19
|
As an Amazon Associate we earn from qualifying purchases.
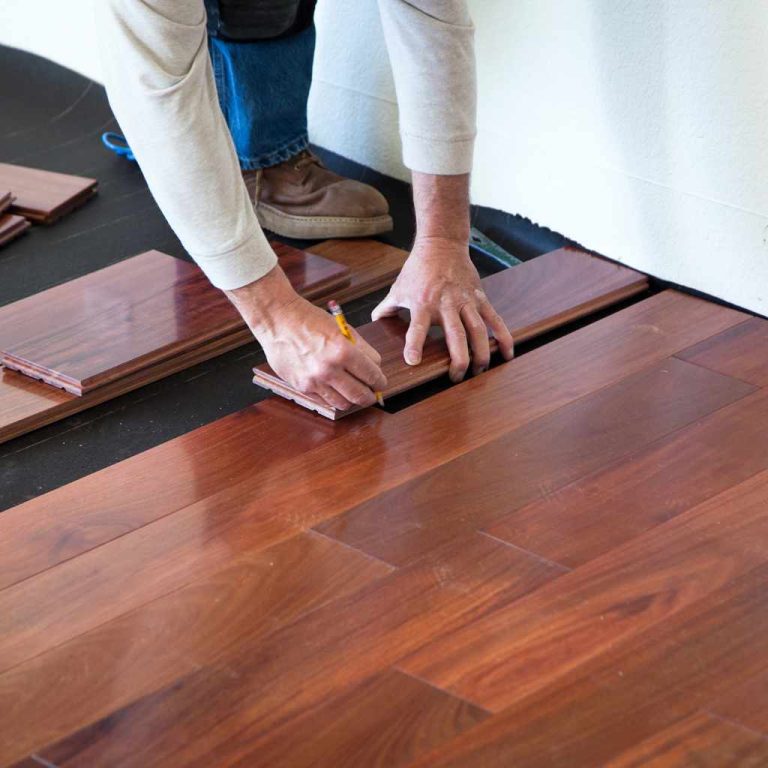
Engineered hardwood is a fantastic flooring choice, combining a real wood top layer with sturdy plywood or fiberboard beneath. It’s durable and stylish but not immune to scratches. The top layer, or wear layer, varies in thickness—thicker layers (3-5mm) can handle sanding, while thinner ones (1-2mm) need gentler fixes to avoid damaging the veneer.
Scratches range from surface-level (affecting only the finish) to deep (cutting into the wood). Knowing the scratch type helps you choose the right repair method. Always test fixes on a hidden spot, like under furniture, to ensure the solution matches your floor’s finish. For more on engineered wood, check this USDA Forest Service guide.
Assessing the Scratch Severity
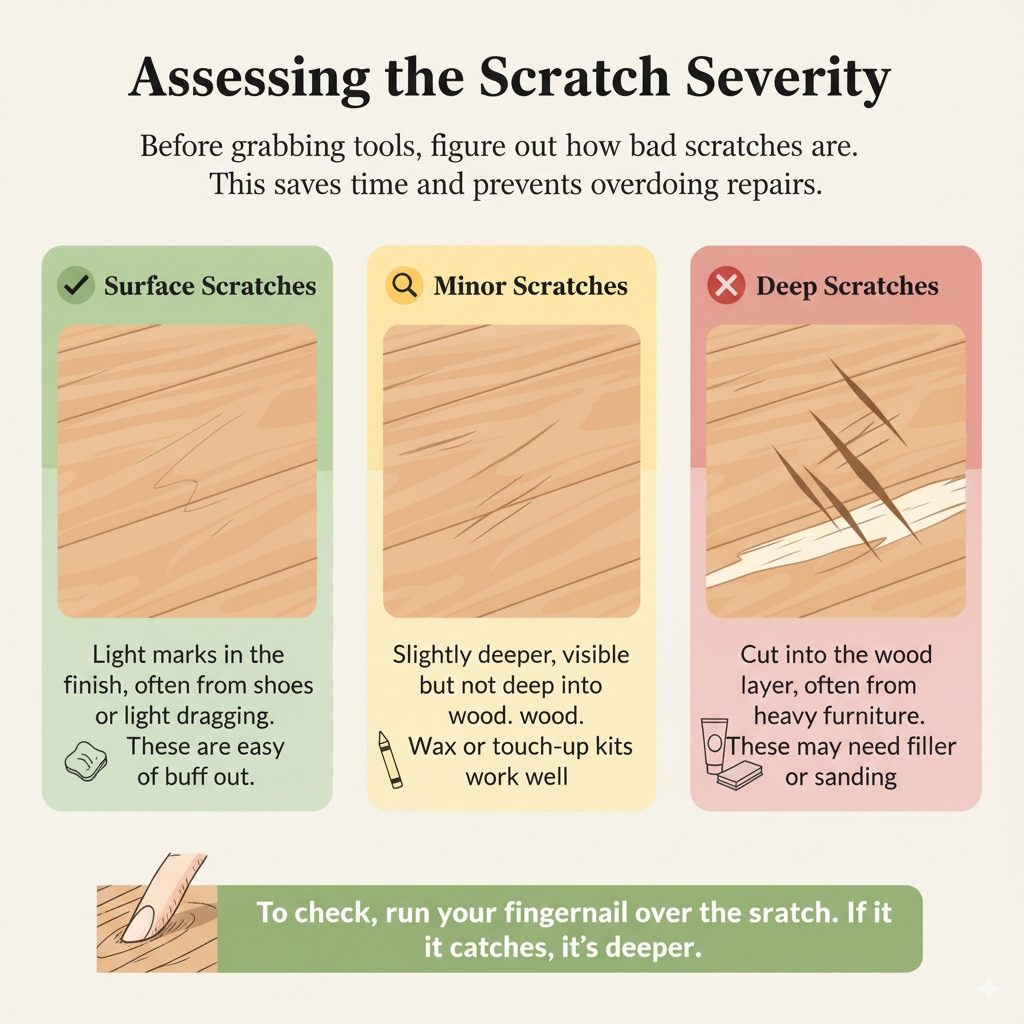
Before grabbing tools, figure out how bad the scratches are. This saves time and prevents overdoing repairs. Here’s a quick way to evaluate:
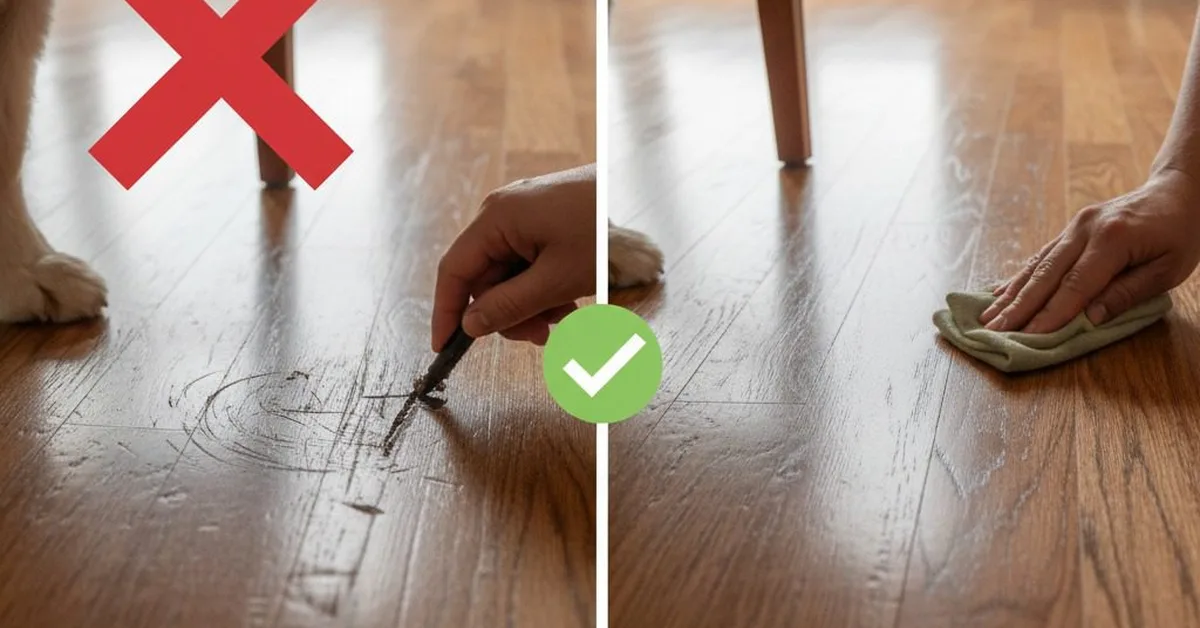
- Surface Scratches: Light marks in the finish, often from shoes or light dragging. These are easy to buff out.
- Minor Scratches: Slightly deeper, visible but not deep into the wood. Wax or touch-up kits work well.
- Deep Scratches: Cut into the wood layer, often from heavy furniture. These may need filler or sanding.
To check, run your fingernail over the scratch. If it catches, it’s deeper than surface-level. For severe damage, consult a pro if the wear layer is thin to avoid ruining the floor.
Tools and Materials Needed
Gathering the right supplies makes the job smooth and affordable. Here’s what you’ll need based on scratch type.
| Scratch Type | Tools Needed | Materials Needed |
|---|---|---|
| Surface Scratches | Soft cloth, microfiber towel | Mild dish soap, water, floor polish |
| Minor Scratches | Fine steel wool (0000 grade), touch-up pen | Wax sticks, mineral spirits, polyurethane |
| Deep Scratches | Putty knife, 220-grit sandpaper | Wood filler, stain, sealant |
| Safety Gear | Gloves, dust mask | Ventilation fan for fumes |
Most items cost under $50 total. For quality products, visit Minwax’s wood repair guide. Keep tools clean to avoid spreading debris.
Step-by-Step Guide to Remove Surface Scratches
Surface scratches are the easiest to fix, often needing just a quick polish. Follow these steps for a flawless finish.
- Clean the area: Mix a few drops of dish soap with water. Wipe the scratched area with a damp microfiber cloth to remove dirt. Dry thoroughly.
- Buff the scratch: Apply a small amount of floor polish or olive oil to a soft cloth. Rub gently in circular motions for 1-2 minutes.
- Check the result: Wipe clean with a dry cloth. If the scratch is gone, you’re done! If not, repeat or move to minor scratch fixes.
- Polish the floor: Apply a floor-specific polish to blend the area and restore shine.
This takes about 10 minutes per scratch. Avoid over-wetting to protect the wood. Bob Vila’s guide has more polishing tips.
Step-by-Step Guide to Fix Minor Scratches
Minor scratches need a bit more effort but are still beginner-friendly. Here’s how to tackle them.
- Clean the surface: Wipe with a damp cloth and mild soap, then dry completely.
- Use a touch-up pen: Find a pen matching your floor’s color. Apply gently to fill the scratch. Wipe excess immediately.
- Or apply wax: Choose a wax stick close to the wood tone. Rub into the scratch, then buff with a soft cloth.
- Seal if needed: Apply a thin layer of polyurethane with a small brush for extra protection. Let dry for 4-6 hours.
- Buff to blend: Use fine steel wool to smooth the area, then polish the floor.
This process takes 20-30 minutes per area. Test colors first to avoid mismatches.
Step-by-Step Guide to Repair Deep Scratches
Deep scratches require filling and refinishing but are doable with care. Proceed cautiously with thin wear layers.
- Clean thoroughly: Use mineral spirits to remove grime. Dry well.
- Fill the scratch: Apply wood filler with a putty knife, pressing it into the scratch. Smooth the surface.
- Sand lightly: Once dry (1-2 hours), sand with 220-grit paper until flush with the floor.
- Match the color: Apply a matching stain with a small brush. Wipe excess after 5 minutes.
- Seal the repair: Brush on polyurethane in thin coats. Sand lightly between coats (2-3 total). Dry 24 hours.
- Final polish: Buff with a soft cloth to restore shine.
This can take a day due to drying times. If the scratch is too deep, consult a pro to avoid sanding through the veneer.
Common Mistakes to Avoid
Even small errors can worsen scratches or damage your floor. Here’s what to watch out for.
- Over-sanding: Sanding too much on thin wear layers exposes the core. Check layer thickness first.
- Skipping cleaning: Dirt traps in repairs, ruining the finish. Always clean first.
- Wrong color match: Mismatched stains or wax look patchy. Test on a hidden spot.
- Using too much filler: Excess filler cracks. Apply sparingly and sand smooth.
- Ignoring ventilation: Fumes from polyurethane are strong. Use a fan and mask.
- Rushing drying times: Wet sealant smudges. Wait the full time between coats.
Learn more about avoiding errors at This Old House.
Tips for Preventing Future Scratches
Keeping your floors pristine is easier with these habits. They save time and keep your home looking sharp.
- Place felt pads under furniture legs to prevent dragging marks.
- Use area rugs in high-traffic zones like hallways.
- Sweep or vacuum regularly to remove grit that causes scratches.
- Avoid high heels or cleats indoors—they dent wood.
- Apply a fresh coat of polyurethane every 3-5 years for protection.
- Trim pet nails to reduce claw scratches.
Frequently Asked Questions
Can I buff out all scratches on engineered hardwood?
Only surface scratches can be buffed out with polish or oil. Deeper scratches need wax, filler, or refinishing.
Will sanding ruin my engineered hardwood?
Not if done carefully. Thin wear layers (under 2mm) can’t handle heavy sanding, so check thickness or consult a pro.
Can I use household items to fix scratches?
Yes! Olive oil or walnut halves can hide light scratches. Rub gently, then buff with a soft cloth.
How do I match the repair to my floor color?
Test stain or wax on a hidden area. Mix colors if needed to blend with your floor’s tone.
Is it safe to use polyurethane indoors?
Yes, with ventilation. Use a mask, open windows, and choose low-VOC polyurethane for safety.
Can I fix pet scratches the same way?
Yes, treat them like minor or deep scratches based on depth. Trim pet nails to prevent recurrence.
How often should I refinish my floors?
Every 5-10 years, depending on wear. Thin wear layers may only handle one or two refinishes.
Conclusion
You’re now ready to tackle those pesky scratches on your engineered hardwood floors, even if pets share the space! Whether it’s a quick buff for surface marks or a careful fill for deeper gouges, these steps make the process simple and rewarding. With a little patience and the right tools, your floors will look as good as new. Keep up with regular care to prevent future damage, and enjoy the pride of a beautiful, scratch-free home. Grab your supplies, stay safe, and let’s make those floors shine!
Sponsored / affiliate links. As an Amazon Associate I earn from qualifying purchases. I may earn additional commission from eligible campaigns.