How to Remove Paint Without Removing the Original Paint
If you’ve got a splash of the wrong-color paint, dried overspray, or graffiti sitting on top of a finish you actually want to keep, the fix isn’t the same as stripping a whole piece down to bare wood. Full-strength stripper and a metal scraper will happily eat through both layers at once, and by the time you notice, the original paint is gone too. Removing just the top layer takes a slower, more controlled process – testing first, working in small sections, and stopping the moment the unwanted layer lifts.
Why This Job Is Different From Full Paint Stripping
Best For Controlled Paint Removal
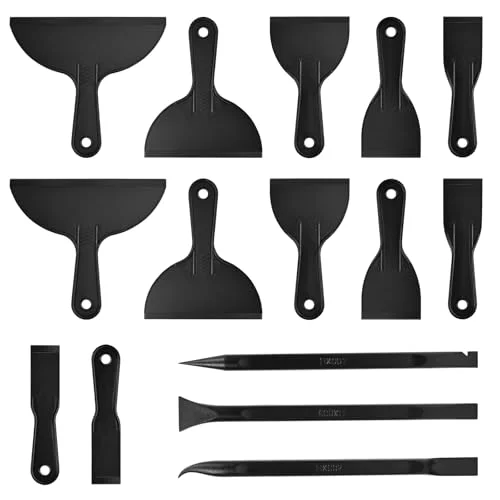 |
AUUTI 15-Piece Plastic Putty Scraper Set – $9.79 Six sizes of flexible plastic scrapers plus detail tools – exactly the low-risk edge you want when you’re trying to lift one paint layer without touching the one underneath.
|
Ordinary paint stripping wants speed: soak the whole surface, let the stripper work for hours, scrape everything down to wood. Selective removal wants the opposite. You’re trying to dissolve or lift only the newer layer on top while the fully-cured layer underneath stays intact, and the two paints usually don’t dry at the same rate. A layer that’s only weeks old is softer and less cross-linked than a finish that’s had years to cure, which is exactly why a mild solvent or a short dwell time can lift the new paint without touching the old one – but only if you stop as soon as the top layer softens instead of letting the chemical or the scraping continue.
The tool matters less than the restraint. A plastic scraper, a soft cloth, or fine sandpaper can all ruin an original finish if you push past the point where the new paint is gone and keep going into the layer underneath.
Step 1: Test an Inconspicuous Spot First
Before touching the visible surface, pick a hidden corner, the underside of a shelf, or an edge that won’t show – and try your chosen method there first. Apply it exactly the way you plan to on the real spot, including the same dwell time, then check what happened. If the original paint softens, discolors, or lifts at all, that method is too aggressive for this job and you need a gentler one before you touch the visible area. Skipping this step is the single biggest reason people end up removing both layers.
Choosing the Right Method for the Paint You’re Removing
Which method works best depends on what the top layer actually is:
- Fresh latex or water-based paint: Warm water with a little dish soap, or a cloth dampened with rubbing alcohol, will often lift paint that’s only days or weeks old, since it hasn’t fully cross-linked yet. A fully cured latex finish (several months or more) resists this and needs a stronger method.
- Oil-based or enamel paint: Mineral spirits on a cloth, or a citrus-based stripper like Citristrip, applied and left for the dwell time printed on the label – usually a few minutes for a light spot treatment, not the multi-hour soak used for full stripping – then wiped and neutralized immediately per the product’s instructions.
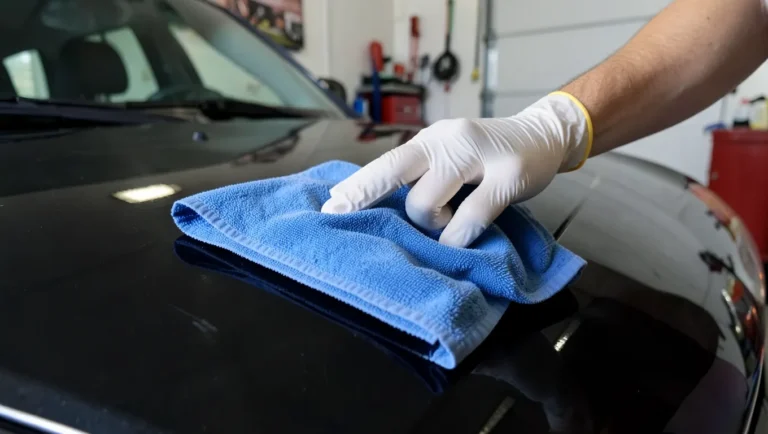
- Overspray or graffiti (fine paint specks, not a solid coat): A clay detailing bar, the same kind auto detailers use to pull contamination off a car’s clearcoat, glides over the surface and physically lifts fine paint specks into the clay without dissolving anything underneath. It’s slower than a chemical stripper but far less likely to damage the base coat, and it’s a method most general paint-removal guides skip entirely. If the overspray is specifically from a spray can, our guide to removing spray paint without damaging the paint underneath covers surface-specific variations.
- Small stubborn spots on a durable finish: Fine sandpaper (320 grit or finer) worked lightly by hand, checking the surface every few strokes so you can stop the moment you reach the original layer. If you’d rather avoid chemical strippers entirely, see our guide on removing paint from wood without chemicals.
Step-by-Step: Removing the Top Layer Without Damaging What’s Underneath
- Clean the area gently with water and a soft cloth so dirt doesn’t get mistaken for original paint.
- Test your chosen method on a hidden spot (Step 1) and confirm the original layer isn’t affected.
- Work in small sections – a few square inches at a time, not the whole surface at once – so you can stop before a mistake spreads.
- Apply the method (cloth, clay bar, or short-dwell stripper) and check progress every 30–60 seconds rather than walking away.
- The moment the new paint lifts and you start to see the original color or texture underneath, stop working that section.
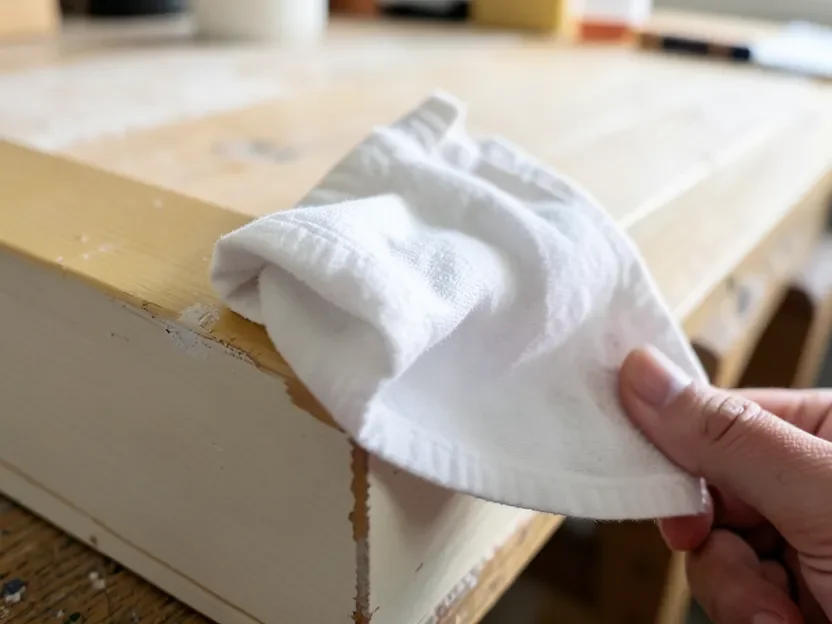
- Wipe away any residue with a clean, damp cloth and let the area dry before inspecting it.
- Move to the next small section and repeat, rather than trying to finish the whole piece in one pass.
Does the Surface Underneath Change Your Approach?
Yes, and it’s worth checking before you start. Bare or oil-finished wood is the most forgiving case – most solvents and mild strippers won’t touch the wood fibers themselves, only the paint sitting on top of them. Painted furniture is trickier if the original coat is a shellac or lacquer-based finish rather than modern paint, because both mineral spirits and denatured alcohol can soften shellac just as easily as they soften the new layer – a hidden-spot test matters even more here. Metal hardware (hinges, knobs, drawer pulls) generally tolerates chemical strippers better than wood does, but a heat gun can warp thin stamped metal, so stick to solvents or mechanical scraping on those pieces. And on any surface with a wax or oil topcoat over the original paint, clean the wax off first with mineral spirits and a soft cloth – otherwise it can trap the new stripper against the surface longer than intended and extend the effective dwell time past what the label promises.
Signs You’ve Gone Too Far
Stop immediately if you notice any of these, even mid-section: the color underneath starts changing or streaking rather than staying uniform, the surface feels tacky or gummy where it should be dry and hard, a sheen or texture appears that doesn’t match the rest of the original finish, or the cloth or clay bar starts picking up a different color than the one you’re trying to remove. Any of those means you’ve broken through into the original layer, and the right move is to stop, let the area dry, and assess before continuing – not to keep working and hope it evens out.
Common Mistakes That Ruin the Original Finish
Most damage happens from rushing, not from using the wrong product. Soaking the whole surface at once instead of working in small sections means you can’t stop in time if the stripper starts eating into the base coat. Leaving a chemical stripper on well past its labeled dwell time – a common habit from full-strip projects – does the same thing. Metal scrapers and coarse sandpaper remove material faster than you can react, so a plastic scraper or fine grit is worth the extra time – save a wire brush for surfaces where you’re stripping everything down to bare wood, not preserving a layer. And skipping the test spot means the first place you find out a method is too strong is the visible surface you were trying to protect.
Frequently Asked Questions
How do you remove paint without damaging the original paint underneath?
Test your removal method on a hidden spot first, then work in small sections using the mildest method that lifts the top layer – a damp cloth for fresh latex, mineral spirits or a short-dwell stripper for oil-based paint, or a clay detailing bar for overspray. Stop as soon as the new paint is gone instead of continuing to scrape or dwell longer.
Will rubbing alcohol remove paint without damaging the paint underneath?
Rubbing alcohol on a soft cloth can lift fresh or still-soft latex paint without touching a fully cured layer underneath, since older paint has finished cross-linking and resists the solvent better. It’s much less effective on oil-based or fully cured paint, so always test a hidden spot first.
What’s the best way to remove overspray without harming the original finish?
A clay detailing bar, the kind used to clean car paint, is usually the safest choice for overspray or graffiti speckles. It physically lifts the paint specks off the surface instead of dissolving them chemically, so there’s little risk of it eating into the base coat the way a strong solvent can.
How long should a paint stripper sit before you wipe it off?
Follow the dwell time printed on the product label – for a controlled spot treatment that’s usually just a few minutes, not the multi-hour soak used when stripping a whole piece down to bare wood. Check the spot every 30–60 seconds once you’re near the end of that window so you can stop the moment the top layer lifts.
Final Thoughts
Selective paint removal rewards patience over speed. Test first, use the mildest method that actually works for the paint you’re dealing with, work in small sections, and stop the instant you see the original finish reappear. That’s the whole method – the products and tools just execute it.
Sponsored / affiliate links. As an Amazon Associate I earn from qualifying purchases. I may earn additional commission from eligible campaigns.