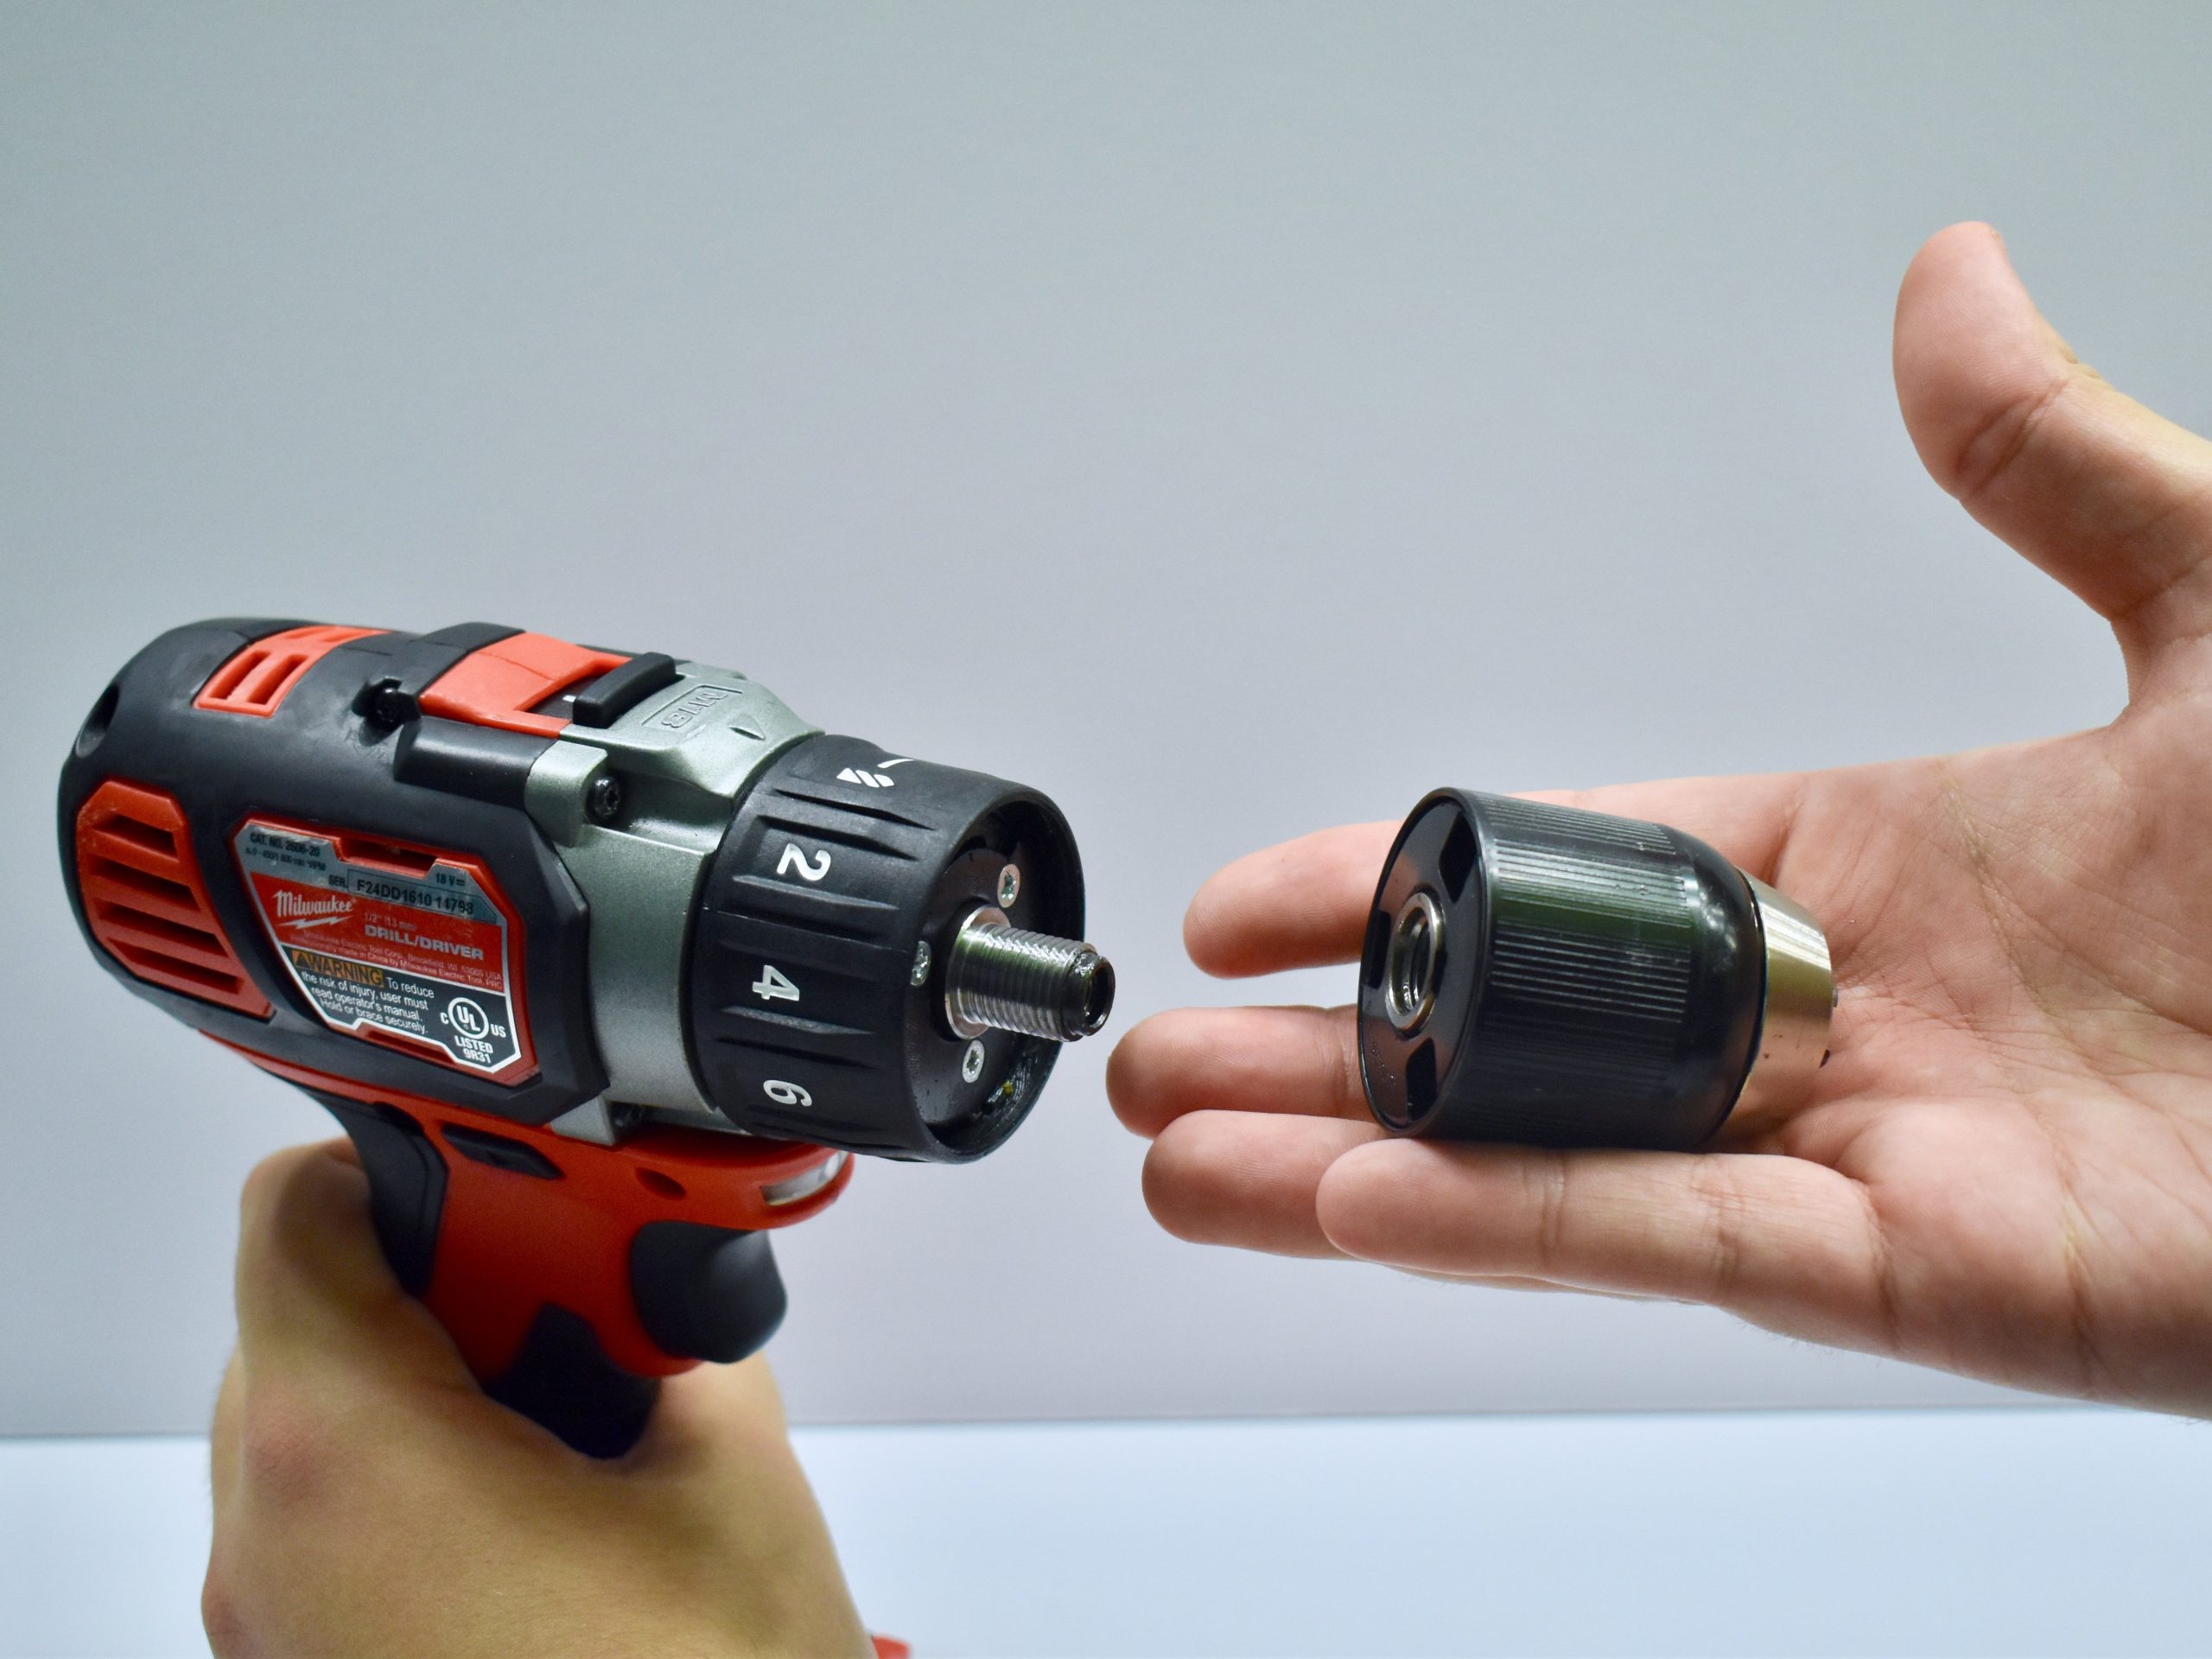
How to Remove a Stuck Chuck from a Milwaukee Cordless Drill
Are you frustrated with a stuck chuck on your Milwaukee cordless drill? You’re not alone.
Many DIY enthusiasts and professionals have faced this challenge, and the solution might be simpler than you think. Imagine the relief of effortlessly swapping drill bits without the hassle of a jammed chuck. In this guide, you’ll discover straightforward steps to remove the chuck from your Milwaukee cordless drill, ensuring you can get back to your projects quickly and efficiently.
With clear instructions and expert tips, you’ll gain confidence in handling your tool and enhancing its performance. Dive in to learn how you can master this skill and avoid future headaches.
Tools Needed
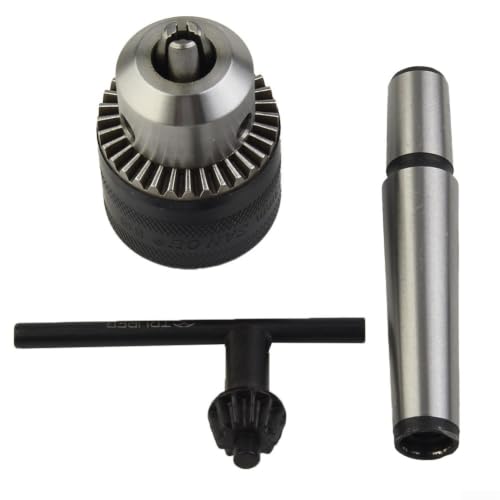
Replacement Chuck for M18 Drills
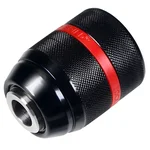 |
Keyless Drill Chuck for Milwaukee M18 – $9.49 If your old chuck is worn, cracked, or won’t grip evenly once removed, this all-metal self-tightening replacement threads right on.
|
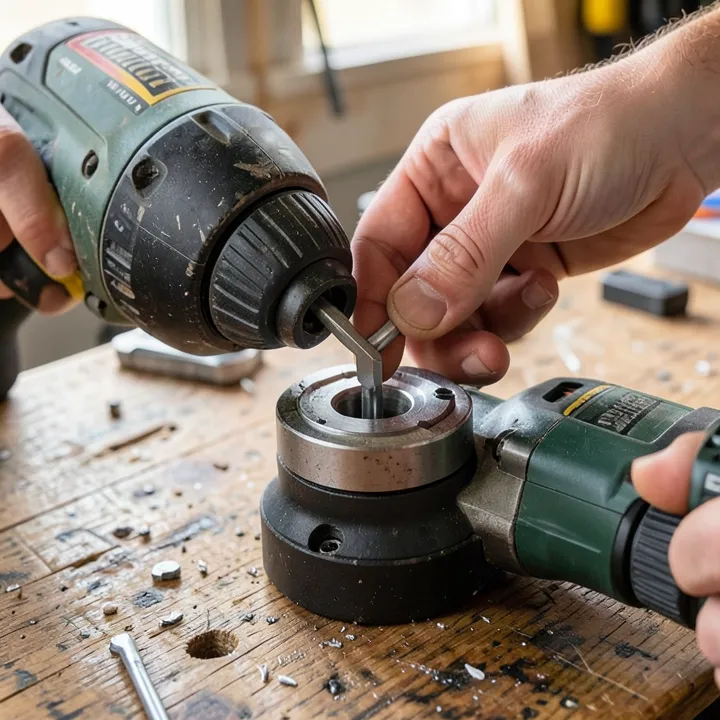
Most Milwaukee cordless drills use a keyless chuck secured to the spindle by a single reverse-threaded screw hidden inside the jaws, so the only specialty tool you actually need is a hex key (Allen wrench) sized to that screw — usually 1/8″ or 3/16″ depending on the model, so check your drill’s manual or test a couple of sizes for a snug fit rather than one that rounds off the screw head. A flathead screwdriver can back up the hex key if the screw is stubborn, though it’s a poor substitute for the right-sized hex bit and more likely to strip the screw head if forced.
Beyond the hex key, keep a rubber mallet on hand for breaking the chuck free once the retaining screw is out, since the chuck threads onto the spindle tightly enough that hand pressure alone often won’t budge it. A vise with soft jaws (or a rag wrapped around the metal jaws to protect the drill’s finish) holds the tool steady while you work, and safety goggles are worth putting on before anything else — a stuck screw that suddenly releases, or a chuck that pops free unexpectedly, can send small metal parts flying.
Preparing The Drill
Remove the battery before touching any tool near the chuck — this is the single most important safety step in the whole process, since an accidental trigger pull with a hex key or wrench engaged in the chuck can cause a serious hand injury. With the battery out, open the chuck jaws all the way by twisting the sleeve counterclockwise (viewed from the front) until they’re fully spread, which exposes the retaining screw threaded into the base of the jaw assembly.
Wipe any dust, oil, or metal shavings out of the open jaws with a clean cloth so you can clearly see the screw head, and set up in good, direct light — the screw is small and sits recessed enough that poor lighting is the main reason people misjudge which hex key size actually fits.
Loosening The Chuck
With the jaws open and the battery removed, insert the correctly sized hex key into the retaining screw at the center of the jaws. This screw is reverse-threaded on the large majority of Milwaukee drills specifically so that normal clockwise drilling torque tightens it rather than backing it out over time — which means you turn it clockwise to loosen it, the opposite of a standard screw. Apply steady, firm pressure rather than short jabs; a stuck screw usually needs sustained torque more than force.
Once the screw is fully out, set it somewhere you won’t lose it — a small dish or a strip of tape works well, since it’s easy to knock a screw this size off a workbench without noticing. With the screw removed, the chuck itself is now only held on by the spindle’s threads, and the next step is breaking that threaded connection loose.
Removing The Chuck
To break the chuck free from the spindle, insert a hex key into the now-empty jaws (a size that fits snugly without the screw in the way), close the jaws around it by hand, and use the hex key as a lever arm. With the drill’s body held firmly — in a padded vise if you have one, or gripped tightly by hand with a rag for cushioning — turn the hex key sharply counterclockwise. A firm rap on the hex key with a rubber mallet is often what actually breaks a tightly seated chuck loose, since threads that have been under drilling torque for months or years can seize slightly even without rust.
Once the initial resistance breaks, the chuck should spin off the threaded spindle by hand fairly easily the rest of the way — if it stops again partway, a drop of penetrating oil on the visible threads and a few minutes of wait time usually clears the last bit of resistance. Keep the drill powered off and the battery out for this entire step; no part of removing a threaded chuck should ever require the motor running.
Inspecting The Chuck
With the chuck off, check the exposed spindle threads first — they should look clean and undamaged, with no stripped or crossed threads that would prevent a chuck (new or the original) from seating properly when reinstalled. On the chuck itself, open and close the jaws by hand and watch that all three move evenly and meet at a common center point; jaws that close unevenly or leave a visible gap are a sign of internal wear that a bit of cleaning won’t fix.
Spin the chuck’s sleeve and listen and feel for grinding or gritty resistance rather than a smooth rotation — that usually means dirt or metal debris has worked its way into the internal mechanism. A chuck that opens and closes smoothly, holds its jaws evenly, and shows clean, undamaged threads is fine to reinstall; one that grinds, wobbles, or won’t center a bit properly is worth replacing rather than fighting with.
Installing A New Chuck
Before threading on a replacement, confirm it matches your drill’s spindle thread — most Milwaukee M12 and M18 drill/drivers use a 1/2″-20 UNF thread, but it’s worth double-checking your specific model rather than assuming, since a mismatched thread will cross-thread and damage the spindle. Thread the new chuck onto the spindle by hand first, turning clockwise, until it seats snugly against the shoulder with no gap.
Reinsert the retaining screw (remember, this one is reverse-threaded, so turn it counterclockwise to tighten) and snug it down firmly with the hex key — this screw is what keeps the chuck from eventually working itself loose under normal drilling torque, so don’t skip it even though the chuck will feel secure without it. Reinstall the battery, and with no bit in the chuck, run the drill briefly at low speed to confirm the chuck spins true with no wobble before loading a bit and getting back to work.
Troubleshooting Tips
If the retaining screw won’t budge even with steady clockwise pressure, double-check you actually have the right hex key size seated fully in the screw head — a key that’s slightly too small will slip and round off the screw before it loosens anything. A screw that’s genuinely seized from corrosion benefits from a few drops of penetrating oil left to sit for 10-15 minutes before trying again, rather than immediately applying more force.
If the chuck itself won’t break free from the spindle after the screw is out, confirm the jaws are gripping the inserted hex key tightly (loose jaws will just spin instead of transferring torque), and try a sharp mallet strike on the hex key while maintaining counterclockwise pressure — the sudden shock often does more than steady force alone. Chronic stiffness in the chuck’s action, even after cleaning, is usually a sign the internal ball-bearing mechanism has worn or collected debris beyond what a simple cleaning and a drop of light oil can fix, at which point replacement is the more reliable path than continued troubleshooting.
Safety Precautions
Always work with the battery removed, not just the drill switched off — a cordless drill’s trigger can be bumped accidentally, and there’s no reason to have stored power connected while your hand is inside the chuck jaws. Eye protection matters more here than it might seem: a stuck screw or seized chuck that suddenly releases under mallet force can send metal fragments or dust flying toward your face.
Work on a stable, well-lit surface, keep your free hand clear of the jaws while applying force with the hex key, and don’t rush a stuck chuck by escalating to more force than the tool is designed for — repeated firm, controlled attempts with penetrating oil and patience solve the vast majority of stuck chucks without risking damage to the spindle or an injury to your hand.
Frequently Asked Questions
How Do I Remove A Stuck Drill Chuck?
Remove the battery, open the jaws fully, and remove the reverse-threaded retaining screw inside by turning it clockwise. Then insert a hex key into the empty jaws, close them around it, and turn counterclockwise (a firm mallet tap on the key often breaks initial resistance) to unthread the chuck from the spindle. Penetrating oil on the spindle threads helps if it’s still stuck after the screw is out.
What Tools Do I Need To Remove A Chuck?
The main tool is a correctly sized hex key (Allen wrench) for the internal retaining screw — usually 1/8″ or 3/16″ on Milwaukee drills. A rubber mallet helps break the chuck free from the spindle, and a clean, well-lit workspace prevents losing the small retaining screw during the process.
Can I Replace The Drill Chuck Myself?
Yes — replacing a Milwaukee drill chuck is a straightforward DIY job with just a hex key and a few minutes. Confirm your replacement chuck matches your drill’s spindle thread (commonly 1/2″-20 UNF on M12/M18 models) before ordering, and reinstall the reverse-threaded retaining screw once the new chuck is seated.
Why Is My Drill Chuck Not Coming Off?
The most common cause is the retaining screw still being in place — it must come out first, and it’s reverse-threaded, so turning it the “normal” counterclockwise direction actually tightens it further. If the screw is already out and the chuck still won’t budge, corrosion or months of drilling torque have likely seized the threads; penetrating oil and a mallet tap on a hex key inserted in the jaws usually breaks it free.
Conclusion
Removing a Milwaukee drill chuck comes down to one detail most guides skip: the internal retaining screw is reverse-threaded, so it loosens clockwise, not counterclockwise. Get that direction right, pull the battery before you start, and the rest — opening the jaws, removing the screw, and unthreading the chuck from the spindle — is a five-minute job with just a hex key and a mallet.
Inspect the old chuck’s jaws and threads while it’s off; if they’re clean and move smoothly, it’s fine to reinstall, and if they’re worn or gritty, a $9-10 keyless replacement threads on in seconds. Either way, don’t skip reinstalling that retaining screw — it’s what keeps the chuck from working itself loose under normal use.
Sponsored / affiliate links. As an Amazon Associate I earn from qualifying purchases. I may earn additional commission from eligible campaigns.