How to Repaint Metal Outdoor Furniture: Aluminum vs Steel Prep
Repainting metal outdoor furniture takes different prep depending on the metal: wrought iron and steel need rust removed and a rust-inhibiting primer, while bare aluminum needs a self-etching primer instead since it does not rust the same way. After that, a light spray coat gets into curved scrollwork better than a brush, and a weatherproof exterior enamel holds up to full sun and rain on every exposed side.
Outdoor furniture takes more weather abuse than almost anything else you’ll repaint. A metal door only has one face exposed to the elements; a patio chair or table gets rained on, baked in direct sun, and often left sitting in standing water at the base of each leg. That full exposure, plus the curved, welded, and cast details common on furniture, is why the same generic “clean, prime, paint” advice that works for a flat panel doesn’t always hold up here.
The biggest variable is what the furniture is actually made of. Cast aluminum patio sets, welded steel frames, and traditional wrought iron all get repainted differently once you’re past the surface-level steps, and using the wrong primer on the wrong metal is the single most common reason a repaint peels within a year.
Aluminum vs. Steel and Wrought Iron: Why the Prep Isn’t the Same
Steel and wrought iron are iron-based, so they rust: exposed bare metal reacts with air and moisture and forms reddish iron oxide, which is why rust removal and a rust-inhibiting or rust-converting primer come first on those pieces. Aluminum is different. It naturally forms a thin, dense layer of aluminum oxide the moment it’s exposed to air, which is actually why aluminum furniture doesn’t rust like iron does – but that same oxide layer also stops ordinary primers and rust converters from bonding to it. Bare aluminum needs a self-etching primer, which uses a mild acid to bite into the surface and create a rough profile for the paint to grip. Skip that step on aluminum and even a good topcoat can lift off in sheets.
If you’re not sure what you’re working with, a magnet is the fastest test: it will stick to steel and wrought iron but not to aluminum.
Best Weatherproof Topcoat For Outdoor Metal Furniture
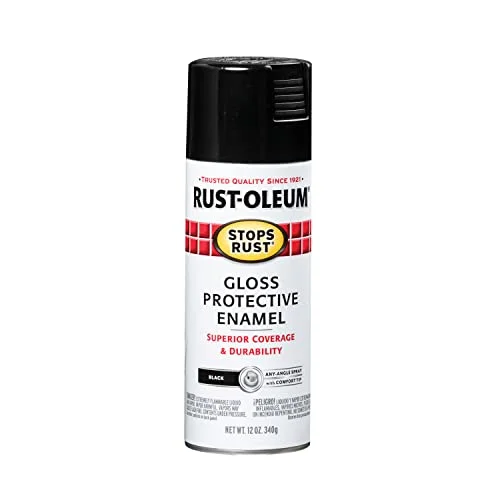 |
Rust-Oleum Stops Rust Gloss Protective Enamel, 12 oz – $6.48 An oil-based rust-inhibiting enamel that holds up to full-sun, full-weather exposure on all sides of a patio piece, not just one face.
|
Clean and Deal With Rust Before Anything Else
Wash the piece with warm water and a mild dish detergent to strip off pollen, dirt, and any sunscreen or grease residue, then rinse and let it dry fully. On steel and wrought iron, go after any rust next: scrub loose, flaking rust off with a wire brush, focusing on joints, welds, and the underside of arms and legs where moisture sits longest. Never paint directly over active rust – even a thin layer trapped under primer will keep spreading underneath the new finish. If rust has pitted the metal deeply, a rust converter (a liquid that chemically turns remaining iron oxide into a stable, paintable surface) is a legitimate shortcut on badly rusted pieces so you don’t have to sand every trace back to bare metal.
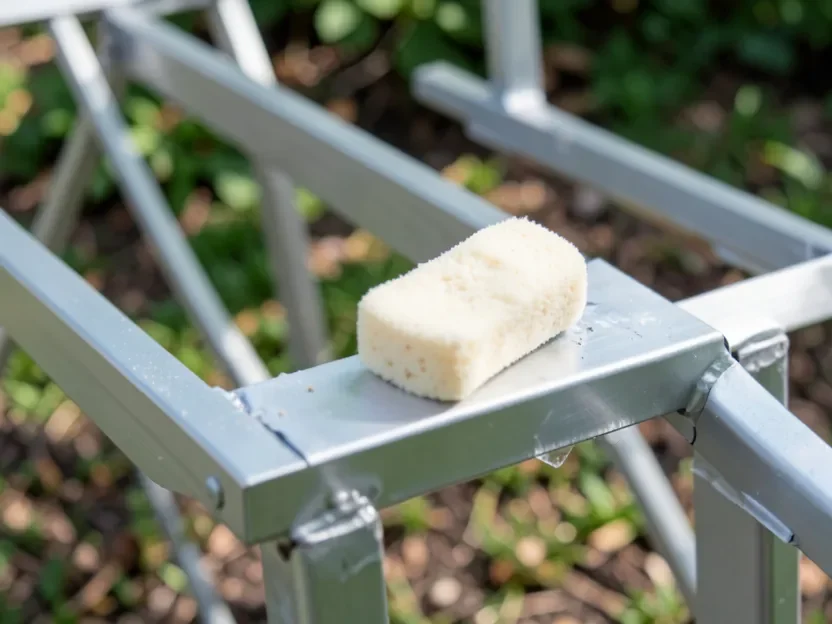
On aluminum, skip the rust converter entirely since there’s no iron oxide for it to react with. Instead, scuff any chalky or oxidized spots with a fine sanding sponge (220-grit is enough) just to knock down the dull surface layer before priming.
Priming: Rust-Inhibiting for Steel and Iron, Self-Etching for Aluminum
For wrought iron and steel, use a rusty-metal or rust-inhibiting primer and get it into the joints and welds, since that’s where rust restarts first if it’s missed. For bare aluminum, use a self-etching primer instead; most also work fine over steel if you’d rather keep one product for a mixed-metal furniture set, but a dedicated rust-inhibiting primer is still the stronger choice on iron with any rust history.
Apply primer in thin, even coats rather than one heavy pass – a thick coat is more likely to sag on a vertical chair back or drip into scrollwork gaps. Let each coat dry fully before the topcoat; check the can’s label for the recoat window, since primers vary and painting over a primer that hasn’t cured enough can trap solvent under the finish and cause it to wrinkle.
Spray Paint Gets Into Scrollwork Better Than a Brush Does
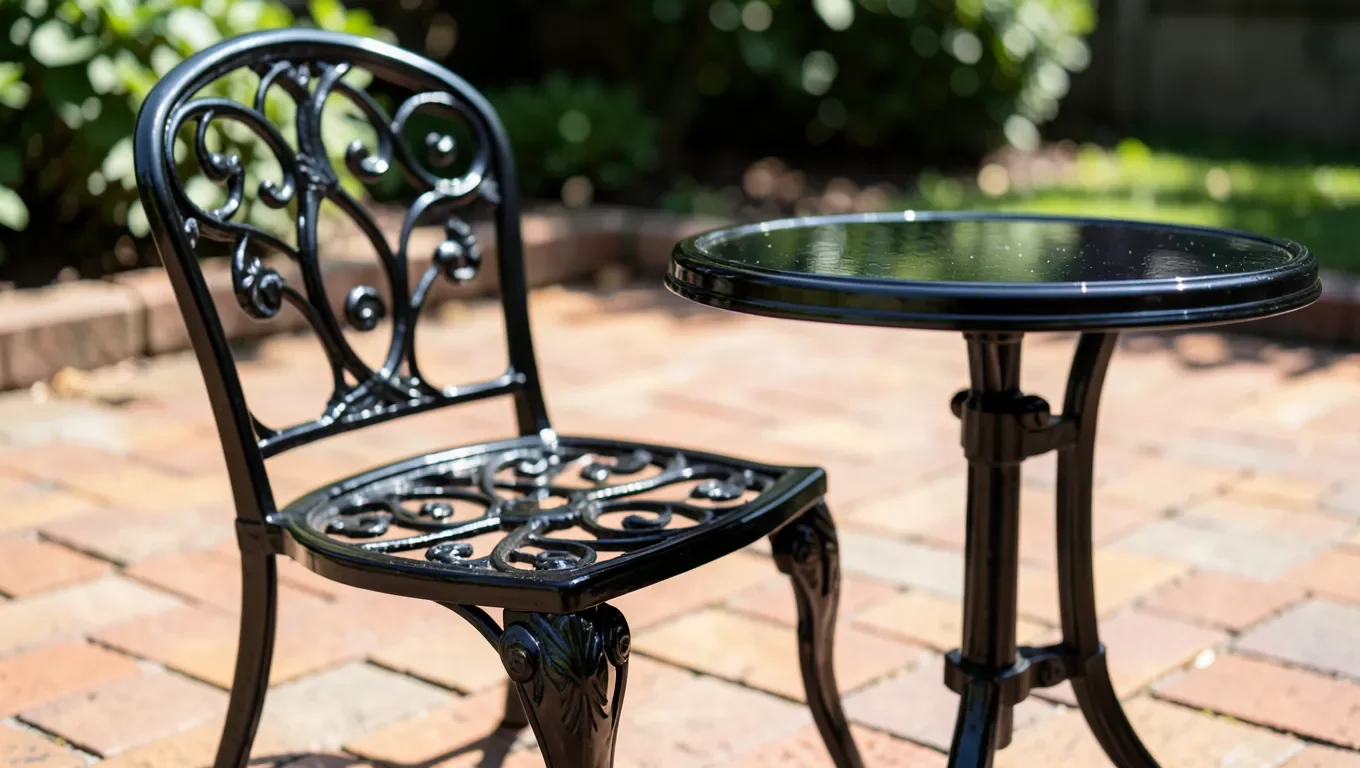
A lot of outdoor furniture – especially traditional wrought iron and cast-aluminum “wicker look” sets – has curved scrollwork, lattice, or cast detail that a brush simply can’t get into evenly. Brush marks pool in the tight corners of a scroll and leave the underside of a curve bare, which is exactly where rust or peeling shows up first. Spray paint, applied in light overlapping passes, coats those recessed and curved surfaces far more evenly than bristles can reach.
Hold the can 10 to 12 inches from the surface and keep it moving in a steady sweeping motion. Start and stop each pass just off the edge of the piece rather than stopping mid-surface, which is what causes heavy, drippy spots. Work the can at an angle into scrollwork so paint reaches behind each curve, not just the face pointed at you, and plan on two to three light coats rather than one heavy one – it’s slower, but it’s the difference between an even finish and a run down every scroll.
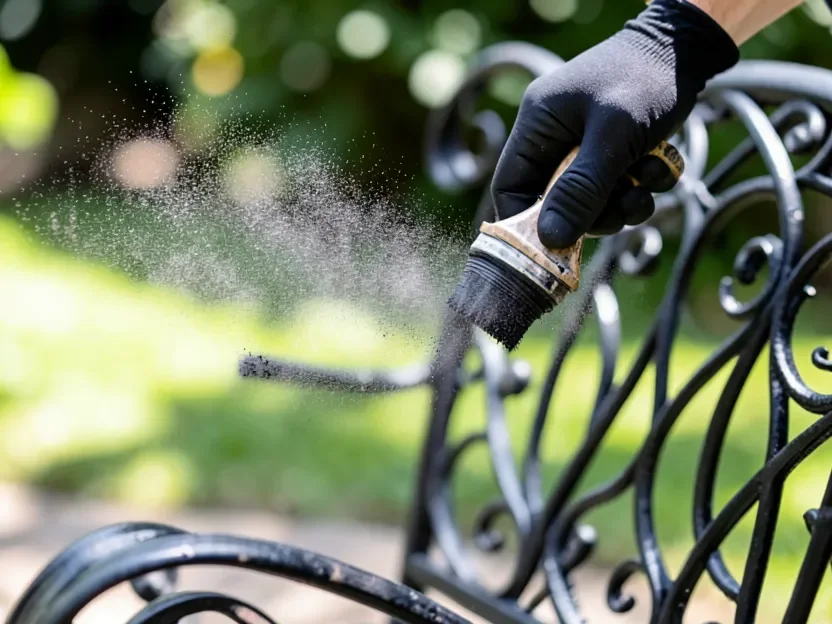
A brush still has its place for flat panels like a tabletop, or for cutting in a color change along a clean edge. For a full set with heavy scrollwork, most people get a more even result switching to spray for the frame and saving the brush for flat surfaces only. For general guidance on painting wrought iron pieces beyond furniture, like a fence or railing, see our guide on the best way to paint a wrought iron fence – the scrollwork technique carries over directly.
Pick a Truly Weatherproof, UV-Resistant Topcoat
Because furniture sits fully exposed year-round – top, bottom, and every side, not just one face like a door – the topcoat matters more here than on almost any other metal repaint. Look for a product labeled for exterior or outdoor use with UV resistance called out specifically; a paint without that rating can chalk, fade, or go dull within a single summer of direct sun. Oil-based exterior enamels are the traditional choice for outdoor metal because they cure into a harder, more chip-resistant film than most water-based options, with rust inhibitors built into the formula.
Whatever you choose, confirm the label lists your specific metal as compatible; some “multi-surface” spray paints bond directly to aluminum without a separate primer step, which is worth checking if you’d rather skip that step on an aluminum-only set.
Application: Covering Every Side, Not Just What You See
Prop furniture up on blocks or a couple of scrap boards before you start so you can reach the underside of the seat, the base of each leg, and any foot caps – these are the spots most people skip, and they’re also the spots that sit in standing water after rain. Rotate the piece and do the underside first, then flip it upright for the visible top and sides. If you’re timing coats around drying windows, plan the underside as its own session so you’re not waiting on a flipped, half-dry piece.
Work in a shaded, well-ventilated spot rather than direct sun; painting in full sun can cause the surface to dry too fast, which shows up as a slightly textured or “orange peel” finish instead of a smooth one. Aim for a day with low humidity and no rain in the forecast for at least 24 hours.
Drying and Curing Time Before You Sit Back Down
Most exterior enamels are dry to the touch within a few hours, but “dry to touch” and “cured” are not the same thing. Give it at least 24 to 48 hours before light use, and hold off on stacking cushions, covers, or anything else directly against the painted surface for closer to a week – a finish that’s still curing underneath can take a permanent imprint from anything pressed against it. Keep the piece somewhere dry during that window; a surprise rain shower on paint that hasn’t cured yet can leave water spotting in the finish.
Maintenance That Keeps a Repaint Looking New
A quick rinse with mild soap and water every few weeks keeps pollen, dirt, and bird droppings from etching into the finish over a season. Avoid pressure washers and abrasive pads, which can chip a hard enamel finish faster than normal wear would. Touch up chips as soon as you notice them – a small bare spot left alone is where rust restarts on iron and steel, and where the finish starts lifting on aluminum. Clean the chip, feather the edges lightly with fine sandpaper, spot-prime with the matching primer type for that metal, and dab on matching topcoat.
Frequently Asked Questions
Can you use the same paint on aluminum and wrought iron furniture?
You can use the same topcoat enamel on both once each is properly prepped, but the prep step underneath has to be different. Wrought iron and steel need a rust-inhibiting or rusty-metal primer, since they rust from bare metal outward. Aluminum does not rust the same way, so a rust-inhibiting primer has nothing to bond to; use a self-etching primer on bare aluminum instead, then the same enamel topcoat works on top of either.
Do you need to prime metal outdoor furniture before painting?
Yes, on bare metal. Skipping primer is the most common reason a repaint peels within a season. Steel and wrought iron need a rust-inhibiting primer; bare aluminum needs a self-etching primer since ordinary primers and rust converters do not bite into aluminum’s natural oxide layer.
How do you spray paint into wrought iron scrollwork without leaving drips?
Hold the can 10 to 12 inches away, use light overlapping passes instead of one heavy coat, and start and stop each pass off the edge of the piece rather than directly over the scrollwork. Angle the can to get behind curved sections and into joints, since a straight-on pass leaves the back of every curve unpainted.
How long should repainted metal furniture cure before you sit on it?
Most oil-based enamels are dry to the touch within a few hours but need real time to cure hard. Wait at least 24 to 48 hours before light use, and give it closer to a week of dry weather before stacking cushions or covers directly on the painted surface, since anything pressed against a still-curing finish can leave an imprint.
Conclusion
The steps that matter most for outdoor metal furniture are the ones generic “how to paint metal” advice skips: matching your primer to your actual metal, using spray instead of a brush to reach scrollwork and curves, and covering every side of a piece that sits exposed to weather year-round. Get the prep right for aluminum versus steel or wrought iron, use a real exterior-rated enamel, and a repaint should hold up for several seasons before it needs touching up again.
Sponsored / affiliate links. As an Amazon Associate I earn from qualifying purchases. I may earn additional commission from eligible campaigns.