How to Repair MDF Baseboard
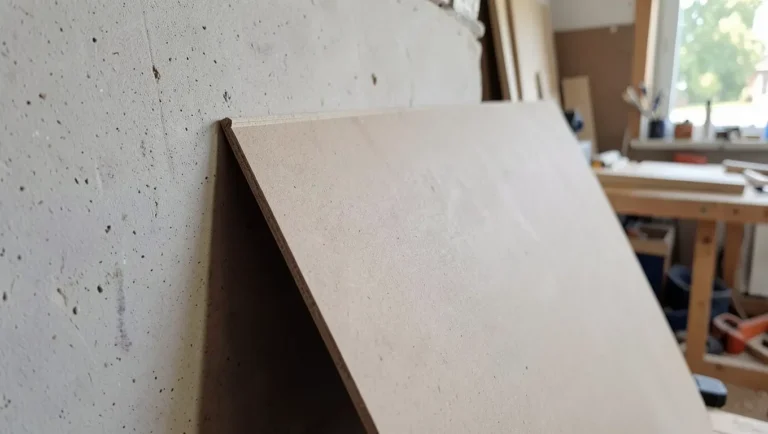
Most MDF baseboard damage – scratches, small dents, nail holes, minor cracks – is a straightforward filler-and-repaint fix that doesn’t require replacing the board. The one exception is water damage: once MDF’s compressed wood fibers swell from moisture, they don’t fully return to their original shape, so a badly swollen section is usually better cut out and replaced than sanded flat. This guide covers both situations.
Materials And Tools Needed
Built To Resist Shrinking And Cracking
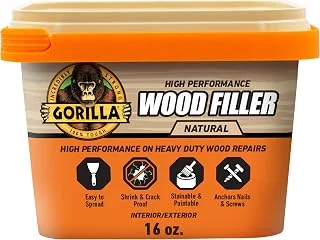 |
Gorilla All Purpose Wood Filler, 16 oz Water-resistant and shrink-resistant, good for the small dents and scratches most MDF baseboard repairs actually involve.
|
You’ll need wood filler (or a two-part epoxy filler for deeper damage), a putty knife, fine-grit sandpaper, a dust mask, and a damp cloth for cleanup. For repainting, add primer, a brush or small roller, and paint or stain matched to your trim. If you’re replacing a damaged section outright, add a saw, tape measure, and either finish nails or construction adhesive.
Assessing The Damage
Check for scratches and dents first – these are cosmetic and simple to fill. Press gently on any suspicious area to feel for soft or spongy spots, which indicate water absorption rather than just surface damage. Tap along the board; a hollow or dull sound compared to the surrounding area can mean the MDF has delaminated internally even if the surface looks mostly intact. Pay extra attention to corners and any section near a bathroom, kitchen, or exterior door, since those are the most common places MDF trim actually takes on moisture.
Fixing Scratches, Dents, And Nail Holes
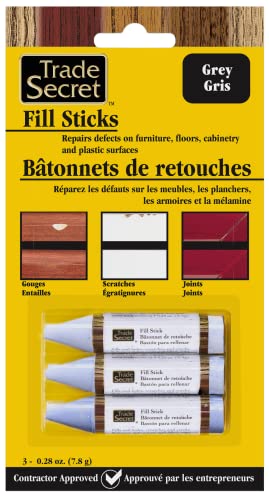
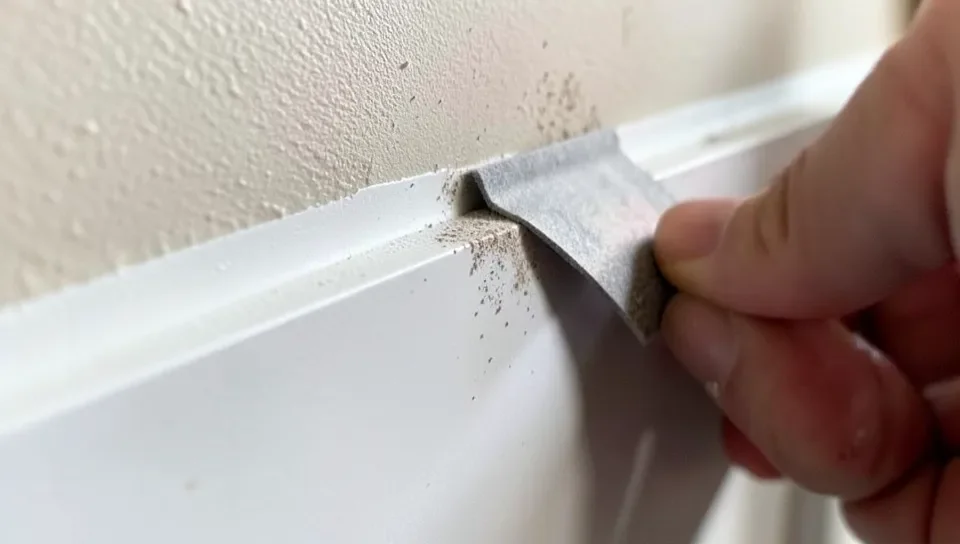
Clean the area, then press wood filler into the damage with a putty knife, slightly overfilling since it will shrink a small amount as it cures. Let it dry fully per the product’s instructions – rushing this step is the most common reason a repair looks uneven after painting. Once dry, sand flush with fine-grit sandpaper, feathering the edges so the repair blends into the surrounding surface rather than leaving a visible ridge.
Repairing Deeper Cracks And Gouges
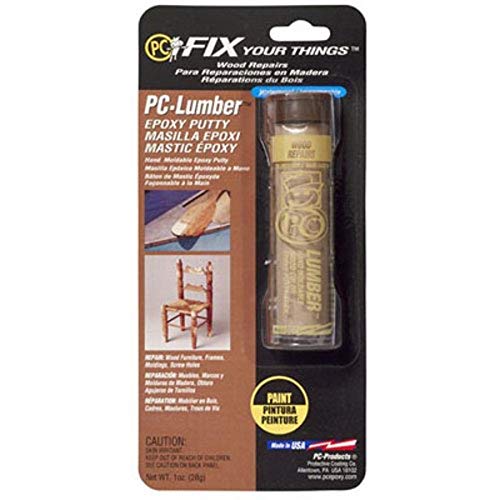
For damage deeper than a surface scratch, a two-part epoxy filler (commonly sold as Bondo Wood Filler) is the better choice over standard one-part filler – it chemically cures rather than just drying, resists shrinking and cracking in a thick application, and can be shaped, sanded, and even drilled once cured. Mix only what you’ll use within its working time (often just a few minutes once combined), press it into the clean, dry crack or gouge, and let it fully cure before sanding – rushing a thick epoxy repair before it’s hardened all the way through will tear rather than sand smooth.
Applying filler in thin layers rather than one thick pass reduces the sinking or shrinking that shows up later as a slightly recessed repair once the paint goes on – this matters more on MDF than on solid wood, since MDF’s dense, uniform surface makes any unevenness in the repair more visible under paint sheen.
Replacing A Damaged Section
When damage – especially water swelling – goes beyond what filler can fix, cut out the damaged section with a fine-tooth saw at the nearest clean, straight point, ideally centered over a wall stud so the new piece has solid backing on both ends. Measure the gap carefully and cut the replacement piece to fit snugly rather than loosely, since a gap will show even after caulking. Secure the new piece with finish nails into the studs, construction adhesive, or both for the strongest hold, then fill the seams before priming and painting.
Finishing And Sealing
Prime the repaired area before painting – this seals the filler and gives the paint an even surface to bond to, which matters more on a patched repair than on factory-primed MDF. Apply paint or stain to match the rest of the trim, using at least two thin coats rather than one heavy one for the smoothest, most even finish. If the original damage was water-related, consider a water-resistant primer or caulking the joint where the baseboard meets the floor – that’s usually where moisture got in to begin with, and sealing it prevents the same repair from being needed again.
Frequently Asked Questions
Is MDF Baseboard Repairable?
Yes, in most cases. Scratches, small dents, nail holes, and minor cracks are straightforward to fill, sand, and repaint. The one situation that’s genuinely harder to fully fix is swelling from water damage – MDF’s wood fibers expand and don’t fully return to their original shape once they’ve absorbed moisture, so a badly swollen section is usually better replaced than filled and sanded flat.
Can Wood Filler Be Used On MDF?
Yes, standard wood filler works fine on MDF for scratches, small dents, and nail holes. For deeper gouges or a section that’s been water-swollen, a two-part epoxy filler (sold under names like Bondo Wood Filler) holds up better than a one-part filler, since it cures harder and resists the shrinking and cracking that can happen when a thick layer of standard filler dries.
How Do You Fix MDF Baseboard Swelling?
First let the area dry out completely – continuing to work on damp MDF traps moisture under the repair and it will resurface later. Once dry, sand down the swollen, raised fibers as flat as you can get them; MDF that has swollen won’t fully compress back to its original shape, so expect to remove material rather than just smooth it. Fill any remaining low spots, sand level, then seal with a water-resistant primer before painting – the primer is what actually protects against the same spot swelling again, not the paint alone.
How Do You Reinforce A Weak Section Of MDF Baseboard?
For a section that flexes or feels soft but isn’t fully rotted, a bead of construction adhesive run along the back before renailing adds real holding strength, and driving finish nails into wall studs (not just the drywall) gives a much stronger hold than MDF alone. If a section is genuinely crumbling or waterlogged, reinforcing it isn’t a lasting fix – replace that piece rather than trying to stabilize compromised material.
Conclusion
Scratches, dents, and small cracks in MDF baseboard are an easy DIY fix with the right filler, patience through the drying time, and careful sanding. Save the replace-the-section approach for genuine water damage, since swollen MDF fibers won’t sand back to their original flat profile no matter how much filler you use.
Sponsored / affiliate links. As an Amazon Associate I earn from qualifying purchases. I may earn additional commission from eligible campaigns.