How to Put Wood Together: 9 Joints Ranked by Tool You Own
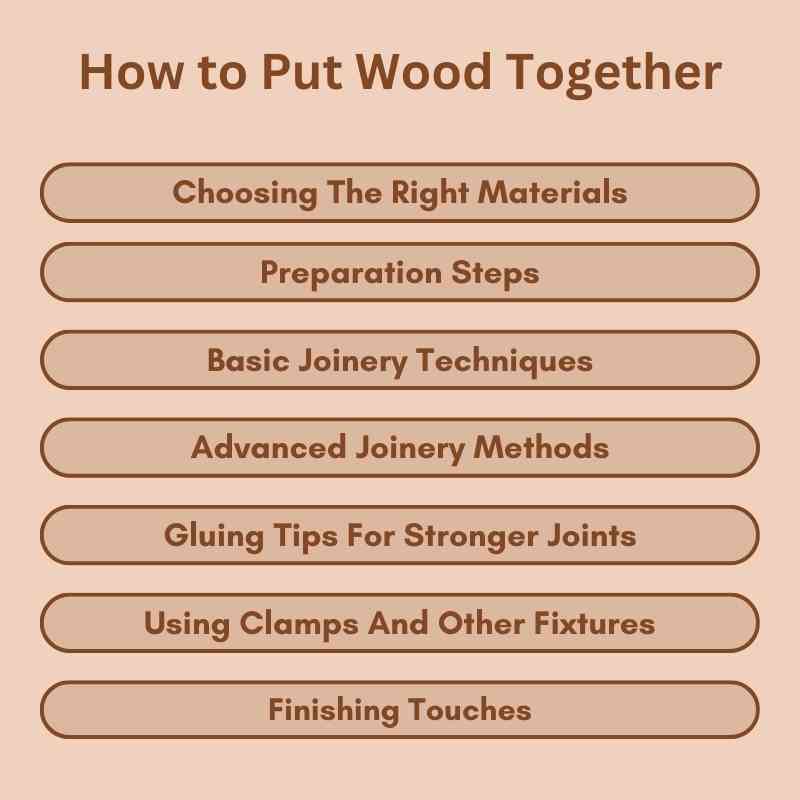
Putting wood together strongly starts with matching the joint to the tools already in your shop — a butt joint needs only glue and screws, but a mortise-and-tenon needs a chisel or router. Guess wrong on a load-bearing shelf and Titebond alone will not stop it from racking. This guide ranks 9 joints by tool tier, shows the 90-degree clamping method, and gives real cure times.
Insert your Affiliate Disclosure reusable block here
Quick Answer
For most beginner projects, a pocket-hole joint reinforced with PVA glue is the fastest strong option and needs only a drill and a $44 jig. For furniture that must survive decades of stress, step up to a dowel or mortise-and-tenon joint — both need more tools but resist racking far better than screws alone.
Which Wood Joint Should You Use? (Tool-Tier Table)
Best Beginner Joinery Jig Pick
Kreg 720PRO Pocket-Hole Jig
Drills the angled pocket holes described in the tool-tier table above — no chisel or router needed.
- Best for: cabinets, face frames, shelving — anyone starting with just a drill
- Why we picked it: Kreg’s updated clamping system holds the board steady while drilling, so holes stay square without a second set of hands
- Main drawback: pocket screws are visible unless plugged, so it’s not ideal for show faces
Compare more joinery tool options
 Option 1 Milescraft Self-Centering Dowel Jig
|
 Option 2 WEN 8.5-Amp Biscuit Joiner
|
 Option 3 IRWIN 12″ Combination Square
|
As an Amazon Associate we earn from qualifying purchases.
Before picking a joint, check what’s actually in your shop. The table below sorts all 9 joints by the tools required — not just by strength — because the “strongest” joint is useless if you don’t own the tool to cut it.
| Joint | Tools Needed | Strength | Best For |
|---|---|---|---|
| Butt joint | Drill, screws or nails | Weak alone | Framing, quick repairs |
| Pocket-hole joint | Drill + pocket-hole jig (~$44) | Strong | Cabinets, face frames |
| Dowel joint | Drill + doweling jig (~$25) | Strong | Tables, shelving |
| Biscuit joint | Biscuit joiner (~$52+) | Moderate-strong | Panel glue-ups, edges |
| Lap joint | Circular saw or chisel | Strong | Frames, cross-braces |
| Miter joint | Miter saw | Weak alone | Trim, picture frames |
| Tongue and groove | Router or table saw | Strong | Flooring, paneling |
| Box (finger) joint | Table saw + jig | Strong | Boxes, drawer corners |
| Mortise and tenon | Chisel or router + mortiser | Strongest | Furniture, load-bearing frames |
Basic Joinery Techniques
The butt joint is the simplest way to put wood together — press the end of one board against the face or edge of another to form a right angle, then reinforce with glue, screws, or nails. It’s weak on its own because all the load sits on the fastener, but it’s fast enough for framing and short-task repairs. If you’re still building up core shop skills, our woodworking projects and tips guide covers the fundamentals this technique builds on. For a quick side-by-side of the four most common ways to join two boards (butt, dowel, mortise-and-tenon, dovetail), see our guide to joining two pieces of wood.
How to Join Two Boards With a Butt Joint (Step by Step)
- Measure and mark: Mark the exact cut line on both boards with a combination square so the ends meet flush.
- Cut square: Cut both ends at exactly 90 degrees — an out-of-square cut is the most common cause of a gappy joint.
- Dry-fit first: Hold the boards together without glue to confirm the fit before committing.
- Apply glue: Spread an even bead of PVA glue on the contact face, not just a dot in the center.
- Clamp and reinforce: Clamp the joint, then drive screws or dowels through it while the glue is still wet.
- Wipe excess glue: Scrape off squeeze-out immediately with a chisel before it skins over.
Advanced Joinery Methods
Once a project needs to hold real weight or look good doing it, the basic butt joint isn’t enough. These eight methods add either mechanical interlock, glue surface area, or both — the right tools make the difference between a joint that’s merely glued and one that’s actually strong.
Doweling
Doweling drills matching holes in both boards and glues a wood dowel into each to bridge the joint. A self-centering dowel jig keeps the holes aligned — off by even 1/16″ and the joint won’t close flush. Strong enough for shelving and table aprons, and it needs only a drill.
Biscuit Joints
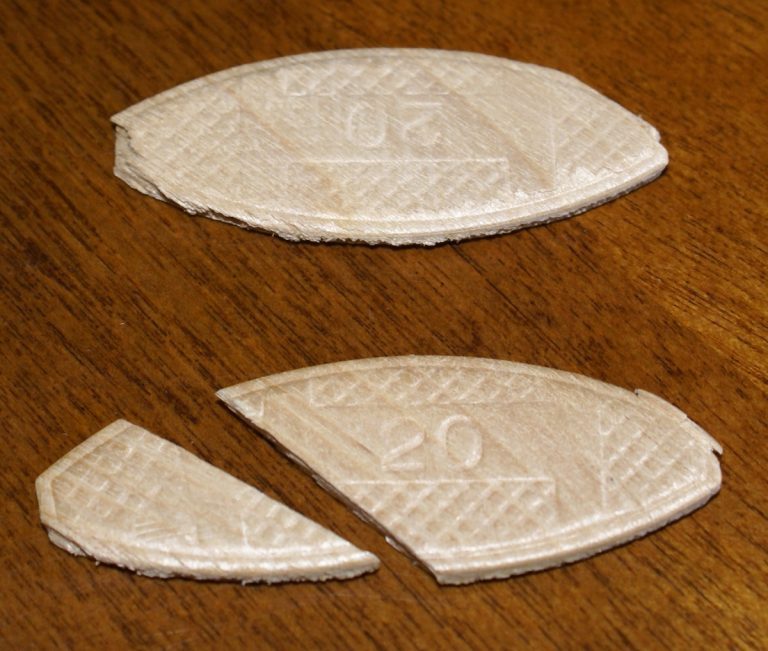
A biscuit joiner cuts a crescent-shaped slot in each board; a compressed wood “biscuit” swells with glue moisture to lock the two pieces in alignment during clamping. It’s more about alignment than raw strength — most biscuit joints still rely on the glue bond across the full board edge for holding power.
Dovetail Joints
Dovetail joints interlock angled “tails” and “pins” cut into the board ends, so the mechanical shape resists pulling apart even before glue is added. It’s the slowest joint to cut by hand — a full walkthrough of marking, sawing, and fitting dovetails takes practice to get tight — but it’s the standard for drawer boxes for a reason.
Miter Joint
A miter joint angles both board ends — typically 45 degrees each for a 90-degree corner — so the joint line is invisible and no end grain shows. It’s common on picture frames and trim, but a plain miter has almost no mechanical strength; reinforce it with glue and a spline, biscuit, or pocket screw or it will eventually open at the corner.
Lap Joint
A lap joint removes half the thickness from each board where they cross or meet, so the two pieces sit flush instead of stacking on top of each other. The larger glue surface area (compared to a butt joint) plus the interlocking notch makes it a solid choice for cross-braces and frame corners that need to resist twisting.
Tongue and Groove Joint
A protruding “tongue” milled on one board edge fits into a matching groove cut into the next, locking boards edge-to-edge while still allowing slight seasonal movement. It’s the standard for flooring and paneling because it self-aligns during installation and hides the fasteners.
Box (Finger) Joint
A box joint interlocks square-cut “fingers” at a corner, like a dovetail with straight sides instead of angled ones. It’s easier to cut on a table saw with a simple jig than a dovetail, and the large total glue surface area across all the fingers makes it nearly as strong — a good middle ground for box and drawer corners when you don’t own dovetail chisels.
Mortise and Tenon
A tenon (a tongue cut on one board’s end) fits snugly into a mortise (a matching cavity chiseled or routed into the other board), giving the largest glue surface and the best resistance to racking of any joint here. It’s the standard for table legs, chairs, and door frames precisely because it’s built to carry sustained structural load, not just hold a shape together.
Gluing Tips for Stronger Joints
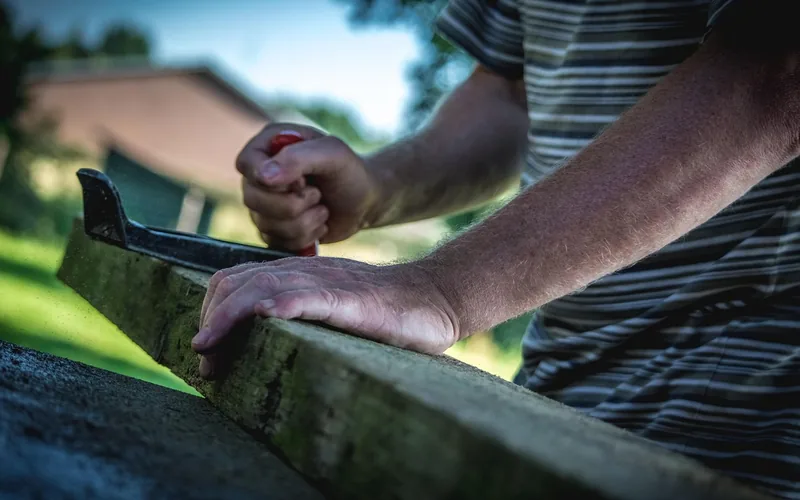
PVA glue is the default choice for porous wood because it soaks into the grain and can form a bond stronger than the wood itself. Spread an even bead across the full contact face — not a single bead down the center — then clamp immediately while the glue is still wet.
📊 Titebond specifies 30–60 minutes of clamp time for unstressed joints, 24 hours for stressed joints, and a full 24-hour cure before the joint can take a real load. — Source: Titebond product guidelines, 2026
For end-to-end joints, glue both surfaces and use a doweling jig to keep the ends aligned while clamping. For edge-to-edge glue-ups, cut boards slightly oversize, mark the orientation, and use pipe or bar clamps spaced every 12–16 inches so pressure stays even along the full length.
Using Clamps and Other Fixtures
Pipe clamps, bar clamps, C-clamps, and spring clamps each suit a different job — pipe and bar clamps for long glue-ups, C-clamps for small assemblies, spring clamps for quick light-duty holds. Apply even pressure along the entire joint length, use scrap blocks under the clamp jaws to protect the wood surface, and don’t over-tighten — squeezing out too much glue starves the joint of adhesive.
Remove excess squeeze-out with a chisel or scraper while it’s still wet — dried glue resists stain and finish, leaving a blotchy patch that shows up after the project is finished.
Finishing Touches
Sand the joint flush with 120-grit paper or higher, working in the direction of the grain to avoid cross-grain scratches. Remove all dust with a vacuum or tack cloth before applying finish — stain, oil, wax, or varnish all telegraph dust and glue residue if the surface isn’t fully clean.
Troubleshooting Common Joinery Problems
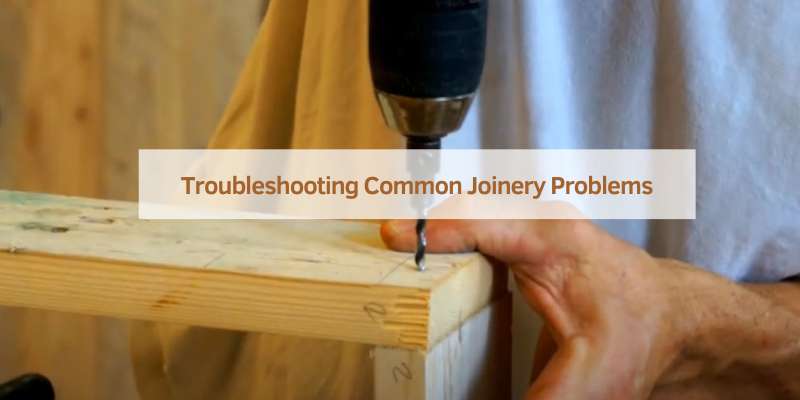
Gaps in a joint usually mean the cut wasn’t square — check with a combination square before assembly, and fill small gaps with wood filler as a last resort rather than a first step. Misaligned joints can often be tapped square with a mallet against a scrap block; if the misalignment is significant, it’s faster to disassemble and re-cut than to force it. Measure twice, dry-fit before gluing, and use enough clamps to hold even pressure across the whole joint.
“The most common mistake I see beginners make is skipping the dry-fit. Clamping a joint together dry, before any glue touches the wood, catches a bad cut in ten seconds instead of forcing you to fight dried glue later.” — Md Meraj, founder of Woodworking Advisor, 12+ years in the shop
Frequently Asked Questions
How Do You Join Two Pieces of Wood Together?
The simplest way is a butt joint reinforced with glue and screws — press the ends or edges together at a right angle, then fasten. For a stronger, less visible connection, drill matching holes for a dowel joint or use a pocket-hole jig, both of which only require a drill.
How Do You Join Wood at a 90-Degree Angle?
Cut both boards square with a miter saw or combination square as a guide, then join them with a butt joint, pocket-hole screws, or a lap joint if the pieces cross rather than meet end-to-end. A lap joint holds a 90-degree corner better than a plain butt joint because it adds interlocking surface area.
What Is the Strongest Wood Joint for Beginners?
A pocket-hole joint is the strongest joint a beginner can cut with just a drill and a sub-$50 jig. Mortise-and-tenon and dovetail joints are stronger overall, but they require a chisel, router, or dedicated jig and considerably more practice to cut accurately.
Can You Join Wood Without Glue?
Yes — screws, nails, dowels, and pocket-hole joints all provide mechanical strength without glue, and traditional joints like dovetails or mortise-and-tenon can hold from their interlocking shape alone. Glue is still recommended alongside any of these for a joint that resists loosening over time.
Do You Need Special Tools to Join Wood?
No — a butt joint, pocket-hole joint, or dowel joint only needs a drill, a saw, and clamps. Dovetail, mortise-and-tenon, and box joints need chisels, a router, or a table saw jig, which is why the tool-tier table above sorts every joint by what you’d actually need to buy.
Conclusion
Putting wood together well comes down to matching the joint to both the load it needs to carry and the tools already on your bench. Start with a pocket-hole or dowel joint if you’re building your first project, dry-fit before every glue-up, and step up to mortise-and-tenon or dovetail joints once a project’s strength or looks demand it. For projects with visible show faces, pair your joint choice with our wood glue buying guide to pick the right adhesive for the wood species you’re using.
Sponsored / affiliate links. As an Amazon Associate I earn from qualifying purchases. I may earn additional commission from eligible campaigns.