How to Sand Table Legs: A Step-by-Step DIY Guide
To sand table legs, start by selecting the appropriate grit sandpaper. Use coarse grit for rough surfaces and finish with fine grit for a smooth touch.
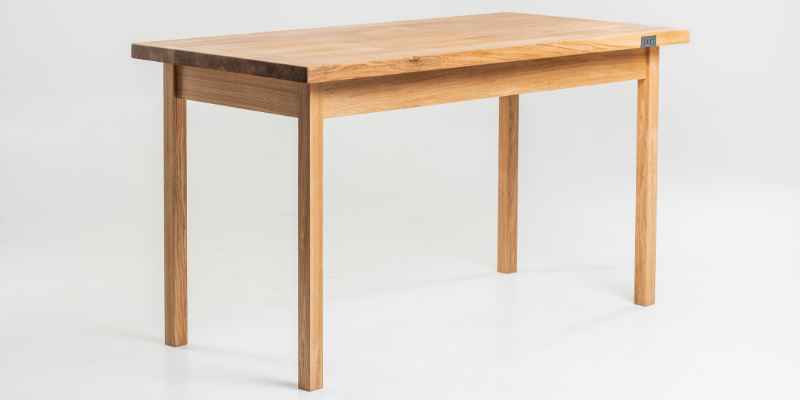
Sanding table legs is essential for achieving a polished look and preparing the surface for painting or staining. Proper sanding enhances the wood’s natural beauty while removing imperfections. Whether you’re refinishing an old table or building a new one, knowing how to sand effectively is crucial.
The process involves choosing the right sandpaper and technique for the best results. With the right tools and a little patience, you can transform the legs of your table, making them smooth and visually appealing. This guide will help you navigate the sanding process effortlessly.
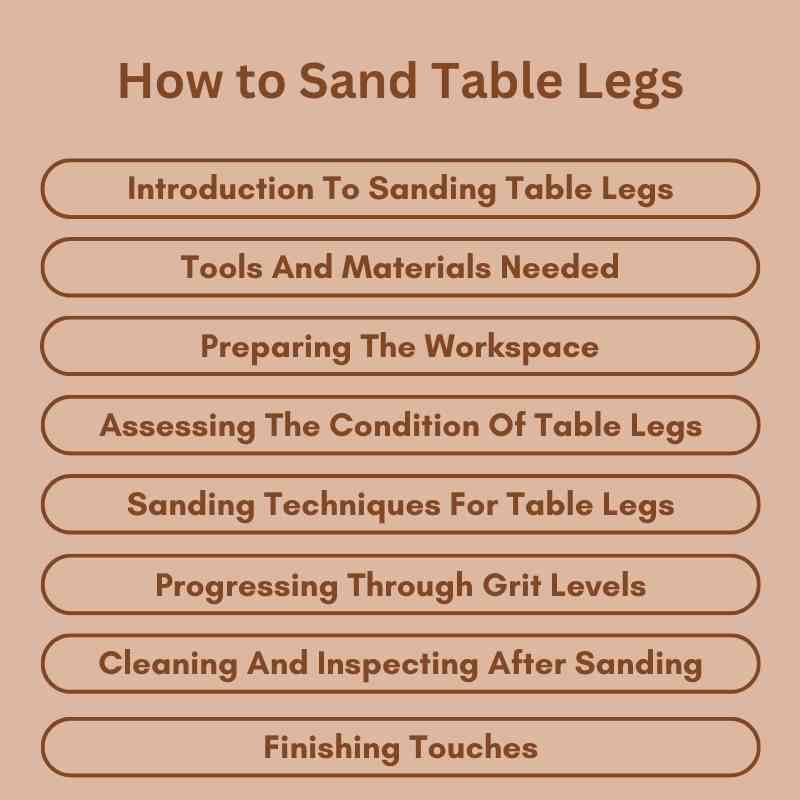
Introduction To Sanding Table Legs
Sanding table legs is an essential step in furniture restoration. It helps to create a smooth surface for finishing. Proper sanding enhances the overall appearance of your table. This guide will cover important aspects of sanding table legs.
The Importance Of Proper Sanding
Proper sanding is crucial for various reasons:
- Smooth Finish: It removes rough spots and blemishes.
- Better Adhesion: It allows paint and stain to stick well.
- Increased Durability: A well-sanded surface lasts longer.
- Enhanced Aesthetics: It improves the overall look of the furniture.
Skipping this step can lead to uneven surfaces. You might end up with peeling paint or stain. A good finish starts with proper sanding.
Benefits Of DIY Sanding
Choosing to sand your table legs yourself has many advantages:
- Cost-Effective: Save money on professional services.
- Skill Development: Learn valuable DIY skills.
- Customization: Control the finish and style.
- Satisfaction: Enjoy the pride of completing a project.
DIY sanding allows you to work at your own pace. You can take breaks as needed. It also gives you the chance to experiment with different techniques.
Tools And Materials Needed
Sanding table legs requires the right tools and materials. The proper equipment ensures a smooth finish. Here’s what you need to get started.
Choosing The Right Sandpaper Grit
Selecting the correct sandpaper grit is essential. Different grits serve different purposes:
| Grit Level | Use |
|---|---|
| Coarse (40-60) | Remove rough surfaces and old finishes |
| Medium (80-120) | Smooth the surface after coarse sanding |
| Fine (150-220) | Prepare for finishing touches |
Start with coarse grit. Progress to finer grits for a polished look.
Essential Sanding Tools
Gather these tools for an efficient sanding process:
- Sander: Choose between a hand sander or an electric sander.
- Sanding Block: Use for manual sanding on flat areas.
- Dust Mask: Protect your lungs from fine dust.
- Safety Goggles: Keep your eyes safe from debris.
- Cloth: Clean the surface before and after sanding.
These tools make the task easier and safer. Always wear protective gear.
Preparing The Workspace
Preparing your workspace is key for sanding table legs effectively. A clean and organized area helps avoid mess and accidents. Follow these steps to ensure a smooth sanding process.
Safety Precautions
Safety should always come first. Here are essential precautions to follow:
- Wear goggles to protect your eyes from dust.
- Use a mask to avoid inhaling fine particles.
- Keep the area ventilated to reduce dust buildup.
- Wear gloves to protect your hands from splinters.
- Keep a fire extinguisher nearby, especially when using power tools.
Setting Up For Minimal Dust
Minimizing dust during sanding improves air quality. Follow these tips:
- Choose a location outdoors or in a garage.
- Lay down a tarp or drop cloth to catch dust.
- Use a vacuum sander if available.
- Seal off nearby areas with plastic sheeting.
Consider using a damp cloth to wipe surfaces. This method traps dust particles effectively.
| Tip | Description |
|---|---|
| Location | Outdoor or garage settings work best. |
| Tarp/Drop Cloth | Catch dust and debris easily. |
| Vacuum Sander | Reduces airborne dust significantly. |
| Plastic Sheeting | Isolates work area from clean spaces. |
Assessing The Condition Of Table Legs
Before sanding, it’s essential to assess the condition of your table legs. This step helps determine the appropriate sanding technique and tools. Proper assessment ensures the best results for your project.
Identifying Types Of Wood And Finishes
Knowing the type of wood helps in selecting the right sanding method. Different woods have varying hardness and grain patterns. Here are some common types:
| Wood Type | Characteristics |
|---|---|
| Oak | Hard, durable, and has a prominent grain. |
| Pine | Soft, light, and easy to sand. |
| Maple | Hard, fine-grained, and smooth finish. |
| Walnut | Rich color, strong, and beautiful grain. |
Check for existing finishes on the wood. Common finishes include:
- Varnish
- Shellac
- Polyurethane
These finishes affect how you should sand the wood. Some may require stripping before sanding.
Spotting Areas That Require Attention
Carefully inspect the table legs for issues. Look for:
- Scratches: Light scratches can be sanded away.
- Dents: Deeper dents may need filler.
- Peeling Finish: This indicates wear and needs attention.
- Loose Joints: Tighten these before sanding.
Use a flashlight to highlight problem areas. Mark them with tape. This makes it easier to focus on these spots while sanding.
Sanding Techniques For Table Legs
Sanding table legs is essential for a smooth finish. Choosing the right technique can enhance the appearance and durability. Let’s explore two main methods: manual sanding and power sanding.
Manual Sanding Vs. Power Sanding
Both manual and power sanding have their benefits. Each method suits different preferences and projects. Here’s a quick comparison:
| Feature | Manual Sanding | Power Sanding |
|---|---|---|
| Control | High control over pressure and speed | Faster but less control |
| Technique | Requires skill and patience | Easy to use with less skill |
| Cost | Low cost – just sandpaper | Higher cost – needs a sander |
| Best For | Detailed work and small areas | Large surfaces and quick jobs |
Choose manual sanding for detailed areas. Power sanding works well for larger surfaces.
The Art Of Sanding Curved Surfaces
Sanding curved surfaces requires special care. Follow these simple steps:
- Select the Right Sandpaper: Use fine-grit for finishing.
- Wrap Sandpaper: Wrap it around a foam block. This helps maintain curves.
- Use Circular Motions: Sand in circular patterns. This avoids flat spots.
- Check Progress: Frequently inspect the surface. Ensure it feels smooth.
- Finish with Finer Grit: Use a higher grit for final touches.
Mastering these techniques will enhance your table’s beauty. Sanding table legs properly ensures a professional finish.
Progressing Through Grit Levels
Proper sanding is key to achieving smooth table legs. The grit level of sandpaper affects the finish. Start with coarser grits and move to finer ones for best results.
Starting With Coarser Grits
Begin the sanding process using coarser grits. This removes rough areas and prepares the surface. Here’s how to start:
- Use 80-grit sandpaper for heavy sanding.
- Focus on removing paint or old finishes.
- Sand in the direction of the wood grain.
Coarse grit works quickly, but can leave scratches. Check the surface often to ensure even sanding. Here’s a quick tip:
- Sand lightly around edges.
- Apply even pressure across flat surfaces.
Finishing With Fine Grits
After coarser grits, switch to fine grits for a smooth finish. Fine grits polish the surface. Follow these steps:
- Use 150-grit sandpaper for initial fine sanding.
- Finish with 220-grit sandpaper for a silky touch.
Fine sanding enhances the table’s appearance. It prepares the surface for staining or sealing. Remember these tips:
- Keep sanding until the surface feels smooth.
- Wipe away dust with a clean cloth.
Using the right grit levels leads to professional-looking results. Enjoy the smoothness of your beautifully sanded table legs!
Cleaning And Inspecting After Sanding
After sanding table legs, cleaning and inspecting is vital. Dust and imperfections can ruin the finish. Follow these steps for a clean, smooth surface.
Removing All Dust Particles
Dust can hide flaws and affect the finish. Use these methods to ensure a clean surface:
- Use a vacuum with a brush attachment.
- Wipe surfaces with a damp cloth.
- Consider using tack cloth for extra dust removal.
Make sure to check all angles. Dust can settle in hard-to-reach areas. A clean surface is essential for the next steps.
Checking For Smoothness And Flaws
After cleaning, inspect the legs carefully. Look for smoothness and any flaws. Use these tips for a thorough check:
- Run your hand over the surface.
- Use a flashlight to spot imperfections.
- Check for any rough spots with fine sandpaper.
Mark any flaws with a pencil. This helps during touch-ups. A smooth finish ensures the best look and durability.
Finishing Touches
The final step in sanding table legs is the finishing touches. This step makes your table beautiful and protects it. Choose the right finish or paint. Then, apply it carefully for the best results.
Choosing The Right Finish Or Paint
Selecting the right finish is crucial. It enhances the wood’s natural beauty. Here are popular options:
- Polyurethane: Durable and water-resistant.
- Varnish: Provides a hard finish; great for outdoor use.
- Oil: Deepens the wood color; easy to apply.
- Paint: Offers vibrant colors; great for a modern look.
Consider the table’s use and environment. A dining table needs a tougher finish. A coffee table may require a softer touch. Test samples to find the perfect match.
Applying The Finish For Protection And Aesthetics
Applying the finish is simple, but follow these steps:
- Prepare your workspace. Ensure it is clean and well-ventilated.
- Use a clean brush or cloth. Choose a tool that fits your finish.
- Apply the finish in thin layers. This prevents drips and runs.
- Follow the grain of the wood. This enhances the natural look.
- Allow each coat to dry completely. Follow the manufacturer’s instructions.
- Sand lightly between coats. This helps the finish adhere better.
Wait for the last coat to cure. This ensures maximum durability. Your table legs will be beautiful and protected.
Maintenance Tips For Sanded Table Legs
Keeping your sanded table legs in great shape is important. Proper maintenance ensures longevity and beauty. Follow these tips for the best results.
Regular Cleaning And Care
Regular cleaning helps maintain the finish on your table legs. Dust and dirt can damage the surface over time. Here are some simple steps:
- Dust: Use a soft cloth to remove dust weekly.
- Wipe: Clean spills immediately with a damp cloth.
- Avoid: Do not use harsh chemicals or abrasive materials.
Consider using a protective wax. Wax adds a layer of protection. It also enhances the shine. Apply wax every few months for the best results.
When To Resand And Refinish
Knowing when to resand and refinish is crucial. Look for these signs:
| Sign | Action |
|---|---|
| Visible scratches | Resand the affected area. |
| Faded color | Refinish to restore the original look. |
| Peeling finish | Remove the old finish and apply a new one. |
Regularly assess your table legs. This will help you maintain their beauty. Timely care keeps your furniture looking new.
Frequently Asked Questions
How Do I Prepare Table Legs For Sanding?
Preparing table legs for sanding involves cleaning them thoroughly. Remove any dirt, dust, or old finish. You can use a damp cloth for this. Make sure the legs are dry before you start sanding. This ensures a smoother finish and better adhesion for any new paint or stain.
What Type Of Sandpaper Should I Use?
For sanding table legs, start with 120-grit sandpaper. This grit is effective for removing old finishes and smoothing rough areas. Afterward, switch to 220-grit sandpaper for a finer finish. This helps create a smooth surface that enhances the final appearance of your table legs.
How Long Does It Take To Sand Table Legs?
Sanding table legs typically takes about 30 minutes to an hour. The time may vary depending on the condition of the wood and the level of detail required. For intricate designs, expect to spend more time. Always take breaks to avoid fatigue and ensure quality work.
Can I Use An Electric Sander On Table Legs?
Yes, using an electric sander can speed up the process. An orbital sander is particularly effective for flat surfaces. However, for detailed areas, manual sanding may be necessary. Always start with a lower grit and progress to a finer one for the best results.
Conclusion
Sanding table legs can transform your furniture and enhance its appearance. With the right tools and techniques, you can achieve a smooth finish. Remember to take your time and be patient throughout the process. Your efforts will result in beautiful, revitalized table legs that elevate your space.
Happy sanding!

