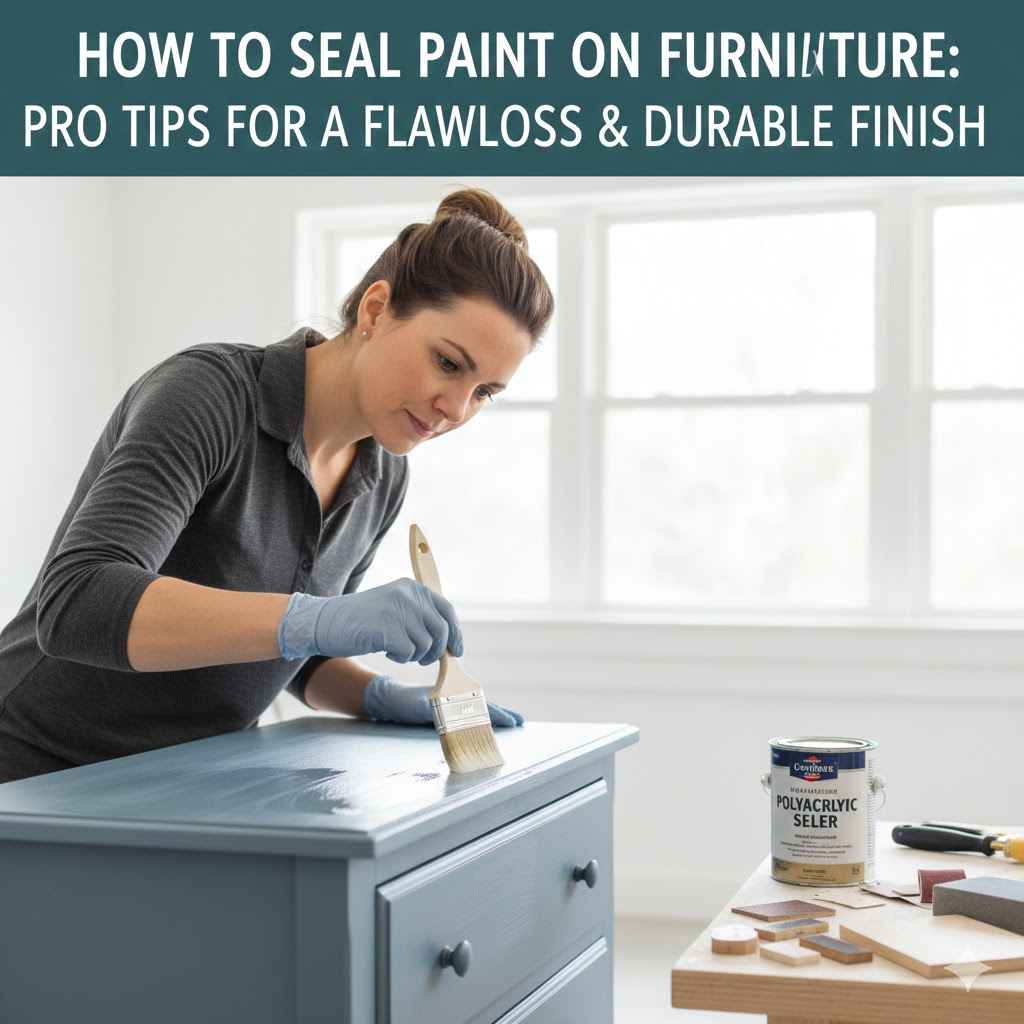
How to Seal Paint on Furniture Pro Tips
Many folks want to make their painted furniture look great and last a long time. But sometimes, knowing how to seal paint on furniture can seem tricky, especially if you’re new to DIY projects. You might worry about getting it wrong or making your furniture look dull.
Don’t worry, this guide is here to help! We will walk you through a simple, step-by-step process. You’ll learn all the secrets to a beautiful and tough finish.
Choosing The Best Sealant For Your Painted Furniture
Selecting the right sealant is a key step in ensuring your painted furniture stands up to daily life. The sealant acts as a protective shield, guarding your paint job from scuffs, spills, and everyday wear and tear. For beginners, the sheer number of options can be overwhelming, leading to uncertainty about which product will give the best results without altering the look of the paint.
This section will guide you through the common types of sealants, their pros and cons, and help you pick the perfect one for your project.
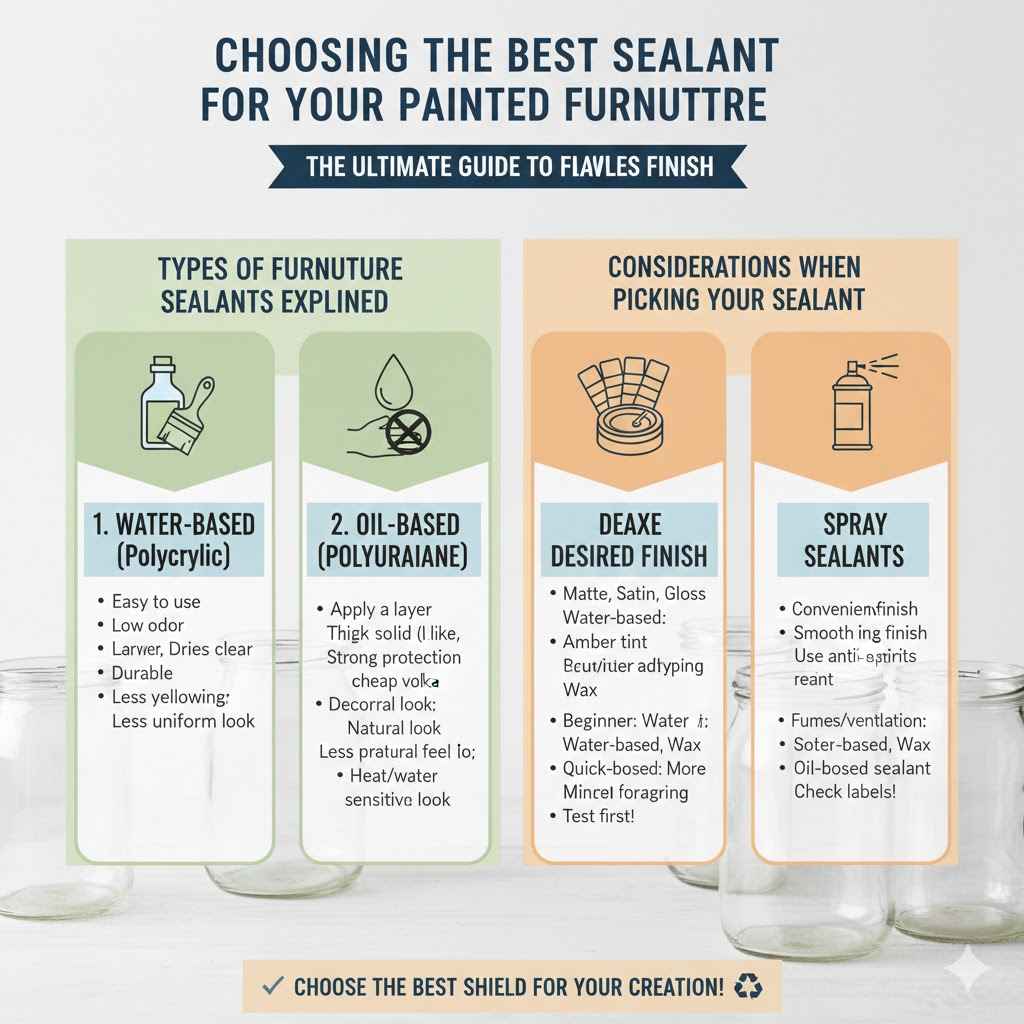
Types of Furniture Sealants Explained
There are several popular types of sealants you can use for painted furniture. Each has its own properties that make it suitable for different situations and desired finishes. Understanding these differences will help you make an informed choice.
Water-Based Sealants (Polyurethane, Polycrylic)
These sealants are popular because they are easy to work with and clean up. They are also low in odor, which is a big plus when working indoors. Water-based sealants like polyurethane or polycrylic tend to dry clear, so they are great for preserving the original color of your paint.
They are also quite durable once fully cured. For most painted furniture projects that don’t face extreme wear, these are an excellent choice. They are less likely to yellow over time compared to oil-based options.
Oil-Based Sealants (Oil-Based Polyurethane)
Oil-based sealants are known for their exceptional durability and hardness. They create a very strong protective layer that is resistant to moisture and wear. However, they have a stronger odor and require mineral spirits for cleanup.
Oil-based sealants can also impart a slight amber tint to the finish, which might alter the color of very light or white paint. They are best suited for furniture that will see heavy use or is in areas prone to spills and moisture.
Waxes
Furniture waxes are often used over paint to give a soft, satin sheen and a bit of protection. They offer a more natural, matte look than varnishes. Waxes are easy to apply and can be buffed to a lovely glow.
However, they do not offer the same level of protection as polyurethanes or other sealants. They are susceptible to heat and water marks. Wax is best for decorative pieces or furniture that isn’t used frequently.
Spray Sealants (Clear Coats)
Spray sealants offer a convenient way to apply a thin, even coat of protection. They are great for intricate details or when you want a very smooth finish. However, they can be tricky to apply evenly without getting drips or runs.
Good ventilation is crucial when using spray sealants due to the fumes. They come in various finishes, from matte to high gloss, and are often acrylic or polyurethane based.
Considerations When Picking Your Sealant
Before you buy, think about a few things to ensure you get the best seal for your project. The type of paint you used also matters. Some sealants work better with certain paint types.
Durability Needs
How much will this furniture be used? A coffee table that gets lots of drinks placed on it needs a tougher sealant than a decorative shelf. For high-traffic items, consider oil-based polyurethanes or a good quality water-based polyurethane.
These offer superior scratch and water resistance.
Desired Finish
Do you want a matte, satin, semi-gloss, or high-gloss look? Most sealants come in various finishes. Water-based sealants are great for keeping paint’s original sheen.
Waxes provide a soft, natural feel. Test your sealant on a scrap piece of painted material to see how it affects the color and sheen.
Ease of Application
Are you a beginner or experienced DIYer? Water-based sealants are generally the easiest to apply and clean up. Spray sealants can be quick but require practice.
Waxes are very forgiving. Oil-based sealants are more forgiving in terms of application time but harder to clean.
Paint Type Compatibility
Most acrylic, latex, or chalk paints work well with water-based sealants and waxes. If you used an oil-based paint, an oil-based sealant is often the best choice. Always check the sealant’s label for compatibility with your paint type.
How to Seal Paint on Furniture: Pro Tips for Durability Step-By-Step
Now, let’s get to the practical steps. Following these tips will help you achieve a professional-looking and long-lasting seal on your painted furniture. This process is designed to be straightforward, even for those who are just starting out with furniture refinishing.
Preparation is Key for a Lasting Finish
Proper prep work makes a huge difference in how well your sealant adheres and how durable your finish will be. Skipping these steps can lead to peeling or an uneven look later on. Think of this as laying the foundation for a perfect seal.
Clean the Furniture Thoroughly
Before you apply any sealant, the furniture must be completely clean. Use a mild soap and water solution or a dedicated furniture cleaner. Make sure to wipe away any dust, grease, grime, or sticky residues.
Any dirt left behind will get trapped under the sealant, creating bumps or imperfections. A clean surface ensures good adhesion of the sealant.
Ensure the Paint is Fully Cured
Paint needs time to cure, not just dry. Drying is when the surface feels hard. Curing is when the paint fully hardens all the way through.
This can take several days or even weeks depending on the paint type and humidity. Applying sealant too soon can trap moisture and cause the paint to peel or the sealant to become cloudy. Check your paint can for specific curing times.
Light Sanding (Optional but Recommended)
For most paints, especially chalk paint or latex paint, a very light sanding with fine-grit sandpaper (220-grit or higher) can help create a smooth surface for the sealant to grip. This isn’t about removing paint, but about creating a subtle texture. After sanding, always wipe away all dust with a tack cloth or a slightly damp microfiber cloth.
Dust is the enemy of a smooth finish.
Inspect for Imperfections
Before sealing, give your painted piece a final once-over. Look for any drips, uneven spots, or areas that might need a little touch-up. Addressing these now will save you from having to deal with them under the sealant.
A smooth, even paint surface is the best base for a beautiful, durable seal.
Applying Your Chosen Sealant
Applying the sealant is where you protect your hard work. Taking your time and using the right tools will give you the best results. Here’s how to do it right, step by step.
Prepare Your Workspace
Find a well-ventilated area. Good airflow helps the sealant dry properly and keeps fumes away. Protect your floor with drop cloths.
Make sure you have good lighting so you can see what you’re doing clearly.
Stir Sealant Gently
If you are using a liquid sealant like polyurethane or polycrylic, stir it gently. Do not shake it. Shaking can create air bubbles that will transfer to your furniture.
Stir slowly to avoid incorporating air.
Apply the First Thin Coat
Using a high-quality synthetic brush (for water-based) or a natural bristle brush (for oil-based), apply a thin, even coat of sealant. Work in the direction of the wood grain if possible. Thin coats are better than one thick coat, as they dry more evenly and are less prone to drips.
Allow to Dry Completely
Let the first coat dry completely according to the product’s instructions. Drying times can vary significantly. Rushing this step is a common mistake that can ruin your finish.
Lightly Sand Between Coats (Optional but Recommended)
Once the first coat is dry, you can lightly sand the surface again with very fine-grit sandpaper (220-320 grit). This smooths out any minor imperfections and helps the next coat adhere better. Clean off all dust with a tack cloth or damp cloth.
Apply Subsequent Coats
Apply additional thin coats, allowing each to dry completely and sanding lightly between coats if desired. Most projects will need 2-3 coats for adequate protection. For high-use items like tabletops or dresser tops, you might consider 3-4 coats.
Final Cure Time
Even after the sealant is dry to the touch, it needs time to fully cure and harden. This can take anywhere from a few days to a month, depending on the product and conditions. During this time, be gentle with the furniture.
Avoid placing heavy objects or exposing it to excessive moisture.
Pro Techniques for a Flawless Seal
These tips come from experienced professionals and can help you avoid common pitfalls. They are about refining your technique for a truly high-quality finish.
Work in Thin Layers
This cannot be stressed enough. Thick coats of sealant are prone to drips, runs, and uneven drying. It’s much better to apply three thin coats than one thick one.
Each thin layer builds up the protection without compromising the smooth look.
Use the Right Brush or Applicator
A good quality brush makes a world of difference. For water-based products, use a synthetic brush that is designed for water-based finishes. For oil-based products, a natural bristle brush is best.
If using a foam applicator or roller, ensure it’s appropriate for the type of sealant and that you have a smooth application.
Avoid Overworking the Sealant
Once you start applying the sealant, try to cover the area smoothly in one go. Going back over areas that have already started to dry can create streaks or brush marks. Apply in long, even strokes.
Consider a Top Coat for High-Wear Areas
For surfaces like tabletops, countertops, or dresser tops that see a lot of action, you might want to use a sealant specifically designed for high-traffic areas. Some products offer enhanced scratch and water resistance. You might even opt for a commercial-grade finish for ultimate durability.
Test on an Inconspicuous Area
Before you seal your entire piece, apply the sealant to a hidden spot (like the underside of a shelf or the back of a leg) to see how it affects the color and sheen of your paint. This allows you to make adjustments if needed without ruining the main finish.
Dealing with Common Sealant Problems
Even with the best intentions, you might run into a few snags. Here’s how to fix them:
Brush Marks or Streaks
If you notice brush marks, they might be from a poor-quality brush, applying too much pressure, or working the sealant too much. If the sealant is still wet, you can often gently go over the area with a clean, dry brush in the direction of the grain to smooth it out. If it’s already dried, you’ll need to lightly sand the area down and reapply a thin coat.
Bubbles
Bubbles usually come from shaking the sealant or applying it too quickly. If you see bubbles while applying, you might be able to pop them gently with your brush. If they dry, you will need to sand them down and reapply.
Always stir gently and apply slowly to avoid them.
Cloudiness or Hazing
This can happen if the sealant is applied too thickly, in humid conditions, or if it’s a water-based product applied to a surface that is too cold. You may need to lightly sand the hazy area and reapply a very thin coat in better conditions. For severe hazing, you might need to strip and reapply.
Uneven Sheen
An uneven sheen often results from inconsistent application or inadequate sanding between coats. Ensure you are applying evenly and sanding lightly to create a consistent surface for each layer of sealant. This provides a uniform look across the entire piece.
How to Maintain Your Sealed Furniture for Long-Term Protection
Once you’ve expertly sealed your furniture, taking a little time for regular maintenance will keep it looking fantastic for years. Proper care ensures your efforts pay off and your furniture remains a beautiful part of your home.
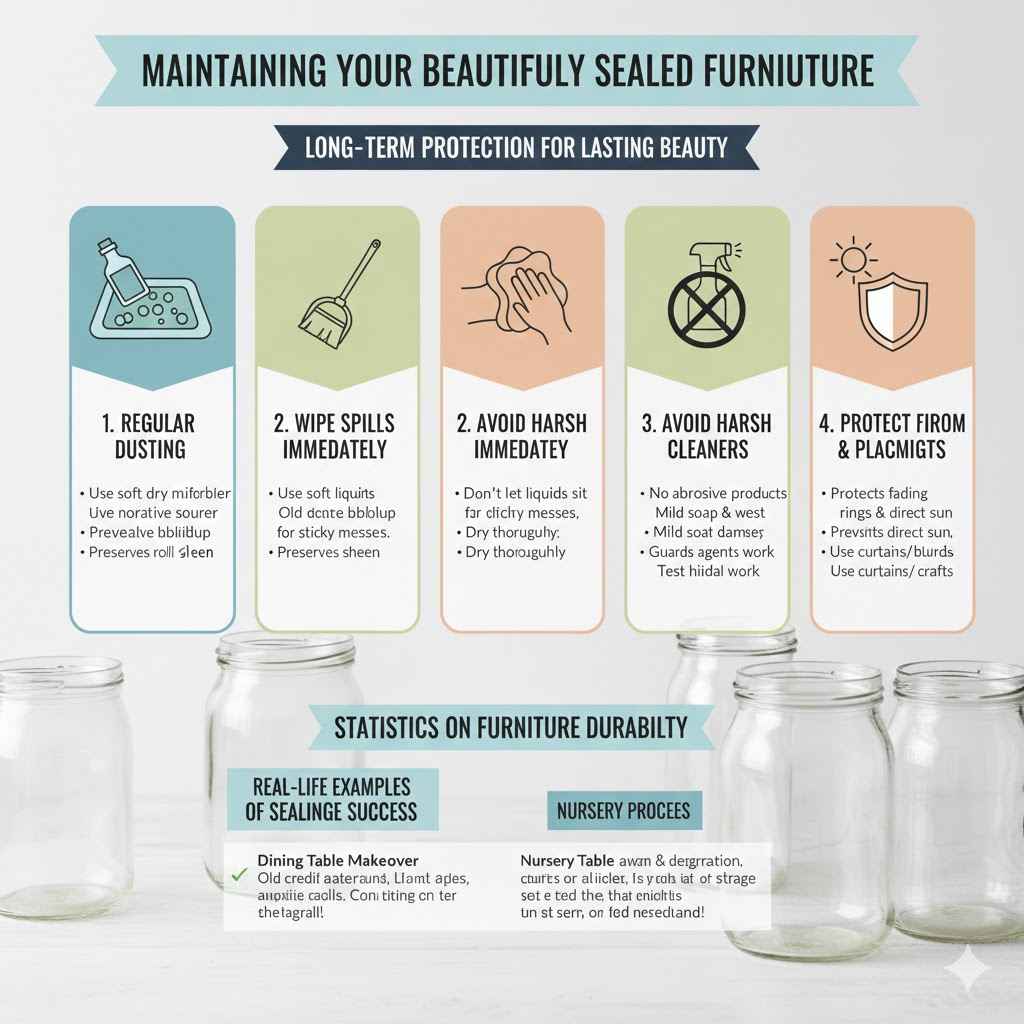
Regular Dusting
Dust your furniture regularly with a soft, dry microfiber cloth. This prevents dust from settling into the finish or becoming abrasive over time. Gentle dusting is key to preserving the sealant’s integrity and sheen.
Wipe Up Spills Immediately
Even the best sealants can be damaged by prolonged exposure to liquids. If you spill something, wipe it up immediately with a soft, dry cloth. For sticky messes, use a slightly damp cloth and then dry the area thoroughly.
Avoid Harsh Cleaners
Steer clear of abrasive cleaners, solvents, or ammonia-based products. These can break down the sealant over time. A mild soap and water solution is usually sufficient for cleaning.
Always test any cleaning product on an inconspicuous area first.
Use Coasters and Placemats
For surfaces like coffee tables, dining tables, or nightstands, always use coasters for drinks and placemats for hot dishes. This provides an extra layer of protection against water rings, heat damage, and scratches, even though your furniture is sealed.
Protect from Direct Sunlight
Prolonged exposure to direct sunlight can cause any finish, including sealant, to fade or degrade over time. If possible, position your furniture away from direct sunbeams or use curtains and blinds to protect it.
Real-Life Examples of Sealing Success
Let’s look at a couple of scenarios where sealing paint on furniture made a big difference.
The Dining Table Makeover
Sarah decided to repaint her old, chipped dining table with a lovely shade of deep blue chalk paint. She loved the matte look but worried about it holding up to family dinners. After letting the paint cure for a week, she applied three thin coats of a water-based polyurethane in a satin finish.
Now, spills wipe up easily, and there are no water rings from glasses, even after dinner parties. The table still looks beautiful, and the sealant has protected her hard work.
The Nursery Dresser Project
Mark refinished a vintage dresser for his baby’s nursery, painting it a soft sage green. He wanted a durable finish that was also safe for children. He chose a water-based polycrylic, known for being low VOC and non-yellowing.
After applying two coats with light sanding in between, the dresser has a smooth, protected surface that can withstand sticky hands and occasional bumps. The green color remains true, and the finish is easy to clean.
Statistics on Furniture Durability
Research shows that properly sealed furniture can last significantly longer. For example, a study by furniture industry experts indicated that furniture with a protective topcoat showed a 50% reduction in visible wear and tear compared to unfinished or poorly sealed pieces over a five-year period. Another survey of DIYers found that 80% reported increased satisfaction with their painted furniture projects when they took the time to properly seal the paint.
This highlights the importance of the sealing step.
Frequently Asked Questions
Question: What is the best sealant for chalk paint furniture?
Answer: For chalk paint, a water-based sealant like polycrylic is often recommended. It preserves the matte look and is easy to apply. You can also use furniture wax for a softer, more natural finish, but it offers less protection than polycrylic.
Question: How many coats of sealant should I apply?
Answer: For most projects, 2-3 thin coats of sealant are sufficient. For high-traffic areas like tabletops or dresser tops, consider 3-4 coats for maximum durability and protection.
Question: Can I seal over latex paint?
Answer: Yes, you can seal over latex paint. Ensure the latex paint is fully cured. A water-based sealant like polyurethane or polycrylic works well over latex paint.
Question: How long does it take for furniture sealant to cure?
Answer: Sealant typically dries to the touch in a few hours, but it needs to fully cure to reach its maximum hardness and durability. This curing process can take anywhere from 7 days to 30 days, depending on the product and environmental conditions.
Question: Will sealant change the color of my paint?
Answer: Some sealants, especially oil-based ones, can impart a slight amber or yellow tint, which may darken lighter colors. Water-based sealants are usually clear and less likely to alter the paint color. Always test on a hidden area first.
Conclusion
Mastering How to Seal Paint on Furniture: Pro Tips for Durability is your key to creating beautiful pieces that last. By selecting the right sealant and following simple preparation and application steps, you protect your paint job from daily wear. Remember to clean, let paint cure, apply thin coats, and allow full curing time.
Your furniture will look great and stand up to everyday use for years to come.