How to Square Rough Lumber: Jointer & Planer Guide
To square up rough lumber with a jointer and planer: flatten one face on the jointer, joint one edge square to that face, run the board through the planer to make the opposite face parallel, then rip the final edge square on the table saw. That four-step order matters – do it out of sequence and the board ends up twisted or out of true no matter how careful you are.
Rough-sawn lumber from the sawmill or big-box store is almost never flat, straight, or a consistent thickness. Before it can become a table leg, a drawer front, or anything that needs to fit tight against another piece, it has to go through what woodworkers call “four-squaring” – the process of turning a rough board into one with two flat parallel faces and two straight edges, each meeting the next at a true 90 degrees. A jointer and thickness planer are the fastest, most repeatable way to get there, and this guide walks through the exact sequence, the mistakes that ruin a board halfway through, and how the power-tool method compares to squaring a board entirely by hand.
What “Four-Square” Lumber Actually Means
A board is “four-square” once it has one flat reference face, a second face that’s flat and parallel to the first, and two edges that are straight and square (90 degrees) to the faces. That’s six checks in total – two faces flat and parallel, two edges straight and square – and skipping any one of them shows up later as a cabinet door that won’t sit flush or a leg that rocks on the floor. A jointer creates the first flat reference face and the first square edge; a planer copies that flatness to the opposite face; a table saw (or the jointer again) finishes the second edge. None of the three tools can do the whole job alone.
Best Jointer/Planer Combo For Milling Rough Lumber
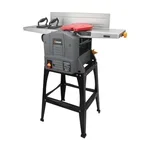 |
Hoteche 10-Inch Benchtop Jointer & Planer Combo – $399.99 Covers both the face-jointing step and the thickness-planing step in this guide from a single benchtop machine, with a stand included.
|
Tools You Need
A benchtop or full-size jointer handles the first flat face and first straight edge. A thickness planer takes over from there to make the second face parallel. A table saw with a sharp rip blade squares the final edge to width, though a jointer can do that last edge too if the board is narrow enough to fit. Beyond the three power tools, keep a reliable combination square or engineer’s square on hand to check every face and edge as you go – don’t wait until the end to find out a cut was off. Push blocks or push pads, safety glasses, and hearing protection aren’t optional; both the jointer and planer throw chips fast and run loud.
Step 1: Flatten the First Face on the Jointer
Start by crosscutting badly bowed or twisted stock into shorter, more manageable lengths before jointing – a 3-foot section of a bowed 8-foot board flattens in far fewer passes than trying to tame the whole board at once, and you lose less material overall. Set the jointer’s infeed and outfeed tables level with each other and take light cuts, around 1/16 inch per pass. Feed the board with the grain running “downhill” relative to the cutterhead to avoid tear-out, and check periodically with a straightedge held diagonally across the face. You’re done with this step only when a single pass removes material across the entire face, edge to edge and end to end – if there’s still a low spot the cutterhead skips over, keep going.
Step 2: Joint the First Edge Square to the Face
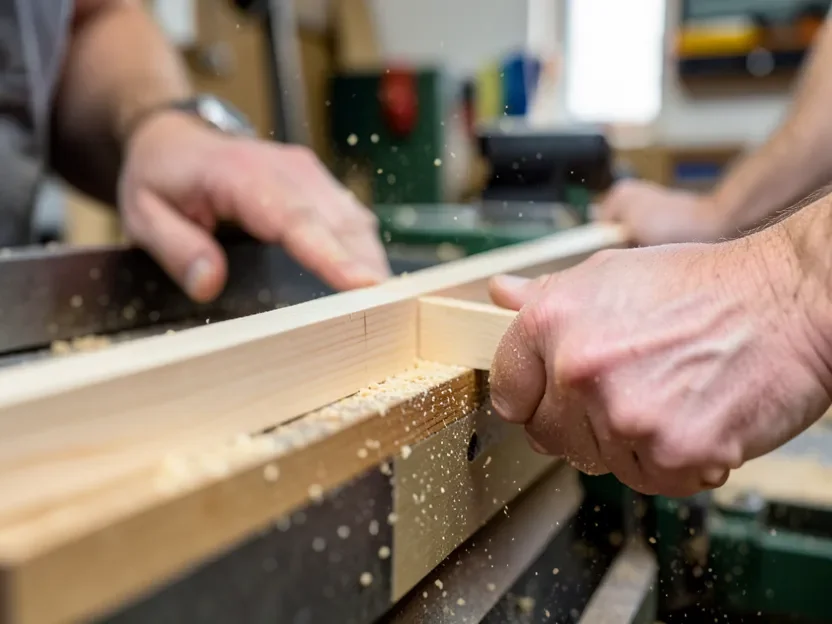
Flip the board on edge with the freshly flattened face held firmly against the jointer’s fence – that fence is what makes this edge come out at 90 degrees to the face, so keep steady pressure against it through the entire pass. Run the edge over the cutterhead the same way you flattened the face: light cuts, repeated until one pass produces a continuous shaving from one end of the board to the other. Check the result with a square against the face you jointed first; there should be no visible gap of light between the blade and the wood at any point along the joint.
Step 3: Plane the Second Face Parallel
With one flat face and one square edge done, move to the thickness planer. Place the jointed face down on the planer bed – that face is now your reference, and the planer’s job is to copy its flatness onto the top face while bringing the board to final thickness. Take passes of about 1/16 inch or less; pushing for a deeper cut in one pass is the single most common cause of “planer snipe,” the shallow gouge that shows up at the start and end of a board when the infeed and outfeed rollers aren’t both supporting the wood at the same time. Support the board’s ends with roller stands so it can’t dip as it enters or exits, and alternate which face contacts the bed every other pass on thicker stock – this equalizes moisture release from both sides and cuts down on cupping after the fact.
Step 4: Rip the Second Edge Square on the Table Saw
The last unfinished surface is the second edge. Set the table saw fence to the finished width you need, with the first jointed edge riding flat against the fence, and rip the board to width. Because the fence is parallel to the blade and the first edge is already square to both faces, this final rip comes out square automatically – you’re not aiming a cut by eye at this stage, the machine is doing the geometry for you. On boards narrow enough to fit the jointer’s capacity, you can joint this second edge instead of ripping it; either method works as long as the first edge stays referenced against a fence.
Common Mistakes That Ruin a Square Board
Forcing a badly warped or twisted board flat through the jointer with hand pressure is the most common failure – the cutterhead only removes material where it touches, so pressing a cupped board flat just makes it spring back to its original shape the moment you let go. Let the jointer remove wood gradually instead of trying to muscle the board straight. Feeding against the grain direction causes tear-out that no amount of sanding fully hides, so check grain direction on the board’s edge before the first pass and flip the feed direction if you’re getting chipped-out patches instead of clean shavings. Skipping the straightedge and square checks between steps is the other big one – a small error compounds through all four steps, and a board that’s slightly off after jointing only gets more off after planing and ripping, not less.
Jointer/Planer Method vs. Squaring by Hand
The jointer-and-planer sequence above is faster and more consistent across multiple boards, which is why it’s the standard in shops milling more than a board or two at a time. It does mean an investment in machines and the shop space to run them. If you don’t have that equipment, or you’re working a single board and want to build hand-tool skill, a hand plane and winding sticks can get you to the same six-sided result – it just takes longer per board and depends more on practiced technique. The full walkthrough for that approach, including how to check for flatness without a jointer at all, is in our guide to squaring wood by hand. If you own a benchtop planer but no jointer, see how to mill wood without a jointer using a planer sled.
Safety Notes
Always use push blocks or push pads on the jointer and planer, never bare hands, especially as a board’s trailing end clears the infeed table. Keep the jointer’s cutterhead guard in place except for the instant a cut requires it out of the way, and lower it again immediately after. Wear safety glasses and hearing protection for both machines – a benchtop planer routinely runs well above 100 decibels. Check that stock is free of nails, staples, or embedded grit before it goes anywhere near a cutterhead; a single nail can chip carbide knives and send debris flying.
Frequently Asked Questions
What order should I square a board: jointer first or planer first?
Jointer first. The jointer flattens one face and squares one edge to it; the planer can only copy an existing flat face onto the opposite side, it can’t create flatness on its own. Running a warped board through the planer before jointing just produces a board that’s warped and thinner.
Can I square lumber with only a planer and no jointer?
Not reliably on its own, since a planer only makes the two faces parallel to whatever face is riding the bed – if that face isn’t flat to begin with, the planer reproduces the same warp on the other side. A common workaround is a shop-made planer sled: shim the board so it sits still relative to the sled, plane one face flat using the sled as the reference, then flip the board over and plane the second face normally.
Why does my planer leave gouges at the ends of the board (snipe)?
Snipe happens when only one set of infeed or outfeed rollers is supporting the board’s weight instead of both, letting the cutterhead dip slightly as the board enters or exits. Supporting both ends with roller stands set level with the planer bed, and cutting boards a few inches longer than the finished length so the sniped ends can be trimmed off, both fix it.
How much material should I remove per pass when squaring rough lumber?
About 1/16 inch (roughly 1.5mm) per pass on both the jointer and the planer for most hardwoods. Heavier cuts remove material faster but strain the motor, increase tear-out, and make snipe worse; on figured or highly interlocked grain, dropping to 1/32 inch per pass often gives a cleaner surface with less sanding afterward.
Conclusion
Squaring rough lumber with a jointer and planer comes down to sequence: flatten a face, square an edge to it, plane the opposite face parallel, then rip or joint the last edge square. Each step depends on the one before it, so checking with a straightedge and square between passes – not just at the end – is what keeps small errors from becoming a board that’s out of true. Once you’ve run a few boards through the full sequence, it becomes a fast, repeatable part of milling stock rather than a guessing game.
Sponsored / affiliate links. As an Amazon Associate I earn from qualifying purchases. I may earn additional commission from eligible campaigns.