How to Mill Wood Without a Jointer (Planer Sled Method)
You can mill rough lumber flat and square without a jointer by splitting the job in two: flatten one face with a planer sled (or a hand plane or router sled), then straighten one edge with a straight-line rip jig or a router and straightedge. After that, the planer and table saw finish the board the normal way.
The catch is that a planer on its own cannot do the first step, and most guides gloss over why. This page walks through the full sequence in order, with a stock-loss table that shows how much thickness a warped board really costs you, so you know before you start whether a board is worth saving.
Why a Planer Alone Will Not Flatten a Board
Best Planer Pick for a Sled
 |
WEN PL1252 12.5-Inch Benchtop Thickness Planer, about $296 A benchtop planer is the machine a planer sled rides through, so it is the one tool that replaces a jointer’s face-flattening job in a small shop.
|
A thickness planer makes the top of a board parallel to its bottom. It does not make either face flat. The feed rollers press a bowed or cupped board down as it goes through, the cutterhead removes material from the top, and once the board exits and the pressure is gone it springs back to its old curve. What comes out is a board of even thickness that is still cupped, just thinner.
That is the reason a jointer exists: its long infeed and outfeed tables give the board a flat reference that is not squeezed by rollers. To do the same job without one, you need a way to hold the board so it cannot flex or rock while a cutter passes over it. Every method below is a variation on that idea.
| Defect | What it looks like | Fixed by a planer alone? | What actually fixes it |
|---|---|---|---|
| Cup | Face curves across the width, edges high or low | No, it springs back | Sled, hand plane, router sled, or rip the board narrower first |
| Bow | Face curves along the length like a banana lying on its flat side | No | Sled with shims under the low spots, or hand plane |
| Crook | Edge curves along the length; the board looks straight from above but not from the side | No, the planer never touches the edge | Straight-line rip jig, router with straightedge, or hand plane |
| Twist | One corner higher than the diagonal one, so the board rocks on a flat surface | No | Sled shimmed at three points, or hand plane guided by winding sticks |
Step 1: Prep the Board Before Any Cutter Touches It
- Cut oversize. Crosscut the board a few inches longer than final length. Short boards are harder to keep stable on a sled and are more likely to be grabbed by a planer.
- Let it rest. Rough lumber often moves as soon as you cut it, because internal stress is released. Cut it to rough size, let it sit for a day or two, then check it again before flattening.
- Check for metal. Reclaimed and pallet lumber can hide nails and staples that will chip planer knives and can eject fragments. Scan it or skip it.
- Mark the high spots. Lay a straightedge on the board and draw pencil lines where it rocks. Those lines tell you where the cutter will work first.
Step 2: Flatten the First Face
You have three realistic options in a shop without a jointer. Pick by board width and by how much you already own.
The planer sled (best for boards up to your planer width)
A planer sled is a flat, stiff carrier, usually a piece of 3/4 in. MDF or melamine-coated panel, with a stop cleat at the back so the board does not slide off the sled. The board sits on the sled and is shimmed so it cannot rock. Hot glue or double-sided tape holds the shims under the board, and a chisel pops the glue free afterward. Because the sled rides on the planer bed, the planer cuts the exposed top face while the sled, not the rollers, is the reference.
- Support the board along its whole length if it is thin enough to flex under the cutterhead.
- Shim the low spots so the top of the board is as close to level as you can get it. That keeps you from removing more wood than you need to.
- Take shallow passes and stop when the cutter has touched the whole face.
- Once the top face is flat, take the board off the sled, flip it, and plane the second face straight through the planer with no sled. It will now be parallel to the first.
The sled base has to be truly flat and rigid, because the sled is your new jointer bed. A sagging or warped sled will copy its own curve into every board.
A hand plane (best for a few boards or narrow stock)
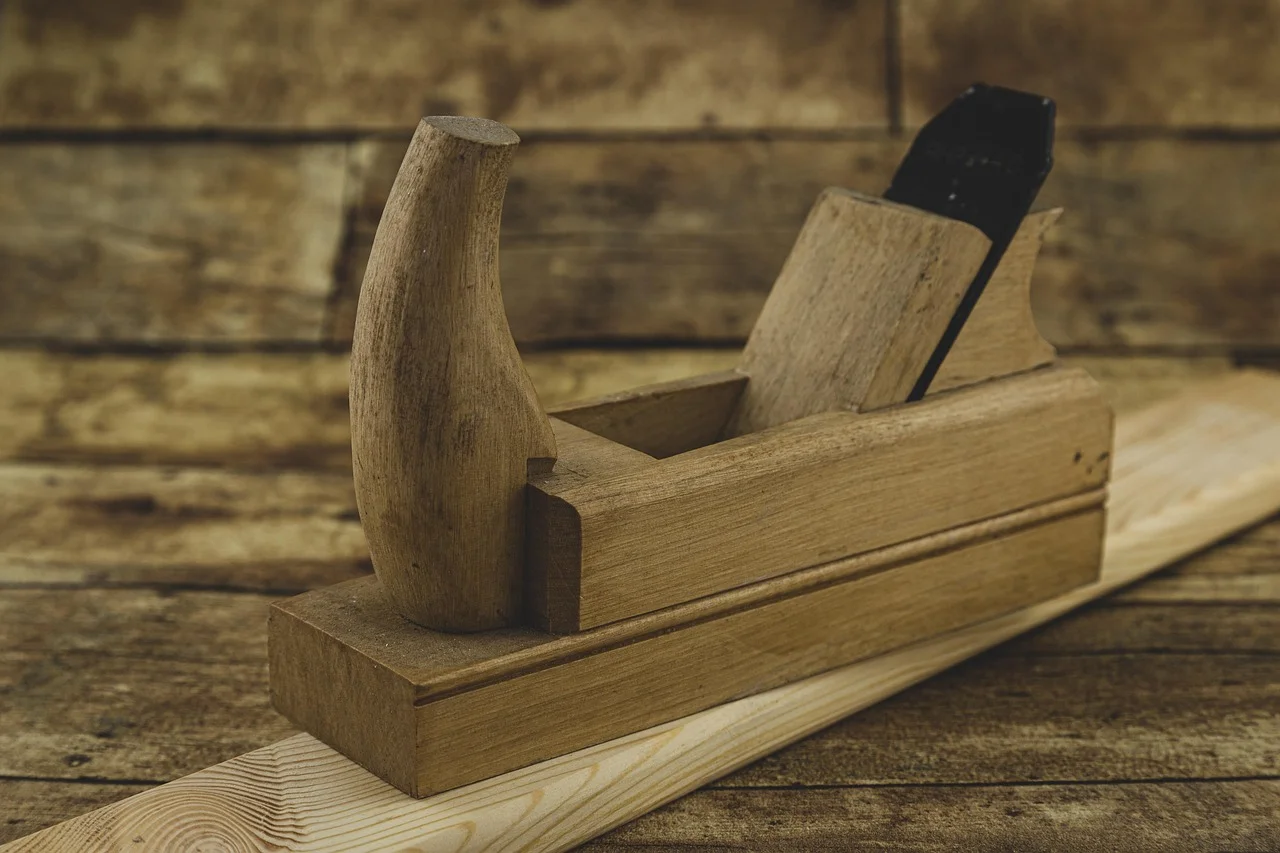
A jack plane, roughly 14 in. long, works across the grain to knock down the high spots, then along the grain to smooth them. Use two winding sticks, which are just two straight strips, one at each end of the board, and sight across their tops to see twist. Plane the high corners until the sticks line up. It is slow but needs no sled and no dust collector, and it is the right choice for a handful of boards or short pieces that a planer might grab.
A router sled (best for slabs and boards wider than your planer)
A router carriage rides on two rails on either side of the workpiece, and a large-diameter surfacing bit removes the high spots in overlapping passes. It is a standard way to flatten a slab that will not fit through a planer. Shim the board so it cannot rock, take light passes, and expect a lot of chips. Our guide on flattening wood without a planer covers the router sled method in more detail.
How Much Wood Will You Lose? A Stock Budget
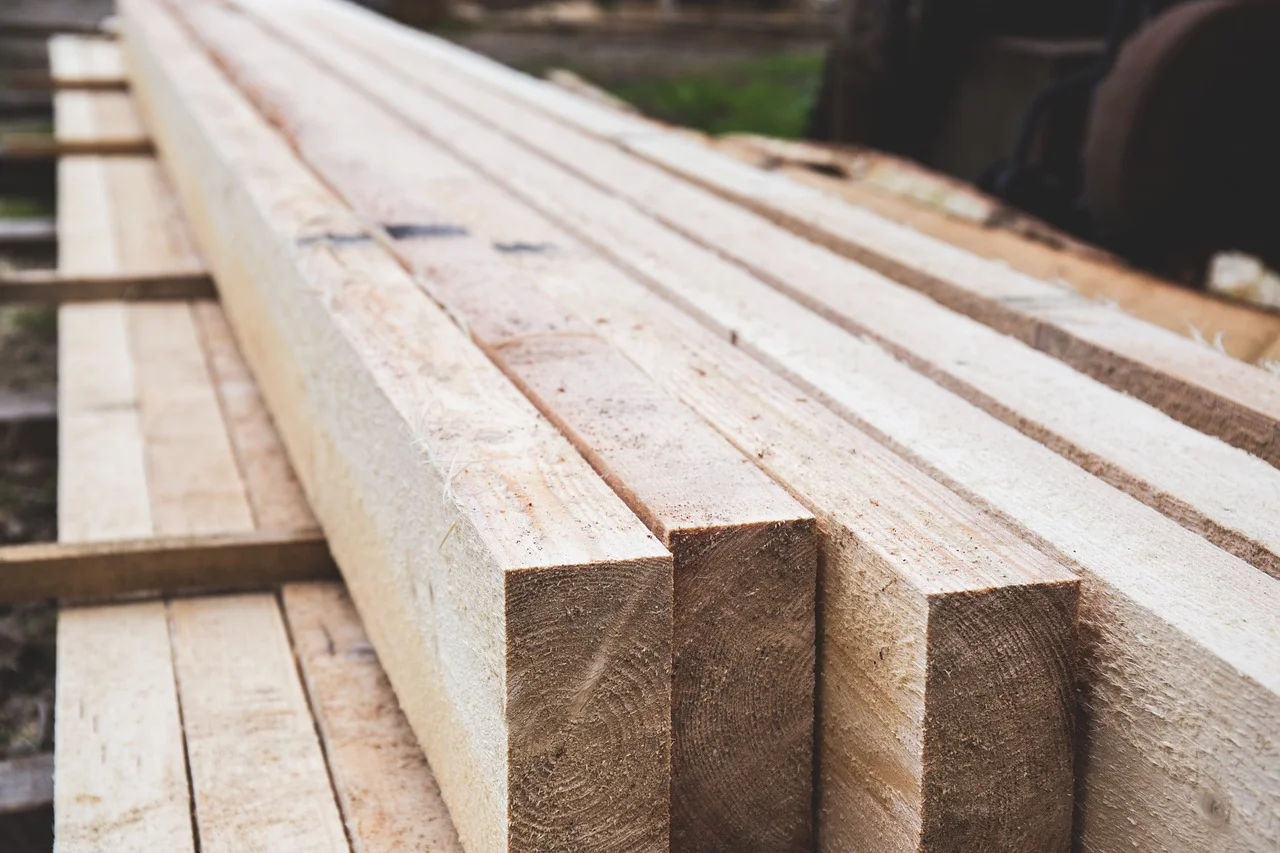
Flattening removes wood, and the amount depends on how bad the defect is. To flatten a cupped face, you have to remove at least the depth of the cup, measured with a straightedge at the deepest point. The table below is my arithmetic, using a typical 1 in. thick (4/4) rough board that you want to finish at 3/4 in. It shows why a badly cupped board often cannot be saved at full thickness.
| Cup depth across the face | Minimum removed to flatten | Thickness left from 1 in. | Spare above 3/4 in. target | Passes at 1/16 in. on the sled |
|---|---|---|---|---|
| 1/16 in. | 1/16 in. | 15/16 in. | 3/16 in. | 1 |
| 1/8 in. | 1/8 in. | 7/8 in. | 1/8 in. | 2 |
| 3/16 in. | 3/16 in. | 13/16 in. | 1/16 in. | 3 |
| 1/4 in. | 1/4 in. | 3/4 in. | none | 4 |
A board with a 1/4 in. cup leaves no margin at all, and any error means it finishes under 3/4 in. Measure before you start, and if the margin is under 1/16 in., plan the project around thinner stock or choose a different board.
The Ripping Trick That Cuts the Cup to Roughly a Quarter
For a uniform curved cup, the depth grows with the square of the width. Ripping an 8 in. board into two 4 in. strips cuts the cup in each strip to about a quarter of the original, so a 1/4 in. cup becomes roughly 1/16 in. and the same board flattens with far less loss. You can glue the strips back together later. This is geometry, not a rule, so real boards with an uneven or S-shaped cup will not follow it exactly, but it is an effective way to save a stubborn piece.
Step 3: Straighten One Edge
Once one face is flat, the jointer normally squares an edge to it. Without one, use any of these, all of which are covered in full in our other guides:
- Circular saw and straightedge, router with a flush-trim bit, hand plane, or a table saw sled: the full step-by-step on each edge-jointing method.
- Using a table saw as an edge jointer: explains the kickback risks and why it works for edges only, never faces.
Put the flat face down on the saw table or router base and the straightened edge against the fence, so the finished edge stays square to the flat face. A jig carries the board, so you are not asking the fence to guide a curved edge.
Safety note: never rip a board freehand on a table saw if its edge is bowed or crooked. The edge cannot ride the fence steadily, and the board can bind and kick back. The straight-line jig exists to remove that risk. Use a push stick and keep your hands out of the blade path.
Step 4: Thickness, Rip to Width, Crosscut to Length
- Plane the second face to final thickness through the planer, with the flat face down on the bed. Take light passes near the end to reduce snipe, the small dip that can appear within a few inches of each end of the board.
- Rip the second edge on the table saw with the straightened edge against the fence, which makes the two edges parallel and sets the final width.
- Crosscut both ends square, using a miter gauge or a crosscut sled, to remove any snipe and reach final length.
That gives you what woodworkers call four-square lumber. Our page on squaring rough lumber with a jointer and planer shows the same sequence with a jointer, so you can compare the two workflows.
Planer Safety and Common Mistakes
- Short boards: most benchtop planers have a minimum board length, and the manual for your model will state it. Do not run pieces shorter than the manual allows.
- Hearing and dust: a planer is loud and throws a lot of chips. Wear hearing protection, eye protection, and a dust mask, and connect dust collection.
- Feeding a warped board without a sled: it will come out thinner but still warped, and a badly bowed board can hang up on the infeed.
- Skipping the rest period: milling a board and using it the same hour is how a flat panel turns into a cupped one overnight. Stack milled boards flat, with stickers if you can, until they settle.
- Removing too much per pass: the WEN in the box above lists a 1/8 in. maximum per pass, but lighter passes leave a cleaner surface and load the motor less.
If you are still deciding whether you need a jointer at all, our breakdown of whether you really need a jointer covers when a sled is enough and when it is not. And if buying pre-surfaced boards is easier, see what S4S means in lumber before you order.
Frequently Asked Questions
How Can I Mill Wood Without a Jointer?
Flatten one face with a planer sled, a hand plane, or a router sled, then straighten one edge with a straight-line rip jig or a router and straightedge. After that, plane the second face to thickness, rip the second edge on the table saw, and crosscut the ends square.
Can a Planer Flatten a Board Without a Jointer?
Not by itself. The feed rollers flatten a warped board while it passes through, then it springs back, so the planer only makes the thickness even. A planer sled that holds the board on a flat carrier lets the planer do the flattening.
What Is a Planer Sled?
A planer sled is a flat, rigid carrier, usually MDF or melamine panel, with a back stop. The board is shimmed and held on top so it cannot rock, and the whole assembly runs through the planer so the top face is cut flat against the sled.
How Much Thickness Do I Lose Flattening a Cupped Board?
You lose at least the depth of the cup on the flattened face. A 1/8 in. cup takes 1/8 in. off a 1 in. board, and a 1/4 in. cup leaves a 1 in. board at only 3/4 in. thick, with no margin.
Can I Use a Table Saw Instead of a Jointer?
Only for edges, and only with a jig that carries the board. A table saw cannot flatten a face, and ripping a board with a bowed or crooked edge freehand against the fence risks binding and kickback.
The Bottom Line
Milling without a jointer is a two-step workaround: get one flat face by holding the board still while a cutter passes over it, then use that face to make a straight edge. A benchtop planer with a sled handles the face for boards up to its width, a hand plane handles small jobs, and a router sled handles slabs. Measure the cup first, because a badly warped board may not survive at full thickness.
Sponsored / affiliate links. As an Amazon Associate I earn from qualifying purchases. I may earn additional commission from eligible campaigns.