How to Take Up a Hardwood Floor Without Damaging It
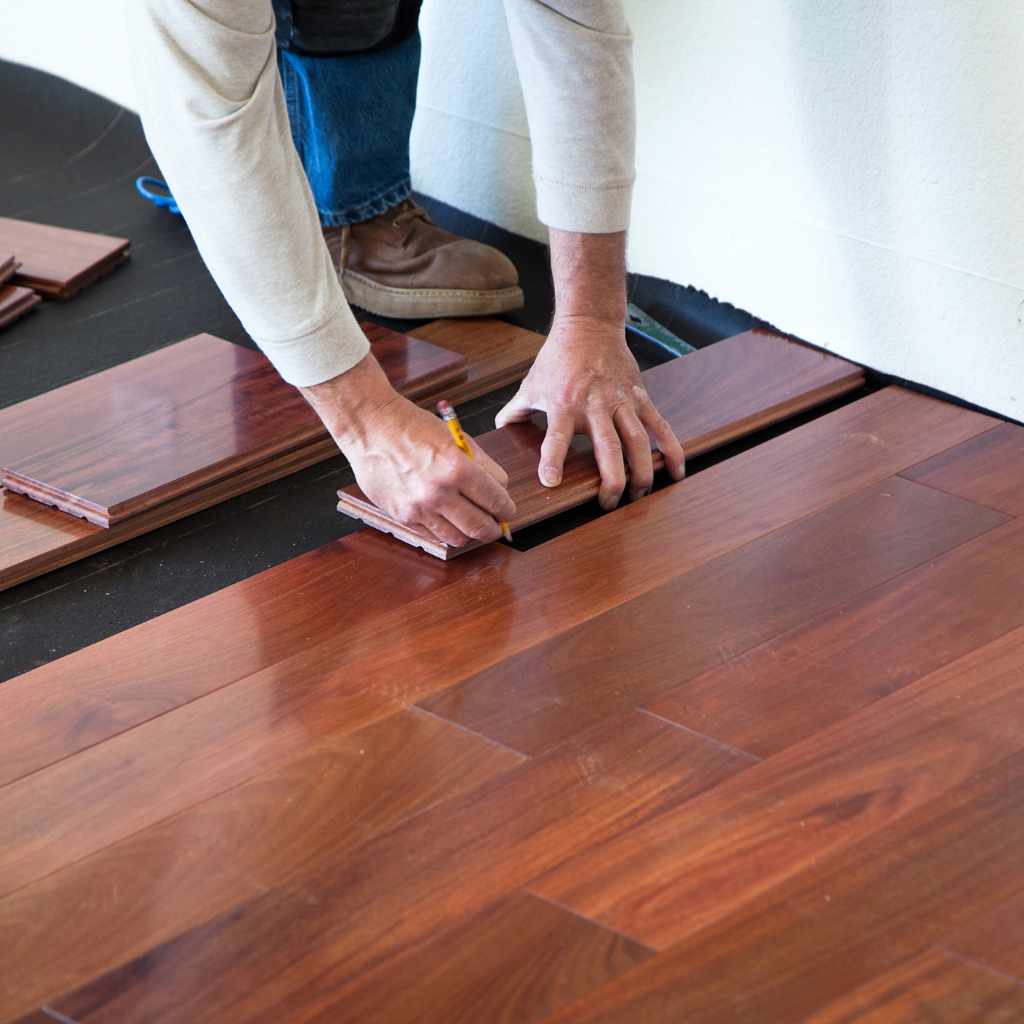
The fastest way to take up a hardwood floor without damaging the subfloor is to cut through the tongue of each board with a circular saw set to blade depth just under the wood’s thickness, then pry from that cut line instead of forcing a pry bar under an intact tongue-and-groove joint. That single technique is the difference between a clean afternoon job and a floor that fights you the whole way.
There are two different jobs hiding under “remove hardwood floor”: tearing out an entire room to replace the flooring, and pulling up a handful of boards to fix a squeak, water stain, or hidden pipe. This guide covers both, plus one safety check most removal guides skip entirely.
Before You Start: Check for Old Adhesive
MAKES BOTH TRIM AND FLOOR PRYING EASIER
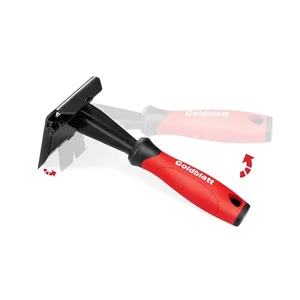 |
Goldblatt Trim Removal Tool – $17.62 A wide, flat pry tool spreads force across more surface than a standard pry bar, which is exactly what keeps baseboards and floorboard edges from splitting.
|
If the house was built or the floor was installed before the early 1980s, there’s a real chance the black mastic adhesive under a glue-down hardwood floor (or under an older layer of vinyl beneath it) contains asbestos. This isn’t a formality – disturbing that mastic by scraping or sanding it dry is how asbestos fibers become airborne. If you have any doubt about the age of the installation, have a sample tested by a local lab before you start scraping adhesive, or hire an abatement contractor for that step. Everything else in this guide is safe to DIY; that one check is worth the delay.
Tools You’ll Actually Need
- Circular saw – set the blade depth to about 3/4 inch (match your flooring’s actual thickness) to score the tongue side of each board without cutting into the subfloor
- Flat pry bar and a wide trim tool – the wide flat tool (like the pick above) spreads force for baseboards and the first course of boards; a standard flat bar handles the rest
- Hammer and cat’s paw or needle-nose pliers – for pulling embedded nail heads and cleats left behind after boards come up
- Oscillating multi-tool – the one tool that makes partial/repair removal realistic; it cuts a clean line mid-board without disturbing the boards on either side
- Heat gun (glue-down floors only) – softens old adhesive so a floor scraper can lift it instead of gouging the subfloor
- Safety glasses, N95 or better dust mask, knee pads, work gloves – old finish dust and flying staples are the two most common injuries on this job
- Heavy-duty contractor bags or a rented dumpster for debris, plus a shop vacuum for the fine dust that settles after
Full Removal: Tearing Out an Entire Room
Clear the room completely, shut off electricity to any outlets or fixtures in the floor path, and pull baseboards first with the wide trim tool – work the blade behind the board every 6-8 inches rather than trying to pop the whole length at once, and number the pieces on the back if you plan to reinstall them.
Identify Nail-Down vs. Glue-Down
Nail-down strip flooring shows small nail or staple holes along the plank edges and lifts with a pry bar once the tongue is cut free. Glue-down flooring sits flush with no visible fasteners – plan on a heat gun and floor scraper, and expect the job to take noticeably longer per square foot than a nail-down floor.
Cut the Tongue, Then Pry
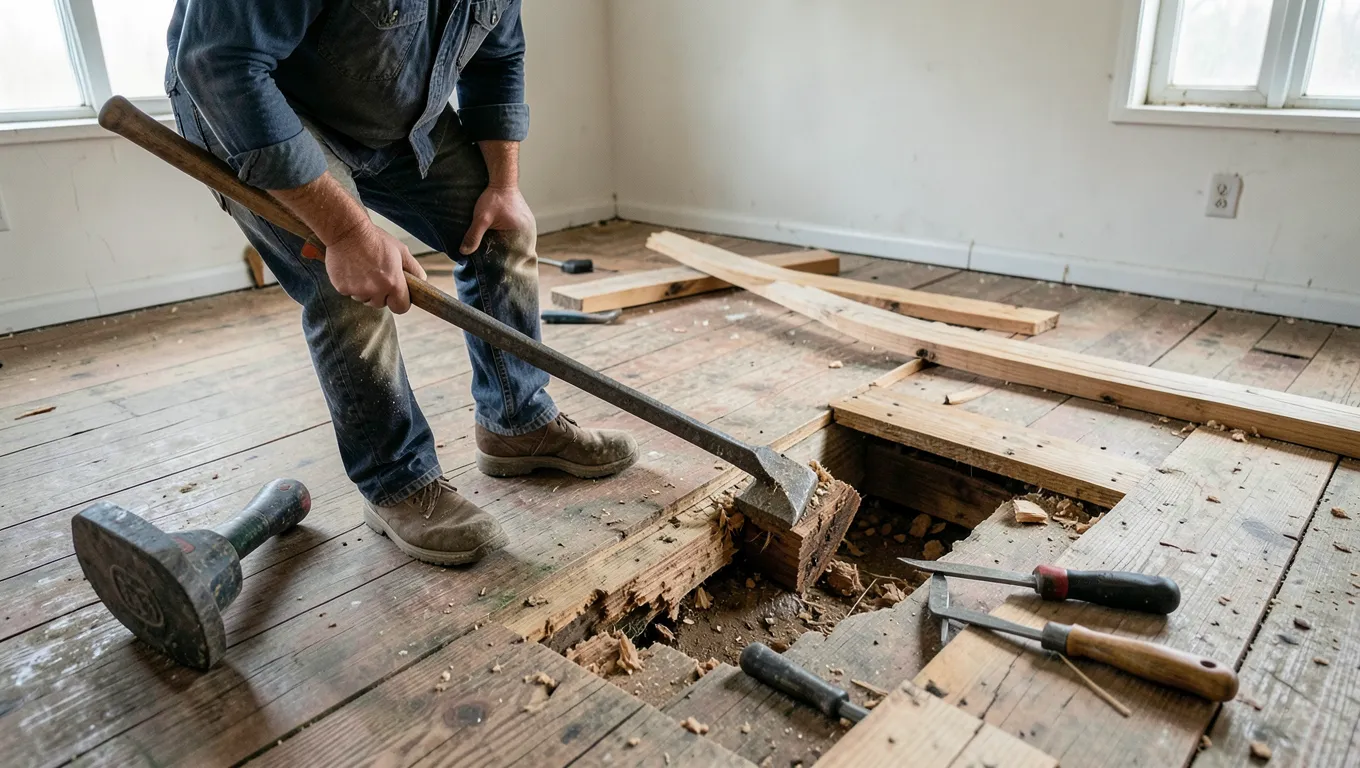
Set the circular saw to the flooring’s thickness and run a cut down the tongue side of the first row, a few inches in from the wall. That severs the interlock so you’re prying one loosened board instead of fighting the tongue-and-groove connection to its neighbor. Work the pry bar under the cut edge, lift, and repeat row by row toward the far wall. If a board splits instead of lifting, cut it in half across the width and remove each piece separately rather than forcing it.

Stubborn Sections and Old Cleats
Floors installed with a pneumatic flooring nailer use L-shaped or T-shaped cleats angled through the tongue – they don’t back out the way a straight nail does, so don’t waste time trying to pull them individually. Cut those boards free with the saw and worry about the leftover cleats when you get to subfloor cleanup; a cat’s paw or a pair of diagonal pliers pulls them from the subfloor much faster than trying to extract them mid-board.
Partial Removal: Pulling Up Boards for a Repair
If you’re only removing a section – around a leak, a squeak, or a damaged board – full-room demolition techniques will wreck boards you meant to keep. Use the oscillating multi-tool to cut straight across the damaged board (or boards) at both ends of the section, then split the board lengthwise down the middle with a chisel to relieve the tongue-and-groove pressure on the good boards next to it. This leaves the surrounding floor’s joints intact instead of chewing through them with a pry bar.
To reinstall a replacement board in a spot repair, cut off the bottom lip of the groove side on the new piece (a technique flooring pros call a “California cut”) so it can drop straight down into place instead of needing to slide in from the end of the row. Face-nail or screw-and-plug it, since you can’t blind-nail through the tongue on an isolated board the way you could during original installation.
Subfloor Cleanup and Inspection
Once the boards are out, pull remaining nails and cleats, then scrape adhesive residue with the tool held at a low angle so you’re shaving the glue off rather than gouging the subfloor underneath (see the asbestos note above before scraping anything from a pre-1980s glue-down floor). Walk the whole subfloor and press on it by hand and with a hammer tap-test – a hollow or springy sound means delamination or rot that needs to be cut out and patched before new flooring goes down. Fill small gouges with wood filler, replace any soft plywood sections, and sweep or vacuum thoroughly – debris trapped under new flooring telegraphs through as bumps later.
What to Do With the Old Hardwood
Boards removed by the cut-the-tongue method are rarely reusable as flooring since each one loses its tongue edge; save intact pieces for shims, small repair patches, or shop projects instead of planning to relay them. For disposal, many municipal yard-waste or C&D (construction and demolition) drop-off sites accept clean wood separately from mixed debris, and some accept it for mulching – check local rules before mixing it with regular trash, since bulk wood often has separate pickup or fees. Pull and bag loose nails first so the load can go through standard recycling processing instead of being rejected for metal contamination.
Frequently Asked Questions
How do I open floorboards without damaging the wood?
Cut the tongue side of the board with a circular saw set to the flooring’s thickness before prying. Prying an uncut tongue-and-groove joint is the single most common way boards split during removal.
What tools do I need to remove hardwood floors?
A circular saw, a flat pry bar plus a wide trim tool for baseboards, a hammer with a cat’s paw for nails, and an oscillating multi-tool if you’re doing a partial/repair removal instead of a full tear-out. Add a heat gun if the floor is glued down.
What is the best way to tear up a hardwood floor without damaging the subfloor?
Cut boards free at the tongue rather than prying blind, keep the pry bar’s fulcrum on the board being removed (not resting on the subfloor), and scrape any glue residue at a low angle instead of digging straight down into the plywood.
How do I remove a hardwood floor for repair without redoing the whole room?
Cut across the damaged board at both ends with an oscillating multi-tool, split it down the middle to release grip on the neighboring boards, then pull the two halves free. A “California cut” replacement board (bottom groove lip removed) drops into the gap without needing to slide in from a row end.
Can removed hardwood floors be reused?
Rarely as flooring, if you used the tongue-cut method, since each board loses its interlocking edge. They’re still useful for repair patches, shims, or small shop projects, and are recyclable as clean wood at most C&D drop-off sites once nails are removed.
How long does it take to remove hardwood flooring?
A nail-down floor in an average 12×12 room typically takes a DIYer 4-8 hours including baseboard removal and subfloor cleanup. Glue-down floors take noticeably longer per square foot because of the scraping step, sometimes a full day or more for the same size room.
Bottom Line
Most of the frustration in taking up a hardwood floor comes from trying to pry an intact tongue-and-groove joint instead of cutting it free first. Score the tongue with a circular saw, pry from that cut, and use the multi-tool trick if you only need a few boards out for a repair. Check the adhesive age before you scrape anything on a glue-down floor, clean and inspect the subfloor once the wood is up, and you’ll have a solid base ready for whatever goes down next.
Sponsored / affiliate links. As an Amazon Associate I earn from qualifying purchases. I may earn additional commission from eligible campaigns.