How to Two-Tone Stain Wood: Masking vs. Sand-Through Method
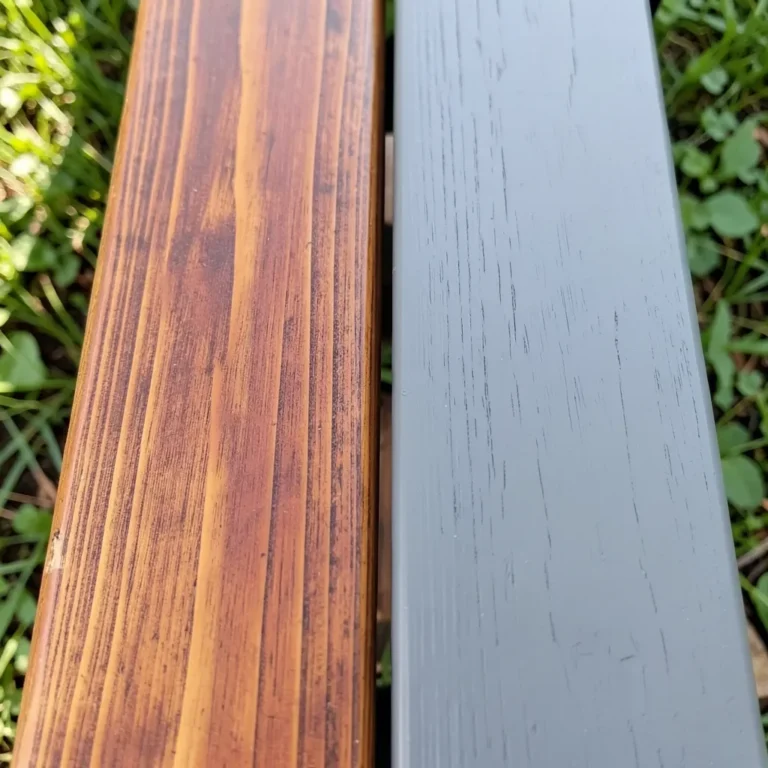
Two-tone stain wood by masking off one section with painter’s tape and gel stain for the dark half, or by sanding the dried first coat with 120-150 grit paper to strip color from raised grain before brushing on a lighter shade — gel stain skips the sanding step entirely. Skip the wood conditioner on blotchy species like pine and the second color absorbs unevenly instead of blending cleanly. This guide covers both methods, which stains hold a sharp masked line, and how to seal the finished piece.
What You’ll Need for Two-Tone Staining
Best Gel Stain for a Two-Tone Line
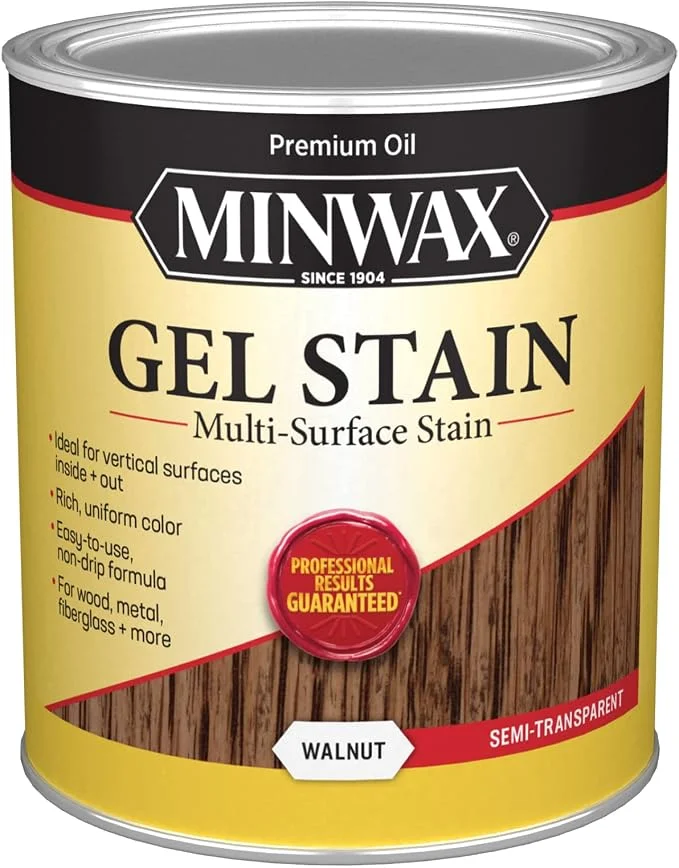 |
Minwax Gel Stain, Walnut, 1 Quart – $19.99 This is the gel stain this guide recommends for the darker half of a two-tone project — its thick, non-drip formula holds a sharp line at painter’s tape instead of bleeding underneath like a thin liquid stain.
|
Two-tone staining needs the same basics as a single-color job, plus painter’s tape and a second stain that contrasts with the first. A gel stain is worth having on hand for the darker half — its thick body resists bleeding under a taped edge, which a thin wiping stain will do.
| Item | Why You Need It |
|---|---|
| 150 and 220-grit sandpaper | 150-grit for the sand-through method, 220-grit for final smoothing |
| Pre-stain wood conditioner | Prevents blotchy absorption on pine, maple, and alder |
| Two contrasting stains | A gel stain for the darker tone holds a cleaner masked line |
| Sharp painter’s tape | Creates the masked edge for the second color |
| Foam brush or lint-free rags | Applies stain and wipes off excess |
| Clear topcoat | Seals both tones under one finish once staining is done |
Masking vs. Sand-Through: Two Ways to Get a Clean Two-Tone Line
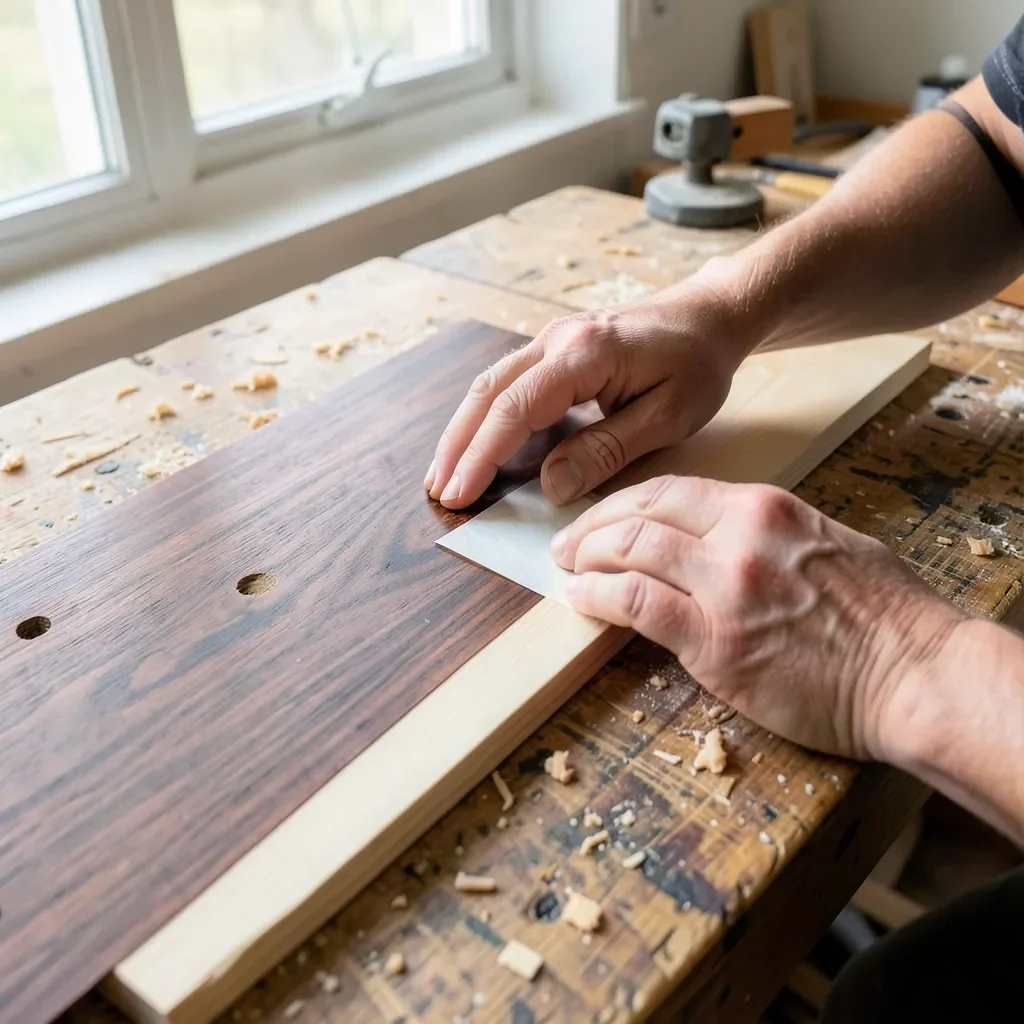
There are two real ways to get two colors on one piece of wood, and they produce different-looking results. Masking gives you a sharp, deliberate edge — good for drawer fronts, panels, or anywhere you want a straight or shaped line between colors. Tape off the area that’s staying the lighter color, apply the darker stain to the exposed section, then remove the tape once the stain has set.
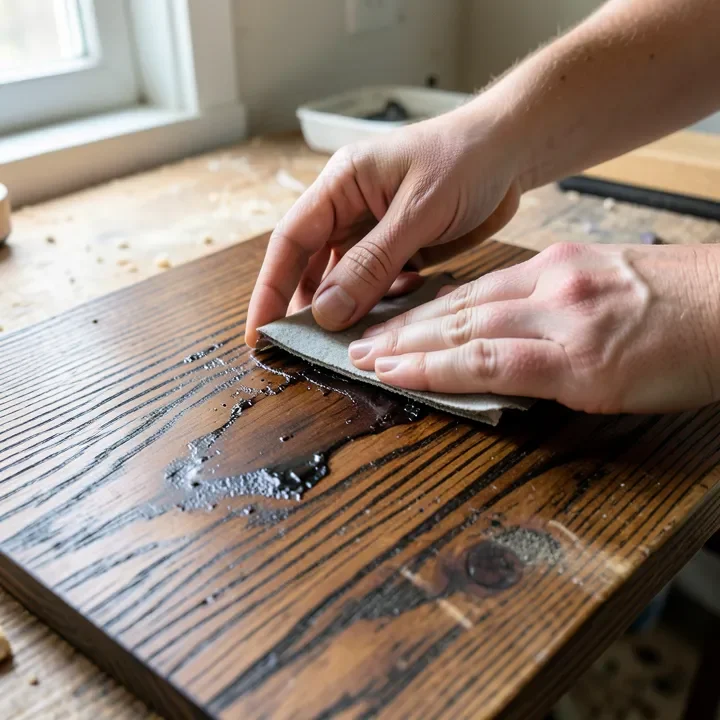
Sand-through works differently and follows the wood grain instead of a straight line. Stain penetrates deepest into the low points of the grain (the “valleys”) and sits lightest on the raised high points (the “peaks”). Lightly sanding the dried first coat with 120 to 150-grit paper strips color back off those raised peaks while leaving the dark pigment trapped in the valleys. Brushing a lighter stain over the sanded surface then fills in the exposed peaks, so the two tones follow the natural grain pattern instead of a hard geometric edge.
| Method | Best For | What You Need |
|---|---|---|
| Masking | Sharp, straight or shaped lines on drawers and panels | Painter’s tape + gel stain |
| Sand-through | Natural, grain-following shading across a whole surface | 120-150 grit sandpaper |
Preparing the Wood Before You Stain
Sand with the grain, starting around 150-grit and finishing with 220-grit for a smooth surface. Wipe away all sanding dust with a tack cloth or damp rag before staining — leftover dust causes blotchy patches under either technique.
On pine, maple, alder, or any wood prone to blotching, brush on a pre-stain wood conditioner first. Skipping it is the single most common reason a stain color looks patchy instead of even, and an uneven first coat makes it much harder to get a clean second tone on top of it.
Applying the First (Lighter) Stain
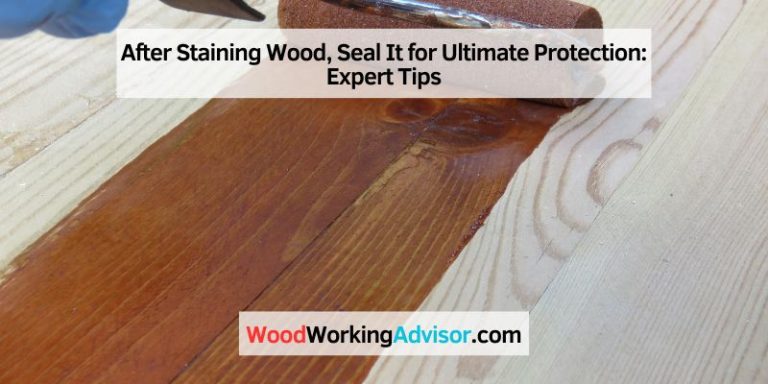
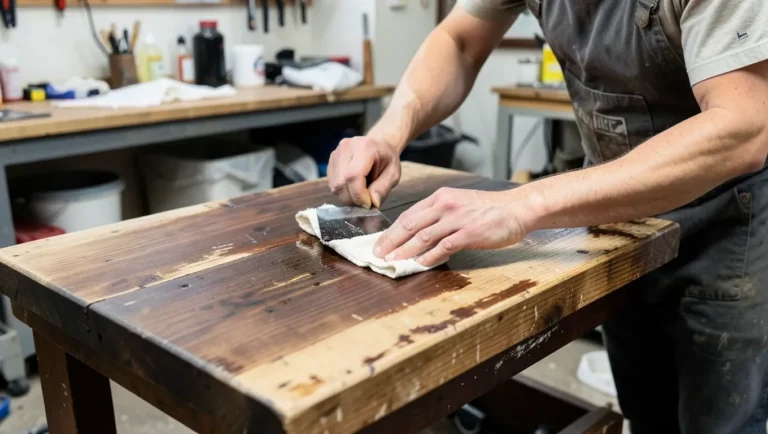
Apply the lighter stain first with a brush or lint-free rag, working with the grain in small sections. Wipe off the excess with a clean cloth before it dries on the surface — the wood absorbs what it needs within a few minutes, and stain left sitting on top just gets tacky.
Let the first coat dry fully before doing anything else. Most oil-based stains need 4 to 8 hours; check the can, since humidity and temperature both slow drying time down. Staining over a tacky first coat is what causes the second color to smear instead of laying down clean.
Masking and Applying the Second (Darker) Stain
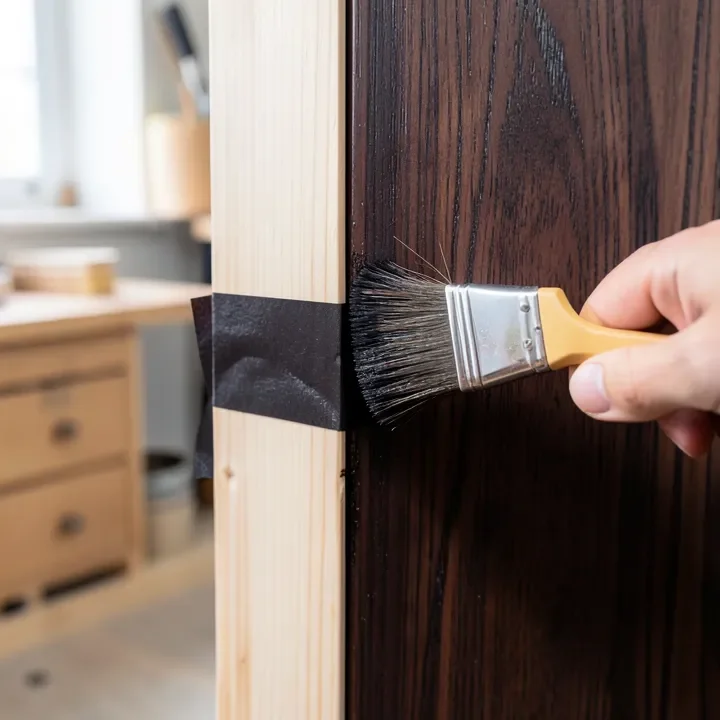
Once the first coat is fully dry, press painter’s tape firmly along the line where the second color will start — run a fingernail or a plastic scraper along the edge so there are no gaps for stain to creep under. Apply the darker stain to the exposed section and wipe off the excess the same way as the first coat.
This is where gel stain earns its keep: its thick, non-drip body stays on the surface instead of wicking sideways under the tape the way a thin liquid stain can. Remove the tape once the second coat has set but before it fully cures, pulling it back on itself at a low angle so the edge doesn’t tear.
Sealing a Two-Tone Finish
Once both stains have fully cured, seal the entire piece with one clear topcoat — a water-based or oil-modified polyurethane for interior furniture, or a spar urethane for anything that will sit outdoors. A single topcoat over both colors keeps the sheen consistent and protects the masked line from wear.
Apply the topcoat evenly with a brush or sprayer and let it cure fully before using the piece. Reapply every few years on high-use surfaces to keep both tones protected.
📊 Minwax gel stain needs 8 to 10 hours to dry between coats and a full 24 hours before any topcoat goes on. — Source: Minwax, Wood Staining Tips
Minwax describes its gel stain as thick-bodied, “so it stays more towards the surface of the wood, allowing for greater color control during application” — which is exactly the property that keeps a masked two-tone line from bleeding.
Common Two-Tone Staining Mistakes
- Mixing incompatible stain bases. Pairing an oil-based stain with a water-based one on the same piece can cause adhesion problems under the topcoat — keep both stains the same base type.
- Skipping the scrap-wood test. The same stain looks different on the actual project piece than on the can’s color chip, especially on wood with heavy grain variation.
- Pressing tape down too lightly. A loose edge lets stain creep underneath by capillary action, which blurs the line between colors.
- Over-sanding the sand-through method. Sanding past the raised grain into bare wood removes the dark pigment from the valleys entirely, which erases the exact effect the technique depends on — light, even passes only.
Frequently Asked Questions
How do you prepare wood for two-tone staining?
Sand with the grain from 150-grit up to 220-grit, then wipe away all dust with a tack cloth. On pine, maple, alder, or other blotch-prone species, apply a pre-stain wood conditioner first — skipping it is the most common reason one or both tones come out patchy instead of even.
What stains work best for a two-tone finish?
A gel stain for the darker tone holds a sharper line at a taped edge than a thin wiping stain, since its thick body resists bleeding underneath. Oil-based and water-based stains can both work, but use the same base type for both colors — mixing bases on one piece risks adhesion problems under the topcoat.
Can you two-tone stain without sanding between coats?
Yes, if you’re using the masking method with a gel stain — gel stain sits on the surface and doesn’t need sanding between coats. Sanding is only required for the sand-through method, where it’s the whole point: it strips color off the raised grain on purpose so the second stain can fill it back in.
Can you mix stains for a two-tone effect?
Yes, as long as both stains share the same base (oil-based or water-based). Test the combination on a scrap piece of the same wood species first, since grain pattern and porosity both change how each color reads next to the other.
How long does two-tone staining take to dry?
Most oil-based wiping stains dry in 4 to 8 hours between coats. Gel stain needs 8 to 10 hours between coats and a full 24 hours before any topcoat goes on. Humidity and low temperatures both extend these times, so check the specific product’s label.
Two-tone staining rewards patience more than skill — the masking method gives a crisp, deliberate line while the sand-through method follows the wood’s own grain. Pick the one that fits the piece, test both stains on scrap first, and let each coat cure fully before moving to the next step.
Sponsored / affiliate links. As an Amazon Associate I earn from qualifying purchases. I may earn additional commission from eligible campaigns.