How to Use E6000 Adhesive Correctly: Full Application Guide
E6000 adhesive bonds most materials in three steps: apply a thin, even layer to both surfaces, let it sit uncovered for a few minutes until it turns tacky (it does not grab instantly like super glue), then press the pieces together and hold or clamp them while the bond sets. Full cure takes 24 to 72 hours, and the adhesive needs a well-ventilated space because of its strong solvent smell. One thing worth knowing before you reach for the tube: E6000 is not a wood glue. It’s a general-purpose industrial adhesive built for bonding wood to non-wood materials – metal, glass, ceramic, some plastics, rubber, and fabric – not for wood-to-wood joints, where a dedicated wood glue like Titebond will out-perform it every time.
What E6000 Actually Is (And What It Isn’t)
E6000 is a solvent-based, rubber-toluene adhesive – chemically closer to a flexible industrial sealant than to a woodworking glue. That formula is exactly why it works so well on mismatched materials: it cures into a flexible rubber-like bond that can absorb the different expansion and contraction rates of, say, wood and metal, instead of cracking the way a rigid glue joint would.
Best E6000 Tube For Everyday Bonding Jobs
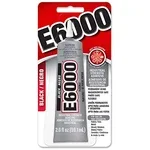 |
E6000 Multipurpose Adhesive, 2 oz – $8.30 The standard 2 oz tube used throughout this guide – sized right for wood-to-metal, glass, or fabric bonding jobs, not for large wood-to-wood glue-ups.
|
That flexibility is also why it’s the wrong tool for a structural wood-to-wood joint – a chair leg, a drawer box, a glued-up panel. Those joints need a rigid, high-shear-strength bond, which is exactly what a dedicated PVA wood glue like Titebond is formulated to deliver on bare wood fibers. Save E6000 for the projects a wood glue can’t touch: attaching a metal hook to a wooden sign, setting a glass insert into a wood frame, gluing rubber feet onto a wooden base, or repairing a wood-and-fabric item like a covered box.
Step-By-Step: How To Apply E6000 The Right Way
The single most common mistake is pressing the pieces together the moment the adhesive touches both surfaces. E6000 needs a short open time to work properly:
- Clean both surfaces with rubbing alcohol or a mild detergent and let them dry completely – any dust, oil, or wax on either surface will weaken the bond.
- If one surface is a smooth, non-porous material like glass or metal, lightly scuff it with fine sandpaper (220-grit or finer) so the adhesive has more surface to grip.
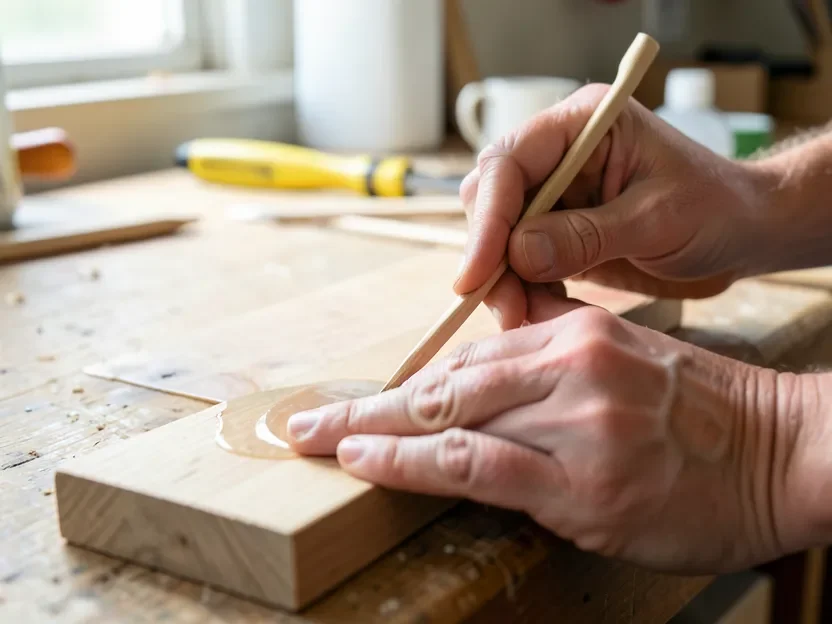
- Squeeze a small amount onto a piece of scrap cardboard or wax paper, then use a toothpick or a flat craft stick to spread a thin, even layer on both surfaces – this is the “best thing to spread it with” that trips up a lot of first-time users; a stiff brush also works for larger areas.
- Let the adhesive sit uncovered for 2 to 10 minutes, until it turns tacky to the touch instead of wet and shiny. This tack-up step is what gives E6000 its strength – skip it and the bond will be noticeably weaker.
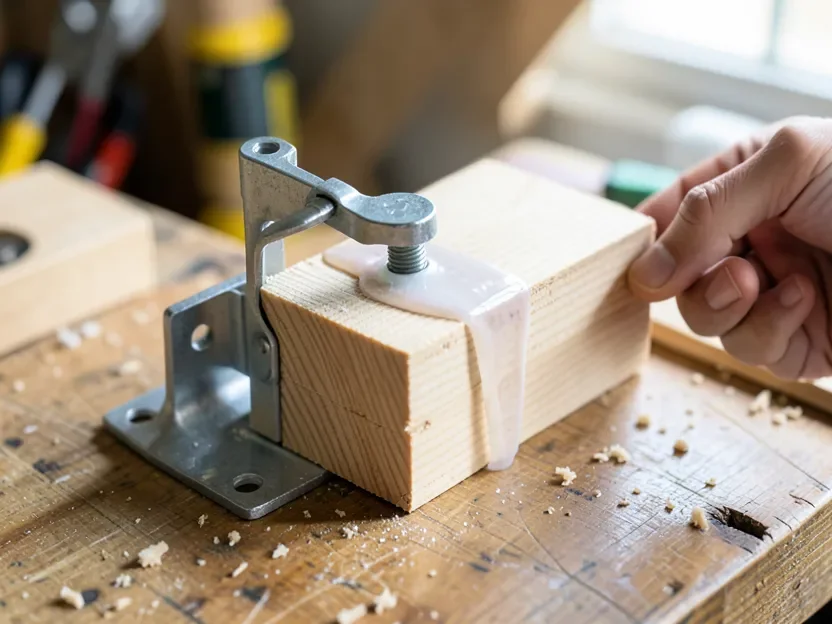
- Press the two pieces together firmly and hold them in position. For anything heavier than a small craft repair, use a clamp, rubber band, or painter’s tape to keep the joint under light pressure for at least the first hour.
- Leave the piece completely undisturbed for 24 to 72 hours so the adhesive reaches full cure before it takes any real load or gets wet.
Safety And Ventilation
This is the part most tutorials skip past too fast. E6000’s solvent smell isn’t just unpleasant – toluene-based fumes can cause headaches, dizziness, and nausea if you’re breathing them in a closed room for any length of time. Work with a window open and a fan pulling air out of the room, not just sitting nearby. If you genuinely can’t ventilate the space – a windowless closet, an unventilated basement corner – that’s a real reason to skip E6000 for that project and use a lower-odor alternative instead, not something to push through with the door shut. Which precautions apply also depends on the formula: our E6000 formula and safety data sheet comparison shows which versions are listed as flammable.
Wear nitrile gloves; the adhesive is a skin irritant and it’s genuinely hard to get off your fingers once it sets. Safety glasses are worth it too, especially when you’re working overhead or spreading adhesive near eye level.
To directly answer a question a lot of people search for: yes, you can use E6000 indoors – it’s formulated for household and craft use – but “indoors” needs to mean a ventilated room, not a sealed one. A garage with the door cracked, a kitchen with the window open and the range hood on, or a craft room with a box fan in the window all work fine.
Fixing A Mistake: Repositioning A Piece After Gluing
If you’ve pressed a piece into the wrong spot and the adhesive hasn’t fully cured yet, you have a short window to fix it. While the bond is still soft (roughly the first hour), gently twisting or prying the piece can separate it without damaging either surface – go slowly, since forcing it can tear a porous material like fabric or leather.
Once the adhesive has fully skinned over but hasn’t hit its 24-72 hour full cure, a small amount of heat (a hair dryer on low, held a few inches away for 20-30 seconds) softens the rubber-based formula enough to carefully separate the pieces. On a porous material where the adhesive has soaked in, isopropyl alcohol dabbed along the seam can help break the bond enough to lift it free. After repositioning, clean off any residue, let the surface dry, and reapply a fresh thin layer rather than trying to reuse the old adhesive – it won’t re-tack properly once it’s started curing.
Common Problems And How To Fix Them
Weak or failed bond: almost always a prep problem – either the surfaces weren’t clean and dry, or the adhesive was pressed together while still wet instead of tacky. Clean both surfaces again, re-scuff a smooth surface if needed, and redo the tack-up step.
Bubbles or a messy, uneven line: usually from squeezing too much adhesive out of the tube at once. Apply less than you think you need – a thin layer covers more surface area and cures more evenly than a thick bead.
Bonding rubber to metal: yes, this is one of E6000’s strongest use cases – rubber feet on a metal bracket, a rubber gasket seated against a metal housing, even a shoe sole (rubber) to a leather or synthetic upper. Scuff the metal lightly first for the best grip.
Shoe or boot repairs: for reattaching a heel or sole, clean both surfaces thoroughly (old adhesive residue and dirt are the most common cause of a repair failing again), apply a thin layer to both the heel and the sole, let it tack up, then clamp the pieces together with strong rubber bands or spring clamps for the full cure time before wearing the shoe.
Cleanup And Storage
Wipe wet squeeze-out immediately with a cloth or cotton swab – once it starts to skin over, acetone or nail polish remover is the only thing that reliably breaks it down. Fully cured adhesive has to be cut or scraped away with a sharp blade; solvents mostly stop working on it at that point.
Store the tube upright with the cap tightened all the way, in a cool spot out of direct sunlight. E6000 thickens and eventually skins over inside a tube that’s been left loose or exposed to air, so a fully sealed cap is the difference between a tube that lasts a year and one that’s unusable in a month.
Frequently Asked Questions
Is E6000 A Wood Glue?
No. E6000 is a general-purpose industrial adhesive, not a wood glue. It works well for bonding wood to non-wood materials like metal, glass, or fabric, but a dedicated wood glue such as Titebond gives a stronger, more appropriate bond for wood-to-wood joints.
How Long Does E6000 Adhesive Take To Dry?
E6000 tacks up in 2 to 10 minutes and can usually be handled gently after about an hour, but it needs 24 to 72 hours to reach full cure strength. Wait for full cure before putting any real load or moisture on the joint.
Can I Use E6000 Indoors?
Yes, but only in a ventilated room – an open window with a fan, or a garage with the door cracked. The solvent fumes can cause headaches or dizziness in a sealed, unventilated space.
Does E6000 Bond Rubber And Metal Together?
Yes – rubber-to-metal is one of E6000’s best use cases. Lightly scuff the metal surface first, apply a thin layer to both surfaces, let it tack up before joining, and clamp while it cures.
Conclusion
E6000 earns its place in a shop or craft drawer for exactly the jobs wood glue can’t handle – wood to metal, glass, rubber, or fabric. Prep the surfaces, spread it thin, let it tack up before joining, and give it the full 24 to 72 hours before it takes any load. Keep it for mixed-material bonding, and reach for a real wood glue when the joint is wood-to-wood.
Sponsored / affiliate links. As an Amazon Associate I earn from qualifying purchases. I may earn additional commission from eligible campaigns.