How To Care For Olive Wood Utensils So They Last For Years
Caring for olive wood utensils involves simple steps like hand washing, occasional oiling, and proper drying. This prevents drying, cracking, and maintains their natural beauty and longevity for years of use.
Understanding Olive Wood
Olive wood’s grain – the swirling dark streaks running through a honey-tan background – comes from the tree’s slow, irregular growth pattern rather than any special species trait, which is also why no two olive wood utensils look quite alike. It’s also genuinely dense: olive wood tests around 2,700 on the Janka hardness scale, well above hard maple (about 1,450) and close to some of the hardest domestic hardwoods sold in the U.S., which is exactly why it resists dents, holds a crisp edge on a spoon or spatula rim, and doesn’t pick up food odors the way a softer, more porous wood would.
That density is also why it needs consistent care rather than none at all. Solid wood expands and contracts across the grain as humidity changes, and a piece that’s allowed to dry out too far, or swell and shrink repeatedly, is what actually causes the cracking and warping people associate with “high-maintenance” wooden utensils – not the wood itself being fragile. Regular washing, prompt drying, and periodic oiling exist specifically to keep that moisture swing small and slow, which is the whole mechanism behind why oiled wood lasts decades and neglected wood doesn’t.
The Basics of Cleaning Your Olive Wood Utensils
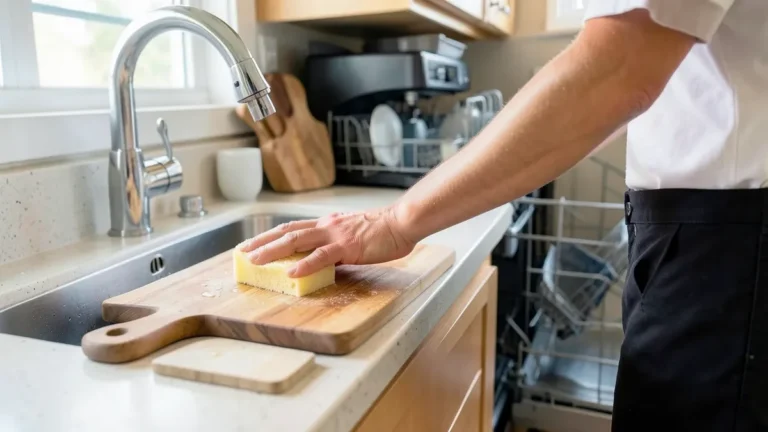
Skip the dishwasher entirely – the combination of sustained heat (often well over 140°F), harsh detergent, and forceful water jets is close to a worst-case scenario for solid wood, stripping out natural and applied oils while forcing rapid, uneven moisture absorption that warps the piece or opens hairline cracks along the grain. Hand washing avoids all three problems at once: warm water and a mild dish soap, a soft sponge or cloth to lift off food residue, and a thorough rinse is genuinely all a utensil needs after most meals. A utensil or board that touched raw poultry needs one extra step beyond that, though – see our guide on cleaning a wood cutting board after raw chicken for the bleach-dilution sanitizing step that a plain soap-and-water wash skips.
Drying matters just as much as washing technique. Standing water left on unfinished wood seeps into the surface fibers, and as it evaporates unevenly, the wood shrinks unevenly right along with it – that’s the direct mechanical cause of the shrink-and-crack cycle, not some vague “wood doesn’t like water” rule. Towel off each utensil immediately after rinsing, then stand them on end (handle-down) rather than laying them flat, so air can reach both faces and they dry evenly rather than trapping moisture against a countertop or dish rack on one side.
Quick Olive Wood Cleaning Steps
1. Hand Wash Only: Never use a dishwasher.
2. Warm Water & Mild Soap: Gentle cleaning is best.
3. Rinse Thoroughly: Remove all soap residue.
4. Dry Immediately: Towel dry after rinsing.
5. Air Dry: Let them stand to dry completely.
When and How to Oil Your Olive Wood
Oil replaces what washing removes: every wash cycle pulls some of the wood’s natural moisture-resisting oils out along with the food residue, and re-oiling restores that protective layer before the bare wood underneath has a chance to dry out, dull, or start absorbing odors. A dry-looking, faded utensil isn’t cosmetically damaged so much as it’s telling you the protective layer has worn thin – that dullness is the visible cue to oil it, more reliable than any fixed calendar schedule, though once a month is a reasonable default for utensils used several times a week.
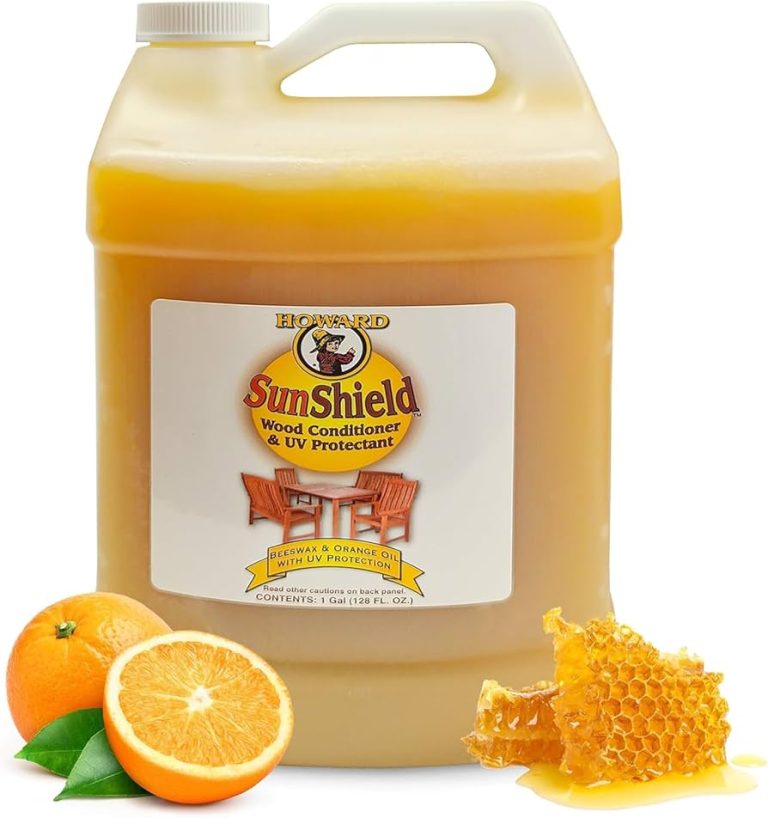
Stick to food-safe, non-drying oils: food-grade mineral oil is the standard recommendation because it’s inert, odorless, and won’t oxidize or turn rancid sitting inside the wood’s pores the way a cooking oil will. That’s also exactly why olive oil, vegetable oil, and other unrefined culinary oils are the wrong choice here despite the obvious name association – they contain fatty acids that break down over weeks, leaving a sticky, faintly rancid film that mineral oil simply doesn’t produce. Specialized wood-conditioning oils and beeswax-mineral oil blends (similar to butcher-block conditioner) go a step further, adding a thin wax layer on top of the oil for extra moisture resistance between applications.
Application is straightforward: make sure the utensil is clean and fully dry first, since oil applied over residual water won’t absorb properly, then saturate a cloth or paper towel and work the oil into every surface, including end grain and any carved details where it soaks in fastest. Let it sit for several hours – overnight if you can – so the oil has time to penetrate below the surface rather than just sitting on top, then wipe away everything that hasn’t absorbed. Leftover surface oil isn’t extra protection; it’s just a dust magnet and a sticky-feeling utensil.
Choosing the Right Oil for Your Olive Wood
Recommended Oils:
- Food-grade mineral oil
- Specialized wood conditioning oils
- Beeswax-based wood balms
Oils to Avoid:
- Vegetable oils (e.g., olive oil, canola oil)
- Nut oils (e.g., walnut oil)
- Any oil that can go rancid
Storing Your Olive Wood Utensils Properly
Storage is the part most care guides skip, but it determines how much of your washing-and-oiling routine actually sticks. A closed drawer near the sink, or one that traps ambient kitchen humidity, undoes some of the drying work by keeping the wood in a persistently damp microclimate; a dry cupboard, an open utensil crock, or a drawer organizer that lets air move around each piece is a meaningfully better environment even with identical cleaning habits.
Direct sunlight causes a different problem – UV exposure fades the wood’s color unevenly and accelerates surface drying on the exposed side, which can contribute to the same checking and dullness that poor washing habits cause. If utensils share a drawer with knives or other hard tools, keep them separated enough that they aren’t rubbing or knocking against sharp edges every time the drawer opens; a few nicks won’t ruin a piece, but repeated surface damage gives moisture more entry points over time.
Smart Storage for Olive Wood
Ideal Locations:
- Dry cupboards
- Utensil crocks (ensure no standing water)
- Drawer organizers
Things to Avoid:
- Damp areas or near the sink
- Direct sunlight
- Overcrowded drawers where they can get scratched
Dealing with Common Olive Wood Issues
Most problems that show up on an olive wood utensil trace back to one of a handful of causes, and most have a straightforward fix if you catch them early.
Drying out and dullness is the most common issue and simply means the wood’s oil layer has worn away faster than it’s been replaced. A thorough re-oiling – mineral oil worked in, left to soak for several hours, then wiped clean of excess – typically restores both the color and the slight sheen within one application; if a piece has gone very dry, a second application a few days later helps more than one heavy coat.
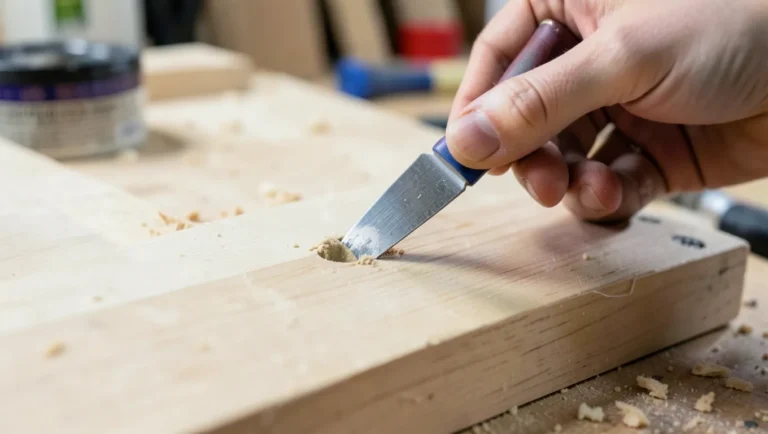
Small hairline cracks usually form when the wood dries out too far or goes through a sudden temperature or humidity swing – pulling a spoon straight from a dishwasher-hot rinse into cold water is a classic trigger. Clean and fully dry the piece, then work oil generously into the crack itself; for a crack that’s opened up rather than just checked the surface, food-safe wood glue worked into the gap and clamped briefly, followed by a light sanding and re-oiling once cured, will usually stabilize it. A crack that keeps widening despite this treatment is a sign the piece is nearing the end of its useful life for food contact.
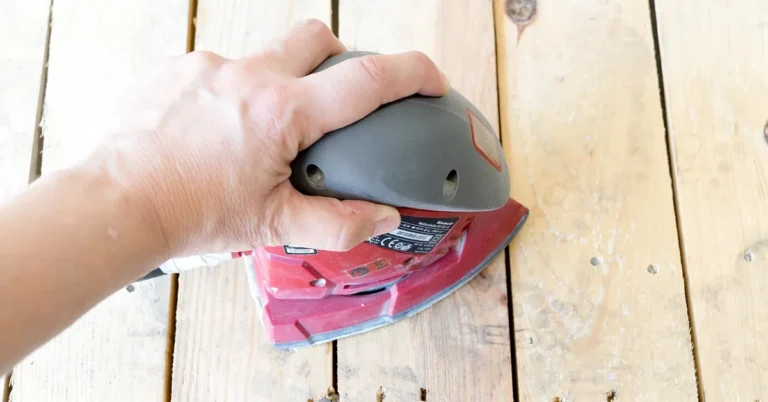
Stains from strongly colored foods – tomato sauce, berries, turmeric – sit in the wood’s open grain rather than actually dyeing the fiber, which is why a baking soda and water paste worked into the stain, left for a few minutes, then scrubbed and rinsed, lifts most of them. Stubborn marks may need a light sanding with the grain before re-oiling; a bit of lingering discoloration on well-used wood is cosmetic, not a food-safety issue.
Warping comes from uneven moisture absorption – one face of the utensil swelling more than the other, usually from prolonged water contact (soaking, or sitting in a wet sink) rather than a quick wash. A mild warp can sometimes be coaxed back by soaking the affected area briefly in warm water, then laying the piece flat under a heavy, flat weight while it dries completely, which encourages it to reset straight as the moisture leaves evenly. Severe warping usually isn’t reversible, which is the practical argument for hand-washing and immediate drying in the first place – it prevents the problem rather than requiring a fix.
Contrast Matrix: Normal vs. Concerning Olive Wood Signs
Normal Signs:
- Slight dullness between oilings
- Minor color variations
- Natural grain patterns
Concerning Signs:
- Deep cracks or splits
- Severe warping
- Musty odors
- Sticky residue that doesn’t wash off
Choosing the Right Utensils for Your Kitchen
Shape follows function more than it does with plastic or metal tools: a slotted spoon lifts food from liquid without carrying broth along with it, a flat-edged spatula scrapes a pan bottom cleanly, and a long handle keeps your hand well clear of a deep stockpot’s heat. Beyond shape, look for a smooth, even finish with no rough or splintery spots – a sign of careful sanding during manufacture – and grain that runs continuously along the length of the piece rather than at an odd angle, since short-grain sections near a thin handle are the most likely spot for a future crack.
Weight and balance are worth handling in person if you can, or reading reviews closely for if you’re buying online: a piece with real heft usually indicates denser wood and better durability, not just a heavier price tag, while a suspiciously light, thin utensil is more likely to flex, chip, or crack under normal kitchen use regardless of how well you care for it afterward.
The Environmental Aspect of Olive Wood
Olive wood’s sustainability case is genuinely different from most cutting-board and utensil timber: olive trees are grown for fruit, often bearing usable olives for well over a century, and are typically only felled once they stop producing reliably or are replaced as part of orchard renewal – not cut down specifically to supply the woodworking trade. That makes the wood a byproduct of agriculture rather than a dedicated timber crop, which is a meaningfully different environmental footprint from hardwoods harvested purely for lumber. Buying from artisans and sellers who source through licensed orchard-replacement programs (rather than unverified bulk importers) is the practical way to make sure that story holds up for a specific product, since “sustainable” branding on its own isn’t a guarantee.
What This Means for You
In practice, the whole care routine reduces to reading two signals on the wood itself rather than memorizing a rigid schedule. Run a hand over the surface: smooth means the finish is holding up, while rough or slightly fuzzy means it’s time to oil (or occasionally, lightly sand and then oil). Look at the color: a rich, even tone means the oil layer is doing its job, while a faded, chalky look is the wood telling you it’s due. Genuine warning signs – deep cracks, mold, or a persistent musty smell that survives a wash and dry – are rarer than the normal wear-and-recondition cycle, and simple, consistent care is what keeps them rare.
Quick Tips for Longevity
Here are some quick tips to keep your olive wood utensils lasting for ages. These are easy to remember. They make a big difference in the long run.
- Wash by hand only. This is the golden rule.
- Dry them immediately. Don’t let them sit wet.
- Oil them monthly. Or when they look dry.
- Use mineral oil. It’s safe and effective.
- Store in a dry place. Avoid humidity.
- Don’t put them in the microwave. Wood and microwaves don’t mix.
- Clean spills quickly. Especially colored foods.
Following these simple steps will help your olive wood look its best. It will prevent damage. It will keep them functional for a very long time.
It’s a small effort for a lot of reward. You get to keep enjoying their beauty. They become a trusted part of your cooking routine.
Infographic: The Olive Wood Lifespan Cycle
1. New Utensil: Beautiful, smooth, natural color.
2. Daily Use: Washed by hand, dried promptly.
3. Monthly Oiling: Wood drinks oil, color brightens, protection added.
4. Signs of Age: Slight dullness may appear, indicating need for more oil.
5. Occasional Issues: Minor cracks or stains can be addressed with care.
6. Years of Service: Properly cared for, utensils remain functional and beautiful.
Frequently Asked Questions About Olive Wood Utensils
Can I use olive wood utensils for cooking acidic foods?
Yes, you can. Olive wood is quite dense and doesn’t absorb flavors easily. However, it’s always a good idea to clean them right after use.
This prevents any lingering acidity from potentially affecting the wood over time. For very long cooking sessions with highly acidic ingredients, you might consider using a stainless steel or silicone utensil. But for general use, they are fine.
How do I get rid of a persistent smell from my olive wood spoon?
If your spoon has absorbed a smell, first try washing it thoroughly with warm water and mild soap. Make sure it dries completely. If the smell remains, you can try creating a paste with baking soda and water.
Apply it to the spoon, let it sit for about 30 minutes, then scrub gently and rinse. Dry it completely. For strong smells, you might need to oil it again after this process.
Avoid using harsh chemicals.
Is it normal for olive wood to change color over time?
Yes, it is perfectly normal. Olive wood often deepens in color as it ages and is oiled. It can go from a lighter tan to a richer, warmer brown.
This is a sign of the wood maturing and absorbing oils. It’s part of the natural beauty and character of wooden utensils. The grain patterns also become more pronounced.
Can I sand minor scratches out of my olive wood?
Yes, you can. For minor scratches or rough spots, you can use fine-grit sandpaper (around 220 grit). Always sand in the direction of the wood grain.
After sanding, wipe away all the dust. Then, generously apply food-grade mineral oil to the sanded area. Let it soak in, and then wipe off any excess.
This will help blend the sanded spot back into the rest of the utensil.
My olive wood bowl has a small crack. Can I still use it?
For small, hairline cracks, you can often continue to use the bowl after cleaning and oiling it. The crack might seal up a bit with the oil. However, if the crack is large, deep, or seems to be widening, it’s best to use it for decorative purposes or consider replacing it.
A deep crack can harbor bacteria and make the bowl harder to clean properly. Always err on the side of caution for food safety.
How often should I re-oil my olive wood utensils if I don’t use them often?
If you don’t use your olive wood utensils very often, you can get away with oiling them less frequently than monthly. A good rule is to oil them every 2-3 months. Or, oil them whenever you notice they are starting to look dull, dry, or feel rough.
Even unused wood can dry out over time due to changes in humidity and air exposure.
Conclusion
Caring for your olive wood utensils doesn’t require a lot of effort. It’s about simple, consistent habits. Hand washing, prompt drying, and regular oiling are your best friends.
These steps ensure your utensils stay beautiful and functional. They prevent damage. They let you enjoy the natural charm of wood in your kitchen.
Treat them with a little kindness, and they will serve you well for years.
Sponsored / affiliate links. As an Amazon Associate I earn from qualifying purchases. I may earn additional commission from eligible campaigns.